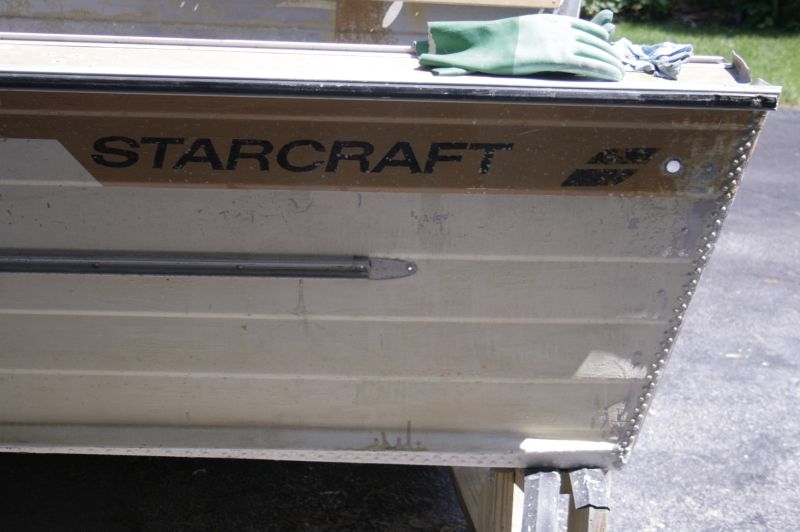
Re: My First StarCraft; 1975 18' SuperSport
I experimented with several strip techniques this week and eventually settled on something
")
First, I tried the gator disk on the transom and did not like the nonuniformity of it...plus the mess. SS wire wheel had similar results but less effective. In addition, you can't use it near rivets or they'll grind the heads off.
So enough for brute-force mechanical removal (Port-side of transom). I was inspired by InMotion's successful implementation of "tree hugger" stripper...unfortunately I could not find the exact brand and settled (that's an understatement) on "Ready Strip" (SB-side of transom):
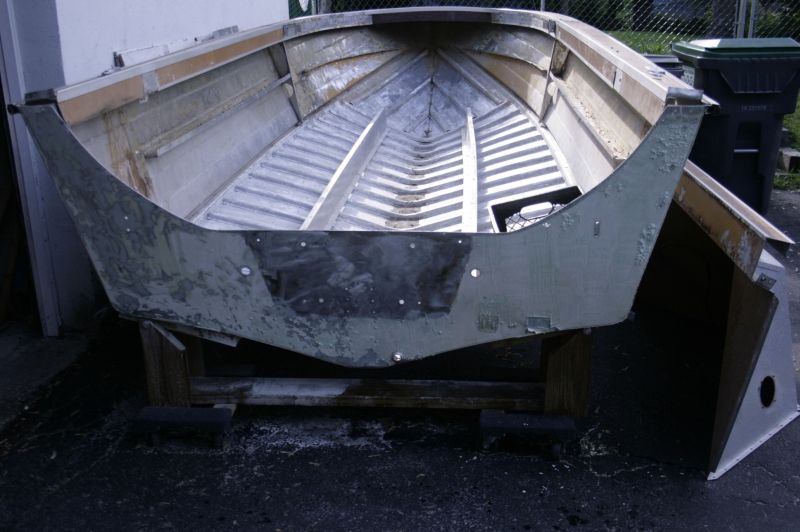
Well, ready strip is ready for the garbage. What a waste of time...my only consolation is that i bought the smallest container available.
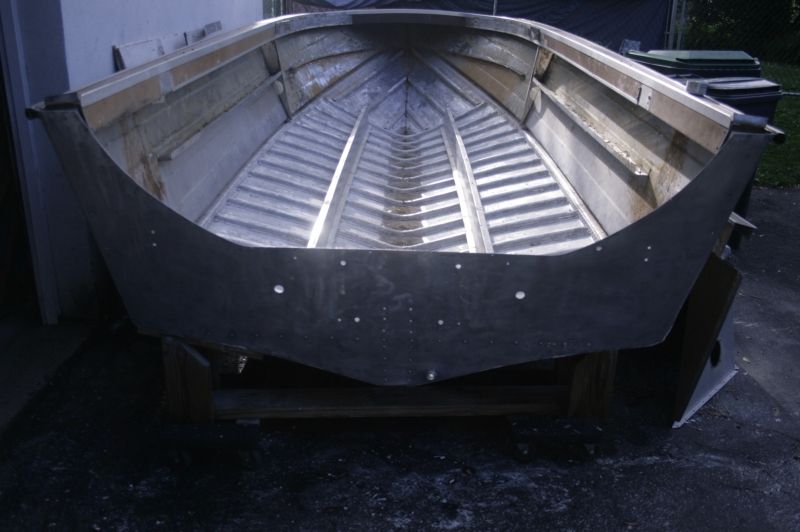
None of the Big Box stores in my area carry the proven high-octane strippers (Aircraft & Zip Strip) so I decided to hop-off the beaten-path and found a Ma-and-Pa hardware store. Sure enough, gallons of ZipStrip and actually got help from the very knowledgable owner! I was in the driveway for 10min before smearing some on the transom with a rag...made short work of the paint left behind from mechanical and TreeHugger (TH) stripper.
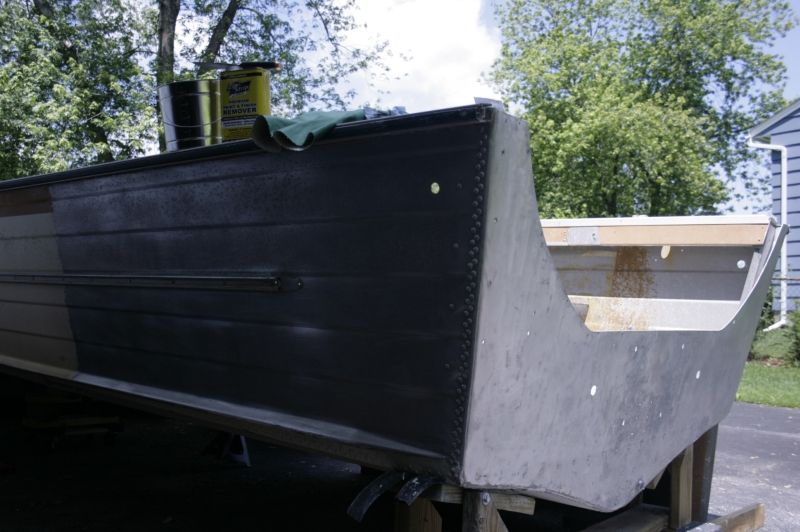
This morning I started on Port-side Hull;
the aft-most portion was treated w/ TH stripper friday/saturday and you can see where it got me
I probably picked too large of an area because you don't want it to dry-out...otherwise you have to wet it with more Zip.
So I think i have my technique down to tackle the rest of the Hull without the use of any powertools:
- Working in 3' sections, apply a thick coat of Zip with a chip-brush.
- after 30min, scrape off paint (if you have to put effort into scraping, apply more Zip and come-back to that spot in 5min)
- remove the residue with a 3M stripper pad
- wash down with dishsoap and water.
- have a beer!
Lastly, I've found a sheet metal fab shop literally 2min from my house. I left the gentlemen a message...hopefully he can hook me up!
Thanks for stoppin' by!


