D
Deleted member 340796
Guest
Re: My first boat restoration, I need some guidance - PLEASE HELP!


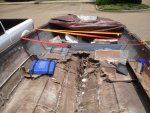
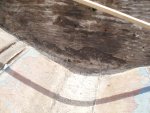
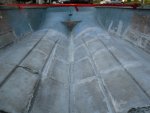
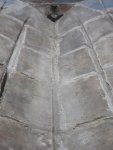
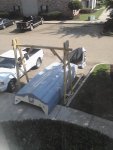
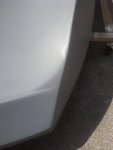
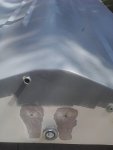
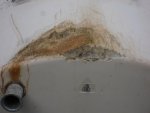
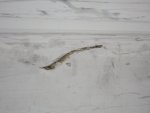
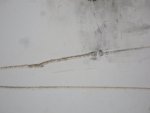
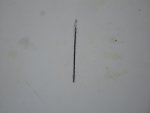
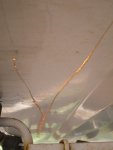
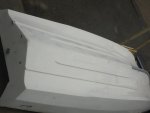
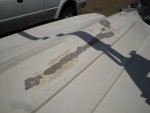
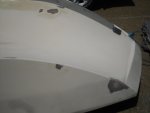
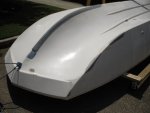
Well guys, a couple days have passed and I have sanded and epoxied about 2 times and getting ready for the 3rd coat since getting back at it. These pictures are just after sanding and a wipe down with damp towel. I still have to clean good with acetone before next coat of epoxy goes on but honestly am I on the right track here? I have found the hard part is keeping the stuff from running down the side of the boat for the areas on sides that I am repairing, but otherwise not too bad. I can see where some of the deeper areas are filling up and many of the minor areas are already done.
I am so excited to get this bottom painted and back on the trailer so I can move to the inside, although I must admit I am much more nervous about the inside because of the structural integrity and overall safety of the boat.
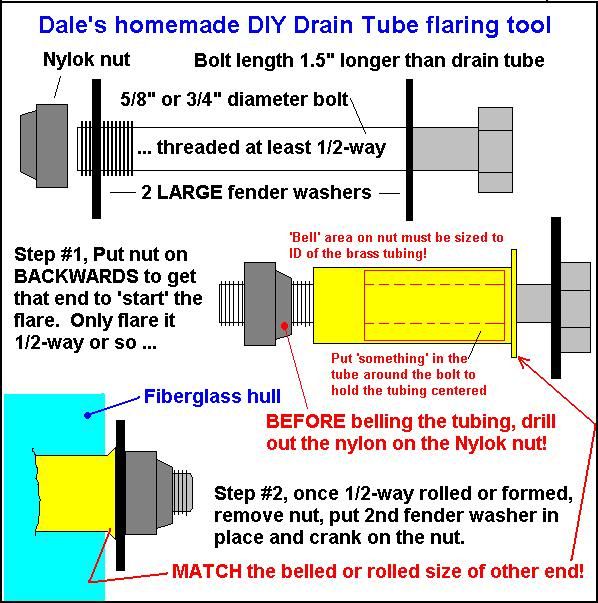
I want to start thinking ahead about things I need for the next few steps. Is it reasonable to think I might be able to use the same drain tube that is in the transom of the boat or should I just cut it out and get a new one?
I am also going to be getting new rollers for the trailer as they leave marks on the boat and just don't seem to be doing the job effectively. I also need to replace a few other items such as bow eyes, new lights, etc so if I need a new drain tube as well as what ever tool I might need to crimp the one end once it is fitted thru the transom - this would be a good time to order that. Are there any obvious things I might be forgetting? I have the epoxy, acetone, paint, rollers, brushes, cups, fiberglass cloth. I will need to get the wood for the transom and stingers too.
Do 2x4s sound right for the stringers? The wood that came out was so corroded and mush I could tell what it was, but the one piece I did take out that was not rotted did seem like a 2 x 4 (it was the center stringer). Just wondering if all the others were probably the same or if they were 1 bi's.
Well, as long as you all think the work is looking okay then I will continue what I am doing until the bottom and sides are smooth and then look forward to painting. Thanks.
OOPS, I just realized that I was forgetting to put the additives in the mix so the epoxy was thin. So I added the additives this time. AMAZING how when you do it correctly it goes much faster. I am drying now, sanding tomorrow and hopefully 1 last coat before paint prep.
Well guys, a couple days have passed and I have sanded and epoxied about 2 times and getting ready for the 3rd coat since getting back at it. These pictures are just after sanding and a wipe down with damp towel. I still have to clean good with acetone before next coat of epoxy goes on but honestly am I on the right track here? I have found the hard part is keeping the stuff from running down the side of the boat for the areas on sides that I am repairing, but otherwise not too bad. I can see where some of the deeper areas are filling up and many of the minor areas are already done.
I am so excited to get this bottom painted and back on the trailer so I can move to the inside, although I must admit I am much more nervous about the inside because of the structural integrity and overall safety of the boat.
I want to start thinking ahead about things I need for the next few steps. Is it reasonable to think I might be able to use the same drain tube that is in the transom of the boat or should I just cut it out and get a new one?
I am also going to be getting new rollers for the trailer as they leave marks on the boat and just don't seem to be doing the job effectively. I also need to replace a few other items such as bow eyes, new lights, etc so if I need a new drain tube as well as what ever tool I might need to crimp the one end once it is fitted thru the transom - this would be a good time to order that. Are there any obvious things I might be forgetting? I have the epoxy, acetone, paint, rollers, brushes, cups, fiberglass cloth. I will need to get the wood for the transom and stingers too.
Do 2x4s sound right for the stringers? The wood that came out was so corroded and mush I could tell what it was, but the one piece I did take out that was not rotted did seem like a 2 x 4 (it was the center stringer). Just wondering if all the others were probably the same or if they were 1 bi's.
Well, as long as you all think the work is looking okay then I will continue what I am doing until the bottom and sides are smooth and then look forward to painting. Thanks.
OOPS, I just realized that I was forgetting to put the additives in the mix so the epoxy was thin. So I added the additives this time. AMAZING how when you do it correctly it goes much faster. I am drying now, sanding tomorrow and hopefully 1 last coat before paint prep.


")