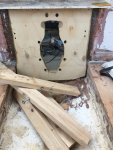
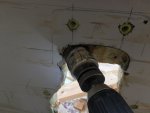
Alright, I think I am finally caught up to present!
Yesterday and today I got the bulk of sanding done and started looking at getting the transom ready for bonding. The sanding was terrible, as expected, so no point talking about that much (I'll post some about it at the end of this post). However, for the transom, I need some opinions.
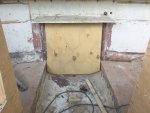
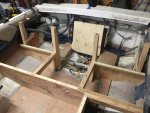
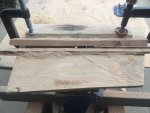
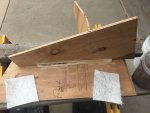
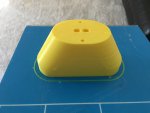
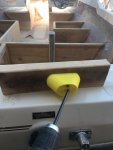
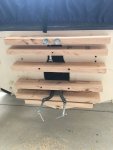
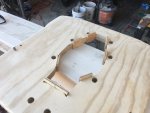
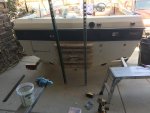
Here is the new piece I made roughly propped where it needs to go. I used 2 pieces of 3/4" ply bonded with a layer of 1.5 oz CSM. total thickness is ~ 1.5". existing hull is 0.375-0.5" thick, so I should be pretty close to target thickness when everything is bonded and fiber-glassed. if you are wondering about the bottom corner, It was 2 piece like this originally, so I will cut the last bit I need out of the scrap from the hole for the drive.
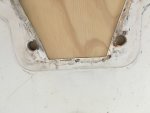
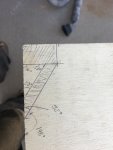
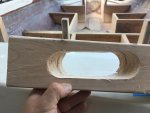
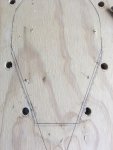
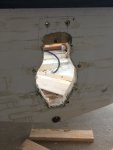
Now, here is where things get challenging. As you can see in the photo, the lower two drive mounting holes are very close to the edge of the hole for the drive. I am concerned they are too close and may have led to the demise of the old transom. My original plan was to just use the old hole as the template. But I am thinking I should either:
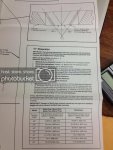
A) Find a good template print/PDF for an Alpha II drive
B) Use the drive I have on hand, and create a new template from it by using lots of craft paper, cardboard, and glue.
Thoughts?
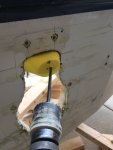
Here is another question - Do people just drill out the mounting holes through the wood and slap the drive on with maybe some 3M sealant in the holes? Or do people do some sort of water proofing on the holes? Like, I was thinking, over sizing the holes in the wood, filling them with PB, and then re-drilling them the correct size - giving me a "Sleeve" of fiberglass in each hole. I feel like the latter method would be better, but is it overkill?
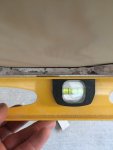
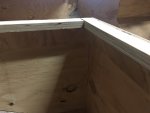
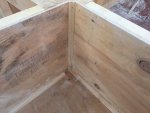
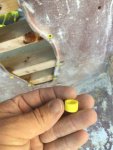
Here is another problem - the bottom 4 inches or so of the transom has this nice gap. Its just under 1/8 of an inch at its worst. Everywhere else is nice and flat across 24". If I recall correctly, mercruiser allows this much out of parallelism so long as the thickness is right. This was also how it looked before I gutted the transom. So, clearly bayliner thought it was acceptable. Will this be an issue? Or should I try to build it out? I am going to use a pretty heavy duty clamping setup (lots of 2x4s), so I am thinking I might be able to pull some of this out when I bond the new wood in.
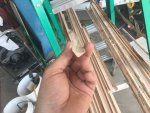
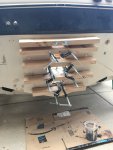
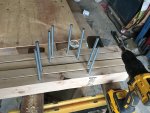
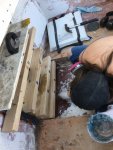
For clamping, I am going to use lots of 2x4s across the transom and threaded rod going through to matching 2x4s on the other side. The trick I am going use is I will put spacers between the 2x4s, inside the transom hole, that will prevent over-clamping and distortion. I will assume I want a 1/16-1/8" gap for PB, so I will set my spacers at ~2.05". This should, theoretically, help me maintain even thickness throughout. I will also probably put a few 2x4s over the main clamping 2x4s to keep them in the same plane as each other.
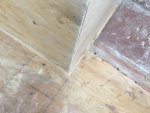
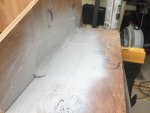
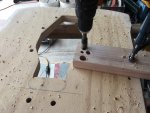
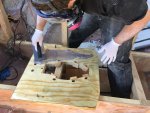
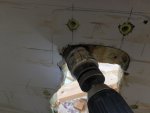
About the sanding - yeah, I should have done that first, before I framed in the boxes. It was terrible. The worst part I am finding is all that stupid carpet glue! It gums up sanding disks in no time!
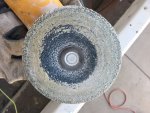
At this point, I switched to a wire wheel before hitting it with sanding disks. That was slightly more effective...
I made it through most of it. But some of it I just can't get out without sanding away too much good fiberglass (because it has filled in the dips in the original fiberglass roving mat). In many areas of the hull, I just want to replace the carpet with gel coat. I don't want to grind too much fiberglass away as I will be reducing hull strength, and I wasn't planning on putting any fiberglass back. Does anyone know if polyester gel coat will stick okay to areas slightly contaminated with old carpet glue? I got most of it, but there is still a little...


