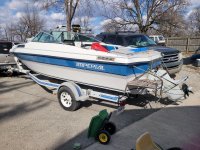
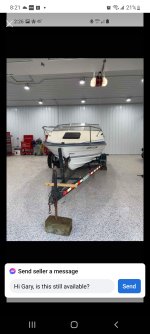
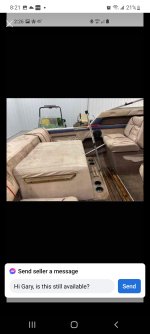
Bayliner Capri 2150 resurrection.

alldodge

Moderator
Staff member
Joined
Mar 8, 2009
Messages
42,064
The newer drives are better then the old. In any case parts are easier to come by
 

huggyb1972

Petty Officer 1st Class
Joined
Apr 1, 2013
Messages
237
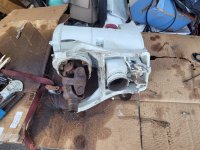
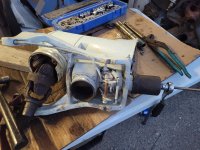
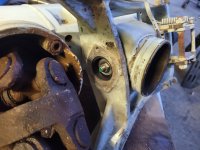
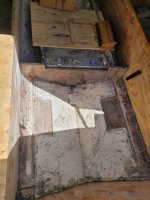
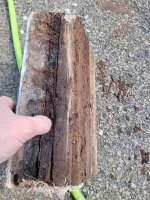
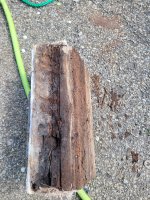
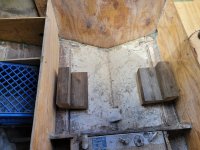
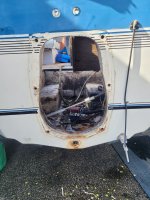
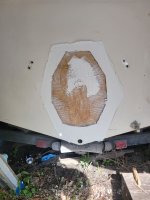
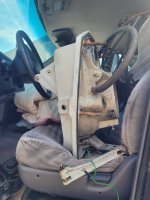
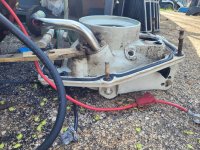
Well still working on this tub I'm redoing the transom and making it ready for a SP-A that I bought in a complete boat to work from. The SP is a 2:15 ratio the 280 outdrive from what I can tell to be a 1:89 by volvo's parts catalog. I may leave the ratio alone for this summer just to keep it simple since we have so much to do before June. The imperial is the parts boat if anyone is looking for a good dash or parts it will be getting scapped soon. The transom on the Bayliner was pretty bad, time for a redo.
 

Attachments

  • 20220315_161134.jpg
    20220315_161134.jpg
    4.8 MB · Views: 18
  • 20220324_105204.jpg
    20220324_105204.jpg
    2.1 MB · Views: 18

huggyb1972

Petty Officer 1st Class
Joined
Apr 1, 2013
Messages
237
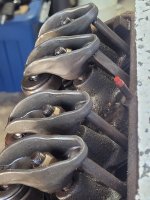
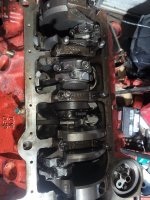
Moving right along. Motor is tore down, heads are off being freshened up, it was a good thing we pulled them off found a tad bit of rust in cylinder 8&4. We're gonna take a chance and re-ring the cylinders and hopefully they'll be fine. Don't want to put a bunch in it right now just need it to make the summer this year and I'll build a 350 or a 383 for it over the winter.

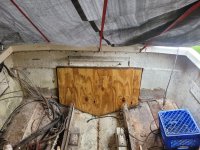
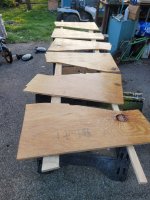
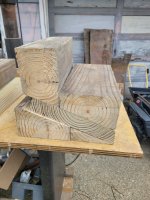
The transom is bonded on and the new stringers are placed. The spars are cut and sealed ready to go in tomorrow then the glassing can begin. I look forward to having a deck to stand on soon. The original deck was multi level and really not a safe setup now it will be all one level with a step down into the cuddy.
 

Attachments

  • 20220412_155712.jpg
    20220412_155712.jpg
    4.4 MB · Views: 13
  • 20220410_100015.jpg
    20220410_100015.jpg
    1.2 MB · Views: 14
  • 20220413_164810.jpg
    20220413_164810.jpg
    1.8 MB · Views: 14
  • 20220416_142504.jpg
    20220416_142504.jpg
    3.1 MB · Views: 13
  • 20220416_195557.jpg
    20220416_195557.jpg
    1.8 MB · Views: 13
  • 20220416_194846.jpg
    20220416_194846.jpg
    4.1 MB · Views: 13
  • 20220416_203230.jpg
    20220416_203230.jpg
    3.9 MB · Views: 12
  • 20220416_203233.jpg
    20220416_203233.jpg
    3.7 MB · Views: 14

Scott Danforth

Grumpy Vintage Moderator still playing with boats
Staff member
Joined
Jul 23, 2011
Messages
49,574
I suggest getting the factory manual for the drive
 

huggyb1972

Petty Officer 1st Class
Joined
Apr 1, 2013
Messages
237
I suggest getting the factory manual for the drive
Yeah may look into that. The one i have is written kinda weird. It's getting new orings and seals. At this point it doesn't have any mechanical issues. Mostly just making sure it keeps the oil where it's supposed to be.
 

huggyb1972

Petty Officer 1st Class
Joined
Apr 1, 2013
Messages
237
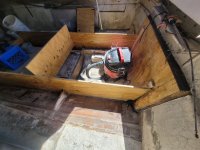
Took the old bilge stringers & motor mounts out last night they were in terrible shape. I'm gonna make the new ones a tad larger to spread the weight out a bit more.
 

Attachments

  • 20220418_195131.jpg
    20220418_195131.jpg
    1.7 MB · Views: 17
  • 20220418_195131.jpg
    20220418_195131.jpg
    1.7 MB · Views: 16
  • 20220419_150923.jpg
    20220419_150923.jpg
    2 MB · Views: 16
  • 20220419_114133.jpg
    20220419_114133.jpg
    2.8 MB · Views: 16
  • 20220419_114126.jpg
    20220419_114126.jpg
    3.3 MB · Views: 16
  • 20220419_132057.jpg
    20220419_132057.jpg
    1.7 MB · Views: 16
  • 20220419_133847.jpg
    20220419_133847.jpg
    4.3 MB · Views: 18

huggyb1972

Petty Officer 1st Class
Joined
Apr 1, 2013
Messages
237
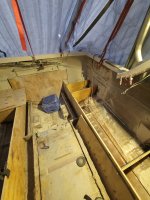
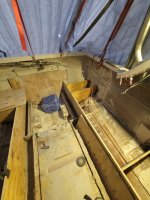
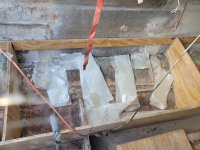
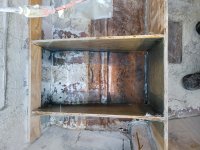
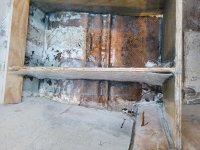
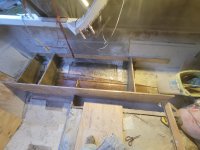
Oh my aching back! One thing about cutting almost all the mat and cheese cloth you need is when you are laying the resin to it you don't have to stop. Now to do the starboard side. The large open area will be for a fish box, the rear most will be left open for pumps and access to the bilge. The medium sized opening will most likely end up with floatation foam. With any kind of luck this miserable bucket will be on her shake down run May 17th with a few days of time at the lake to make any adjustments or decisions then 2 weeks later it's going to the coast of SC for some leisure time.
 

Attachments

  • 20220419_205025.jpg
    20220419_205025.jpg
    1.8 MB · Views: 14
  • 20220419_190404.jpg
    20220419_190404.jpg
    4.9 MB · Views: 14
  • 20220419_190409.jpg
    20220419_190409.jpg
    3.8 MB · Views: 13
  • 20220419_190416.jpg
    20220419_190416.jpg
    4.2 MB · Views: 12
  • 20220419_190419.jpg
    20220419_190419.jpg
    3.6 MB · Views: 12
  • 20220419_202920.jpg
    20220419_202920.jpg
    3.4 MB · Views: 14
  • 20220419_205008.jpg
    20220419_205008.jpg
    1.6 MB · Views: 14

todhunter

Canoeist
Joined
Sep 15, 2020
Messages
1,311
Nice progress - ambitious timeline!
Next time (if there is a next time), lay glass on the faces of stringers & bulkheads on the workbench (aka, on the flat) - it's much easier than trying to glass vertical surfaces. If you do that, then all you've got to do is bed & tab once they are in the boat.
 

chevymaher

Commander
Joined
Mar 29, 2017
Messages
2,921
Nice progress - ambitious timeline!

Next time (if there is a next time), lay glass on the faces of stringers & bulkheads on the workbench (aka, on the flat) - it's much easier than trying to glass vertical surfaces. If you do that, then all you've got to do is bed & tab once they are in the boat.
Yes what he said. I did it that way much much easier.
 

huggyb1972

Petty Officer 1st Class
Joined
Apr 1, 2013
Messages
237
Nice progress - ambitious timeline!

Next time (if there is a next time), lay glass on the faces of stringers & bulkheads on the workbench (aka, on the flat) - it's much easier than trying to glass vertical surfaces. If you do that, then all you've got to do is bed & tab once they are in the boat.
Yeah the timeliness is steep for sure.

I see what your saying the stringers and spars were bedded in PB so they were already placed in the boat.

I used a 4" nap roller to place the resin this time. And it did a pretty fair job even worrying the air out of the mat.

I can't wait for some temps above my age so the resin will cure without help from a heater. Lord this job is taking so much longer than it should because of the 33 deg nights 50 deg days we've been having.
 

huggyb1972

Petty Officer 1st Class
Joined
Apr 1, 2013
Messages
237
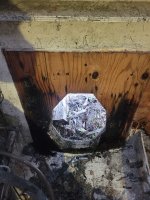
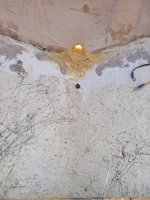
Well today wasn't too awesome I have to do that thing that pays the bills. But we have the 1st hole cut in the new transom and all sealed up.

Now I need to place the outdrive transom shield. I found some drawings I hope are accurate to work with and make my cuts from. And I can't go off the old 280 holes on the outside cause they ain't there no more. Fingers crossed I don't screw up oh the pressure.
 

Attachments

  • 20220420_155109.jpg
    20220420_155109.jpg
    2.1 MB · Views: 10
  • 20220420_155115.jpg
    20220420_155115.jpg
    1 MB · Views: 10
  • 20220420_164552.jpg
    20220420_164552.jpg
    2.2 MB · Views: 10

huggyb1972

Petty Officer 1st Class
Joined
Apr 1, 2013
Messages
237
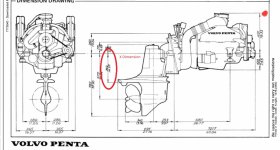
The drawings for the outdrive(s)
 

Attachments

  • Screenshot_20220420-220240_Google.jpg
    Screenshot_20220420-220240_Google.jpg
    289.1 KB · Views: 4
  • Screenshot_20220420-220331_Google.jpg
    Screenshot_20220420-220331_Google.jpg
    531.7 KB · Views: 4

huggyb1972

Petty Officer 1st Class
Joined
Apr 1, 2013
Messages
237
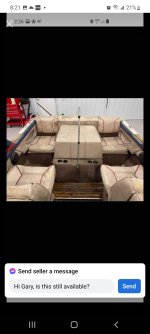
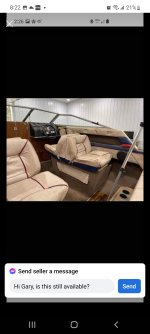
Ha Ha I came across my boats sister with the 4cyl volvo instead of the v8. It even has a similar trailer except for the extra axle on mine which I imagine is for the added weight of my v8. The guy was ready to give up cause he couldn't get it to run..
 

Attachments

  • Screenshot_20220421-082124_Facebook.jpg
    Screenshot_20220421-082124_Facebook.jpg
    816.2 KB · Views: 10
  • Screenshot_20220421-082137_Facebook.jpg
    Screenshot_20220421-082137_Facebook.jpg
    508.2 KB · Views: 10
  • Screenshot_20220421-082204_Facebook.jpg
    Screenshot_20220421-082204_Facebook.jpg
    502.6 KB · Views: 9
  • Screenshot_20220421-082149_Facebook.jpg
    Screenshot_20220421-082149_Facebook.jpg
    501.8 KB · Views: 10

huggyb1972

Petty Officer 1st Class
Joined
Apr 1, 2013
Messages
237
Placing the outdrive is the hard job for this week. I really only get one chance at this one. The boat that the 290 came out of had the cavitation plate about 1" above the bottom of the boat according to the drawings I posted earlier. The kicker is I'm not entirely sure where the 280 was located now because we glassed and gelcoated the holes up to gain a good sealing surface. According to the previous owner this boat would touch 50mph. In a little baffled how the 290 was so high and didn't blow out in turns at higher speeds. The Bayliner has a much steaper V at the transom than the Imperial had. I'm trying to figure out how that will affect the placement of the drive height.
 

Attachments

  • 20220421_171627.jpg
    20220421_171627.jpg
    2.1 MB · Views: 6
  • 20220421_171708.jpg
    20220421_171708.jpg
    1.7 MB · Views: 6
  • 20220421_170920.jpg
    20220421_170920.jpg
    1.6 MB · Views: 6
  • 20220421_171249.jpg
    20220421_171249.jpg
    4.8 MB · Views: 6

alldodge

Moderator
Staff member
Joined
Mar 8, 2009
Messages
42,064
The height of the hole is not an issue, its where the ventilation plate is on the drive when installed.
Don't know if you can but I try to find a jig to use/borrow to cut the hole
 

huggyb1972

Petty Officer 1st Class
Joined
Apr 1, 2013
Messages
237
The height of the hole is not an issue, its where the ventilation plate is on the drive when installed.
Don't know if you can but I try to find a jig to use/borrow to cut the hole
The cavitation plate height in reference to the bottom of the boat is what I'm trying to get right since there's not much going back once the hole is cut. Though there is a 1" spacer that can be added to lower it should I be to high. I guess Mercruiser's guide can help with the figuring process a little. I really wish I would've made those measurements before.
 

Scott Danforth

Grumpy Vintage Moderator still playing with boats
Staff member
Joined
Jul 23, 2011
Messages
49,574
you already have the hole so your X-dimension is already set. at most you can only adjust the bolts up/down about 1/4"
 

huggyb1972

Petty Officer 1st Class
Joined
Apr 1, 2013
Messages
237
Cut a hole and hope for the best.
you already have the hole so your X-dimension is already set. at most you can only adjust the bolts up/down about 1/4"
Currently I don't have a hole other than what was left open from the 280 and there's plenty of room to go up or down here at this point. Within reasonable distance up or down.

I've had to adjust outboards to get the best run position, but that's a whole other subject since they are easily moved up or down in most cases. I'm still learning here and just would like to make it pretty to close to correct right from the start.
 

huggyb1972

Petty Officer 1st Class
Joined
Apr 1, 2013
Messages
237
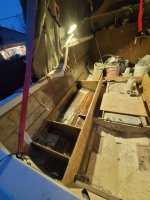
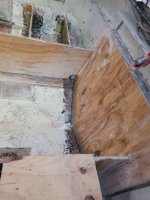
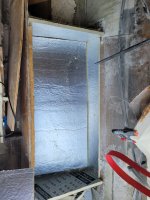
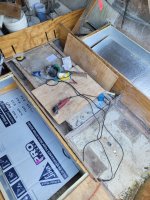
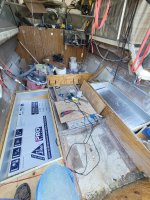
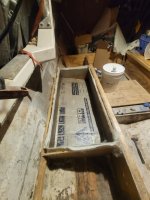
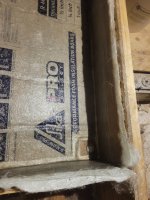
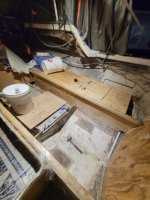
Moving along today the 1st fish box is in and glassed. Got the first look at what the deck is going to be like under to top. I think I have the drive height figured out we'll work on cutting the hole next. I really should've went outboard and bracket but hopefully the volvo works good and makes our time on the water good.
 

Attachments

  • 20220423_093757.jpg
    20220423_093757.jpg
    2.3 MB · Views: 13
  • 20220423_101054.jpg
    20220423_101054.jpg
    2.2 MB · Views: 12
  • 20220423_101626.jpg
    20220423_101626.jpg
    2.1 MB · Views: 12
  • 20220424_001523.jpg
    20220424_001523.jpg
    1.5 MB · Views: 12
  • 20220424_001531.jpg
    20220424_001531.jpg
    2.6 MB · Views: 12
  • 20220424_001544.jpg
    20220424_001544.jpg
    1.5 MB · Views: 12
Top