87 SS180 First Rebuild

cj8mule

Senior Chief Petty Officer
Joined
Apr 7, 2012
Messages
660
Re: 87 SS180 First Rebuild

You did good getting that transom out without it becoming mulch.
 

astor

2018's Starmada Splash Of The Year.
Joined
Jul 31, 2011
Messages
425
Re: 87 SS180 First Rebuild

I wasn't that lucky on the floor though. The transom is actually 3 separate pieces, and the lower part which was rotted did come out in two pieces but I just fitted it back together to trace it on the new plywood.

I got the boat cleaned up a bit tonight, wire wheeled the glued residue. But I think I may have to use the stripper. Took forever to clean out the ribs, they were packed full of dirt and rotted wood.

Gotta spend some money now. So far I'm only about $170 into the rebuild with some bolts and castors for the outboard stand and the plywood. hoping I can do it for less than a thousand.
 

FishNmemories

Petty Officer 1st Class
Joined
Apr 24, 2012
Messages
272
Re: 87 SS180 First Rebuild

You have been making good progress, Astro. The alum tank looks good I am hoping to put an in-floor tank for long trips in our 16' SS, packing a couple of portable gas tanks really cuts into deck space.
 

DirtyHarry83

Petty Officer 1st Class
Joined
Jun 5, 2012
Messages
305
Re: 87 SS180 First Rebuild

Did you decide if you planned on using any epoxy to seal the wood?

Looks good any more pictures?
 

astor

2018's Starmada Splash Of The Year.
Joined
Jul 31, 2011
Messages
425
Re: 87 SS180 First Rebuild

DirtyHarry,
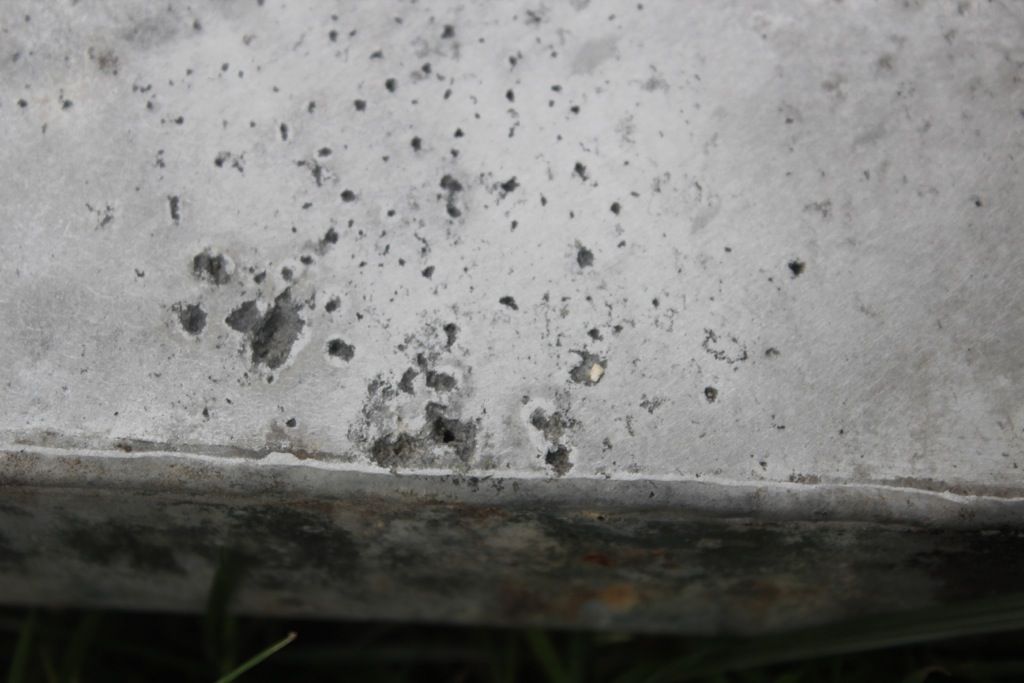
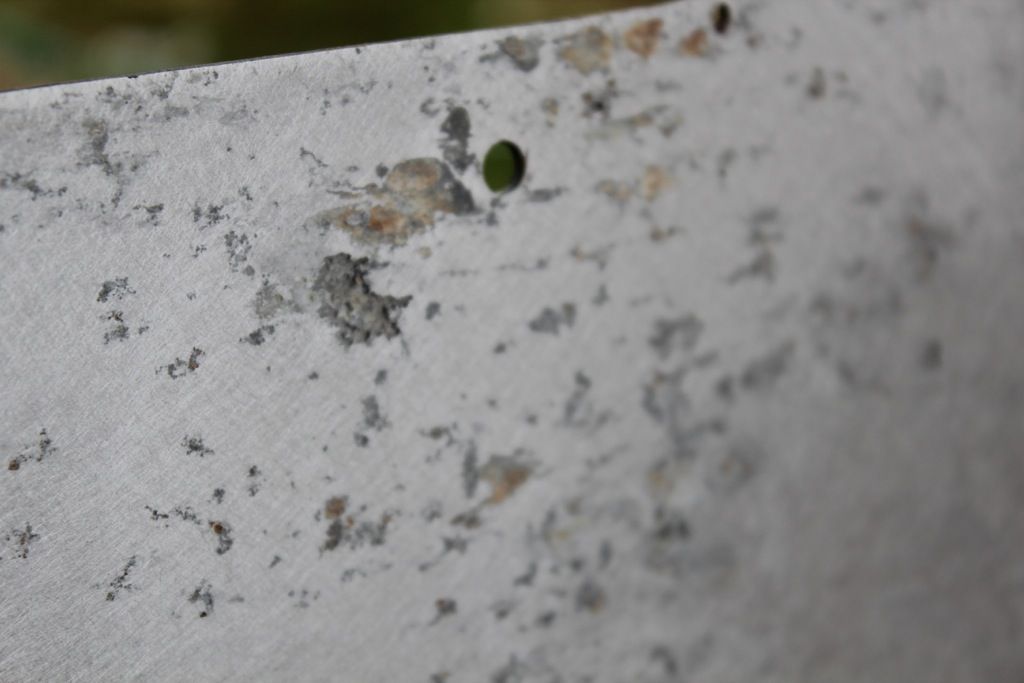
Didn't get too much done the past week, was working a lot of hours. Ran into some pitting corrosion issues on the transom and the gas tank. The transom has minor pitting corrosion around every hole, with a few (4-5 pits) being about the size of a dime and being nearly 3/4 through the transom. Also found two pin holes in pits on the fuel tank. The pits are where the fill line layed on the tank and where the fuel line touched the tank.

I got some tank sealer from a buddy building an airplane, he ordered it too early for his project and it has a shelf life. its called flamemaster PSI. I will give it a try and see how it works. On the transom I still have to grind out the pits and hopefully just fill them with JB Weld. Don't know if I should Alodine the pits or not.

I will post pics tomorow, but I'm still looking at an empty hull, I was stripping carpet glue off the gunwhales today, what a messy job.

I got my coat-it and Epoxy for sealing the plywood last friday.

Ben
 

astor

2018's Starmada Splash Of The Year.
Joined
Jul 31, 2011
Messages
425
Re: 87 SS180 First Rebuild

Pit in the aluminum fuel tank, the dark spot in the lower center pit is a hole in the tank.
file-6.jpg


Pitting in the transom
file-8.jpg
 

DirtyHarry83

Petty Officer 1st Class
Joined
Jun 5, 2012
Messages
305
Re: 87 SS180 First Rebuild

JB weld will fix that pitting on the transom. Do a good sanding, add some self etching primer and good paint. You will have a nice smooth transom in no time.

That pitting on the tank stinks. It's a shame you had that happen. Hope that product your friend has works out. If you're still worried possible a mix of JB Weld, and sandwiching a piece of aluminum skin on the outside? I may be over doing it with a thin piece of aluminum exterior. The tank is definitely able to be saved. If you know someone that can tig weld aluminum they can patch those pits up no problem.

Like yourself. I am so itching to get back to work on my boat. I'm up to carpeting and mounting my consoles but this damn rain is messing me up.
 

astor

2018's Starmada Splash Of The Year.
Joined
Jul 31, 2011
Messages
425
Re: 87 SS180 First Rebuild

Hey Guys! Life got in the way and my SS project sat for nearly a year, with little progress. But I've finally been able to get back on it.

I've got the fuel tank repaired and mounted, new fill and vent lines arrived this week,
transom is fitted and drilled just needs epoxy sealed.
The floor is cutout and fit, I need to cut the access holes for the fuel tank and the ski locker and epoxy it too.

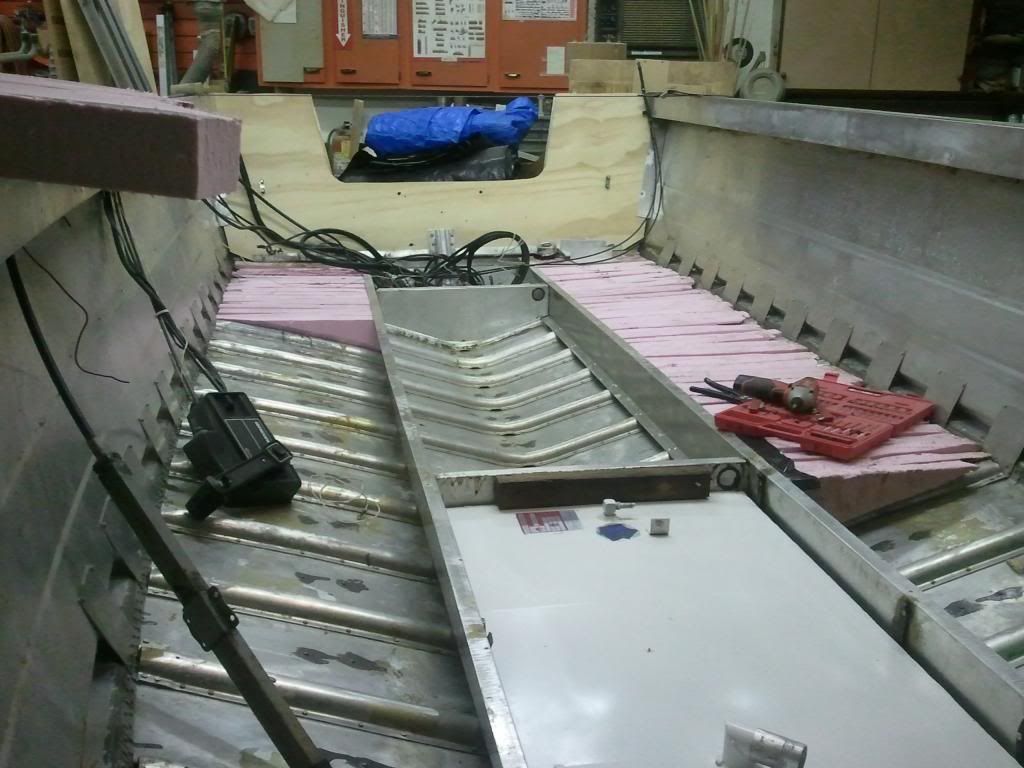
I've started cutting the pink foam, and while I think this will give me the most floatation possible, I wouldn't recommend it. It takes way too long to cut each small piece and fit it. I tried dffernt methods to cut the foam without great success. Tried a long razor knife, and also an electric hot knife- that didn't work great, so now I'm just sawing it with a thin flexible flushcut hand saw.

A couple more evenings and I should have all the foam fitted in, then they all get glued together. I hope to have the floor in and ready to put nautolex down next weekend.
 

classiccat

"Captain" + Starmada Splash Of The Year 2020
Joined
Dec 20, 2010
Messages
3,412
Re: 87 SS180 First Rebuild

Looking really good!

Wow that's ALOT of cutting but man, you're utilizing every cubic inch of available space for floatation.

Before you get too far, have you verified that you'll be able to secure the deck...more specifically...the height of foam at the rib-ends? Having to do that once is bad enough :lol:
 

astor

2018's Starmada Splash Of The Year.
Joined
Jul 31, 2011
Messages
425
Re: 87 SS180 First Rebuild

Before you get too far, have you verified that you'll be able to secure the deck...more specifically...the height of foam at the rib-ends? Having to do that once is bad enough :lol:

Not just for floatation, since I am using 1/2" plywood, I wanted the foam to sport the floor. Also wanted the foam to add some stiffness to the hull , if that makes sense.

Once its all glued together, I will use a scrap of plywood about 12" wide to check the heights, I can easily sand with a belt sander connected to my shop vac to level it off, plan on gluing the floor to the foam.

Its tedious cutting all the pieces, but I figure about 4 evenings of work.
 
Last edited:

blazin_jason

Seaman Apprentice
Joined
Dec 9, 2012
Messages
47
Re: 87 SS180 First Rebuild

Looks good. I'd say it will be worth the peace of mind later.
 

astor

2018's Starmada Splash Of The Year.
Joined
Jul 31, 2011
Messages
425
Re: 87 SS180 First Rebuild

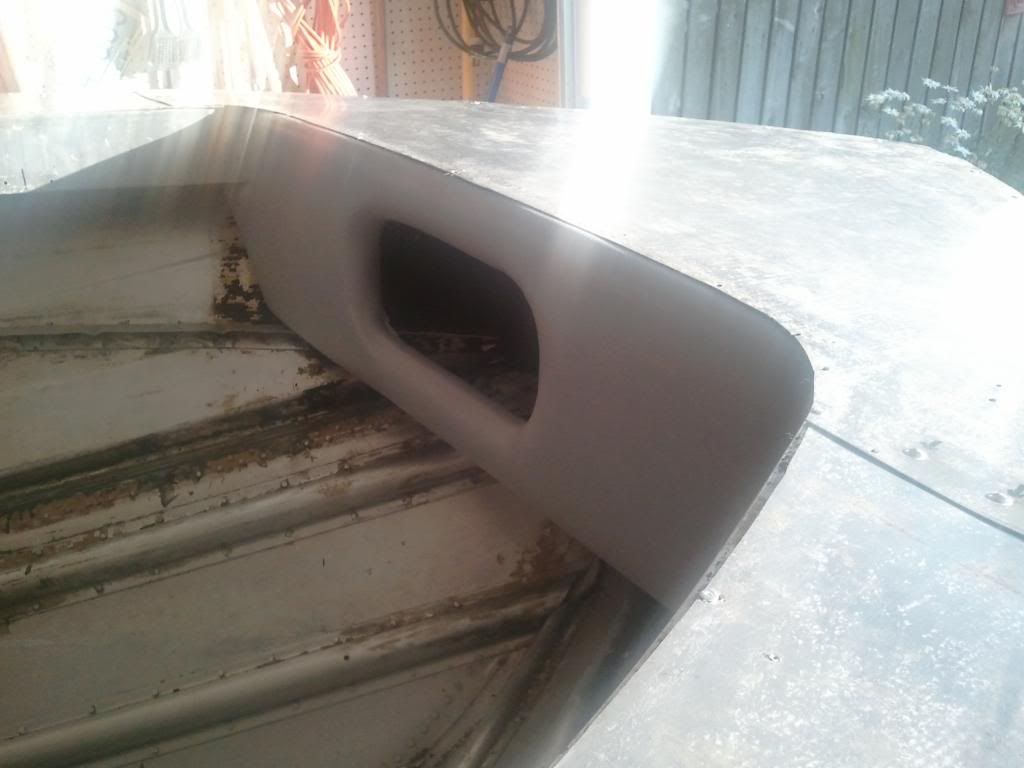
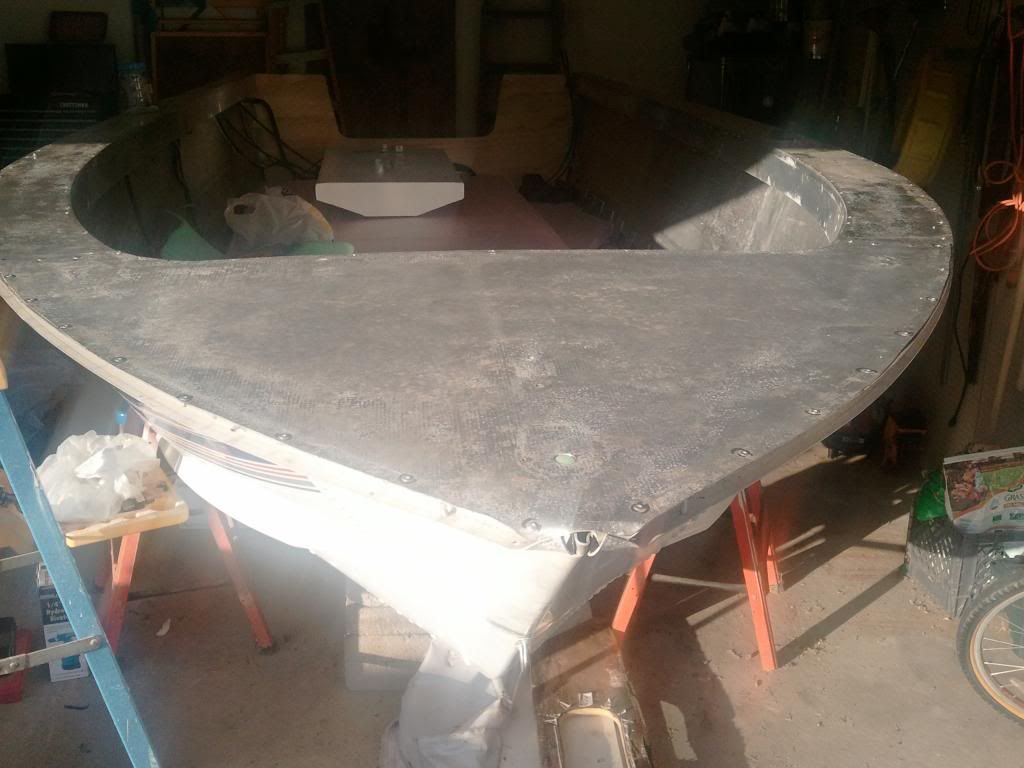
Didn't get the pics of the bow cover off, but I had to replace the center wood support that was rotted and cracked, and reupholstered new front piece with the cubby hole in it, here are the pictures afterwards. Got to put my first solid rivets in, 2 on each side. each wood piece was coated with a couple coats of spar varnish prior to install.

 
Last edited:

astor

2018's Starmada Splash Of The Year.
Joined
Jul 31, 2011
Messages
425
Re: 87 SS180 First Rebuild

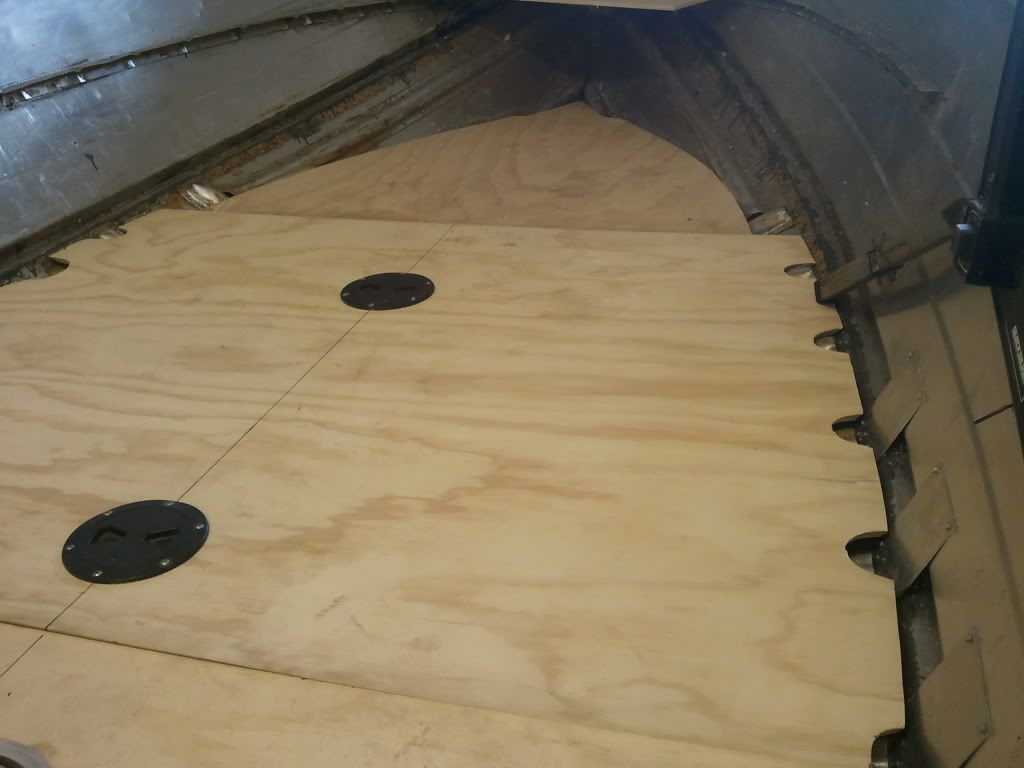
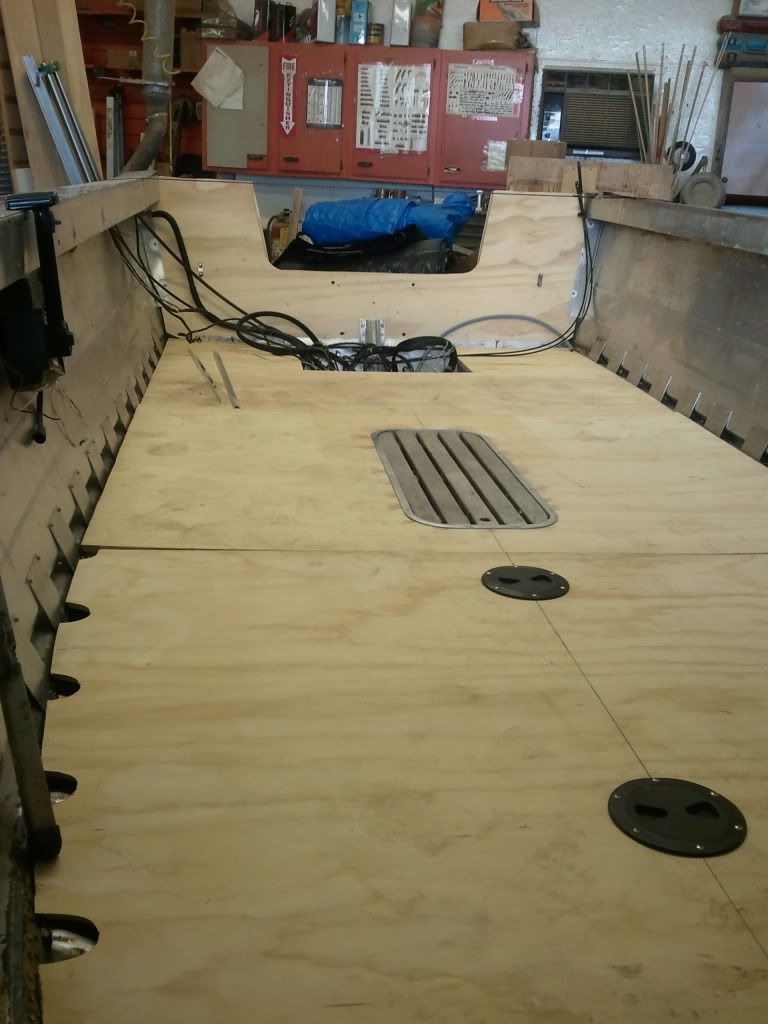
Couple pics of the deck being fitted.


Last edited:

classiccat

"Captain" + Starmada Splash Of The Year 2020
Joined
Dec 20, 2010
Messages
3,412
Re: 87 SS180 First Rebuild

Great progress astor!

standing on the new deck is a huge milestone...almost like standing on a mountain top looking down into the valley!
 

astor

2018's Starmada Splash Of The Year.
Joined
Jul 31, 2011
Messages
425
Re: 87 SS180 First Rebuild

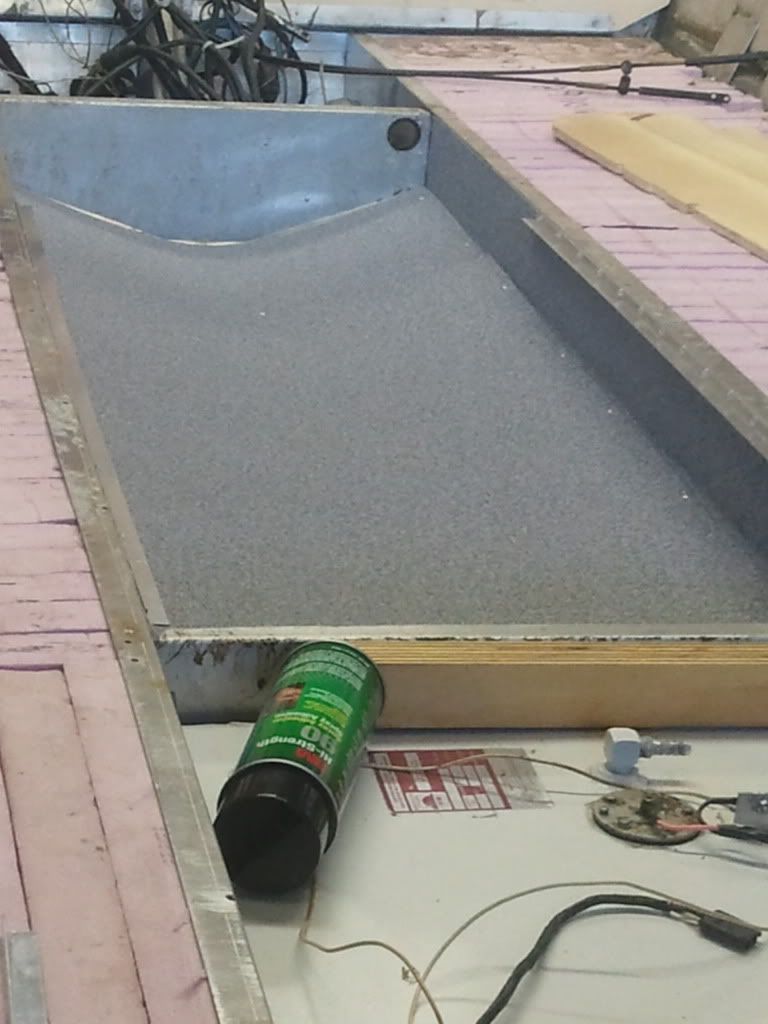
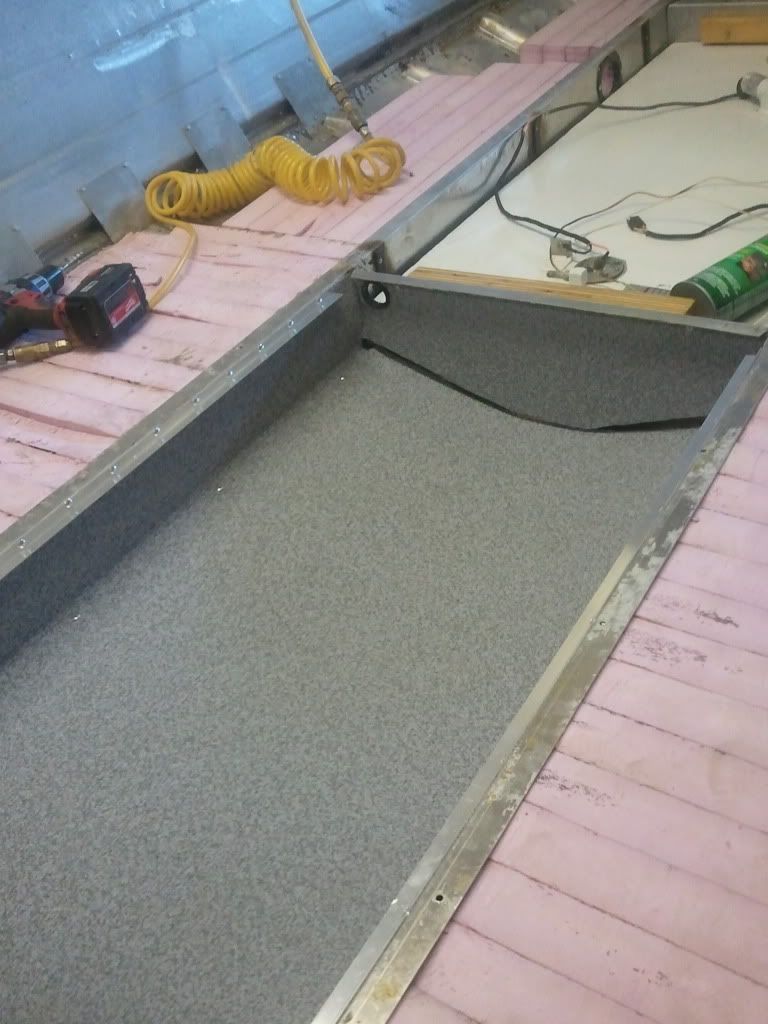
Lined the bottom of the ski locker with aluminum sheet covered with storm grey Nautolex.


djpeters

Lieutenant Commander
Joined
Jun 9, 2010
Messages
1,824
Re: 87 SS180 First Rebuild

You're coming along great. I really like the cubby hole idea up front, I wish I had though of that. I also like how your doing the foam, prolly one of the better ways its been done IMO. It's all looking top notch!
 

barato2

Commander
Joined
Dec 7, 2010
Messages
2,956
Re: 87 SS180 First Rebuild

kickin tush you are there. your boat will literally be better than when new.
 

astor

2018's Starmada Splash Of The Year.
Joined
Jul 31, 2011
Messages
425
Re: 87 SS180 First Rebuild

Thanks guys.

Putin epoxy on the transom and deck tonight. Any concerns with using 3 coats without glass? Could it get too brittle and crack, allowing water to get to the plywood?
 
Last edited:

barato2

Commander
Joined
Dec 7, 2010
Messages
2,956
Re: 87 SS180 First Rebuild

thin down your 1st coat a lot with xylene so it actually soaks into the outer few millimeters of the wood fibers. then no worries even if "shell" does crack. biggest issue with 3 coats is going to be build.....it may get too thick for your floor covering to lay flat.
 
Top