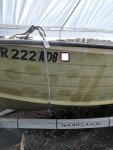
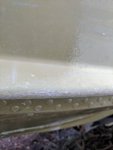
HUGE PROGRESS TODAY!
My dad came over! He's a mechanical engineer so talking about the structural parts of the boat and how the engine works was awesome. Never had an engine torn apart to this degree before!
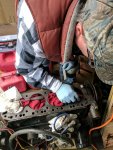
Helping scrape the head gasket material off. Finally got the cylinders covered and oiled well with the rags for protection. Found out using a razor blade is much easier than a screwdriver. Also, he began de-greasing the engine and got the pulleys pretty nice!
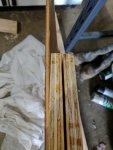
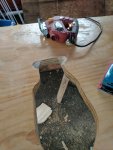
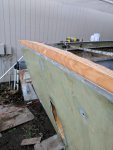
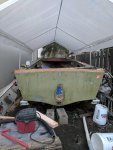
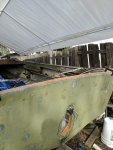
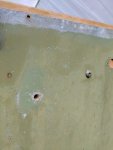
And here we go with the mishaps.... Our transom did not stick together on the bottom port side. We failed to sink a screw far enough on the edge + use C clamps to adhere the edges together. Guys, speaking from experience, go to harbor freight, but 15 $2 c clamps, and use them!!!!!!! Also, sink a couple screws into the interior for good measure!
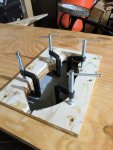
We reapplied epoxy, and put clamps on the edges to bind it together. It's now flush!
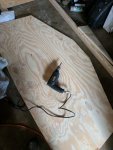
Backed the screws out after getting the edges flush, and after we epoxy the transom + peanut butter (405 + epoxy) we'll be good to go!
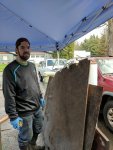
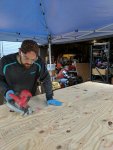
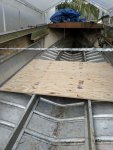
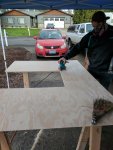
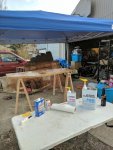
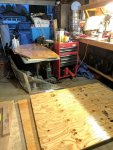
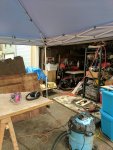
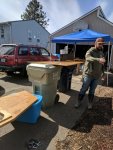
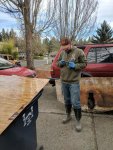
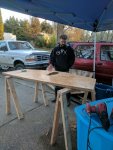
Had the rotted old deck to use as a template (thankfully). We took a lot of care while removing it not to make any cracks. Having that 10x10' tent allowed us to cut the plywood even when it was raining!
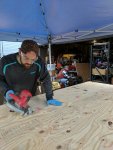
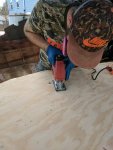
Sawing at a 45[SUP]o[/SUP] angle to get maximum decking on the boat.
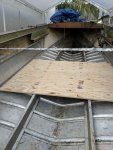
Lot of hm'ing and hawing wondering if the deck was the right cut. We ultimately decided that yeah we were ok. Word of advice, start at the piece closest to the stern and then move forward. We wasted some time trying to figure out if the piece we cut was in the right place lol.
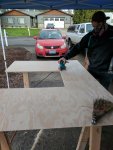
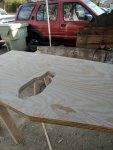
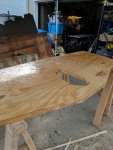
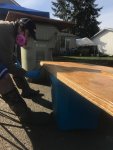
Second piece cut. We used the respirators at this point forward after realizing we didn't know what was in the glues that bound the pieces of plywood together. My nose was running the day I wasn't wearing a respirator. They're $17 on amazon for the mask + filters. Just buy 'em.
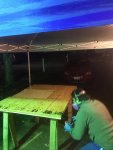
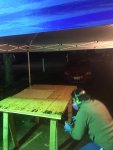
Me throwing down epoxy on the 8 edges + bottom piece. When you're selecting your plywood, look for minimal chips in the plywood. It'll save you at least an hour trying to fill in the cracks with epoxy.
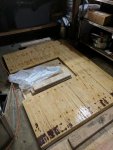
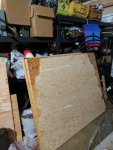
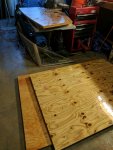
Piece drying after a thick coat of epoxy (this is the sternmost decking). We put 2 2x4s under it. the second piece of decking also got a coat of epoxy and you can see the stacked 2x4s we put that piece on top of. Basically made a stack of plywood for curing the epoxy!


