'76 Holiday i/o 18' Fishing Rebuild (pic heavy!)

italianstal27

Chief Petty Officer
Joined
Feb 18, 2017
Messages
403
17193786_942995507933_1405032112_o.jpg
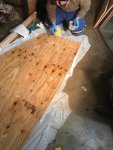
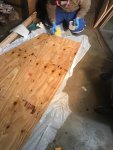
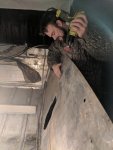
Me laying down some epoxy in the garage on the second piece. My allergies and asthma are pretty bad so i threw the mask on because the airflow was less in the garage than outside. For those wondering:

https://www.amazon.com/gp/product/B007JZ1NIM/ref=oh_aui_detailpage_o00_s00?ie=UTF8&psc=1
https://www.amazon.com/gp/product/B00328IAO0/ref=oh_aui_detailpage_o00_s00?ie=UTF8&psc=1

Those two together should take care of everything related to epoxy. The organic relief will take care of any residual "no VOCs" that they claim are in the epoxy (as well as other off gases), and the particulate will take care of sanding! Sanding epoxy is bad bad bad stuff. From my environmental engineering friend who works in environmental health and safety "Tis true. BisA is in most epoxy resins and a LOT of people are allergic or get contact dermatitis and then because of sensitization, they become sensitive to other materials too. Bad news if you work in a factory."

Anyway $17 is a cheap investment in this project especially with how much we'll be throwing into making this boat work! :)

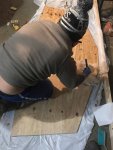
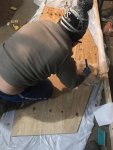
Bonus pic:
17193798_942995433083_12498622_o.jpg
Go boilers!
 

Attachments

  • 17193786_942995507933_1405032112_o.jpg
    17193786_942995507933_1405032112_o.jpg
    207.7 KB · Views: 1
  • 17193798_942995433083_12498622_o.jpg
    17193798_942995433083_12498622_o.jpg
    192.4 KB · Views: 0

Watermann

Starmada Splash of the Year 2014
Joined
Jan 12, 2013
Messages
13,798
Nice forward progress, looking good so far. :thumb:

On the transom, the top of it has to be cut at a 15 degree angle so the cap can go back in place. May want to do that and cut the keyhole and glue the horse collar on before sealing with epoxy otherwise you'll need to seal it again.
 

italianstal27

Chief Petty Officer
Joined
Feb 18, 2017
Messages
403
Ah yes! Reading in another thread we saw the distance between the outside of the aluminum hull, and adding the third piece of plywood over the keyhole, should get us to 2-2.5". So we may need to acquire a 1/2" piece!
 

italianstal27

Chief Petty Officer
Joined
Feb 18, 2017
Messages
403
Cleaned the transom assembly today. It was beyond covered in grease. Took an entire roll of paper towels and a lot of degreaser.

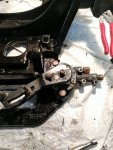
The weird piston on the top, we researched, is actually the linear trim hydraulic sender & piston. It's an ungodly piece of equipment and the ends are in bad shape. Anyone seen a conversion to a resistance based rotatory sender? Pics tomorrow. Seems that for every hour working there's 2 hours googling.

The boatinfo.no site is an extremely valuable tool!
 

sprintst

Commander
Joined
Apr 18, 2009
Messages
2,066
Man you guys aren't chicken and are plowing on ahead. I dragged my butt much more and over thought everything which led to many summers without a boat. Yours will be around for a long time to come.
 

Watermann

Starmada Splash of the Year 2014
Joined
Jan 12, 2013
Messages
13,798
Cleaned the transom assembly today. It was beyond covered in grease. Took an entire roll of paper towels and a lot of degreaser.


Paper towels? :lol:

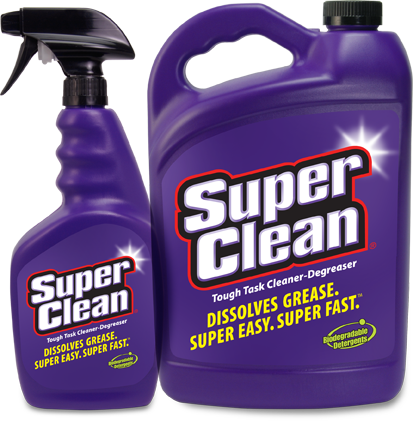
Superclean and a wire brush finished off with a pressure wash.

superclean_cleaner_degreaser_group.png
 

italianstal27

Chief Petty Officer
Joined
Feb 18, 2017
Messages
403
How necessary is a functional Trim sensor? We have the old linear type
$_35.JPG


The hose clamps were disconnected and are fairly full of grease. Not even sure if the electrical part of it is functional. Googling led me to see that most people are using:
mzuVhV9Nkpsrs5LEbjYD_ow.jpg


Does anyone have any advice on what we should use for what I'm assuming is a 1976 transom assembly?
 

jbcurt00

Moderator
Staff member
Joined
Oct 25, 2011
Messages
25,063
Best to start a motor topic over in the motor forums. Lots of techs and former techs hanging out there. Not likely to see your posts here.

If you do start a motor topic, cross post links tbere and here so its easier to find
 

italianstal27

Chief Petty Officer
Joined
Feb 18, 2017
Messages
403
Ah best way to cross link posts is to just tie the URLs together?

There's not a way to imbed posts from another thread right?
 

italianstal27

Chief Petty Officer
Joined
Feb 18, 2017
Messages
403
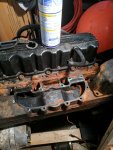
Continuing to make progress! Today it was pouring rain, so it was "let's work on the engine day and see what happens?"
IMG_20170308_191930.jpg
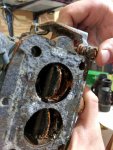
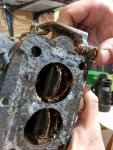
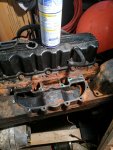
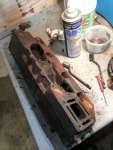
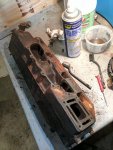
First, we pulled the cover that the carb connects to. We dubbed it, "the carb mix distributer thingy that the valve sucks down"

Underneath, we found some rust on the right side. At this point, we're mildly concerned, but not panicking.
IMG_20170308_203248.jpg
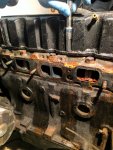
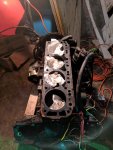
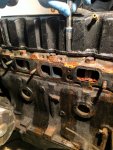
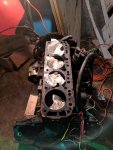
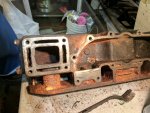
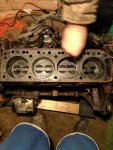
After pulling the exhaust manifold, lots of concern. Tons of rust on pistons 3 & 4 water out :(. At this point, we're "very concerned".

17193709_943952974163_203853228_o.jpg
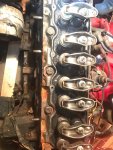
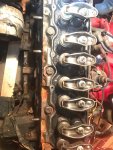
Valve cover off, some light rust on the springs of 3 & 4. Discussion now turns to buying a new engine. We've abandoned hope.

IMG_20170308_212123.jpg
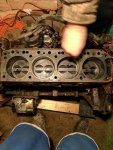
Enormous panic sets in as we pull the valve header off, aaaaaaaaaand water comes pouring out everywhere in the garage. We realize we forgot to drain the antifreeze from the block before we started working on the engine. OH NO. Push the engine outside (we're doing our engine fix on a dolly). and tip it over to drain the antifreeze out. tip it back on and quickly stuff paper towels into the cylinders to dry them.

IMG_20170308_212411.jpg
After clearing the water out and re-oiling, WE'RE GOOD BABY! NO RUST! WOO! All 4 cylinders had antifreeze sitting in them, so we're quite content that the valve seals are solid!

All that stress, no big deal!
IMG_20170308_212104.jpg
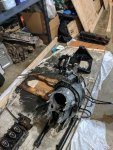
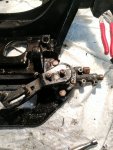
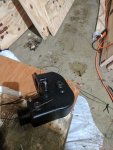
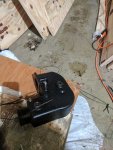
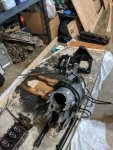
Here you can see our valve header, gimbel housing, transom assembly, and old transom sitting on our new epoxied transom.

Look how fresh that transom assembly is! All cleaned up!
IMG_20170308_171228.jpg
Pics of the transom assembly + hydraulic connection point for the linear hydraulic sender.

Until tomorrow's adventure!
-John
 

Attachments

  • IMG_20170308_191930.jpg
    IMG_20170308_191930.jpg
    275 KB · Views: 1
  • IMG_20170308_203248.jpg
    IMG_20170308_203248.jpg
    293.2 KB · Views: 1
  • 17193709_943952974163_203853228_o.jpg
    17193709_943952974163_203853228_o.jpg
    294.2 KB · Views: 1
  • IMG_20170308_212123.jpg
    IMG_20170308_212123.jpg
    230.2 KB · Views: 1
  • IMG_20170308_212411.jpg
    IMG_20170308_212411.jpg
    283.7 KB · Views: 0
  • IMG_20170308_212104.jpg
    IMG_20170308_212104.jpg
    275.7 KB · Views: 0
  • IMG_20170308_171228.jpg
    IMG_20170308_171228.jpg
    218.7 KB · Views: 1

italianstal27

Chief Petty Officer
Joined
Feb 18, 2017
Messages
403
Work today sucked. But getting to come home to restoration is always fun.

IMG_20170309_212310.jpg
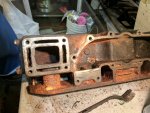
Cleaned up the exhaust elbow with WD40. Unfortunately, I think the WD is only masking the rust and not actually removing it. We're gonna grab some of that Purple stuff, pressure wash, and then go at the rusted areas with a drill sander before we coat it in rustoleum.

IMG_20170309_201435.jpg
Got all the gaskets removed on the parts that come off as well. Still need to pull the gaskets still on the engine that are stuck on.

Minimal debris in the cooling areas so we're pretty stoked about that. They haven't rusted over. All that surface rust needs to be cleaned and then either passified or coated with paint on the exterior, so that's coming up.

We decided to pull the alternator, distributor cap, main cap, etc. off the engine. All the connection points are super corroded, and going with new materials just sounds like a good idea. Seems like alternators can be had for cheap!

IMG_20170309_201426.jpg
Another shot of the cleaning. Lots of vinegar for the bolts that came off (it's actually working super well!) and those harbor freight freebies always seem to come in handy!
IMG_20170309_210422.jpg
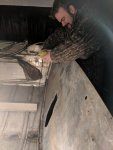
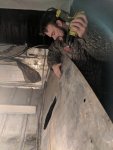
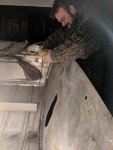
While I slaved away inside the garage, Wyatt was outside sanding the corroded areas of the boat with the drill + nylon 60 grit brush attachment. He then tried JB Weld in one area, and loctite epoxy in the other. The loctite seemed to do better than the putty, so we may stick with that. Tomorrow, we'll both tackle the transom metal with drills + epoxy and get 'er done. Remember kids, use acetone to clean it before you putty it!

IMG_20170309_210428.jpg

Pretending like it's hard work.
 

Attachments

  • IMG_20170309_212310.jpg
    IMG_20170309_212310.jpg
    245.2 KB · Views: 1
  • IMG_20170309_201435.jpg
    IMG_20170309_201435.jpg
    284.9 KB · Views: 1
  • IMG_20170309_201426.jpg
    IMG_20170309_201426.jpg
    262.7 KB · Views: 1
  • IMG_20170309_210422.jpg
    IMG_20170309_210422.jpg
    198 KB · Views: 1
  • IMG_20170309_210428.jpg
    IMG_20170309_210428.jpg
    197.8 KB · Views: 1

Watermann

Starmada Splash of the Year 2014
Joined
Jan 12, 2013
Messages
13,798
Nice progress guys. You should always wear PPE especially for the eyeballs.

WD40 makes rust remover, is that what your using I wondered about it? I've used the Rustoleum rust dissolver and it works pretty darn good.


56158158-f86c-4e16-9379-d4034f1f1d74_1.a42a7b59cbddb503072ceaa244fd3afa.jpeg
 

ezmobee

Supreme Mariner
Joined
Mar 26, 2007
Messages
23,767
Make sure any replacement starters, alternators, etc you buy are marine ones. Automotive ones aren't spark arrested and can make your boat go boom.
 

italianstal27

Chief Petty Officer
Joined
Feb 18, 2017
Messages
403
We're looking at how to paint the gunnels... does anyone have experience pulling the interior and exterior rub rails? Is it easy enough? The paint job would be much better if we could easily remove + replace the rub rail.
 

Watermann

Starmada Splash of the Year 2014
Joined
Jan 12, 2013
Messages
13,798
The rub rails are not that easy to remove at least on the outside, if all you're wanting to do is paint then it would take 15 minutes to tape them off and a couple hours to remove them and then reinstall them without marring the fresh paint would be the next obstacle. I rolled the tops of my gunnels, bow cover and transom cover so there wasn't a huge mess. I have removed the RR on both my SC boats mainly so I could replace the loose blind rivets that hold the gunnel on under the RR I also added more since they were only 5/32 blinds. SC used steel mandrels and they always rust out or at least on my boats they did and every last one of them (100's) needed replaced. Makes for a way more solid boat when your done. You have to use a pneumatic riveter though.
 
Top