'73 Crestliner Tinny Norseman? resto

jbcurt00

Moderator
Staff member
Joined
Oct 25, 2011
Messages
25,051
Re: '73 Crestliner Tinny Norseman? resto

8560a7d37d6919a0d1b5f4789275d8da.jpg


The way Pat was talking about ^^^ then remove the tape
 

TheSauce

Seaman Apprentice
Joined
Jul 30, 2013
Messages
41
Re: '73 Crestliner Tinny Norseman? resto

Gotcha. Thanks for clearing that up, I was a bit confused. Should go smoothly once i get my hands back on the boat!
 

Patfromny

Lieutenant Junior Grade
Joined
Dec 2, 2012
Messages
1,197
Re: '73 Crestliner Tinny Norseman? resto

Sorry for not being clear about that. I cover the whole roller, overlap the tape just a bit and then pull off the tape. If a lot of lint is present on the tape I will do it again. JB's technique works just as well too and saves a bunch of tape but I don't have the patience to do it that way. Wrap the roller completely, squeeze it around the whole roller, and pull off tape. That way I know I got every square inch and I think it takes less time. 6 of one, half dozen of the other really. Just make sure you use masking tape for my technique. Duct tape might pull the roller apart. Duct tape is the way to go if you use JB's way. Good luck
 

TheSauce

Seaman Apprentice
Joined
Jul 30, 2013
Messages
41
Re: '73 Crestliner Tinny Norseman? resto

The mechanic did me a solid - both motors are shot, but both lower units are good - his client offered me a 115 johnson with working TnT (thats tuned for racing) for both motors + $1000. might jump on it - gonna ask for lifetime maintenance at cost of parts too :rolleyes:

just thought I'd throw this up here, I dont know the 'rule of thumb' for motors, I know I've heard that the v4s I have are great motors, my mechanic told me I't would cost me about $3500 to repair - which seemed steep to me? no? and I dont know much about johnson other than that its more desirable as a whole than force lol
 
Last edited:

TheSauce

Seaman Apprentice
Joined
Jul 30, 2013
Messages
41
Re: '73 Crestliner Tinny Norseman? resto

Hey everyone! Sorry, busy doesnt begin to describe my last few weeks...

Landed a new job remodeling houses full time - cant complain because the hours are heavy; but at the end of the day the last thing I want to do is pull myself up into the beached whale for more abuse...

So I've manages no real progress on the boat - did some more grinding thats about it. Looking like I wont make my memorial day deadline unless by some miracle. I still need finish cleanup on the hull, do the transom, gluvit, wire it, floor it, foam it, find an engine, and then put finishing touches on it...

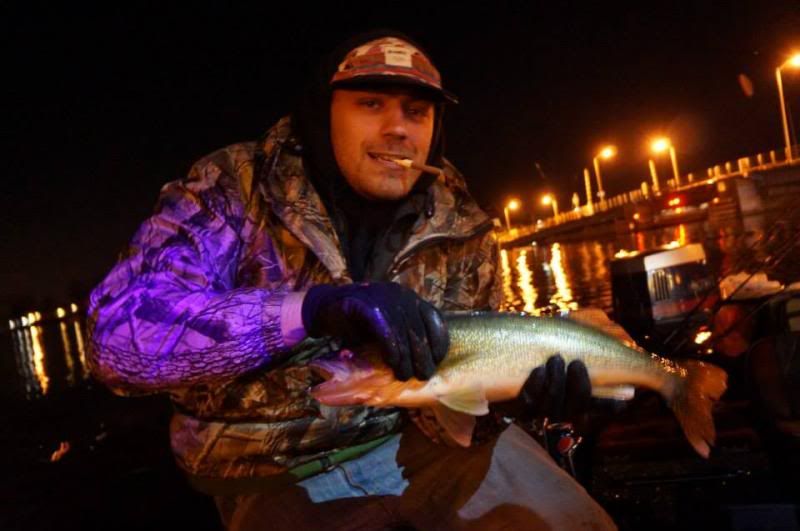
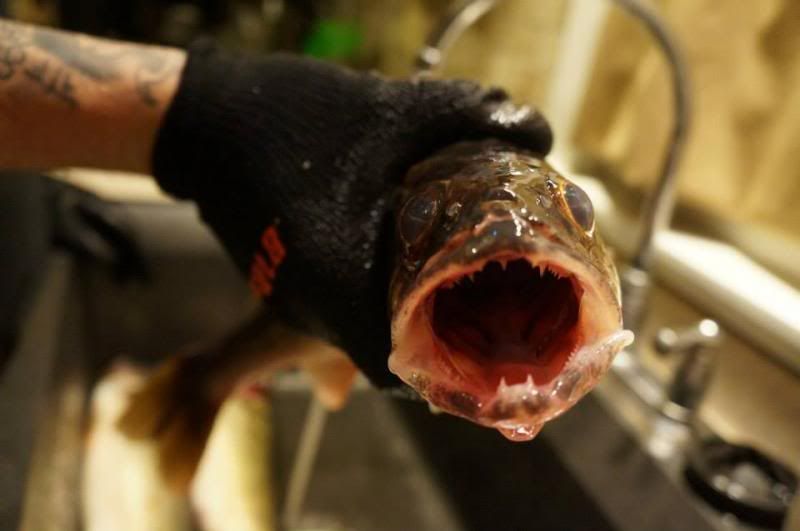
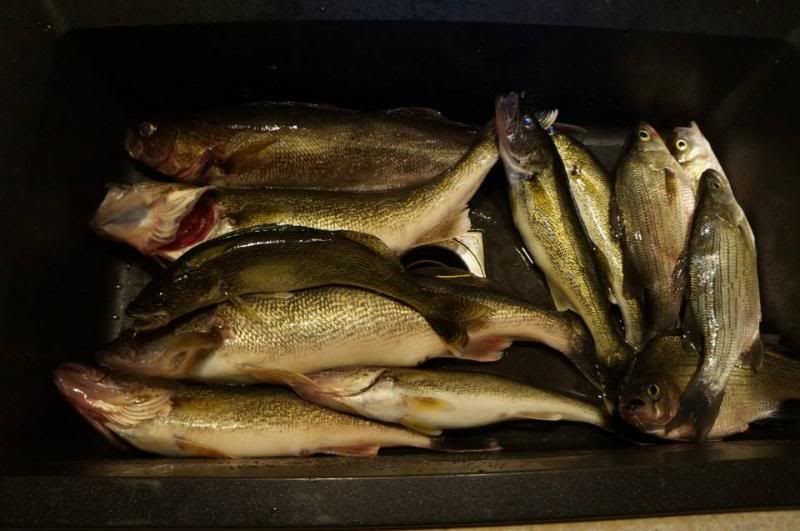
Managed to squeeze in some last minute jigggin' on the Wolf river for the Walleye run though...The guy I bought the CL from called me up and took us out on his bass boat for a late night haul.


First caught was a nice whitebass by my lovley
Biggest caught was 26" - caught by the PO
And my personally best for a walleye which was between 24 and 25/

Planning on doing the transom sometime this week or sunday if I cant catch a break...
Anyone within and hour of milwaukee trying to sell a good reliable outboard? (80-125hp)
 

TheSauce

Seaman Apprentice
Joined
Jul 30, 2013
Messages
41
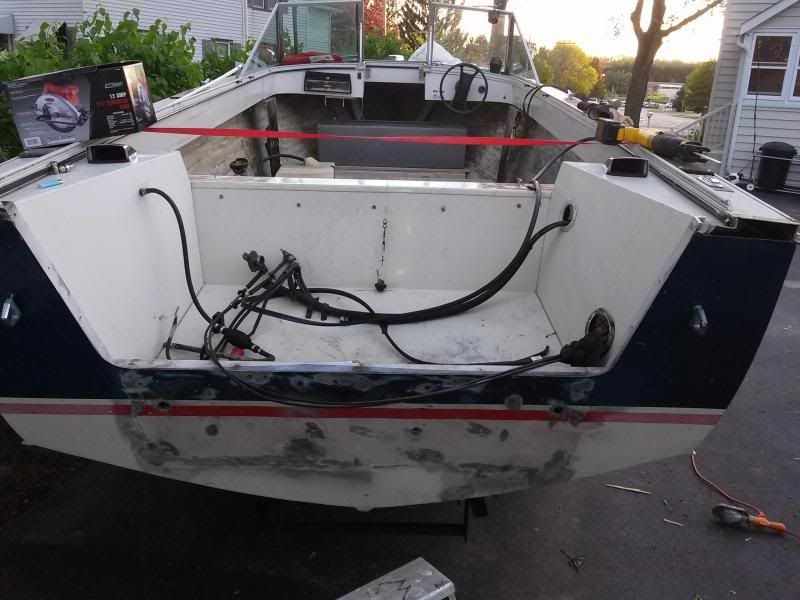
OK - finally had a chance to get some marine AB. I went thick on the floor - 3/4 and I also got the same for the transom. Ive got the motor removed and i used the wire wheel to knock off any remaining cauk, glue, sealant etc around the holes. I picked up some spar varnish and some rusto under the water line white paint to repaint the back transom.


Pictures probably say more than my writing


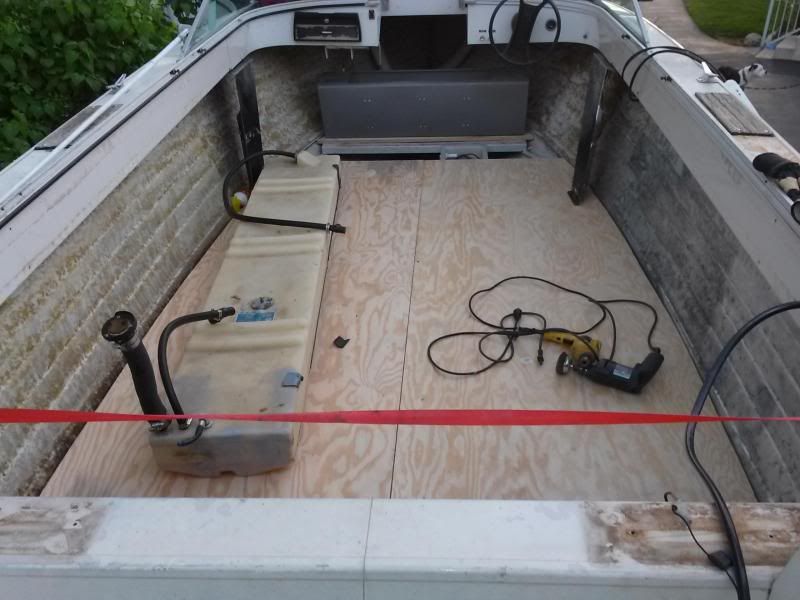
Test fitting the floor cuts -

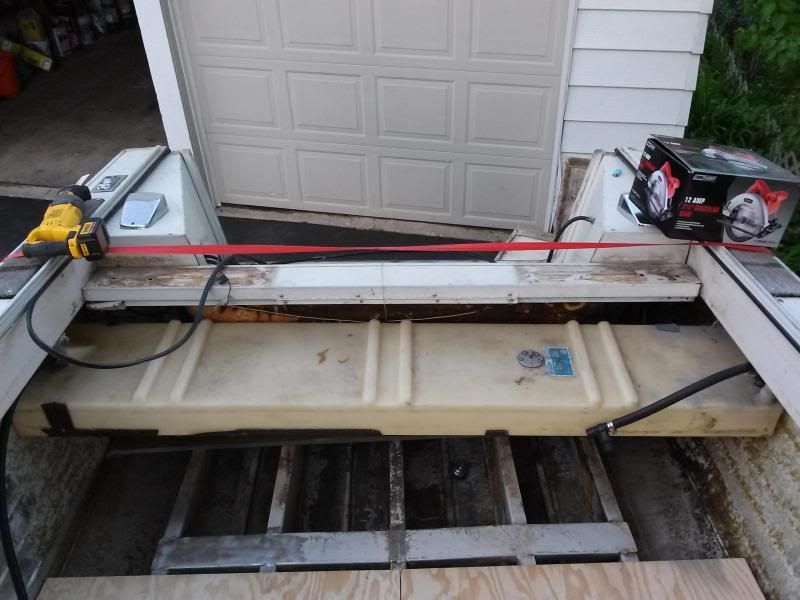
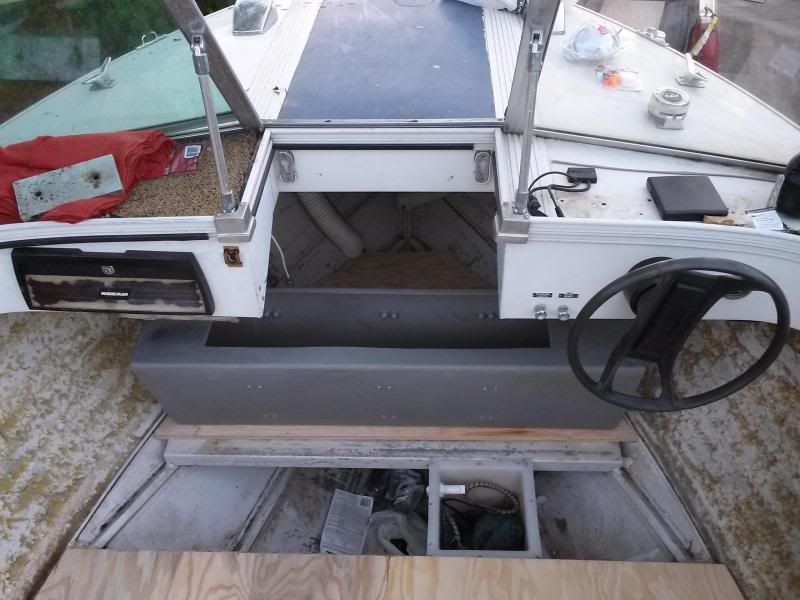
This is my idea for the gas tank - the only way it will fit accross the boat, and it wont fit under the floor - a raised spot in the floor along the center of the boat from back to front was my only other good idea , this way i think the weight will be distributed better?


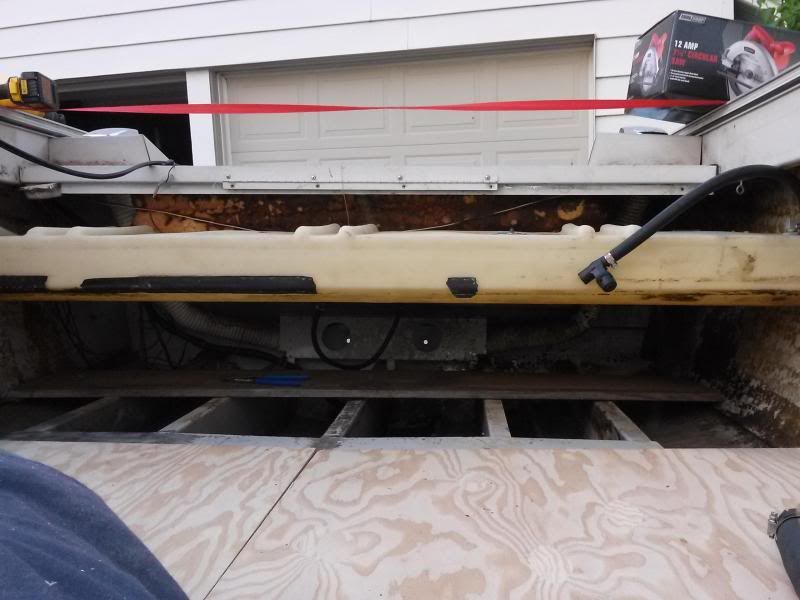
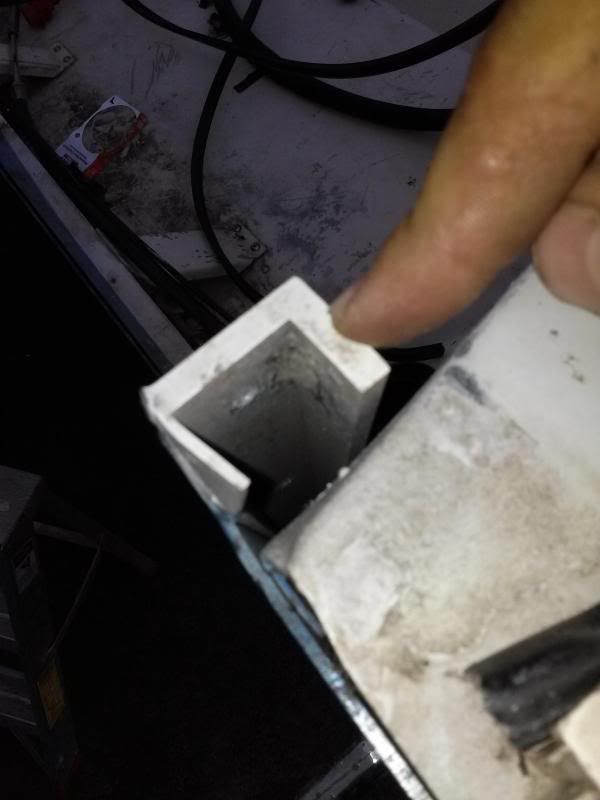
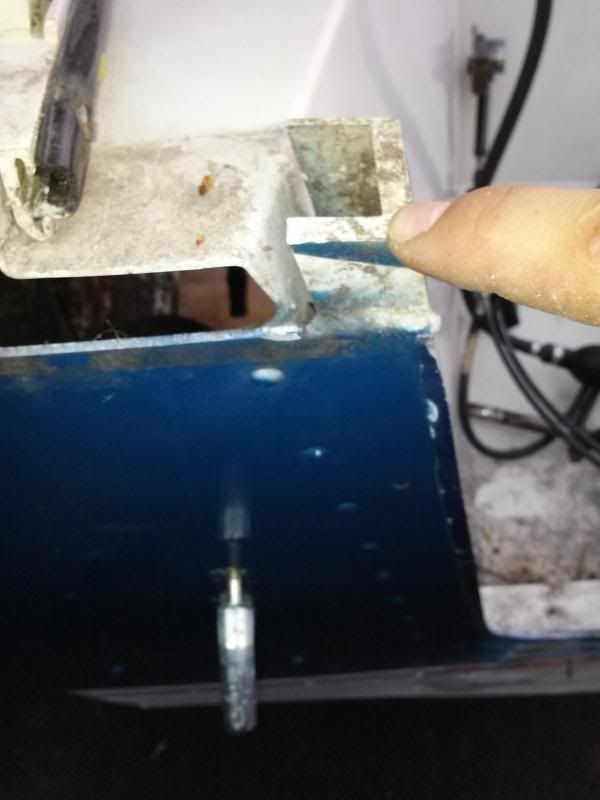
When Drilling out the remaining screws in the aluminum bent cap that covers the transom, i swear there was wood in the transom somewhere....but after removal I come to find out either factory, or someone else had put angle bent steel under the transom cap - it stretches the entire length of the splashwell...There is a bracket on the inside on the back of the inner transom I believe is being used with this as a support to brace what WAS the exterior transom that was there. Old wood was really thin, less than 3/4 maybe 5/8 but i digress - I have marine ab 3/4 to put in its place. Im very curious as to this transom setup. Ive scowered the internet watching videos and reading buildlogs etc etc, and havent seen anything similar to this. Stock or aftermarket - I dont know what I should really do.

Going to slap the 3/4 on the exterior(I managed to keep the old board in one piece so I have a spot on template) I was curious if I could extend it? Before my tow hooks were old being supported by 2x4 chunks and I want to fix that....Id like to have ply on the exterior there atleast - and then devise some small makeshift inner 'transom' mainly to span from tow hook to tow hook - but there is the odd bracket.
 

TheSauce

Seaman Apprentice
Joined
Jul 30, 2013
Messages
41
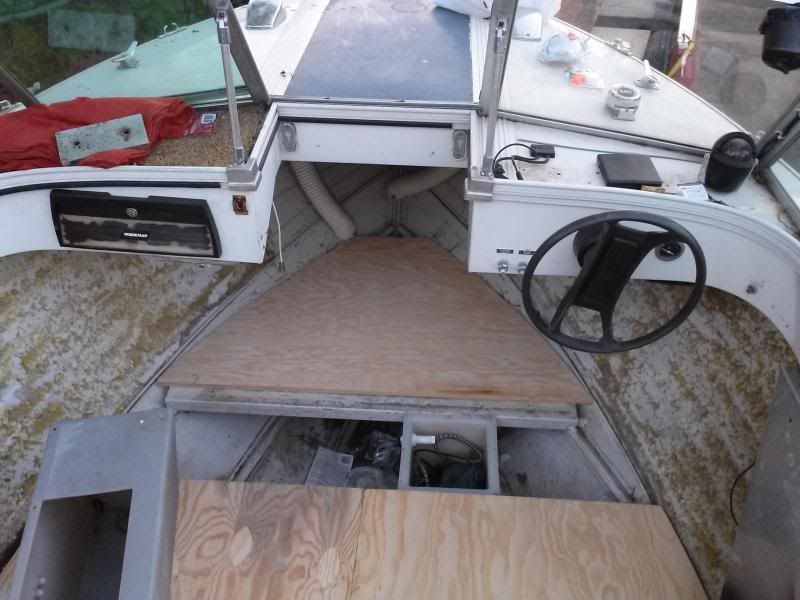
This is my livewell spot idea - not sure how to plumb one at all, Im watching videos on it as I type this actually - but from understanding, I picked this spot and think it will work well
lol.gif
I will have a hinged storage under the floor here as well as storage behind the livewell in the very front of the bow - whenever I decide to go open bow I think this will still be a good spot for it too, which is a plus.

Instead...

Angle bent steel/alum?
 

TheSauce

Seaman Apprentice
Joined
Jul 30, 2013
Messages
41
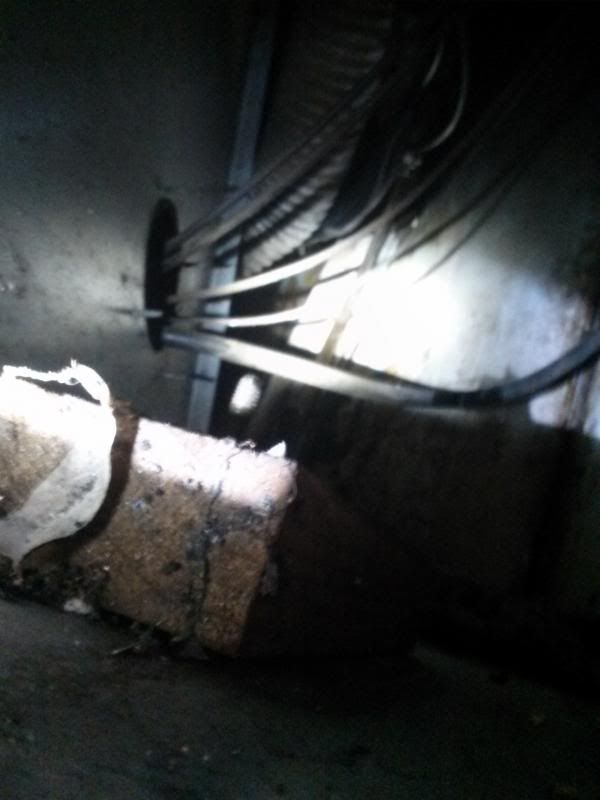
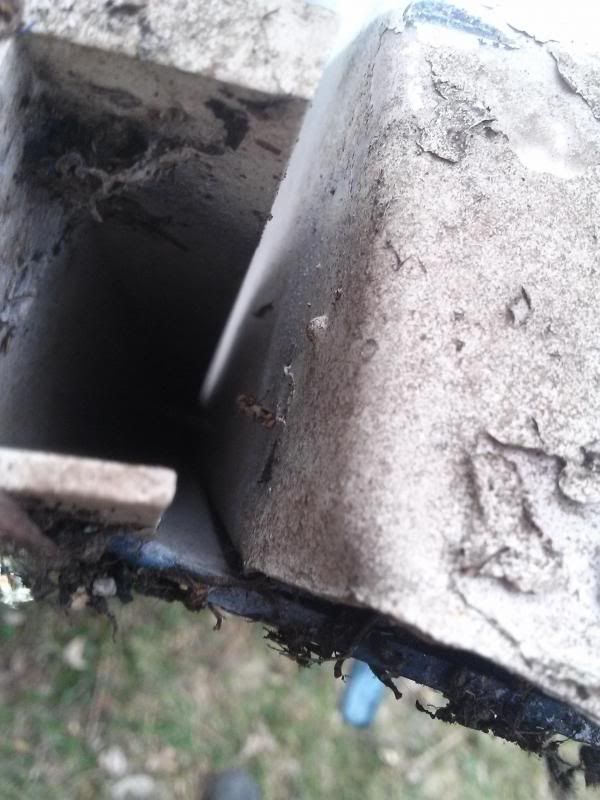
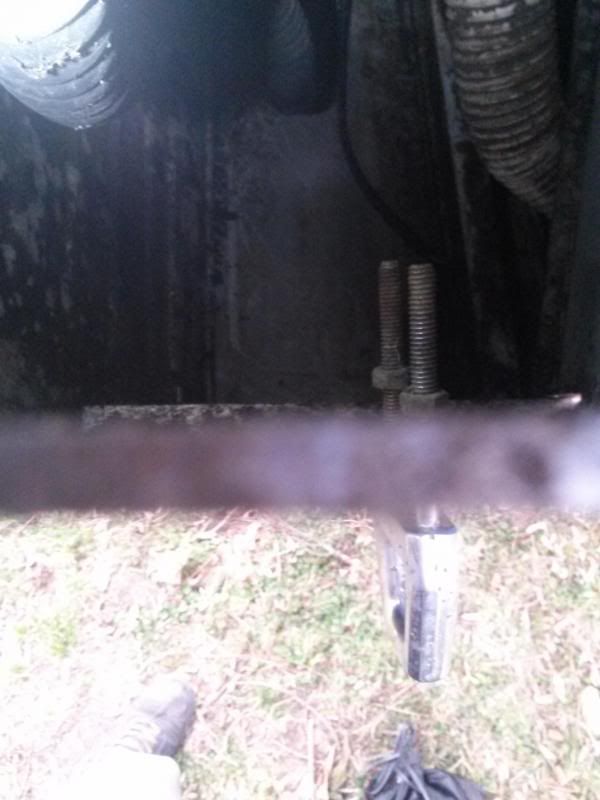
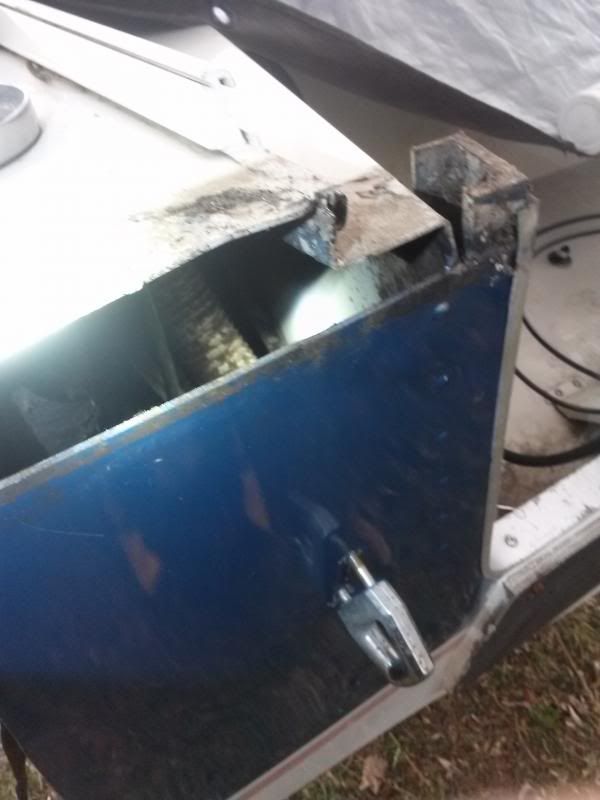
pictures of some of my concerns and issues with the transom -

No wood inside. Anywhere, except some 2x4 chunks behind tow hooks...


jigngrub

Fleet Admiral
Joined
Mar 19, 2011
Messages
8,155


I don't think that splashwell is big enough and you should really consider enlarging it.:laugh:

Seriously though, I do see a lot of your transoms strength coming from that huge splashwell design... but you do need more than just 3/4" plywood, you need the normal 1-1/2" transom thickness.

That welded angle doesn't look factory, looks like a modification by a PO (they'll do anything for a laugh). You should consider removing the angle so you can put in the 1-1/2" transom wood.


Those are some nice Wall-ice btw, and those White Bass must taste like cat food compared to the Wally's.
 
Last edited:

TheSauce

Seaman Apprentice
Joined
Jul 30, 2013
Messages
41
Well i found the inner transom - looks to me like a 2x4x8 that is in-cased in metal but its ply sealed with a nice varnish, I'll have to take pictures tomorrow - I dug into both sides and the wood is dry and solid - its a ply but I cant count how many. This ply board goes from port to starboard and is 100% covered in a fabed aluminum bracket that is held in with close to 50 rivets, none popped or damaged. I know the PO told me before he purchased it from his grandpa, he had it professionally redone? If so, I know this is an odd method, but I still cant help but think it would be ok with the added outer reinforcement, the inner with bracket, and the angle steel?

I dont want to chance it, thats how I've approced this whole project. I've shelled out at every corner where I had a chance to take a cheap route....but myself and a buddy from a local prop shop think it is already extremely strong even without the exterior transom board...you cant get it to budge with a prybar or the weight of 3 full grown men, and it held the 85 for the passed 3 years for po in lake Michigan.Im more torn here than any decision Ive had to make yet. I dont really want to redo all those rivets as easy as it may be...

could use some opinions, and I will see if any of the pictures I have show the bracket system until i get more
 

TheSauce

Seaman Apprentice
Joined
Jul 30, 2013
Messages
41
Re: My Old AMFC CRL aluminum Restore


Awesomeness! The two on the right definitely look like brothers. You've got a whole gang of smart pups there. Those cattle dogs can pretty much do Calculus and balance your check book, if you ask nicely. Looks like they all love the water too. Do they have any trouble getting into/out of the boat? Do you have a ramp/ladder of some sort? My little lady still hasn't been on the water yet, but we'll hopefully get her fist trip in within the next couple months. She' pretty much 100% blue allover except or a bit of white on her chest and tips of three of her paws. Shes already grown so much since these pics were taken just a few weeks ago though :( Ah well, I guess that's what puppies do. (Sorry to derail the thread, but ya gotta show puppy pics. It's a law or something.) Not to worry you can't go wrong with a Tinnie and a vintage OMC either. They're both super reliable and easy enough for even a moron like me to fix. Keep us posted on the project ( and puppies of course).

View attachment 229733View attachment 229735View attachment 229736)
your dog looks EXACTLY like the litter the silver brindle I have came from. she was one of 2 brindled - we left with her and her sister who looked IDENTICAL to yours.
 
Top