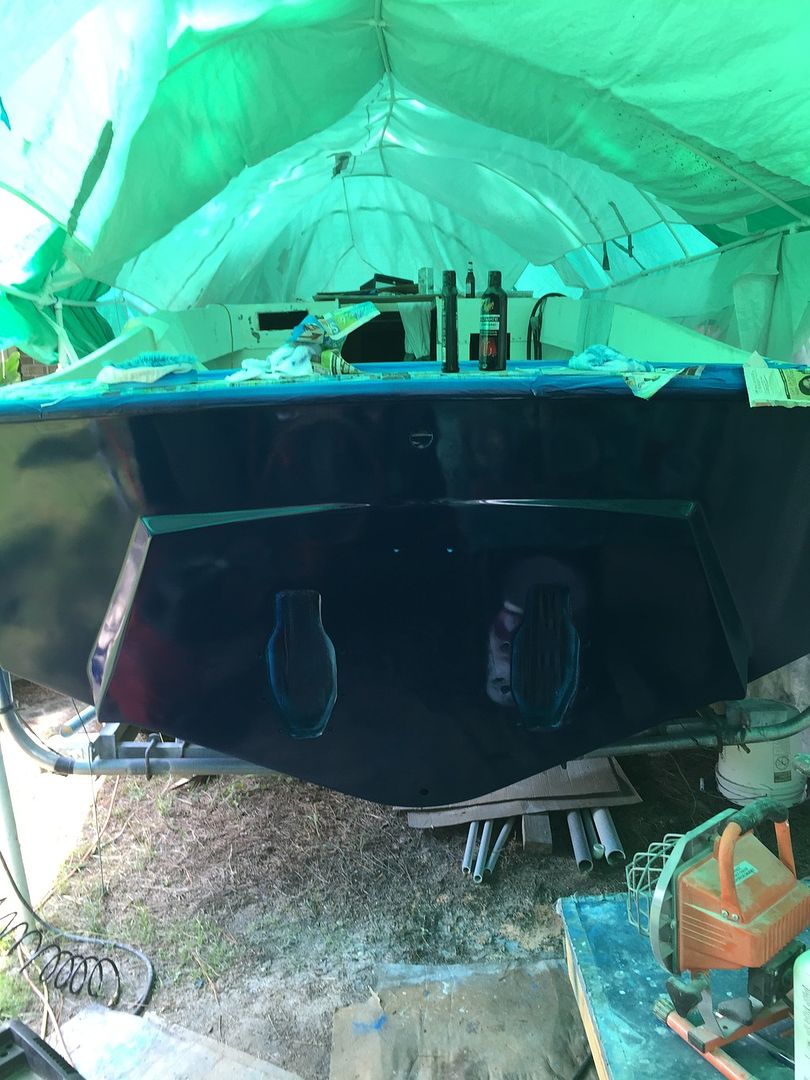
Corjen and Arch thanks. Here is another pic. The paint is not purple it's more bluish I guess at night and with the flash. I was just trying to show the smoothness.
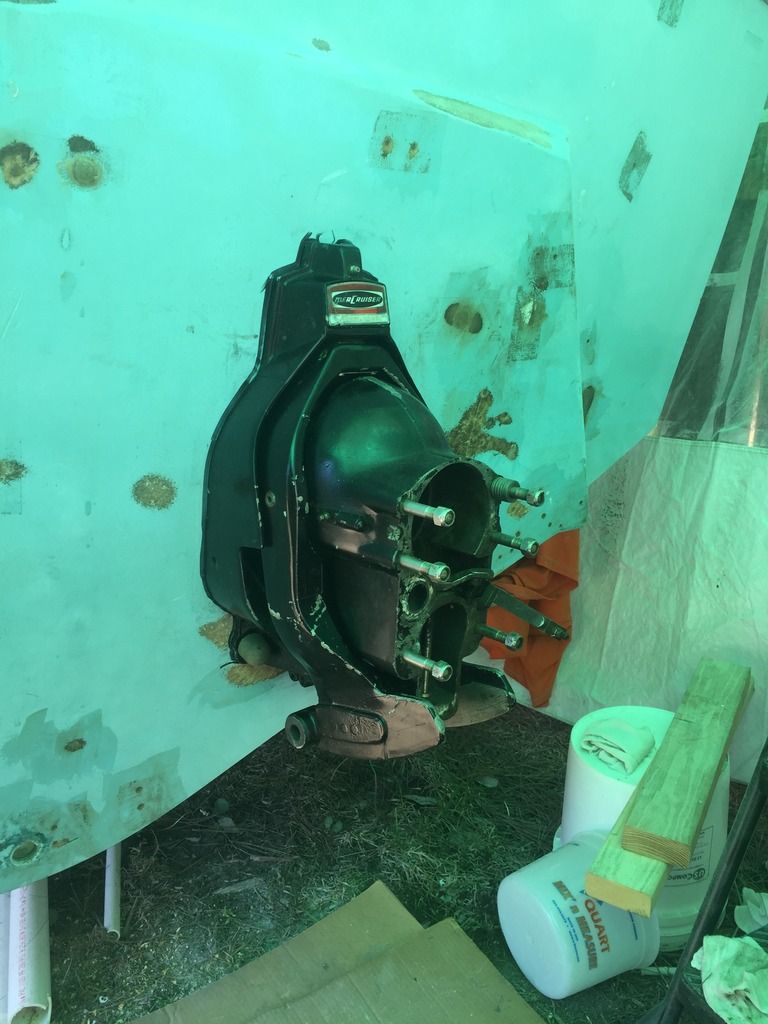
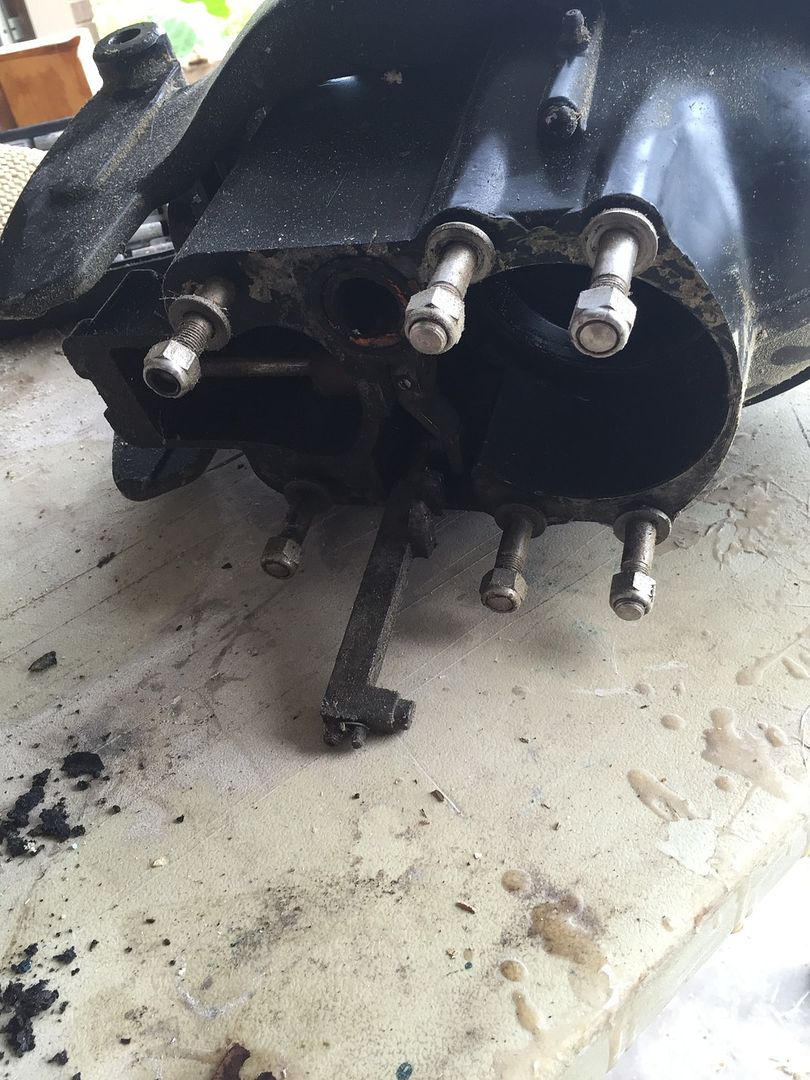
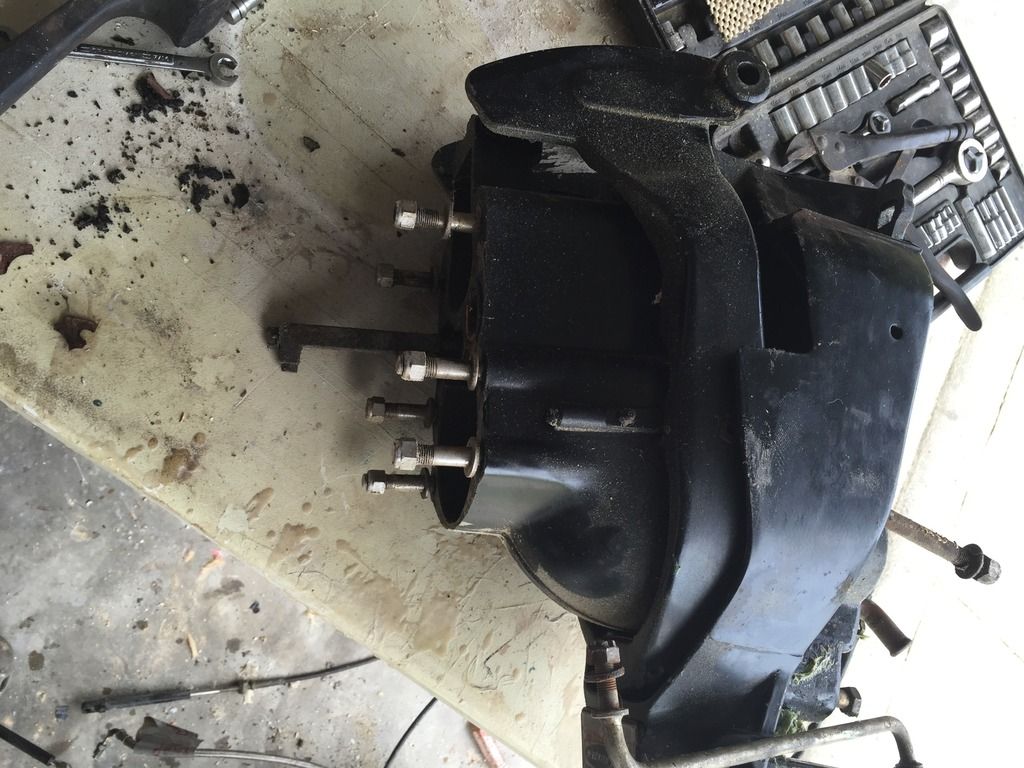
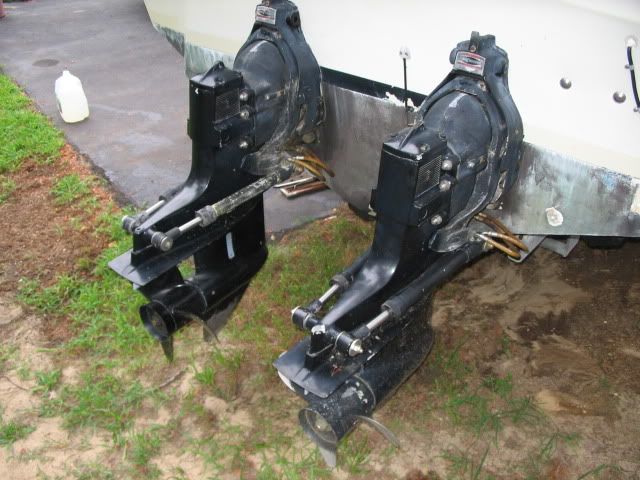
I haven't done much on the boat the past 2 weeks but I do have a question for any Merc gurus out there. I have twin 1972 Merc 165s on this boat with what I guess is MCR1 drives. Here are a couple of pictures.
My question is about the trim indicator sender located at the top section of the gimbal housing. The units are 40+ years old and fried. All I see every where I look is they don't make these anymore. I can live without this working because for years when the boat was in service they didn't work but I was thinking while I am restoring the boat back to as close as I can to original I was wondering if anyone sells these sensors/trim sender things or just give that up as a waste of time and money.
I'd post this over on the Merc Stern Drive forum. http://forums.iboats.com/forum/engin...ines-outdrives
Those guys might know of the unit that interchanges with the older model. There has to be something to keep these old girls going. I'll also do some diggin fer ya!!!
I fought with the one on Miss Morgans 115....finally figured out there was a port and starboard....when I got the right one it started reading correctly...not up when it was down and vice visa. You might keep that in mind with the twins Mark, not sure if they are different or not. Let me know if you find them, I'm sure fuggly could use one.
Hey Arch. Yeah the outdrives I have are older than yours. Mine don't have the two sensors one on either side of the out drive they have a single sensor at the top of the gimbal ring.
Nothing much going on with the boat but I just realized it's been a year since I joined iboats and almost a year since I started my restoration last July. Wow that year flew by. I hope to have it splashed before the end of this year.
Time sure does fly eh? Seeing as I joined iboats back in August 31st, 2012, you're moving along at a much quicker pace then me, and you have a lot more hull and double the engines!! Gotta take some pride in that! Keep it up bother! Have you started to re-assemble the gimbal housings yet? You get those trim senders figured out?
Woe I did get the answers I needed on the trim sensor. Just have to wait on the funds, they are $80 each and I will need one for each engine. I have started painting the inside and outside transom plates getting reading to attach one set soon so I can start thinking about putting in one of the engines and start rebuilding one of the stern drives.
Yeah I know those senders aren't exactly cheap, hope mine are still good. I painted my inner transom plate Saturday, took me all friggin' day. If there was ever a time I wanted access to a media blast cabinet...sanding that piece with all those nooks and crannies, my fingers were tired lol.
Lol...Wood... always handing out award stickers! Love it.
I am still working on the boat hitting several different areas, my A.D.D. is kicking in and I cant stay focused on one thing :laugh: so I guess I will just update everything I can remember.
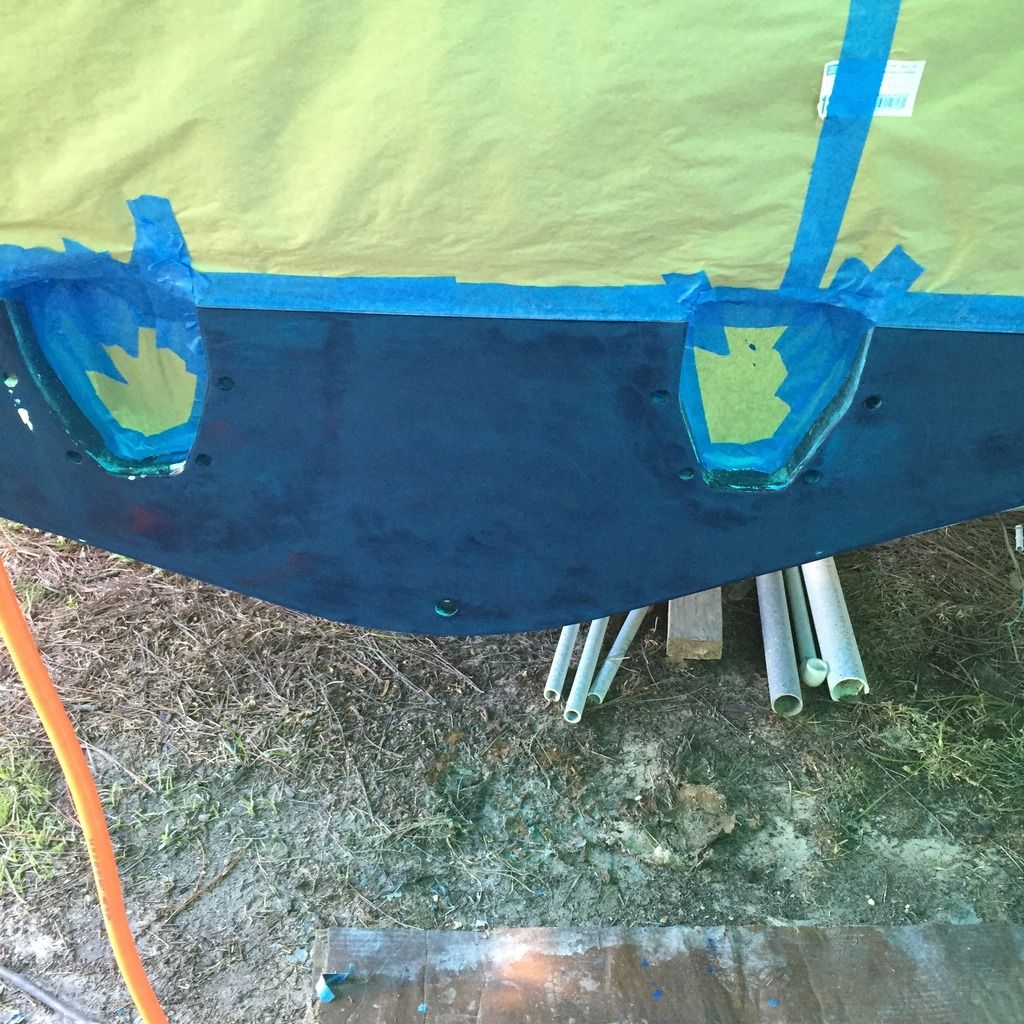
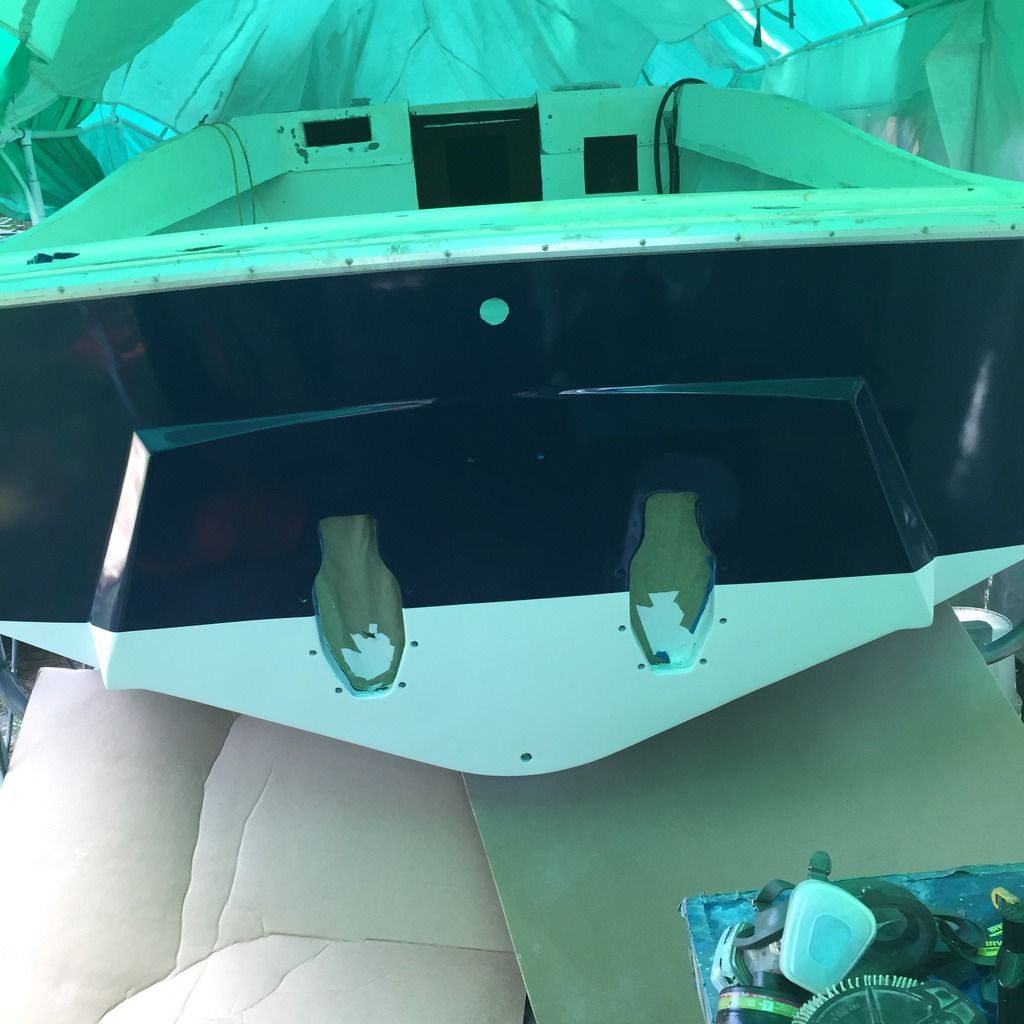
I decided to go ahead and paint the white part of the transom before I attach the transom brackets.
Made an estimate of where the waterline will be and taped it off. Scuffed up the paint and cleaned it with a mix of Acetone & mineral spirits.
Hit it with the same type Rustoleum boat paint this time in Gloss white. It went on very easy with no issues this time.
I realized I hadn't over sized all the bolt holes in the transom wood so I drilled out the transom from the inside with a one inch drill bit all the way to the fiberglass transom skin and back filled with PB. I put duct tape on the outside and made sure nothing protruded past the outside skin since I didn't what to have to grid or sand it flat messing up my paint. I should have done this prior to painting. After it set I drilled out the bolt holes with about a 1/2" drill bit so now even if water gets into these areas it wont come in contact with the transom wood just the hardened resin. I had already done the bilge drain this way when I first put the transom in. No pics of this process.
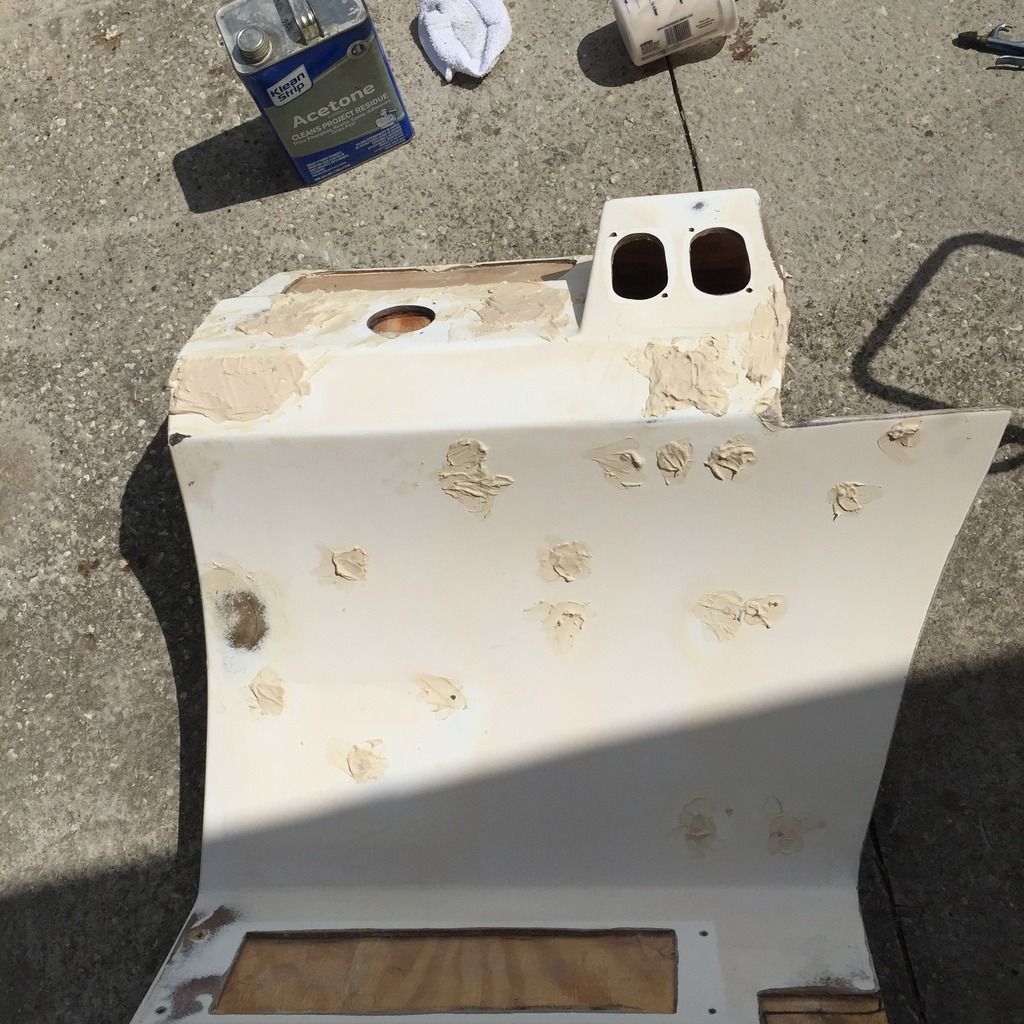
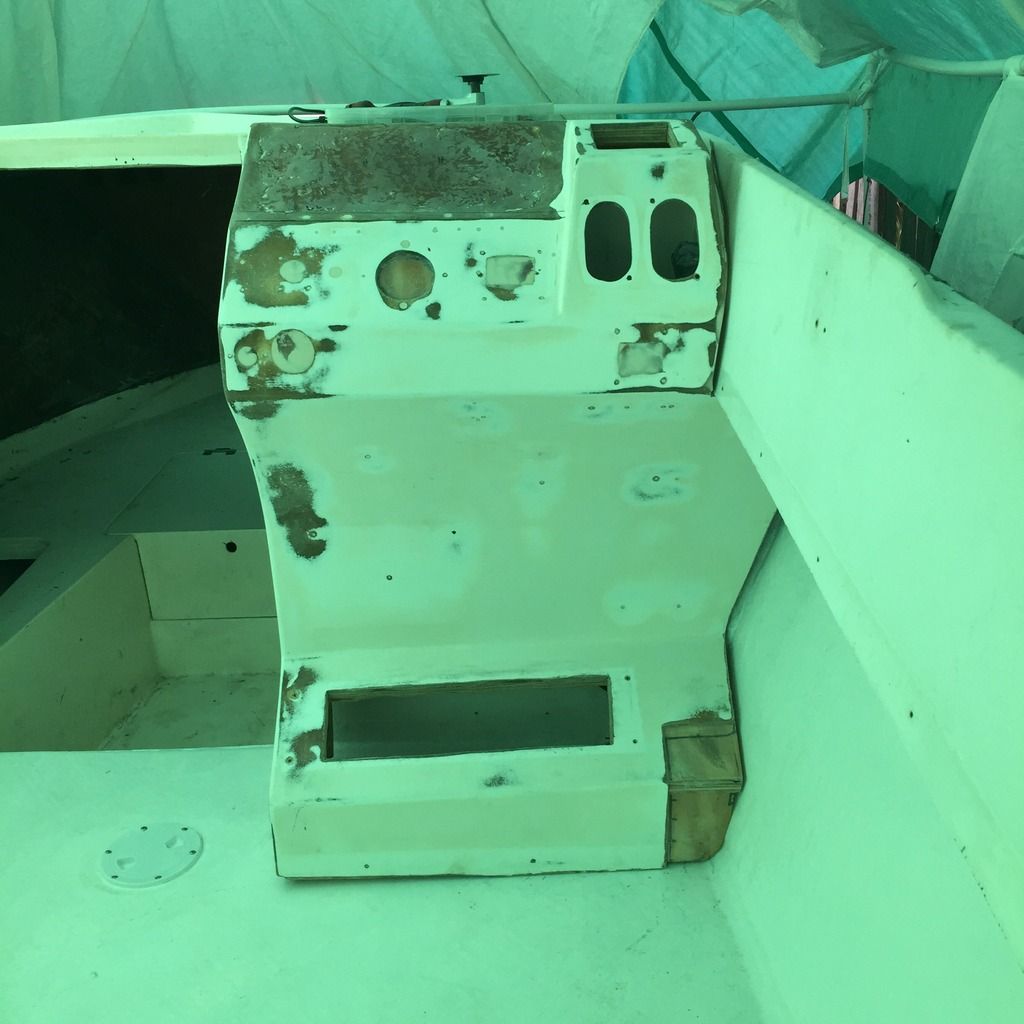
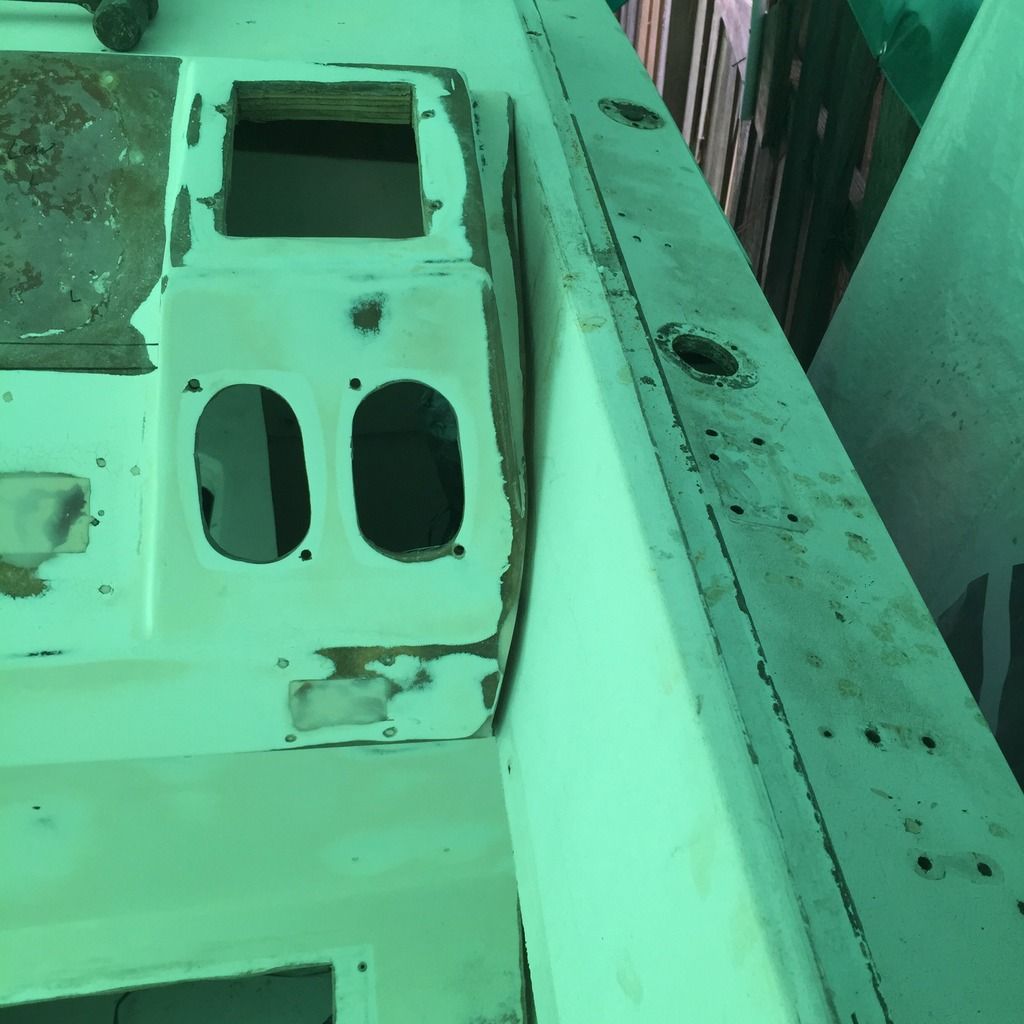
I have continued to work on the console. Patched up the multitude of old holes and prepping it for painting.
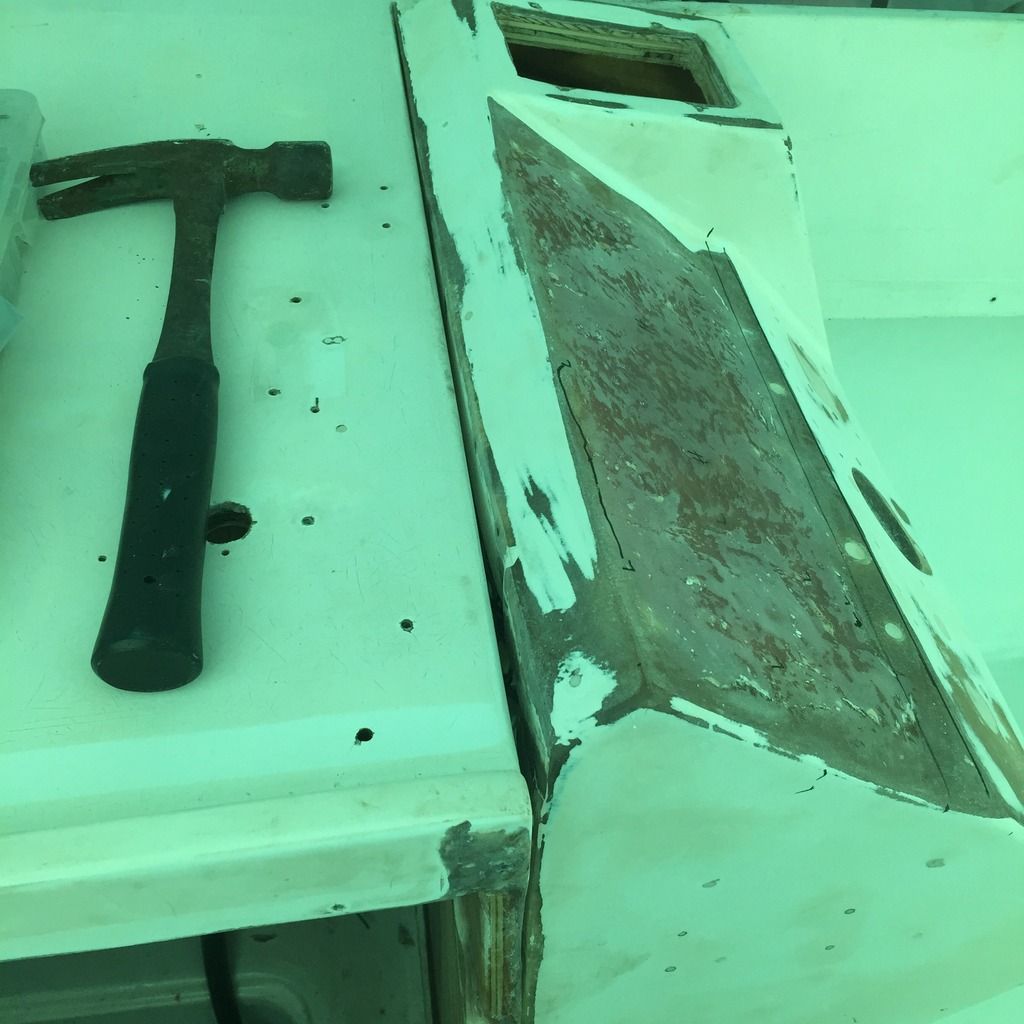
It doesn't look like it in this picture but all the tiny blemishes have been filled and its nice and smooth except the space where the gauges console will ultimately be installed. Here I am trying to fit it back into its home. Since the deck height is just a touch higher, maybe 3/8" I am having to doing some cutting and sanding to fit. The one spot to the bottom right still needs Fiberglass cloth to fill in that section.
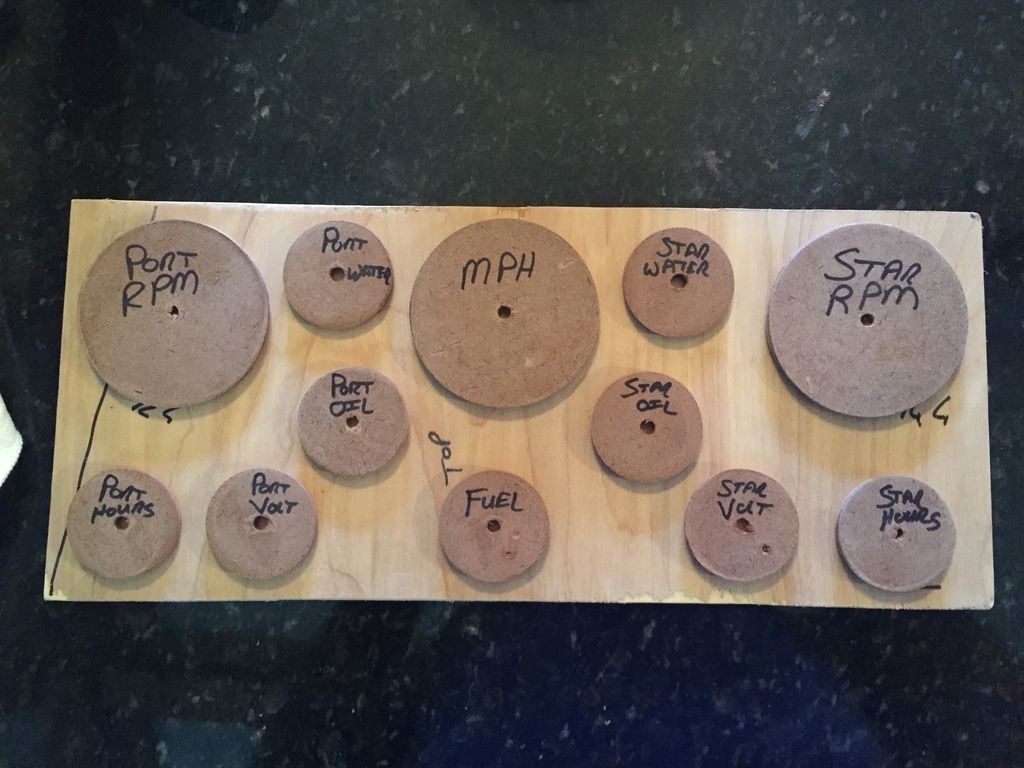
The rough area will be covered by a piece of Black Starboard and the gauges will be installed into the starboard. Here is a piece of scrap wood cut the size of the starboard with simulated gauges in place trying to get the layout correct.