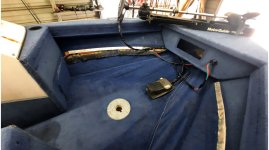
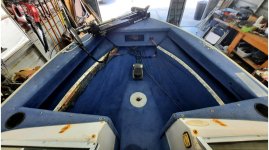
1997 Mirrocraft 18' aluminum fish n ski

BWR1953

Admiral
Joined
Jan 23, 2009
Messages
6,176
18 Aug 24

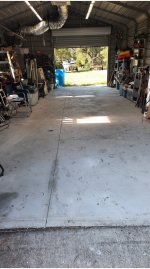
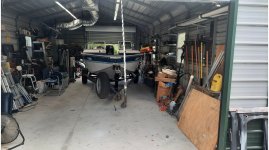
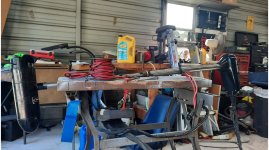
The garage was a total mess and had been for a long time. I won't say how it happened, but he's moved out now. :ROFLMAO:

My wife and I had planned on going out that morning to get the garage cleared out enough to get the boat back inside to be worked on.

Annndd.... I got out there early, tripped and did a faceplant into a floor jack instead. D'oh! 😬

But, at least we got a boat path done before I went to the hospital.
1.jpg
 

BWR1953

Admiral
Joined
Jan 23, 2009
Messages
6,176
19 Aug 24

Got the boat back into the garage. It's still a mess in there though. Another task for another day. Gotta get the boat splashed first!

2.jpg
 

BWR1953

Admiral
Joined
Jan 23, 2009
Messages
6,176
21 Aug 24

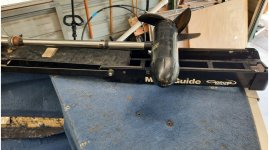
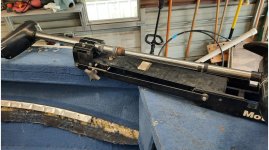
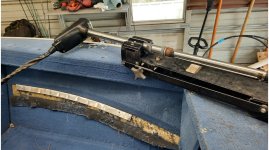
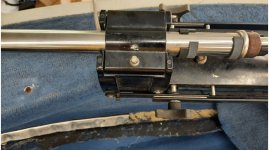
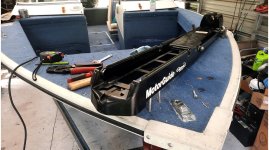
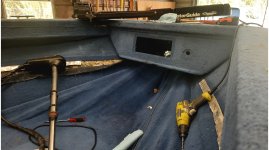
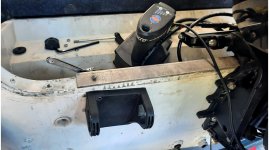
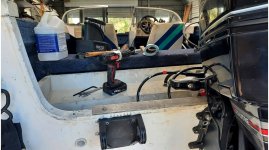
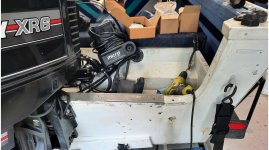
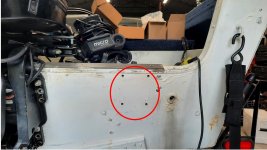
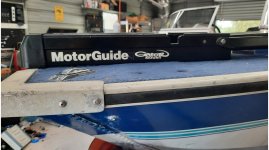
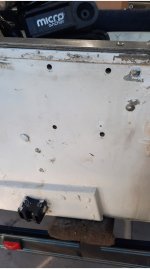
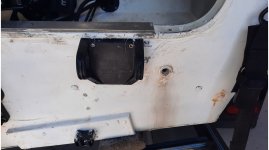
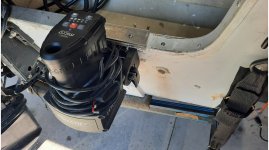
Did some more layout testing for the trolling motor and got a bunch of screws removed. Left a few too. The "door" that clamps the trolling motor to the bracket was too tough for us to open, so I got my buddy to do that for me.

1.jpg

2.jpg

3.jpg

4.jpg
 

BWR1953

Admiral
Joined
Jan 23, 2009
Messages
6,176
25 Aug 24

Got started measuring and drilling holes for the trolling motor. Ran into a supply problem and had to order some stuff, causing more delays.

1.jpg

2.jpg
 

BWR1953

Admiral
Joined
Jan 23, 2009
Messages
6,176
29 Aug 24

I tested the trolling motor for operation today. It's a 12/24v Motorguide Brute with 67 pounds thrust. It tested fine. Should work well for this boat.

1.jpg

2.jpg
 

BWR1953

Admiral
Joined
Jan 23, 2009
Messages
6,176
30 Aug 24

I have two Power-Pole Micro anchors for this boat. I got the first one installed.

1.jpg


2.jpg

3.jpg
 

BWR1953

Admiral
Joined
Jan 23, 2009
Messages
6,176
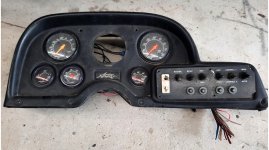
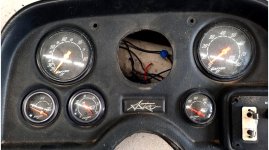
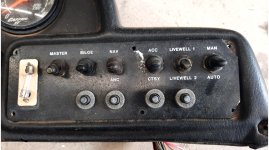
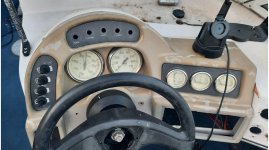
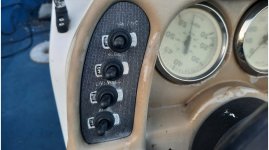
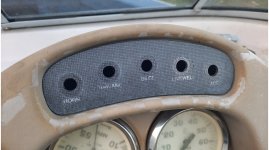
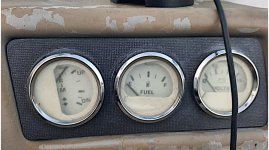
I have to figure out which gauges to use for the dash. The donor boat had some good stuff which is needed for that powerful XR6.

I'll do some testing and mixing and matching to see what will work. I'll likely have to add another sensor or two for the engine. And also put in some indicator lights, switches and whatnot for the dash to provide overall system status as well.

Donor boat dash
4.jpg

5.jpg

6.jpg

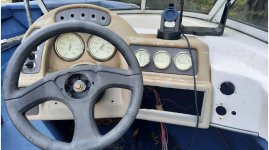
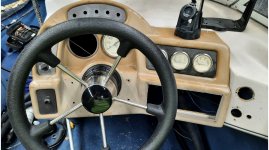
Mirrocraft Dash
1.jpg

2.jpg

3.jpg

4.jpg

Old steering wheel and gauges
5.jpg

New steering wheel with hydraulic steering
6.jpg
 

BWR1953

Admiral
Joined
Jan 23, 2009
Messages
6,176
I had to wait for a bunch of parts to come in. They're here now and a couple days ago I made a parts run to a local marine store to pick up some tinned 8 gauge wire and stuff for the trolling motor.

I've also been busy "clearing" stuff from the garage by selling or scrapping things in there that I no longer need. Like the running 70HP Mercury, which was part of the Chief project. I still have its twin, but it's for parts only and is for sale, along with other large, space taking items.

Plenty of other stuff interfering with my progress. I broke my tractor trying to grade the driveway last week. Awaiting parts delivery.
Broke the door handle off the microwave. Gonna fix that tomorrow.

And more, plenty more. The heat/humidity is killer this time of year. August generally means maybe working outside for an hour or so in the morning, but then get back indoors and air conditioning! I sorta/kinda regret not getting the garage insulated. It certainly would help me get more work done. 🥵

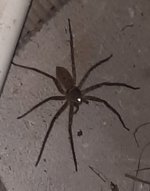
Always something lurking in the shadows to slow me down! 😲🕷️
20240729_192112.jpg
 

BWR1953

Admiral
Joined
Jan 23, 2009
Messages
6,176
Not much progress being made. I had a bad health week, but I did get out there for a short while this afternoon. It was cloudy for much of the day, so the temps were only in the low 80s, but humidity was still miserable.

I got started on mounting the starboard side Micro Pole. Managed to find the parts and drill the four mounting holes. The sun came out about then, and I started feeling poorly, so back into the house I went! 🏡 🏃‍♂️

Anyway, a tiny bit of progress is still progress. :sneaky:

2.jpg

1a.jpg
 

BWR1953

Admiral
Joined
Jan 23, 2009
Messages
6,176
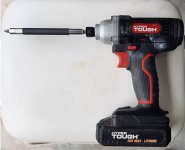
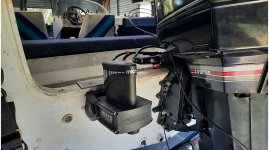
My wife and I got out there this morning and got the trolling motor hard mounted. It went on quickly and easily because I bought an extension for my impact driver bits. Worked a treat.
1.jpg


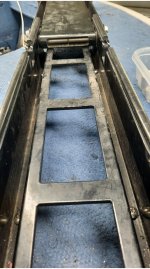
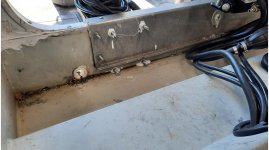
With the extension, I was able to easily reach the screw heads which are between the mount rails.
2.jpg

3.jpg

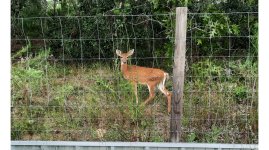
After we finished that, I started getting the TM wiring stuff ready, but heard my wife calling me loudly from outside the garage to come quick!

And this distraction took up the rest of the morning and part of the afternoon. No further work got done. 😄
1.jpg

2.jpg

3.jpg

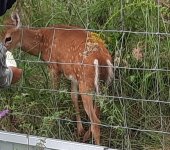
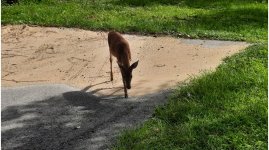
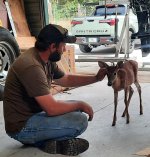
I sent pix to my buddy and he came over with his son. And the deer was really friendly.
4.jpg

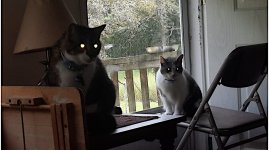
While I was in the garage, my wife let the deer into the house and the cats freaked out! Radar activated. 🤣
5.jpg

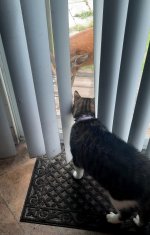
After the deer went back outside, the big cat (about 15 pounds) was nose to nose with the fawn through the sliding glass door.
7.jpg

Then the fawn laid down and relaxed awhile. My wife was really bummed when she went to check on it a short while later, only to learn that the fawn had left. But, we have the pix of this nice diversion.
6.jpg
 

BWR1953

Admiral
Joined
Jan 23, 2009
Messages
6,176
Progress! :D

Been awhile. It takes me forever to get anything done. :sneaky:
Parts had to be ordered and I waited for delivery. Then hurricane Helene came along, then more parts ordered and more waiting for delivery, then hurricane Milton came along. Plus the regular life stuff. Not to mention the heat of late summer. 🥵

Ugh. 😒

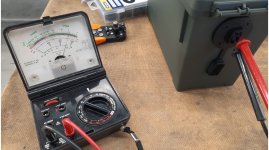
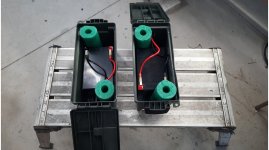
But today, I made some small progress. I have a pair of Power-Pole Micro Anchors, mounted on the stern port and starboard sides. I'm using a pair of small 12AH 12v batteries to independently power each anchor. Today's work was about that.

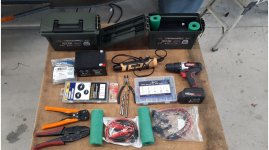
The batteries need to be secured, so I bought a couple of small, plastic, watertight ammo boxes to house them. And I also bought some SAE standard connectors so that I can plug my charger directly into the boxes without removing the batteries. Plus, I'll install an adapter on the charger itself so that I can either use alligator clips for other stuff, or the SAE adapter.

Here's the equipment, parts and tools that I used.
1.jpg

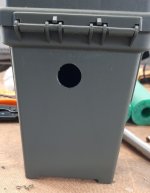
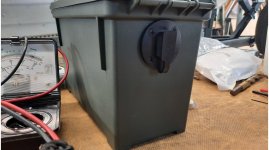
I started by drilling a hole at the hinge end of the plastic box, which holds the SAE connector.
2.jpg

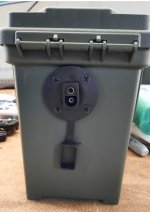
I test fit the SAE connector.
3.jpg

Then mounted the connector to the box.
4.jpg


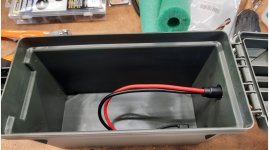
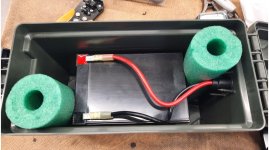
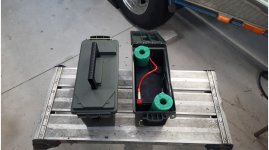
Then I cut the connector from the tag end, placed the battery into the box, along with a couple pieces of pool noodle to provide stabilization.
11.jpg

Did a quick test and the connector is working properly.
12.jpg

There's a rubber cap to protect the connector.
13.jpg

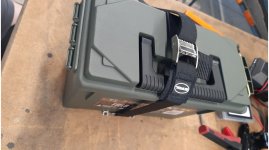
I'll use stainless brackets and nylon strap to secure the battery boxes to the deck.
14.jpg

I'll start the next box and the charging adapter connector tomorrow. I misplaced a polarity reversing adapter here in the house and will have to dig that out so that I can actually use the charger with the alligator clips. :rolleyes:
 

BWR1953

Admiral
Joined
Jan 23, 2009
Messages
6,176
The weather is cooling and being more conducive to working outside. So, I continue to make progress. :cool:

Yesterday I finished rigging the second battery box.
1.jpg

2.jpg

And this morning I got the starboard side Power Pole Micro Anchor hard mounted to the hull.
3.jpg

4.jpg

5.jpg

6.jpg

During the process of hard mounting the anchors, I very precisely and carefully applied 5200 sealant to the fasteners. :ROFLMAO:
7.jpg

Next steps will be to get the anchors wired to the battery boxes. After that, I'll move back forward and get the trolling motor wired up.
 

BWR1953

Admiral
Joined
Jan 23, 2009
Messages
6,176
Very little work done today. I went out there this morning even though I was feeling a little woozy. 😐

So, I just soldered the power connectors from the starboard micro anchor to the battery box connector. Then tested it, got the blinking green power light and that was enough. I guess you could call it "micro steps!" :ROFLMAO:

Tomorrow is another day. Should be cooler too.


BWR1953

Admiral
Joined
Jan 23, 2009
Messages
6,176
Guys, lately I've been busy cleaning up the property after Milton went through. Nothing major; just deadfall and whatnot, but it needed to be done.

The weather broke after the storm blew through and we had beautiful, cool weather. Lows in the upper 40s a couple times. Sixties for highs. We got debris picked up and put onto the burn pile, cut the grass, and moved the driveway light post with alarm system. There's more, but I can't remember everything. 🤪

And I spent much of last week in the garage, cleaning and clearing, trying to find "missing" parts for the boat. No joy. I'm very hindered by an injured right heel. I stepped on a bolt or something on 15Sep24 in the garage. (That place is risky for me! :sneaky: )

I went to my annual physical checkup on 18Sep24 and told my doc about it. He just said "uh huh" and kept doing the regular exam. I've been trying to tough it out, but it's just not working. I made an ortho appt for 4Dec24 (soonest), but might have to go to urgent care before that. I'm crippled up pretty badly. Most times, I can barely walk.

In spite of that, I made a major push today to find the remaining missing parts. I'd already had to order a complete transducer/wiring setup for my Garmin Striker 4 Plus a couple weeks ago.

But, today's effort was no joy. :rolleyes: So, I had to order a Garmin power connector and a Power-Pole Micro Anchor power wire/connector too. They should all arrive sometime next week. All in all, about $150 in replacement parts. :cautious:

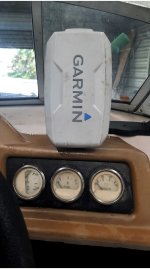
Today, I mounted the Garmin, which is when I noticed the missing power wiring. The Garmin had previously been mounted on the Kingfisher.
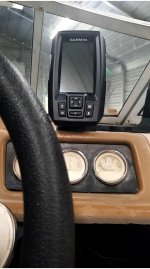
4.jpg

3.jpg


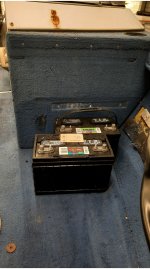
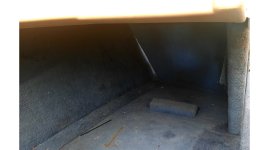
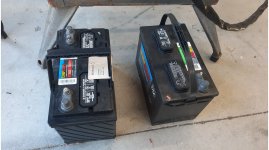
And I also started "planning" on how/where to mount the pair of 12v deep cycle trolling motor batteries. I'd previously simply placed them in front of the port side console, but now I'm thinking of moving them under the console instead. There's plenty of room; like 5 feet from the seat to the forward wall of the console. There's a small footrest which would have to be removed. I'll have to see if there's room to put them in battery boxes as well.

So, that's where I am now.
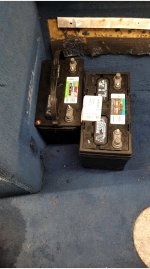

6.jpg

7.jpg

5.jpg
 

BWR1953

Admiral
Joined
Jan 23, 2009
Messages
6,176
I work slower than molasses on a January morning in Vermont. :sneaky:

But, on 18Oct24, I went to the Ortho doc and got another set of knee injections, which has helped. I also injured my heel on 15Sep24 and that's really slowed me down, but it started feeling better in the last 48 hours. I'm able to get around a bit better now.
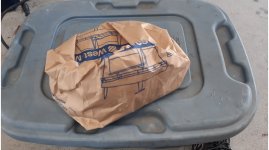
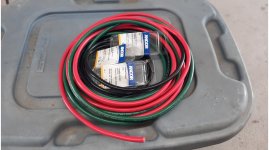
Went to our local marine store yesterday (again) to buy replacement trolling motor (TM) wires that got "lost somewhere" from the prior trip discussed in Post #88 above. :cautious:
I can see where a scrunched up paper bag could be confused with a leftover fast food bag and accidentally get tossed out. Still annoying though. :rolleyes:
1.jpg

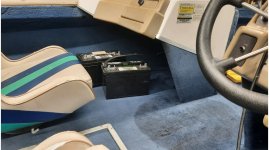
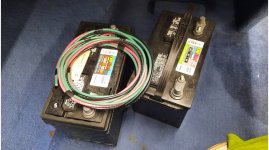
Today I moved the batteries from in front of the port console to under the console so that I could start work for the TM installation. Doing so was a bit of a strain. After I get everything rigged, I'll move the batteries as far under there as they'll go. Plenty of room there.
6.jpg

New wires and some connectors.
2.jpg

Got the wire bundling started with electrical tape. A more comprehensive setup will come later.
3.jpg

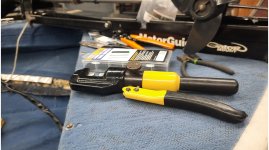
My buddy loaned me his hydraulic crimper. Makes smooshing the 8 gauge wiring a breeze!
4.jpg

5.jpg

Got the wiring for the female TM connector rigged up and temporarily located in the old spot.
8.jpg

Kept going, but ran out of butt connectors. I hate when that happens! 🤪
7.jpg

I'll pick up more connectors and get back to work tomorrow... after my left shoulder feels better. I injured it twice today. I've started the ice, rest and whatnot procedure. Hopefully, it'll feel better in the next 24 hours.:cautious:

I.
Keep.
Getting.
Injured.
😡
 

BWR1953

Admiral
Joined
Jan 23, 2009
Messages
6,176
Yesterday I bought more butt connectors and today I made more progress.

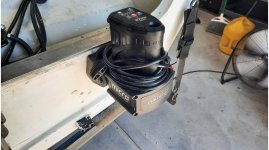
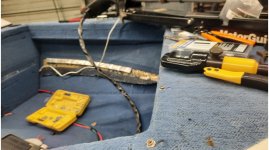
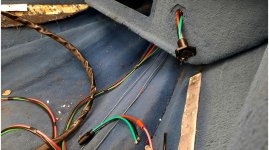
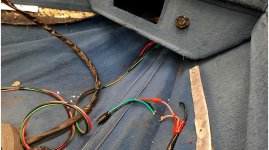
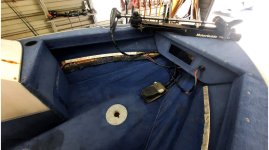
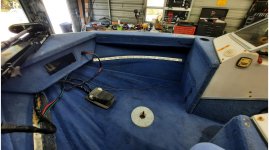
Got the trolling motor wired up in the front of the boat and did a little cleaning. Tomorrow I'll get started on wiring the TM to the batteries.

1.jpg

2.jpg

3.jpg

4.jpg
 
Top