1996 Century Boats 1800 Center Console Refit and Modernization

Meames1

Petty Officer 2nd Class
Joined
Dec 14, 2020
Messages
157
So that EVA flooring. Looks great, I'm thinking of that for mine. Did it not come with an adhesive backing ? I see you're using spray adhesive. Where did you get the EVA /brand ? Lot's of it pops up on Amazon, I'm worried about quality etc.
 

zool

Captain
Joined
Aug 19, 2012
Messages
3,432
So that EVA flooring. Looks great, I'm thinking of that for mine. Did it not come with an adhesive backing ? I see you're using spray adhesive. Where did you get the EVA /brand ? Lot's of it pops up on Amazon, I'm worried about quality etc.
I ordered one of the China brands from I think Amazon or Ebay for $39.00 for 34 x 94. It did come peel and stick, but not the 3m backing. It sticks ok but since im going over heavy diamond non slid, I added more adhesive. The quality is probably close to Seadek, because its just EVA, Longevity im not sure of yet. It looks like it may last a few years, but cheap enough to replace as needed.

I wont put it on the big boat, Gonna order teak look carpet and bind an edge on for that, with snap in.
 
Last edited:

zool

Captain
Joined
Aug 19, 2012
Messages
3,432
I ordered one of the China brands from I think Amazon or Ebay for $39.00 for 34 x 94. It did come peel and stick, but not the 3m backing. It sticks ok but since im going over heavy diamond non slid, I added more adhesive. The quality is probably close to Seadek, because its just EVA, Longevity im not sure of yet. It looks like it may last a few years, but cheap enough to replace as needed.

I wont put it on the big boat, Gonna order teak look carpet and bind an edge on for that, with snap in.
The non Eva stuff like Nuteak or Plasdek are like rubber mats and look like they will last a long time, but I couldnt find an affordable source for DIY sheets, most want to cnc from your templates for a fortune.
 

todhunter

Canoeist
Joined
Sep 15, 2020
Messages
1,234
If I end up hating my carpet, I think I may pull it up and do an EVA foam floor one winter. What's replacing EVA like? I'm assuming it comes up in tiny shreds and you end up having to sand most of it and the adhesive off...
 

zool

Captain
Joined
Aug 19, 2012
Messages
3,432
If I end up hating my carpet, I think I may pull it up and do an EVA foam floor one winter. What's replacing EVA like? I'm assuming it comes up in tiny shreds and you end up having to sand most of it and the adhesive off...
Im sure if its left there to disintegrate, it will come up like old carpet padding, but if its removed when its just worn and dirty, it wont be too bad, depending on the adhesive used. I rather re-glue pieces here and there over time, then rip up crazy glued foam where the glue outlasts the material.

Your boat deck would probably take 4 sheets the most , so thats $160 for a few years of nice, cushiony, non skid that all the rage right now.

It will probably telegraph imperfections more than carpet, so a nice smooth subsurface would be required. It also dents easy, i weighted a piece down for a few minutes with a paint can, and it had a ring for a bit till it relaxed.
 

zool

Captain
Joined
Aug 19, 2012
Messages
3,432
Another note ive read is that it gets really hot in heavy sun areas like Fl, that you cant walk barefoot without wetting it down. Thats why i decided against it on the deck of the Sea Ray after I was all but decided. Now I switched to probably using teak snap in carpet, I already have the snaps in place from the factory, and it gives a similar look with the durability of marine cpt.

https://www.teakcarpet.com/colours-gallery
 

briangcc

Commander
Joined
Jul 10, 2012
Messages
2,090
I can't comment on the product used here, which looks pretty darn good for the price btw, but with Seadek, its darn cool in the direct sun.

As for over non-skid, again with Seadek, it was all in the prep. I haven't had a section peel up yet.
 

zool

Captain
Joined
Aug 19, 2012
Messages
3,432
So far its holding fine to the diamond non skid, but it hasnt been out in the elements yet.
 

zool

Captain
Joined
Aug 19, 2012
Messages
3,432
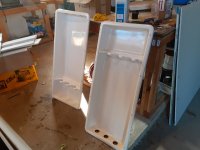
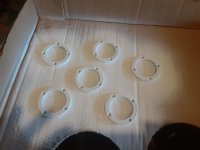
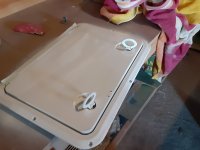
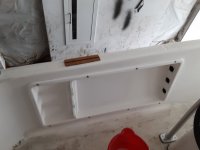
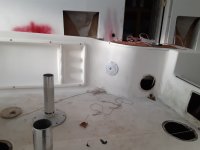
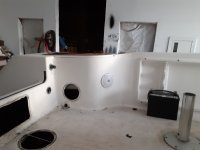
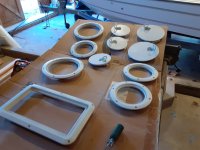
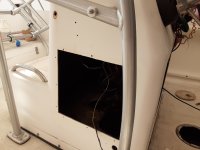
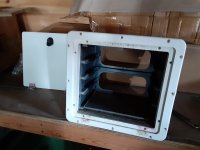
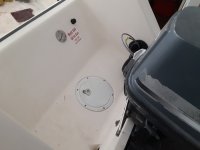
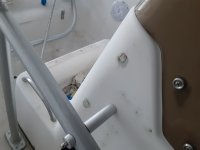
I cleaned up the rod storage units with wet 400 grit, and pealed off as much of the old caulking mess I could. Removed the plastic ring bezels and painted them with Krylon. Also did a test paint on one of the inspection hatches.

Once the rear speakers come in tomorrow, I need to put them in, pull the transducer wires, and mount FF head unit, then clean up the openings and install the rod storage.

If the paint looks ok on the inspection plates, Ill paint the rest and clean up the inner hull sides and deck.

So whats left after that;

Seat Upholstery (over winter in shop)
Motor Cowling paint and decal (over winter in shop)
Console gel repairs (weather permitting 60+ degrees)
Windshield install (6 screws)
Bottom paint (Spring before launch)
T-top accessories. (Spring when T-top is folded back up)
Wash and wax again (Spring)

Thats pretty much everything im gonna do to this rig before launch in May.
1637517945485.jpeg

1637517989186.jpeg


1637518006762.jpeg

Gonna be jumping over to the Sundancer for a while. Plan on doing a full refit on that one over the winter, and launch it in April/May. Ill start a separate thread for that project
 

zool

Captain
Joined
Aug 19, 2012
Messages
3,432
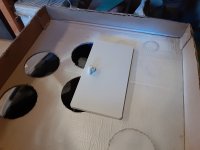
I tucked the wires where the rear speaker holes will be cut, and installed the rod racks. I'll seal them when im sure I dont need that access anymore.

As usual, I found a few other things I need to address, I forgot the speedometer pickup and line, which was junk when i removed it. Also, I need to address the sending unit, the fuel gauge isnt accurate. I cleaned the contacts above the tank, but I suppose I gotta remove the unit and check or replace it or the gauge . Also, Im really getting tired of scrubbing that big non slid diamond pattern, it just holds dirt too easily so Im considering just running the eva on the deck too. The step pads seem to clean up easily when I step on them, alot easier than the non skid does.

1637612359369.jpeg

1637612396737.jpeg

1637612428082.jpeg
 

zool

Captain
Joined
Aug 19, 2012
Messages
3,432
Got both rear speakers in and connected. Also ran both transducer wires from the transom to under the console. Have to attach the brackets temporarily then remove, reinstall and seal with 5200 after bottom paint.

I just have to run the new vacuum tube for the speedometer and leave a string in there for future use.

1638375486907.jpeg

1638375507454.jpeg

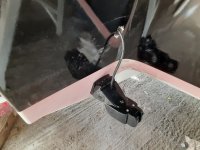
I had to enlargen the hole thru the transom for the new cable connection, you would think these would get smaller with new models, but its the opposite, needed a 7/8 hole now. This Lowrance triple-shot transducer is well endowed, I wonder how long till it snaps off.

1638375602676.jpeg

1638375622591.jpeg
 

zool

Captain
Joined
Aug 19, 2012
Messages
3,432
Got the inspection plates and hatches all painted and ready to go back on.

1638753471911.jpeg

1638753494222.jpeg

I also got the replacement courtesy leds for down by the deck on the console, and a new 12v receptacle. Gonna clean up the inner hull sides and deck this week, wire it all up, install the windshield and sonar bracket.
 

zool

Captain
Joined
Aug 19, 2012
Messages
3,432
Today I pulled the speedo tube thru the deck and mounted the leg, hooked that all up. Also mounted both transducer brackets.

1639094034910.jpeg

1639094057751.jpeg

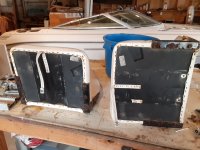
I pulled the tackle locker to be cleaned up.
1639094125739.jpeg

1639094154946.jpeg

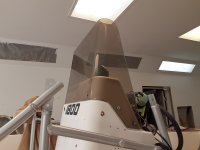
I also mounted and wired the courtesy lights, mounted the windshield.

1639094238529.jpeg

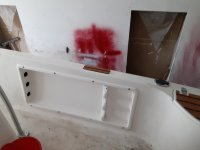
I filled in the extra holes in the console with 3m premium.
 

zool

Captain
Joined
Aug 19, 2012
Messages
3,432
Update:
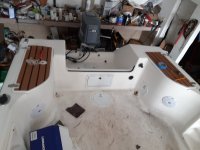
Installed most of the inspection plates and cleaned up some of the hull interior For the deck im probably gonna pull the boat out and pressure wash it.

1639179032572.jpeg

1639179062077.jpeg


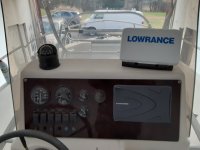
I installed the fish finder.

1639179110666.jpeg

Next im gonna tint and thicken some gel and fill in the console holes and stress cracks, then buff them out

1639179227475.jpeg

Then started disassembling the seats to make patterns and see what hardware is servicable. The hinges are shot, but I think I can reuse the bases after cleaning and paint.

1639179366254.jpeg
 

zool

Captain
Joined
Aug 19, 2012
Messages
3,432
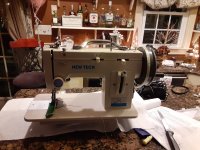
I ended up ordering a "get me by" sewing machine, the New Tech 1541s promo was ended when I tried to execute the order, plus they raised the price by $200 from $1399 to $1599 which puts it at the Sailrite Fabricator price and the Consew 1541s and close to the Juki.

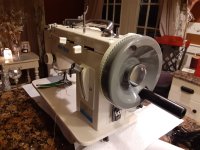
The promo was still going on with the mini New Tech 607z. I got the machine head, Large hand wheel, winding machine, industrial table with foot pedal and 550w servo motor, all for under $700 delivered to my door. Its only double feed, with a short throat/bed, and is not self oiling, but ill get by.

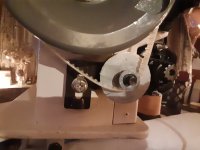
As expected I have to make some adjustments and upgrade some parts. So far the cogged timing belt is too big nd just slips, and the tension assembly is crappy. I ordered a rubber belt from sailrite for their monster wheel, and their ultrafeeed tension assembly which looks better quality.

All in all its a nice rig for the money, still waiting on the table and motor, but Im playing with the machine now.

1639321469771.jpeg


1639321490523.jpeg
upgraded wheel

1639321529715.jpeg

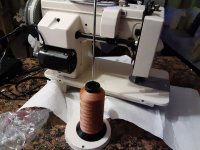
Running bonded 92 thread.

1639321572244.jpeg

oversized nylon timing belt.

I got the vinyl and accessories in the the seats and cushions, so Ill start working on that, which is only 2 seats, a cooler cover seat and backrest.
 

zool

Captain
Joined
Aug 19, 2012
Messages
3,432
I resolved the belt issue by lowering the tension slide all the way down, working fine now, but ill see how it is after the motor conversion. The new motor mounts under the table. The thread tension knob is still sketchy so ill change that when the new one comes in.

Now im itchy to get the patterns made so I can try this out in production :]

I bought extra vinyl cuz im sure ill find a way to F it up till I get the hang of it.
 
Top