1990 Steiger Craft transom investigation

jc55

Senior Chief Petty Officer
Joined
Nov 3, 2006
Messages
665
There are 4 posts on each side, but only 2 on the starboard side are toast, one of them will have all of the wiring in the boat under it so I have to repair that now before rewiring.

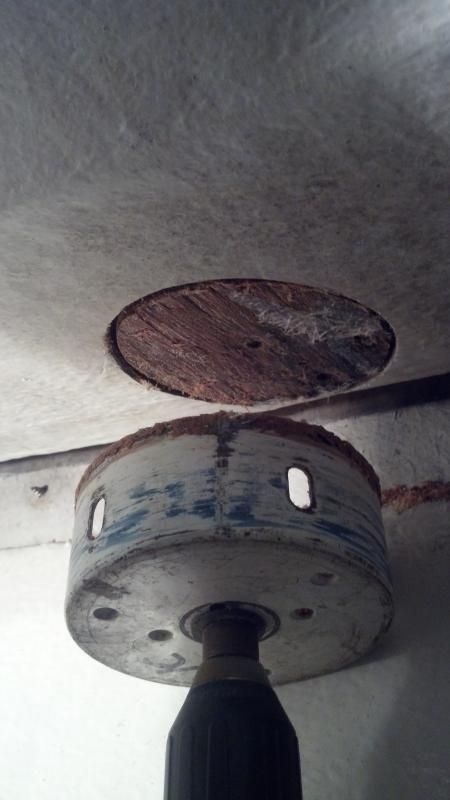
So, 2 major repairs, and rebedding the rest. Yes, I "could" get in from the side. Thinking about it now....what if I had a 5" hole saw and removed a 5" puck of soft wood from the bottom up, leaving the upper deck intact, made a new 5" puck from fresh wood, epoxy that in place to the underside of the deck glass? puck.jpg
Everything is really thick and overbuilt on this boat these areas are in the cabin. Thanks for the input Jig.
 

jigngrub

Fleet Admiral
Joined
Mar 19, 2011
Messages
8,155
I was thinking about chiseling out a 12" long section 6" each way off the center of the post and epoxy in whatever wood you need.

The 5" plug from below would probably work for a while, try it and see. If it doesn't work out down the road you may be in a better mood to do something more thorough. (I just want to see you pull the cap.:cool:)
 

jc55

Senior Chief Petty Officer
Joined
Nov 3, 2006
Messages
665
You are absolutely right Jig, it's just that I'm getting a little burned out since I'm on the home stretch and the weather is really nasty. Hey, If I can replace a transom and pilot house deck without removing the cap, I'm sure not gonna do it for a bow mount!
wink.gif


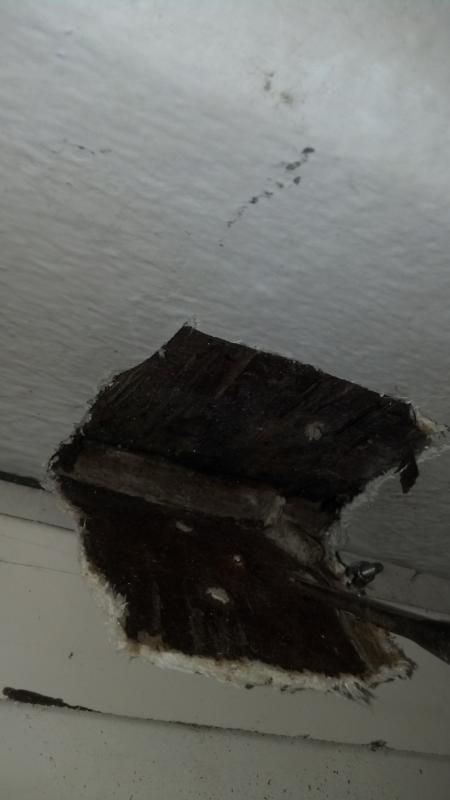
Here's what I found this morning. In the pilot house (starboard side) I can't get the hole saw in there squarely. The wood is wet, but still there...
IMG_20150106_114644_475.jpg


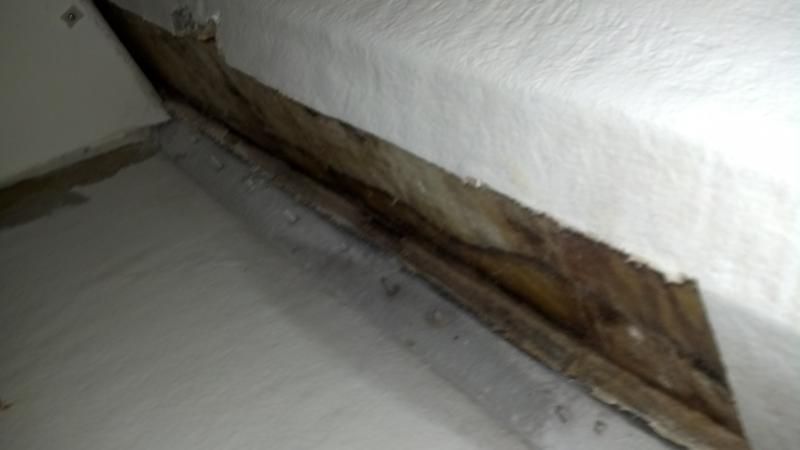
In the cabin (starboard side), the investigation begins...
IMG_20150106_115228_448.jpg


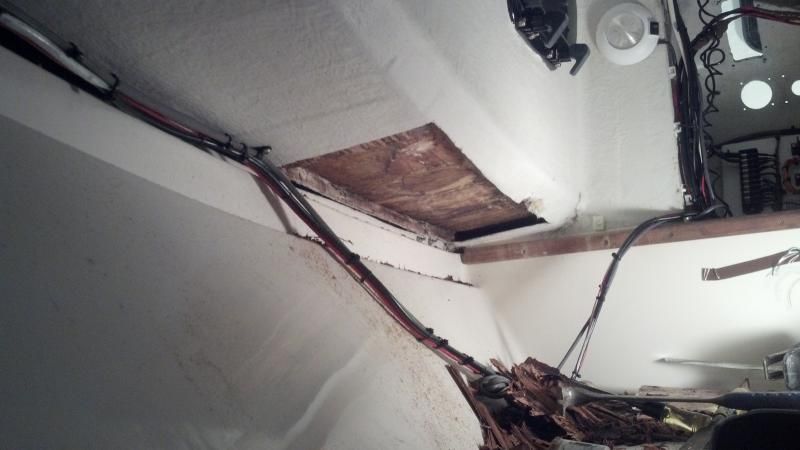
Cut out it out up to wet but more "present" wood. This area leads into the pilot house. I will pump that opening with PB then shove the replacement piece as far as I can then up into place. That's the plan anyway.
IMG_20150106_124629_739.jpg


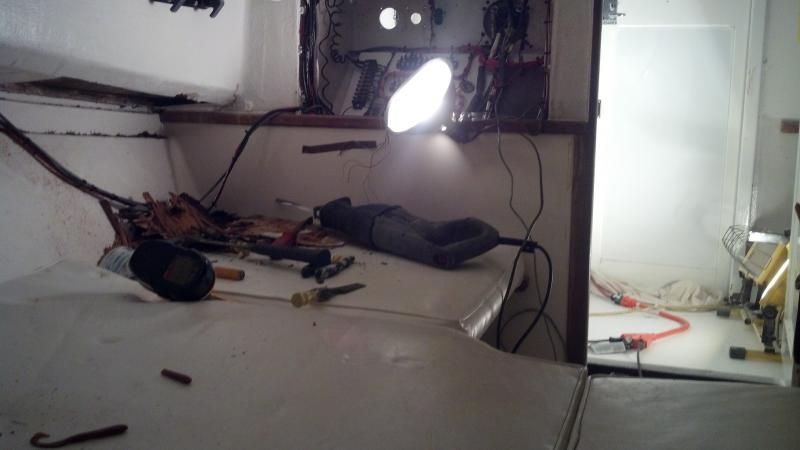
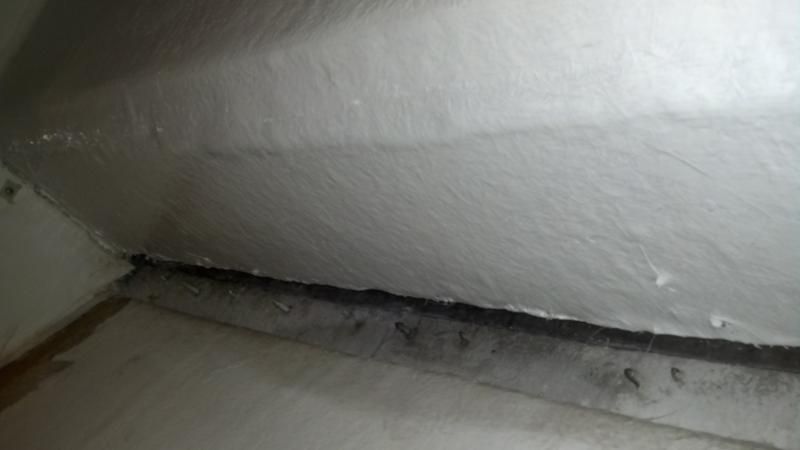
Perspective...
IMG_20150106_124807_013.jpg


I will re-bed the hardware but this is the only really bad area due to water intrusion.
 

kcassells

Fleet Admiral
Joined
Oct 16, 2012
Messages
8,715
You are absolutely right Jig, it's just that I'm getting a little burned out since I'm on the home stretch and the weather is really nasty. Hey, If I can replace a transom and pilot house deck without removing the cap, I'm sure not gonna do it for a bow mount!
wink.gif


Here's what I found this morning. In the pilot house (starboard side) I can't get the hole saw in there squarely. The wood is wet, but still there...
IMG_20150106_114644_475.jpg


In the cabin (starboard side), the investigation begins...
IMG_20150106_115228_448.jpg


Cut out it out up to wet but more "present" wood. This area leads into the pilot house. I will pump that opening with PB then shove the replacement piece as far as I can then up into place. That's the plan anyway.
IMG_20150106_124629_739.jpg


Perspective...
IMG_20150106_124807_013.jpg


I will re-bed the hardware but this is the only really bad area due to water intrusion.


Wow sorry bouts the new issues but they are always there!! or waiting to show up.You have two approaches, top or bottom. Either case I would suggest a full cut of glass {not pcs} and save the glass to put back and fair in later. Top side is probably the easiest but then there is the paint match, below is not as aesthetic so can be cheated alittle for now but repair made. Ohhh the pain of it all!
Watching and taking pics with my coffee machine.
 

jc55

Senior Chief Petty Officer
Joined
Nov 3, 2006
Messages
665
Lol. Well, I quit being a sissy, went back out there and cut another 3' out in the pilot house.
 

kcassells

Fleet Admiral
Joined
Oct 16, 2012
Messages
8,715
Naw it's not being a sissy thing....it's more like "crap" {other words can be substituted}...alright... let me at it thing.
 

Woodonglass

Supreme Mariner
Joined
Dec 29, 2009
Messages
25,927
No wonder, you need new Berth Cushions....:eek::laugh::lol::becky::caked:
IMG_20150106_124807_013.jpg
 
Last edited:

jc55

Senior Chief Petty Officer
Joined
Nov 3, 2006
Messages
665
It's okay! Let's just say, "I know a guy";)
 

kcassells

Fleet Admiral
Joined
Oct 16, 2012
Messages
8,715
Not at you JC you my Buds....just at Woods humor. still laughing. I'd be doing the same thing. lol
 

jc55

Senior Chief Petty Officer
Joined
Nov 3, 2006
Messages
665
What makes it even funnier is that I was talking ABOUT WOG being an upholstery guy!
 

kcassells

Fleet Admiral
Joined
Oct 16, 2012
Messages
8,715
Well I got the new phones and the coffee picture taking machine. Finally got the last one {mine} set up last night. Honestly for the 4-5 days they were off I was in 7heaven. But my son was all over me, now were "bonding" over the new dings. LOL! well guess back to reality/communications/pics haha.
I remember going fishing in the Del. Bay out on the water when there was NO SERVICE....out there, best days of fishing even if I didn't catch a fuish.
The WOG is a trip! I'll get posted soon with new pics...Very happy with that new/replacement propane heater/blower. I'll be working all winter.
 

jc55

Senior Chief Petty Officer
Joined
Nov 3, 2006
Messages
665
The last episode hade me finding rotten wood in the starboard gunwale where the bow rail allowed water to get in. There was sealant under the mounting pads of the bow rail, but the bolts weren't treated to sealant.

Next to the helm, wood removed which goes through this bulkhead and into the cabin...
IMG_20150106_172720_768.jpg


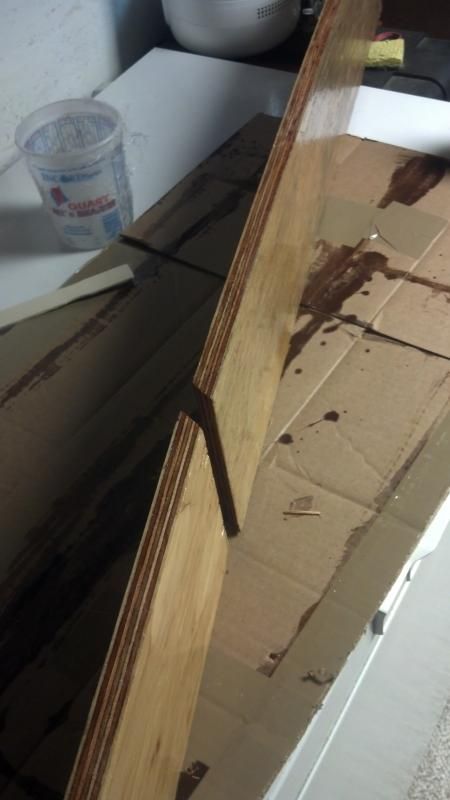
Replacement pieces scarfed and coated with 2 coats of resin...
IMG_20150119_144518_498.jpg


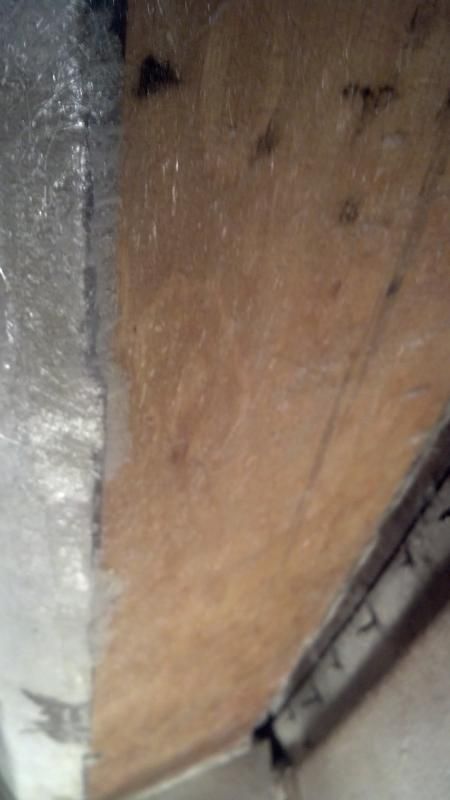
I PB'ed it in place and used temporary holding screws through the bow rail holes above and PB'ed all the way around, then added a layer of 1.5 CSM...
IMG_20150121_155713_068.jpg


Slapped a coat of Rustoleum enamel(it's what the inside of the cabin is coated in from the previous owner. Nothing fancy or perfect. Looks about like it did before. Now I can start running my rigging for the new motor...
IMG_20150121_160353_302.jpg


Got some of this stuff for free...
IMG_20150121_161749_755.jpg


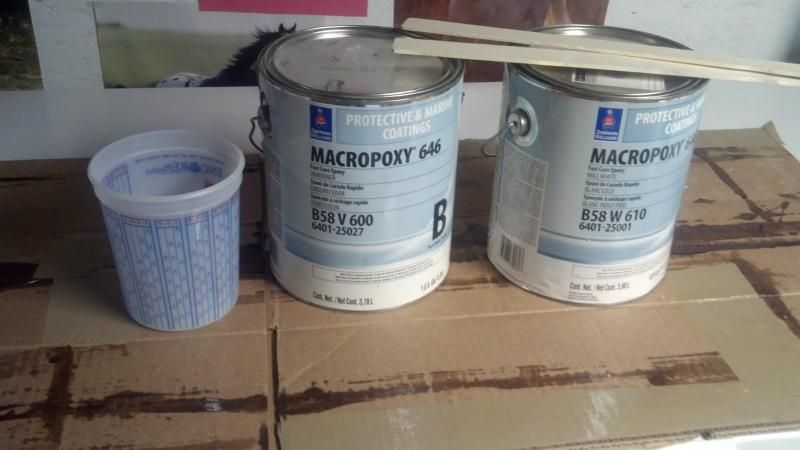
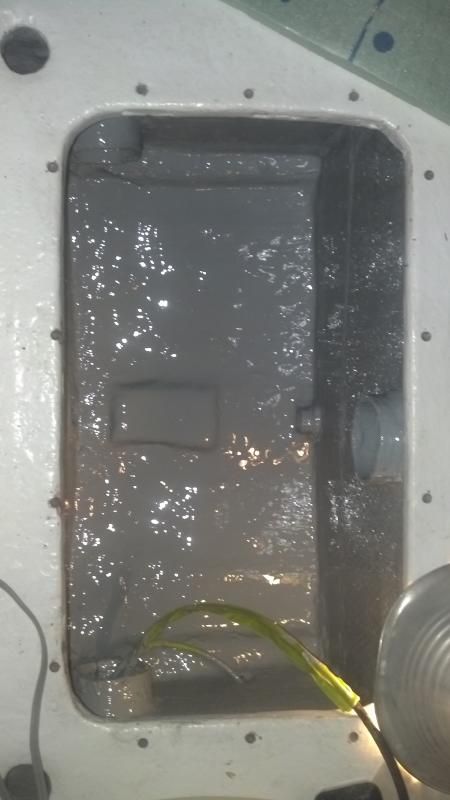
After reglassing the bilge pump mounting block previously with epoxy resin, I got the bilge painted today. This stuff is so thick and delicious. The epoxy paint, that is;)...
IMG_20150121_172000_346.jpg
 

kcassells

Fleet Admiral
Joined
Oct 16, 2012
Messages
8,715
I'd say......... Rather Spiffy! Nice work JC! Stuff looks like jelly but must be jam. Wow that's thick.
 

jc55

Senior Chief Petty Officer
Joined
Nov 3, 2006
Messages
665
Thanks KC and the Sunshine Jam...I mean, um, er, Band.:laugh:
 

jc55

Senior Chief Petty Officer
Joined
Nov 3, 2006
Messages
665
I brushed it on Jig. It's curing nicely with a bulb and Styrofoam over the bilge, and drying with less gloss. (This was left over from coating a 36" underground pipeline)
 

jc55

Senior Chief Petty Officer
Joined
Nov 3, 2006
Messages
665
Not much to report. I've been drilling a couple hundred oversized holes, filling them with thickened epoxy and predrilling for EVERYTHING that penetrates the deck and transom. When filling vertical deck holes that you can't get a backer on, epoxy will run right through. In those cases, I've used polyester resin thickened with SM fairing compound, filling the hole with a large syringe. The filler stays put. It also acts more like epoxy when cured instead of brittle glass.

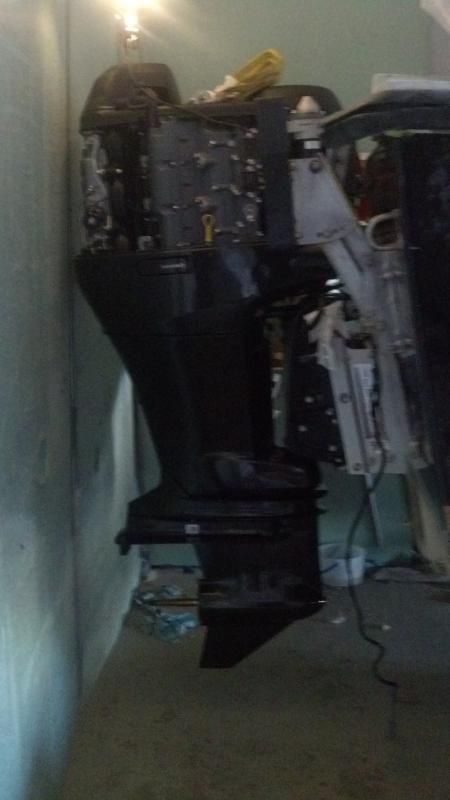
My son and I hung the new motor yesterday...
IMG_20150215_161510_201.jpg


Now, just ordering items like screws and steering parts one at time as everything is retrofitted and rewired again from scratch.
 
Top