1987 Evinrude 200hp outboard resto/rebuild

j_k_bisson

Lieutenant Junior Grade
Joined
Oct 6, 2010
Messages
1,082
Re: Update 02-25-2011

Re: Update 02-25-2011

Oh really...... I have made an offer on a set on ebay. waiting to see if the offer gets accepted. If it doesn't you interested in a sale?
 

j_k_bisson

Lieutenant Junior Grade
Joined
Oct 6, 2010
Messages
1,082
Re: Update 02-25-2011

Re: Update 02-25-2011

Not a problem. Depending on what I hear from ebay, I'll PM you. Still not response. They have two days. SO we will see what happens.

Anyone know about this primer issue?

Wether I need to really sand this stuff or not.
 

ezmobee

Supreme Mariner
Joined
Mar 26, 2007
Messages
23,767
Re: Update 02-25-2011

Re: Update 02-25-2011

Only a light dusting of ZC primer is needed. That's not a building primer.
 

j_k_bisson

Lieutenant Junior Grade
Joined
Oct 6, 2010
Messages
1,082
Re: Update 02-25-2011

Re: Update 02-25-2011

Unfortunately I did built it up over the coarse of three hours this afternoon. Oh well, a bit of wasted of paint. What I did was spray light to medium coats, then waited a 1/2 hr then sparyed again. After I built it up to where I wanted it to be, I cranked the furnace to 30'C for 1.5hrs. Baked it on fairly well.....

Actually I just finished sanding it all down and painting. Sanding took an hour. The primer was not totaly dried sll the way though in a couple of spots. Where it wasn't the paint melted a bit when I was sanding with my 2" right angle. Basically the primer was not making powder when I sanded it in some spots. Most places it did. But I was rushing things a bit.

The painting went pretty good tonight. That Evinrude branded paint is nice stuff! Plan on letting the paint sit for a couple days after I turn down heat later tonight. I have the heat cranked again in the garage. Trying to bake it in like the pro's do.

DSCN1506-1.jpg

DSCN1505-1.jpg

DSCN1502-1.jpg

DSCN1508-1.jpg

So tomorrow night is either start into the hood repair and paint. Or the trim unit. Seeing I am still waiting on the tool for the cylinder caps it will probably be the hood. Great more dust!
 

j_k_bisson

Lieutenant Junior Grade
Joined
Oct 6, 2010
Messages
1,082
Re: Update 02-25-2011

Re: Update 02-25-2011

Well tried to go out the garage after a couple hrs. Fumes are too bad to work out there. Even after airing it out for 10 mins. So I off to my chair to watcha movie and drink a coulpe pops. Too dame early to go to bed!!!!!!

Might be a Red Drawn movie night! Or the deer hunter. Don't know uytil I pull out the old movie boxes. Damn those thing are old! Also most as olkd as my motor!!!!! lol

Some thing just can't be improved upon!!!!!
 

Willyclay

Captain
Joined
Sep 8, 2006
Messages
3,252
Re: Update 02-25-2011

Re: Update 02-25-2011

Looking good! Are you using rattle-cans only?
 

j_k_bisson

Lieutenant Junior Grade
Joined
Oct 6, 2010
Messages
1,082
Re: Update 02-25-2011

Re: Update 02-25-2011

Yep only rattle cans. Just checked it out this morning. She is drying/baking quite nicely. This afternoon the black on the mid section. A bit of scrubbing to get the yellow over spray off and surface prep. Then masking off the silver, finally spray the black. It should all be dry by this evening session out in the garage.

The mid section side panels are next. They are in very rough shape. Well see how they come out. They are made out of plastic. So I need to rethink the primer I use on them. Any suggestions from here?
 

j_k_bisson

Lieutenant Junior Grade
Joined
Oct 6, 2010
Messages
1,082
Update 02-26-2011

Update 02-26-2011

Well had a bit of an accident this afternoon after finishing the black paint on the mid section two tone application. Here is what the mid section came out like. Not bad I think.

DSCN1512-1.jpg

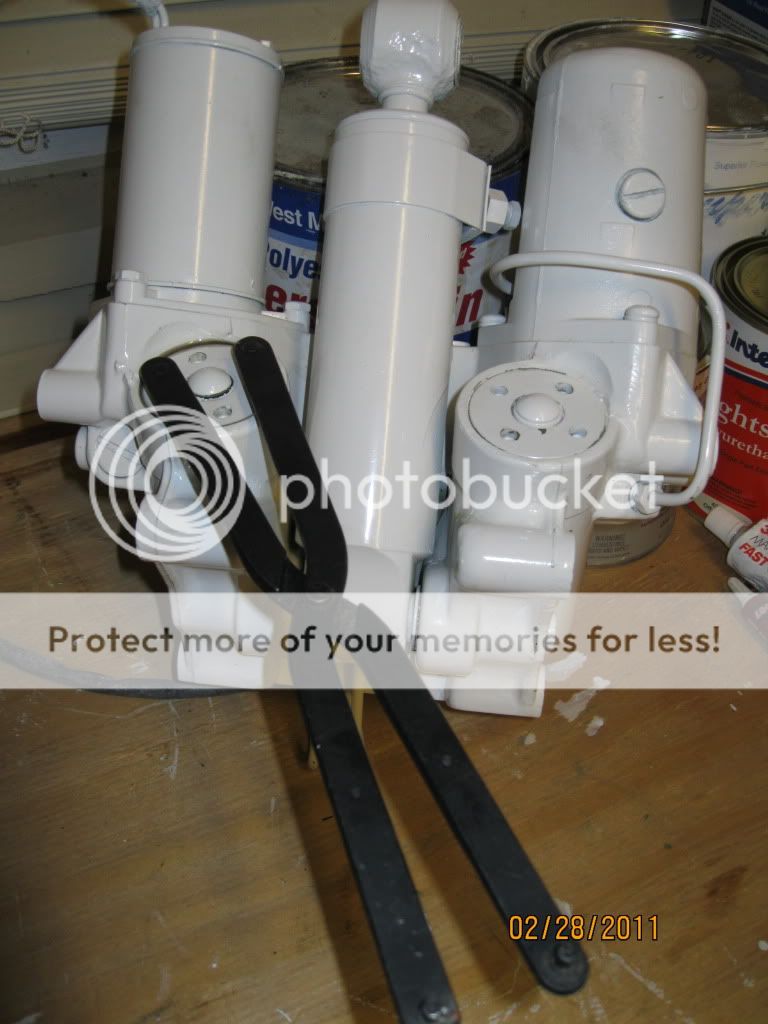
In the next pic you will see where I put the parts I painted yesterday up an out of the way on the garage door track. Well my own fault or clumsiness I decided to open the door after spraying the black to air out the garage. :facepalm: Needless to say I knock a couple of them down and dinged the new paint. So a bit more sanding and paint and vola here are the two parts with another coat of paint on them.

DSCN1510-1.jpg

Since I was taking pics I thought I give you guys a couple of pics of the mid section side panels before I started in on them. They are plastic but the material is not specified on the parts. So I'll check with our paint supplier at work on Monday and find out what to use for primer. Yes I am a plastics engineer working for a tier one supplier to the big three. We do not do painting of plastic in house. We out source it to another company locally. Here are the pics.

DSCN1513-1.jpg

DSCN1514-1.jpg

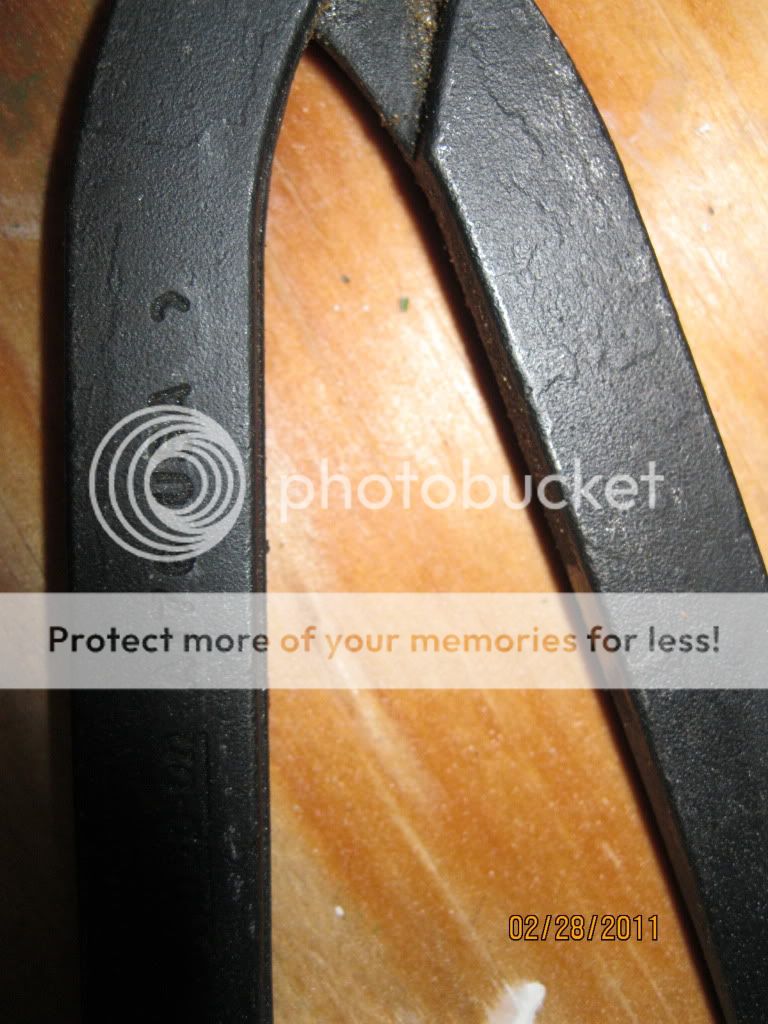
Those white marks are gouges in the plastic and paint. So I will need to sand and feather them in. Oh what a fun night I'm going to have tonight! :eek: Also I included in the pic what I use for sanding. I use a right angle die grinder with a 3" scotch brite sanding pads. I use coarse and fine. They don't take too much off which is nice. If I need to take off alot I use 36 grit and 100 grit sand paper pads on the same tool. I find the scotch pads feather better and do not gouge the part like sand paper pads do. A little bit at time and no mistakes. When I rush things fall down and get dinged. LOL
 

ezmobee

Supreme Mariner
Joined
Mar 26, 2007
Messages
23,767
Re: Update 02-26-2011

Re: Update 02-26-2011

Can you give me the name and place where you bought the Evinrude paint? I'm going to be doing mine soon. Nice work so far.
 

j_k_bisson

Lieutenant Junior Grade
Joined
Oct 6, 2010
Messages
1,082
Re: Update 02-26-2011

Re: Update 02-26-2011

I bought it at my local Evinrude dealer. They had it on the shelf. In Detroit it is Lockman's Harware. They have been in buisness at that location since the 1940's. Not many buildings still standing around them, most are burnt out shells, if you know what I mean...... But when it comes to working on an Evinrude thaty know what they are doing. Their mechanics have been working on rude's for all their lives. So they know most things with these motors. I like dealers that have been around a while like that.
 

j_k_bisson

Lieutenant Junior Grade
Joined
Oct 6, 2010
Messages
1,082
Re: Update 02-26-2011

Re: Update 02-26-2011

No work last night. A couple of buddies stopped by and the garage fridge was heavily raided! Don't think there is many refreshments left in there.....

Nothing but boat talk and fishing stories last night. Its going to take a couple of days and some extra strength Advil to recover from this one.....

Deffinately a family day of watch'n movies on the couch with the kids.
 

nymack66

Petty Officer 1st Class
Joined
Aug 5, 2009
Messages
356
Re: Update 02-26-2011

Re: Update 02-26-2011

Looking great, I like the paint color it looks awesome. I like the build from the Interlux polyurethane it seems to really hide any flaws, I have been using holds well to the UV here in Florida ...
I have also warn folks to keep PB blaster away from there T&T seals also. A mechanic ruin my T&T I never forget it to this day.
I went Boating yesterday 82 degrees just wonderful.
 

j_k_bisson

Lieutenant Junior Grade
Joined
Oct 6, 2010
Messages
1,082
Re: Update 02-26-2011

Re: Update 02-26-2011

Right now here on the south side of Detroit City, I have a foot of snow on the ground and there is a thunder storm going thru. Man is the weather here strange this time of year....... Hell there is a flood warning out too!

My parents are down there in Florida right not. In Fort Lauderdale.... I hope they love it.

Thanks Man for the compliment Any idea on what colours and where the pin striping is on these motors? I mean the one on the mid section by the lower unit.
 

nymack66

Petty Officer 1st Class
Joined
Aug 5, 2009
Messages
356
Re: Update 02-26-2011

Re: Update 02-26-2011

Sorry I have no idea what the original color scheme was on this Year/Model ..Hopefully someone will respond ...
 

j_k_bisson

Lieutenant Junior Grade
Joined
Oct 6, 2010
Messages
1,082
Re: Update 02-26-2011

Re: Update 02-26-2011

Well it's been a bad day of ebaying and everything else today. It put everything on hold for a week. It started with the special trim cylinder cap tool I bought from a company in Austraila came in with the envelope wide open and nothing in it. That was fun dealing with the USPS about that one. Zero chance of that being found.... Thank god the supplier is shipping a new one at no additional cost. Then the pivot shaft I bought from a guy in Flordia came in and it was the wrong part. 1/2" shorter than the original one. Still do not know what is going to go on with that one. Then I got to the local Evinrude dealer and he just sold the last one of everything I needed an hour before I got there (paint mostly). Hey "ezmobee" did you buy all my paint? LOL

So I'm taking the night off before anything else goes wrong....... I learn't the hard way on this one.
 

nymack66

Petty Officer 1st Class
Joined
Aug 5, 2009
Messages
356
Re: Update 02-26-2011

Re: Update 02-26-2011

Jeff, I can send you my Snap On Spanner wrench as a loaner if you like, return it when your's arrive. I promise I will seal the envelope.
Also I have a compete mid 20" my spare its brand spanking new never installed. In a pinch I can send you mine which you have to promise to send back to me once you get yours from the ebayer. I can't sell it because I can NEVER find a new one. At lease not for the price I paid for it.
Here are some photos, mine measures assembled from the bench to the top of the yoke as shown its exactly 17 and 1/8 in the picture it shows a little longer.


Here she is all zinc !
DSCF0013-2.jpg

As you can see no rust ..
DSCF0003.jpg
 

nymack66

Petty Officer 1st Class
Joined
Aug 5, 2009
Messages
356
Re: Update 02-26-2011

Re: Update 02-26-2011

When buying these Yoke, Swivel or whatever the correct nomenclature is always ask for a close up picture of this area ...Its where they get corroded ...
DSCF0004.jpg
 

j_k_bisson

Lieutenant Junior Grade
Joined
Oct 6, 2010
Messages
1,082
Re: Update 02-26-2011

Re: Update 02-26-2011

No thank you on the tools and parts. I a;preciate it very much, but it will just give me more time to finish the side panels to perfect condition! lol I hate to say it because the way it sounds but, I'm going to message them side panels, with sand paper, better than wife's back has ever been in her whole life. lol Hope she doesn't read this one......
 
Top