1983 Lund American 16ft Transom Replacement

jrenneker

Petty Officer 2nd Class
Joined
Jul 5, 2010
Messages
118
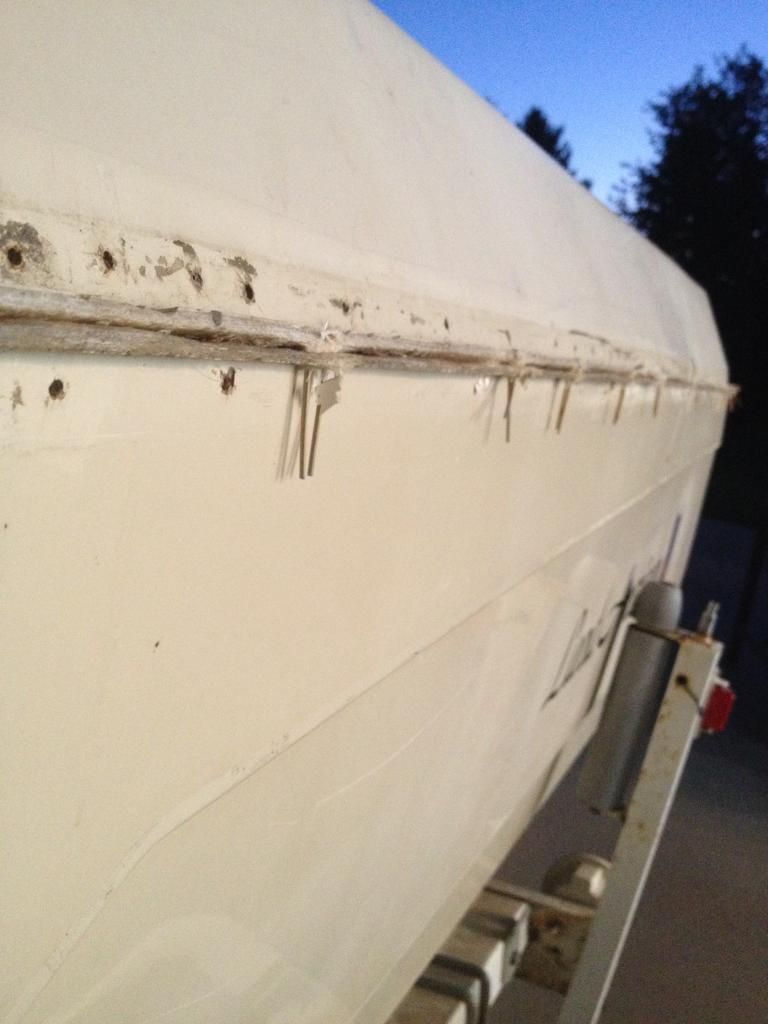
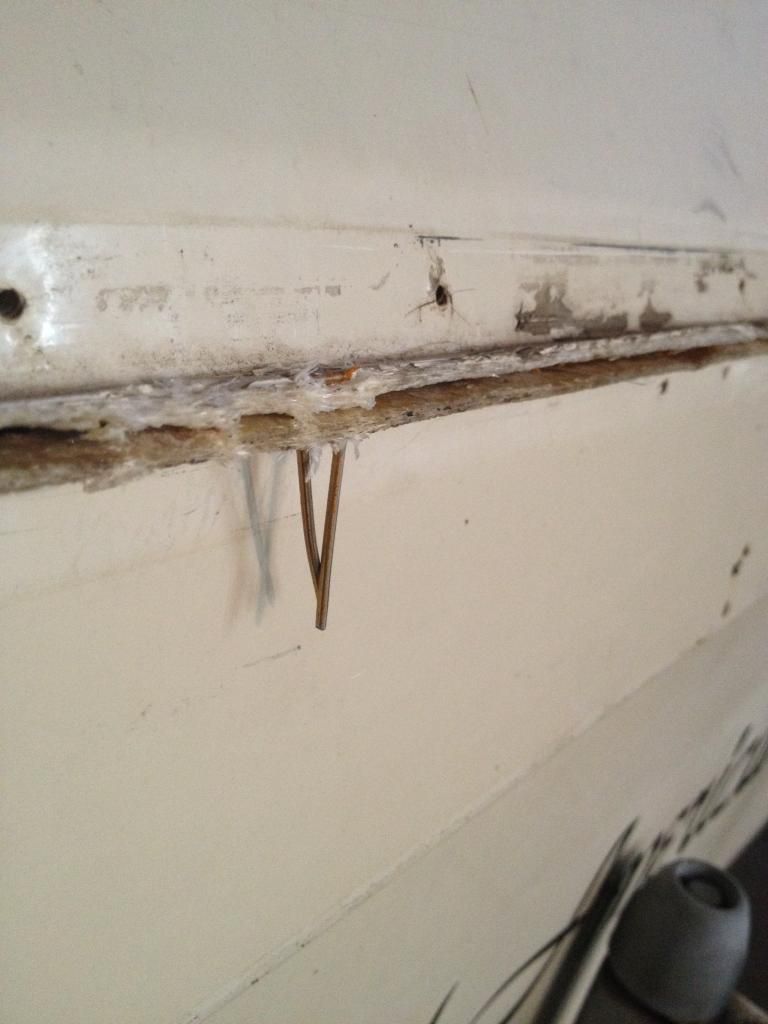
I was trying to figure out how to attach the top cap to the bottom. It was originally stapled. So I found a powerful staple gun and tried it. It worked but I had to go around the whole boat and cut/bend every staple along the cap so the rub rail would fit back over. Below are some pics of how it looked after being stapled.


jrenneker

Petty Officer 2nd Class
Joined
Jul 5, 2010
Messages
118
After I had the top cap where I needed it to be then it was off for primer!


jrenneker

Petty Officer 2nd Class
Joined
Jul 5, 2010
Messages
118
The primer laid down really crappy so we had to wet sand.. A lot!


I was amazed at how the splash well turned out. You can't even tell it was cut in half and shrunk to accommodate the thicker transom!


jrenneker

Petty Officer 2nd Class
Joined
Jul 5, 2010
Messages
118
After wet sanding we sprayed a sealer to seal the primer. The first attempt at color was not very successful. We sprayed it on too thick and we got a bunch of runs. So we had to pull out some paint prep and cleaned the off the color. Good thing it was only a small portion of the boat and thankfully we had sprayed the sealer. Remember to always spray THIN!! Here is the second attempt at our base coat.


Second and third coat of our base coat.


jrenneker

Petty Officer 2nd Class
Joined
Jul 5, 2010
Messages
118
We sprayed the clear coat and let it sit for the night. The next day I pulled it out of the shop excited to see what it looked like. Not a good outcome. If you look close the base coat was so blotchy and spotty. I didn't like it. Sooooo back to wet sanding. I we sanded the clear goat and picked up more base color to spray more coats.


Here is a pic of it after we fixed the base coat. It looks awesome when sitting in the sun!


jrenneker

Petty Officer 2nd Class
Joined
Jul 5, 2010
Messages
118
Ok so I have been cleaning and installing my hardware. A lot of the aluminum parts really cleaned up well with a lot of elbow grease. I will add some photos soon. The biggest question I have right now is my installation of the drain plug sleeve. I used a paint brush to spread resin around in the hole of the drain plug to seal the wood. I then roughed it up with some sand paper, cleaned it with acetone, smeared a bunch of 3M 5200 and inserted my drain plug sleeve. I fabricated a flange and smashed the new sleeve into its home. The flange didn't work as planned so I'm wondering if it will be good enough? Or should I chisel the sleeve back out and insert a new one.. That sounds like a lot of work. Here is a pic.


jrenneker

Petty Officer 2nd Class
Joined
Jul 5, 2010
Messages
118
When we cut the splash well I never thought about the inner and outter drain holes not matching up. So both of my splash well drain tubes sit at a slight angle.


Here is my home made flange tool.


Do you think I can keep installing the sleeves the same way as the drain plug sleeve? I'm not sure if it will flange completely around the whole? Thanks for the help!
 

Woodonglass

Supreme Mariner
Joined
Dec 29, 2009
Messages
25,924
I think I'd recommend filling the holes with PB and redrilling them Flat!!! That's not gunna work, IMHO!!!!:eek:
 

jrenneker

Petty Officer 2nd Class
Joined
Jul 5, 2010
Messages
118
That's kinda what I was thinking also for the two splash well drain sleeves. WOG do you think the main drain plug sleeve was flanged enough? That one was a straight shot and sealed with 5200.
 

Woodonglass

Supreme Mariner
Joined
Dec 29, 2009
Messages
25,924
"WOG do you think the main drain plug sleeve was flanged enough? That one was a straight shot and sealed with 5200. "

I'd say yes, for now. Splash it and check for leaks and keep and eye on it. If it becomes suspect later on...Replace it. It's not that hard to do!!!;)
 
Last edited:

jrenneker

Petty Officer 2nd Class
Joined
Jul 5, 2010
Messages
118
OK so I've been busy since my last post on here. I figured tonight would be a good night to catch up anyone who is still interested in the worlds longest boat restoration! :D
 

jrenneker

Petty Officer 2nd Class
Joined
Jul 5, 2010
Messages
118
3BCB5BCF-319F-4398-AAD5-198C9A17E788_zpsp2gtuplv.jpg

I went to work cleaning up all the hardware I was reusing. Like the rub rail, hand rails, nav light brackets, and anchor tie offs. Her is a shot of the rub rail gap. I cleaned that up by using a lock washer on the back side to slowly suck in the parts of the top cap.
 

jrenneker

Petty Officer 2nd Class
Joined
Jul 5, 2010
Messages
118
I used all my old cabinet doors as templates and made all new ones. Then I glassed them.

78461F27-80AC-4740-9BEA-1CA08D3222F3_zpsc7adzhls.jpg
 

jrenneker

Petty Officer 2nd Class
Joined
Jul 5, 2010
Messages
118
Same goes for the channel that my electrical and cables run through.

9C62F3DC-CB41-43F2-BFBB-C3F3853EAD67_zpssdus8iqm.jpg
 

jrenneker

Petty Officer 2nd Class
Joined
Jul 5, 2010
Messages
118
I also did it for the front stabilizing piece. This one was tricky because the floor went from 1/2" to 3/4" so I cut it big and sanded until it fit.

72C6B8AB-6089-49BC-A54F-19A394C9699C_zpsupigjrge.jpg
 

jrenneker

Petty Officer 2nd Class
Joined
Jul 5, 2010
Messages
118
Then for the fun/pain in the... Carpet!! It went together a lot better than I was expecting. I love the way it turned out.

026CE8DC-4F23-4F2A-A2E1-3068BEECE022_zps4qkpq2gs.jpg 2B097E1C-0E26-4371-A6F6-CE82268E082F_zpsekad5rqg.jpg

One problem that arose was some of the doors were too big for the carpet being wrapped around them. So I had to trim off about 1/4" so they fit snug and I didn't need locking latches for the front cabinets and the livewell.
 

jrenneker

Petty Officer 2nd Class
Joined
Jul 5, 2010
Messages
118
Then for the fun/pain in the... Carpet!! It went together a lot better than I was expecting. I love the way it turned out.


One problem that arose was some of the doors were too big for the carpet being wrapped around them. So I had to trim off about 1/4" so they fit snug and I didn't need locking latches for the front cabinets and the livewell.
 
Top