1983 Invader Floor Repair Support Needed - Take 2

Rickmerrill

Senior Chief Petty Officer
Joined
Mar 13, 2014
Messages
686
That would be strong! Heck nuts, bolts and SS washers would be a big improvement in strength over the way they did it. An aluminum plate might be easier to find, easier to work with and would be suitable. In addition you can drill oversized holes in the deck, fill with PB then re drill for your bolts to really protect the sole core. Sealant like 3m 4200/5200 between hinge and deck and all around the bolts. If water did get past your bolts would it go to the bilge or into a sealed/foamed compartment?
 

Tnstratofam

Commander
Joined
Aug 18, 2013
Messages
2,679
One other option you might consider is not using the flip up hinges at the front of the engine cover at all. Instead if there is a bulk head at the rear of the engine cover attach it there with something like a ( I can't think of the correct name ) dog house snap. The kind used on full size van engine covers. That way you're not penetrating the deck at all. You could also pb in a sacrificial piece of plywood encapsulated with glass and resin to the top of the deck, and mount the hinges to it. Seal up the screws with 3m 5200. If it ever rots you can grind it off and add a new piece without ever having screws in the deck. Just a couple of other ideas.
 

PitaBoat22

Petty Officer 2nd Class
Joined
Jun 20, 2009
Messages
148
Thanks for the ideas guys! My thought at this point is to go with RM's suggestion of drilling oversized holes, filling them with PB and then redrilling holes to accommodate the bolts. Great idea re using an aluminum plate. I was wondering how I would go about finding a stainless steel plate that was the right size with the right-sized hole.
 

PitaBoat22

Petty Officer 2nd Class
Joined
Jun 20, 2009
Messages
148
Next question. The deck rests on a lip along both sides of the hull. What goes between the deck and this lip? PB? Or does the deck simply rest on this lip??
 

Jared9220

Seaman
Joined
Dec 29, 2010
Messages
59
Nice work, and congrats on completing the grinding stage.

Next question. The deck rests on a lip along both sides of the hull. What goes between the deck and this lip? PB? Or does the deck simply rest on this lip??

I am no expert but everything I read seems to suggest that anytime wood meets the hull some type of bedding material should be used. I would think PL glue would be a good choice. I could be wrong. (I am assuming the "Lip" you are talking about is part of the hull?)
 
Last edited:

PitaBoat22

Petty Officer 2nd Class
Joined
Jun 20, 2009
Messages
148
That was my understanding as well. PL would be easier, and probably cheaper, than PB.
 

Rickmerrill

Senior Chief Petty Officer
Joined
Mar 13, 2014
Messages
686
Either PL or PB would work. PL does take a long time to completely cure and it off-gasses while curing and tends to form bubbles so it's not a great fillet material. For that reason many use PB over it to create the fillet. 72 hours is the min cure time or you can get bubbles in your PB fillet. I ran the numbers once and cost wise they were close; the PB was actually slightly cheaper. PL is cheaper in the large tubes than the small ones but you need to figure in the cost of the large caulk gun if you have to buy it. So I'm in the PB camp but it's just a preference thing.
 

PitaBoat22

Petty Officer 2nd Class
Joined
Jun 20, 2009
Messages
148
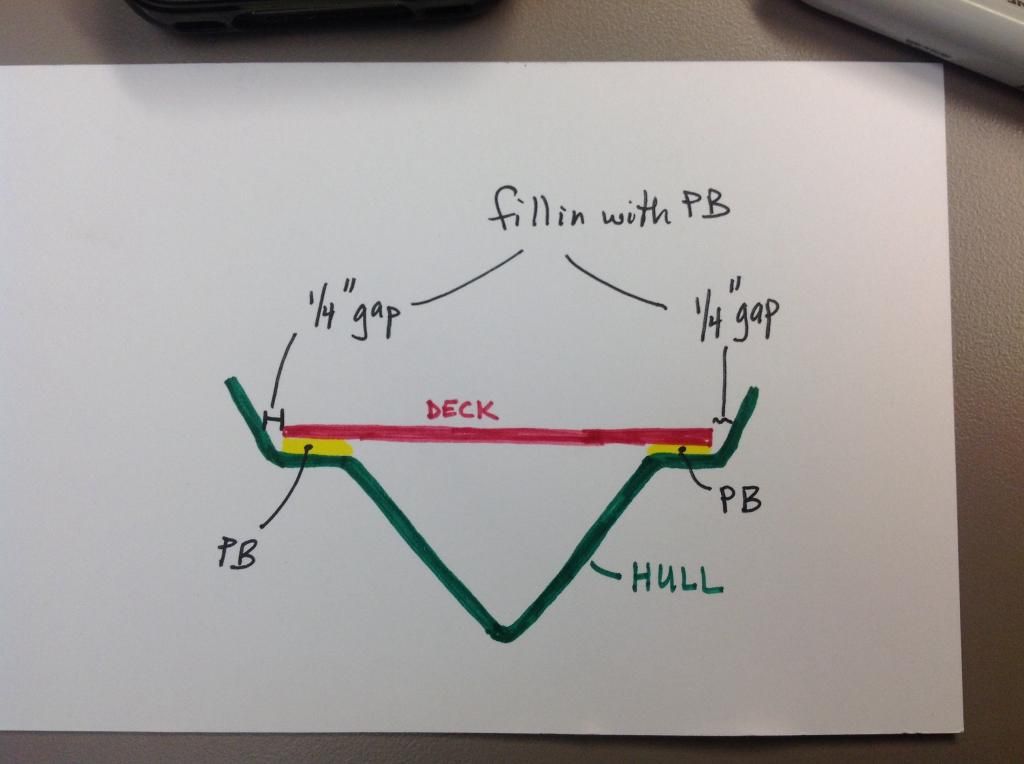
Ok Wood, I'm sure I'm just overlooking it, but I haven't seen info re: what to bed the deck material in. I understand to leave a quarter inch gap between the edges of the deck and the hull, to fill that gap with PB and to then glass over that. I want to be sure I understand what to put between the underside of the deck and the hull. I think you're recommending PB, correct? See drawing and refer to the yellow space between the deck and the hull.


Woodonglass

Supreme Mariner
Joined
Dec 29, 2009
Messages
25,928
Well...In your case since your boat has this specific configuration and once the deck goes down nothing will come in contact with the material...It really doesn't make a difference what your use. It would be basically the same as adhering the deck to the top of the stringers. You can use anything you want cuz you're NOT gunna be applying any glass or resin to it. I guess, If it was me, and me being and Die hard PB guy, I'd use PB all the way but...There's absolutely nothing wrong with using the PL Adhesive in this application either. Heck you could use Liquid Nails, 30 year construction Adhesive or just about any other type exterior adhesive. It's NOT gunna matter much cuz if you do the other work right there's not gunna be much of anything effecting the underside of the deck once it goes down.:eek::D;):bounce:
 

PitaBoat22

Petty Officer 2nd Class
Joined
Jun 20, 2009
Messages
148
Thanks Wood! I knew you'd come through with just the right advice. I'm still applying both resin and glass to the entire underside of the deck and over the top of the stringers.
 

PitaBoat22

Petty Officer 2nd Class
Joined
Jun 20, 2009
Messages
148
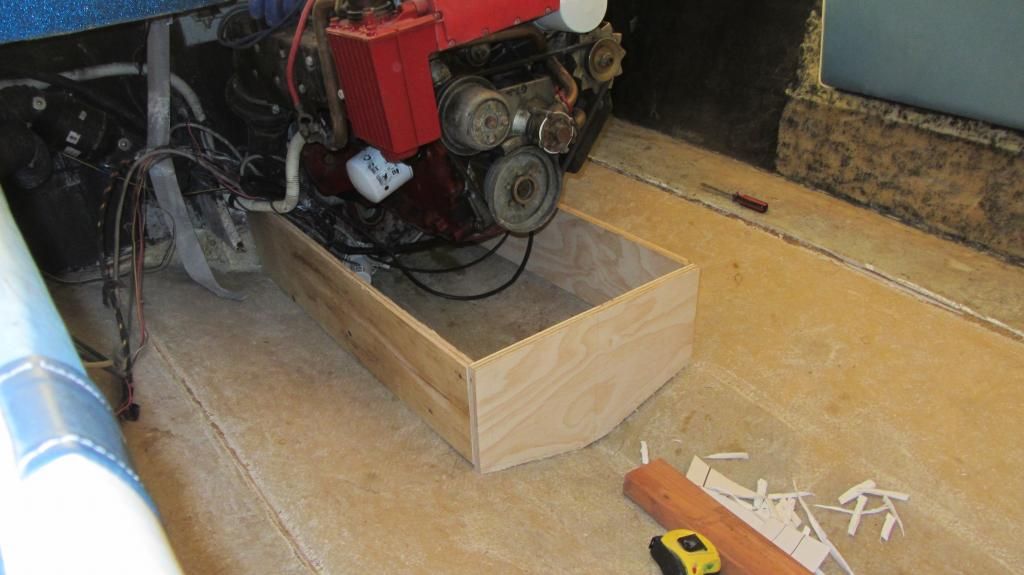
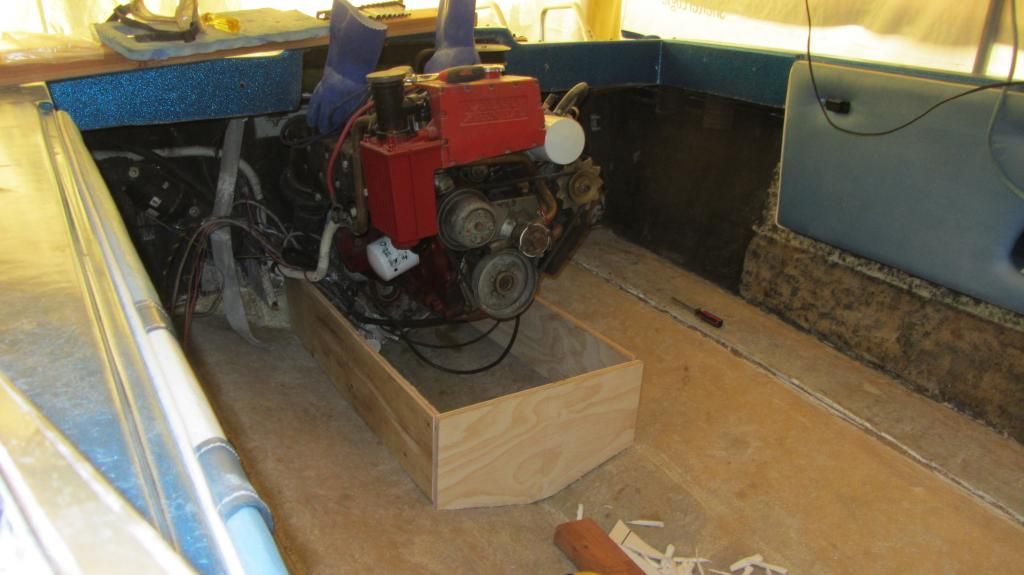
Roughing in stringers in the stern and the first bulkhead. Fitting for length, width and angling with the hull first and will adjust the height later.


PitaBoat22

Petty Officer 2nd Class
Joined
Jun 20, 2009
Messages
148
Ok, need some help with determining the stringer & bulkhead height. I am already accounting for a quarter-inch space between the stringers and the hull as well as a quarter-inch space between the deck and the hull. What should I account for between the stringers and the deck - particularly given that I am going to follow Wood's recommendation of glassing over the top edge of the stringers and bulkheads.
 

Jared9220

Seaman
Joined
Dec 29, 2010
Messages
59
And the rebuild stage begins :laugh:. Great job getting to this point and I look forward to seeing your glassing skills. I am going to be at the same stage as you as soon as I get the final clearance from the wife to cut the check for all the materials. I'm hoping to have everything ordered by the end of the week. Watching with anticipation.
 

PitaBoat22

Petty Officer 2nd Class
Joined
Jun 20, 2009
Messages
148
LOL....glassing skills! The only glassing I have ever done involved some small repairs to an RC plane I used to have. Doing this boat is going to be a bit more involved. I just hope I get the stringer height right.
 

Jared9220

Seaman
Joined
Dec 29, 2010
Messages
59
Maybe you can use a sheet of pink foam to make some "mock up" stringers and lay another flat piece of foam on top to make sure the floor will lay where you want it to and is level.

How much room will you have working around the engine when it comes time to tab the stringers to the transom and cap them? From the look of the pictures there isn't much room toward the rear of the engine. Do you expect any problems?

EDIT: I just remembered you said the stringers still needed to be cut down. I'm guessing you will have more room after that.
 
Last edited:

Woodonglass

Supreme Mariner
Joined
Dec 29, 2009
Messages
25,928
Ok, need some help with determining the stringer & bulkhead height. I am already accounting for a quarter-inch space between the stringers and the hull as well as a quarter-inch space between the deck and the hull. What should I account for between the stringers and the deck - particularly given that I am going to follow Wood's recommendation of glassing over the top edge of the stringers and bulkheads.

The amount of Resin and glass that you'll use on top of the stringers will be approximately 1/8" to 3/16" thick
 

Rickmerrill

Senior Chief Petty Officer
Joined
Mar 13, 2014
Messages
686
Not sure I completely understand your question Pita. If you are talking about the top of the stringer wood to the bottom of the deck wood figure about .040" per layer of CSM so one layer to cap and one on the bottom of the deck is .080, just over 1/16" (figure .050" for 1708 if you cap with that - like it matters!). So many ways to skin this cat. Did you see how Nurseman setup "stands" fore and aft to hold his stringers in place? I used cardboard to get the hull shape (foam board works good too). Taped a sharpie to a stick at a 90 and slid it along the hull to scribe the shape on the cardboard (friscoboater has a video of it). Then I used a straight edge (strings) at the front and back of the stringer across the hull at the height of the bottom of the deck and recorded the height of the stringer at each end. Cut the hull shape on the cardboard, trace onto wood, measure up at each end the stringer height minus the 1/4" and 1/16, connect the dots and cut the stringer top. Did the same for the bulkheads but used the installed stringers to set the height. My main goal was to avoid trying to cut the stringer tops once installed and it worked. I hope that made some sense.
 
Top