1983 Invader Floor Repair Support Needed - Take 2

Rickmerrill

Senior Chief Petty Officer
Joined
Mar 13, 2014
Messages
686
Just need to "rough and scuff" s
o worst case you may need to do some hand sanding with 60 grit (I've used the multitool to "sand" a little) but I'll wait for the pictures. It's called a load leveler or engine leveler. Glad to see you're open to the idea of pulling it should it become necessary.
 
Last edited:

PitaBoat22

Petty Officer 2nd Class
Joined
Jun 20, 2009
Messages
148
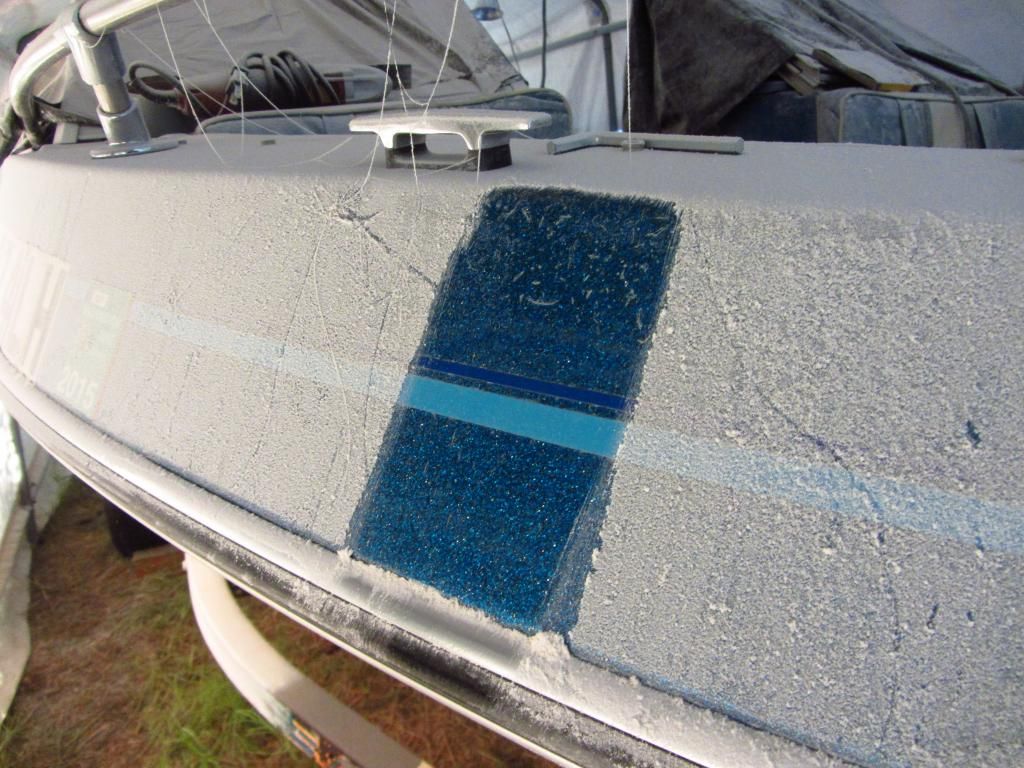
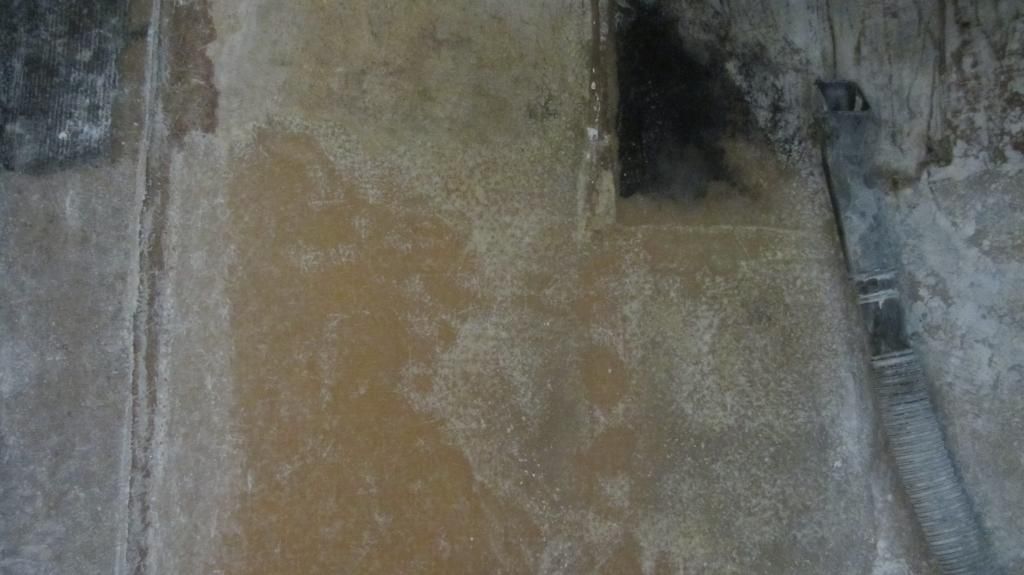
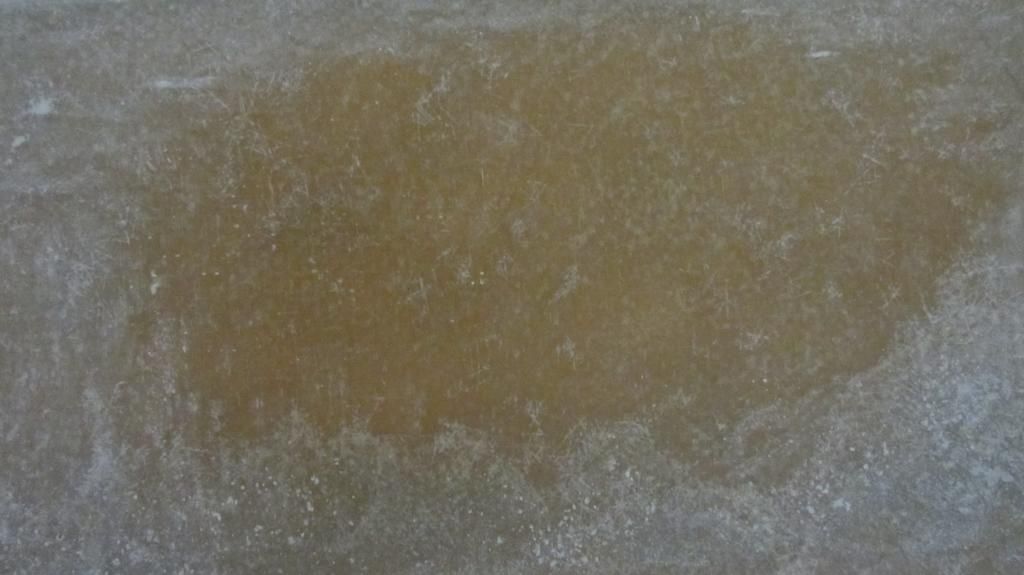
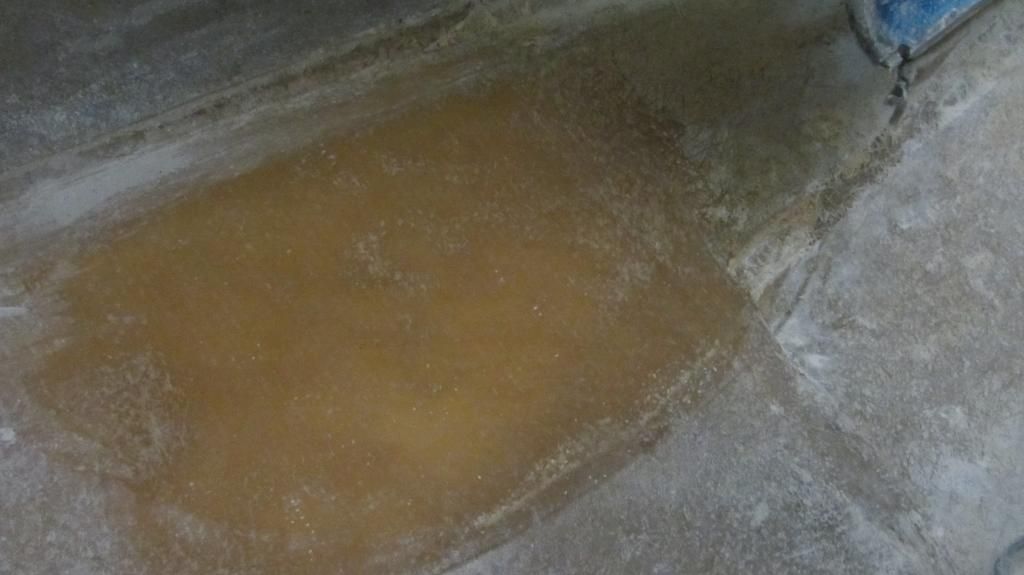
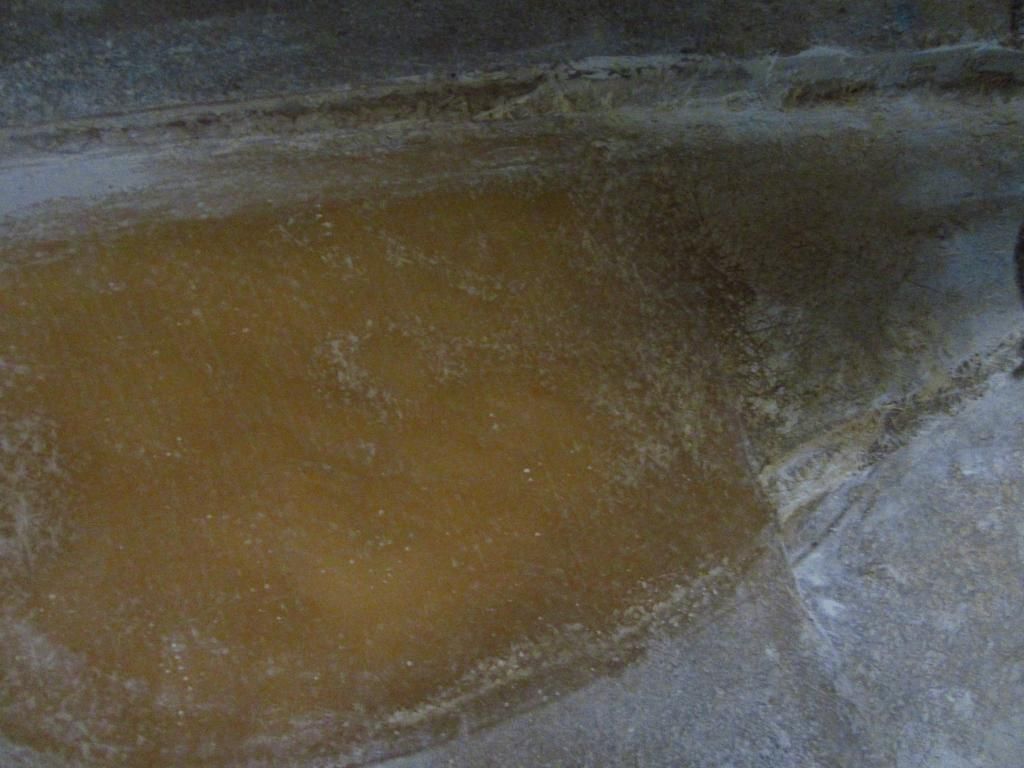
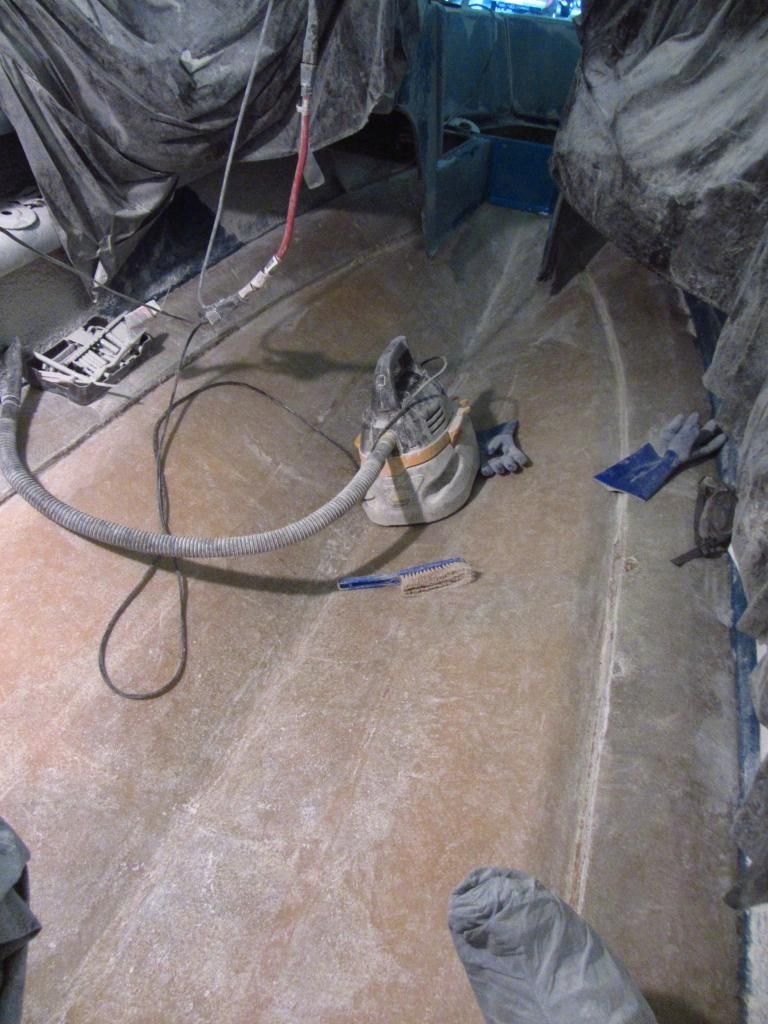
Ok, here are some pics of where I left off last night. The first illustrates the fact that this glass & resin dust gets everywhere. The others show pieces of the hull that I wiped clean with a damp cloth this morning. Additional notes are posted with each pic. Let me know if I am going overboard with the grinding. Was hoping to get all the grinding done this weekend, but life has its way of getting in the way sometimes and that may be the case this weekend, so I'll get to it if I can.

Dust gets everywhere and there's lots of it


This pic shows the part of the hull, black in color, that has yet to meet the grinder and other areas that have met the monster. Notice the difference in color in these areas. The area just to the left of the vacuum hose has met the grinder and the area further to the left has been ground down even further. This is the nice smooth surface I'm talking about. Do I need to get down to this level or just rough things up a bit as I have done to the area just to the left of the vacuum hose?


A close up of an area that I have ground down to the nice and smooth surface. Again, grinding to this level may not be necessary. Advice is welcomed.


Another close up


And another.
 
Last edited:

PitaBoat22

Petty Officer 2nd Class
Joined
Jun 20, 2009
Messages
148
And hey, picked up my plywood yesterday and have it all set up for drying out.


Woodonglass

Supreme Mariner
Joined
Dec 29, 2009
Messages
25,928
Nope, I'd say, that's just about perfect. You want nice, smooth, clean glass for the new stuff to adhere to. I'd say "Carry On!" Have you tried any kind of dust collection yet?
 

PitaBoat22

Petty Officer 2nd Class
Joined
Jun 20, 2009
Messages
148
No dust collection, Wood. I've gone this far without it and will probably just finish up the same way. Just don't want to mess with another thing while grinding.

Studioq, I hadn't planned on a specific period of time but rather up until the point I am ready to start cutting them up. I imagine it'll be a couple of weeks at least.
 

Jared9220

Seaman
Joined
Dec 29, 2010
Messages
59
Looking good. I'm getting ready to join in on all that fun grinding you've been talking about. What sanding disks are you using? I'm getting ready to go get some supplies and I've heard to use 36 grit sanding disk and a flap wheel. What's your input?

If you decide to pull the engine I can walk you through it or try and scan and upload the pictures and directions from a volvo penta service manual. I have a manual for all volvo penta stern drive 1968-2003 (all model engines and drives) so I can walk you through just about any repair you can think of.
 

PitaBoat22

Petty Officer 2nd Class
Joined
Jun 20, 2009
Messages
148
Excellent Jared. Thanks.

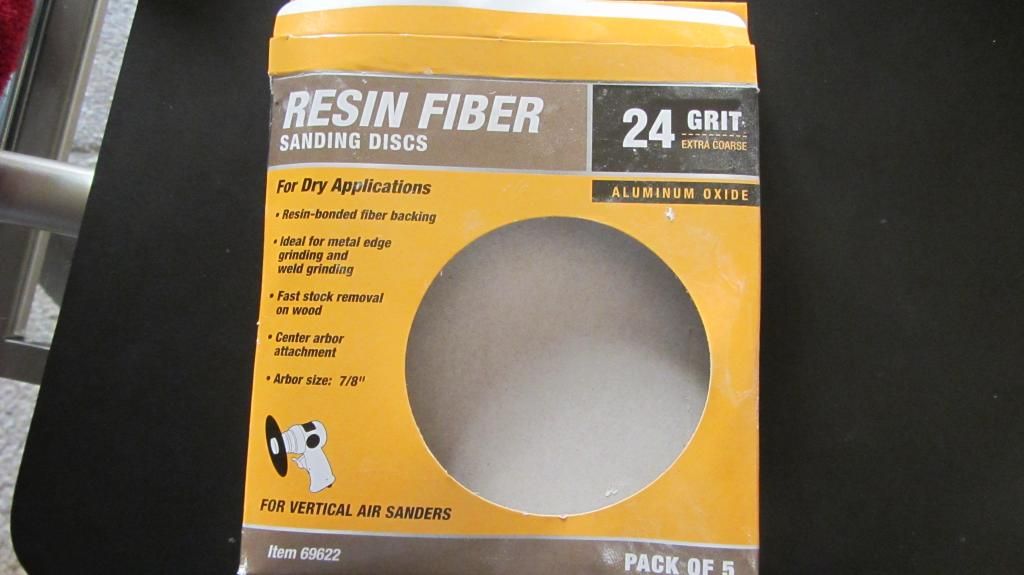
Here's what I'm using along with a plastic backer disc. Just attached both to my angle grinder and removed the guard on the grinder. I would have picked up the 36 grit, as per WOGs list of needed supplies, but they were out so I am using the 24 grit instead. Work great. I am on my 2nd disc.

I am using some of those long rubber gloves like the ones they used in Breaking Bad. Use duct tape around your wrists and ankles before putting the gloves on and wrap a towel around your neck to help keep the dust off of your neck. I also wore a short sleeve t and a long sleeve t under the tyvek suit, but it is in the mid 60s here so its tolerable from a heat standpoint. These things kept my post grinding itching to a bare minimum. Oh, also wore some of those marino wool socks.

Ok, one question regarding the lower connection between the heat exchanger and the coolant housing. I think OE included an actual pipe; however, it looks that was done away with on mine somewhere along the way and now its just a piece of radiator hose connecting the two with clamps on either side. This worked just fine for a long time but I think that is where my recent coolant leak was coming from. I have taken the heat exchanger off and I am replacing all of the sealant rings that are involved and I think I'm just going to pick up a new piece of radiator hose for the lower connection. Any thoughts on that? The piece of hose is about 2 inches in length.

 
Last edited:

Jared9220

Seaman
Joined
Dec 29, 2010
Messages
59
What engine do you have? I want to took up a cooling system diagram and look at which hose you are talking about, but off the top of my head I would think replacing with another rubber hose should be fine as long as it is not bent/kinked restricting flow.
 
Last edited:
Rickmerrill

Senior Chief Petty Officer
Joined
Mar 13, 2014
Messages
686
If your going to be grinding guardless you might try these gloves Nurseman used. They are cut resistant and I think he picked them up at HD. I think they're a good idea and I've got the holy gloves to prove it!


Rickmerrill

Senior Chief Petty Officer
Joined
Mar 13, 2014
Messages
686
Oh, this site is truly amazing. You were asking for step by step instructions on your engine/drive and look who comes along. When I started my boat there was someone about 70 miles away with almost the identical boat and he found a supplier for Arauco ply in his small town when I couldn't find one in the big city (just to mention one of the ways he helped me out).
 

PitaBoat22

Petty Officer 2nd Class
Joined
Jun 20, 2009
Messages
148
Agreed RM! It's an aq125a. The hose is 2 inches max and about 1 to 1.5 inches in diameter, so no room for bending, kinking, etc.
 

Jared9220

Seaman
Joined
Dec 29, 2010
Messages
59
I had a chance to look up a diagram of your cooling system and I think I found the hose/pipe you are talking about, part #28 in the diagram below. If that's the one then you should totally be fine using a rubber hose in it's place as long as both sides are the same diameter. The OE replacement parts is $60 so now you know why the PO switched to a rubber hose. Just curious, did it start leaking at the hose clamps?

http://www.volvopentastore.com/Heat-...-viewcart.long

6403_1.png
 
Last edited:

PitaBoat22

Petty Officer 2nd Class
Joined
Jun 20, 2009
Messages
148
Thanks. I've used this diagram many times and #28 is the part. The cost of the part was my first clue as well as to why there's a hose in its place now. And I am not paying the $60 either. The leak looked to be coming from the end attached to the coolant reservoir. You know, I didn't even try tightening it before taking the whole thing part, so it may just have worked itself loose over time.
 

PitaBoat22

Petty Officer 2nd Class
Joined
Jun 20, 2009
Messages
148
Wood - I logged my location on the map you created. Cool idea. I wanted to check in with you regarding that hole I created with my drill in my hull. Is this something I can fix after I complete the deck restoration?

Ok everyone, I am starting to give some thought to floor covering options. No, I'm not to that point yet as you can tell from my pics, but thinking about these things helps me keep moving forward. Carpet was in the boat before and I am looking at different options. I can go with carpet again, but was looking at some rubber/vinyl-type material the other day at a local store and am wondering about this stuff. Not sure about the slip factor of this stuff. Any recommendations?

Video update posted: https://www.youtube.com/watch?v=hdsx...ature=youtu.be

 
Last edited:

PitaBoat22

Petty Officer 2nd Class
Joined
Jun 20, 2009
Messages
148
Good morning! I would like to reiterate the benefit of wearing a long sleeve shirt under the Tyvek suit, pulling the Tyvek sleeve back just a bit so the sleeve of the shirt shows at your wrist and then using duct tape to bond the two together. Not too tight around your wrists, you still need blood in your hands. Then put on the long gloves. I had been doing this until yesterday. The new Tyvek suit I bought and used yesterday had elastic around the wrists, so I thought I was good and didn't wear the long sleeve shirt and I didn't use the duct tape. However, wearing my dress shirt this morning, I can definitely tell the difference. Also, having the boots built into the Tyvek suit was definitely the way to go.
 

Woodonglass

Supreme Mariner
Joined
Dec 29, 2009
Messages
25,928
Thanks for "Pinning" yourself on the Members map. Make sure and let anyone in your area Know you're in their area!!! As for the small hole, just fill it with some PB and put a CSM patch over it and then you can do some cosmetic repair on the outside later on. It's really not a big deal.
 

PitaBoat22

Petty Officer 2nd Class
Joined
Jun 20, 2009
Messages
148
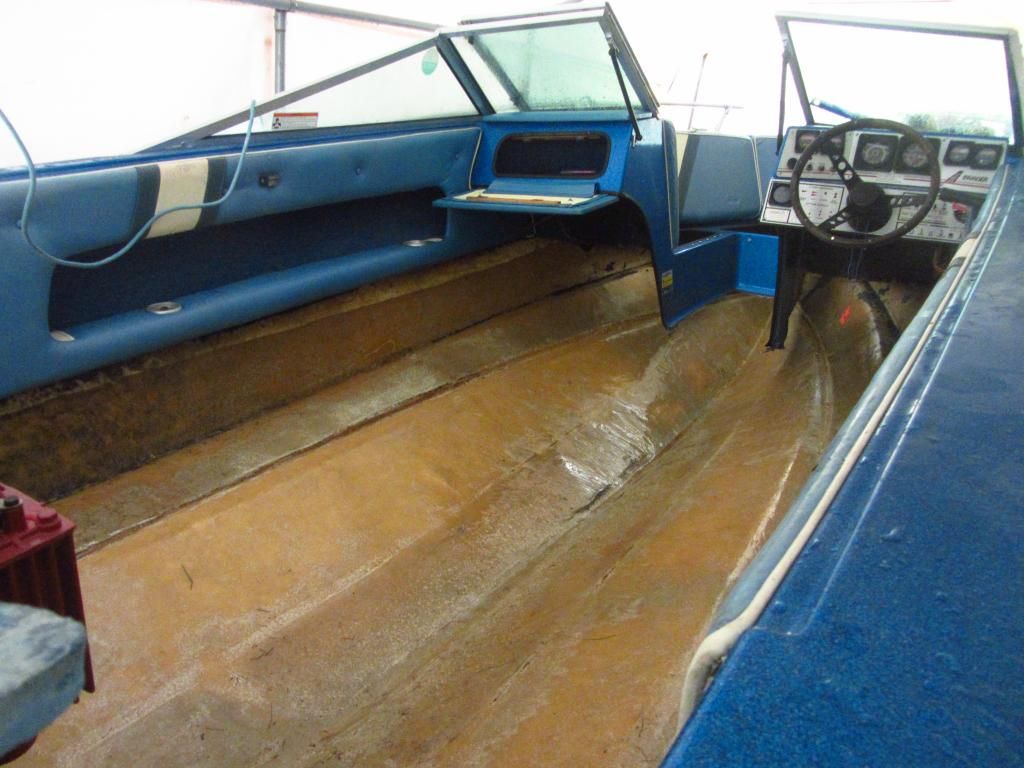
Grinding is DONE! Vacuumed everything out and then rinsed everything out. Pics taken just after the rinsing are posted below. I can't tell you what a relief it is to be done with all of that. Now on to getting the stringers, bulkheads and keel pieces measured, cut and covered with resin.

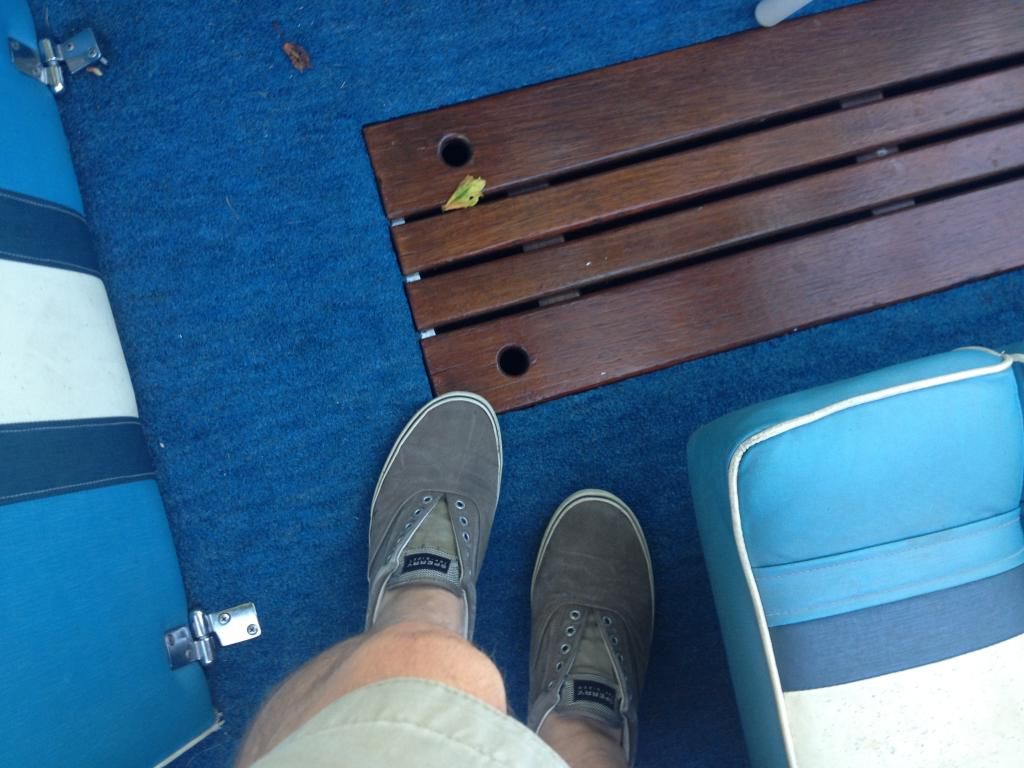
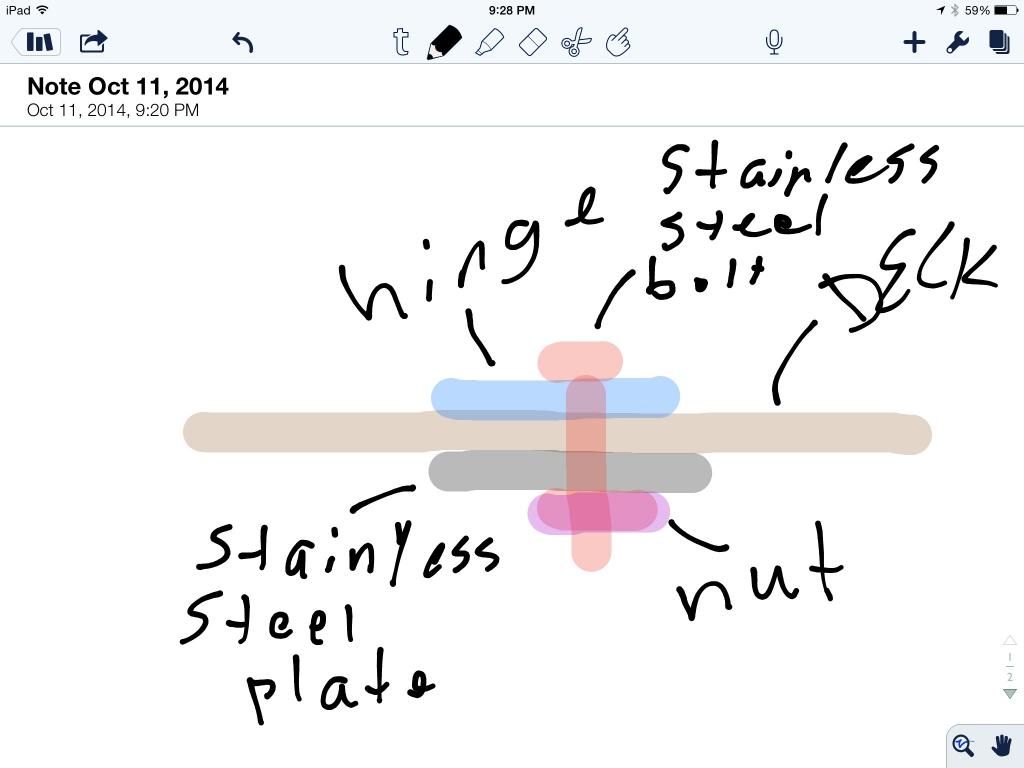
Thinking ahead a bit, what advice do people have regarding how to best manage situations in which you have to insert a screw into the finished deck? You'll recall from one of my earliest pics - also reposted below - that the hinges for the engine cover were attached to the deck via 4 screws. In fact, the first observation that raised my concern about the condition of the deck was that these screws no longer bit into the wood. Given the comparable condition of that wood to the rest of the old deck & stringers, it sure looked to me like this piece of wood had been rotting longer than the rest. I don't want to repeat this. So, I'm giving thought to how to best secure the hinges to the deck to minimize the risk of water penetration. Any ideas?

Pic of engine cover hinges


Grinding is DONE and everything has been rinsed off
 
Top