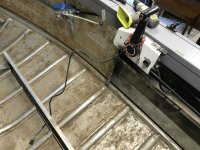
@SHSU I like how you have your drain set up much lower. I have noticed I get quite a bit of water sitting in mine. Due to the lovely laws of CA, if I am inspected before launch and its found i have ANY water present in the bilge, then I will not be permitted to launch. I will keep it in mind that I may need a better drain hole.
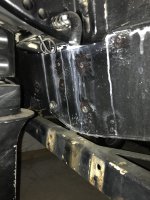
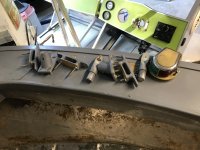
I also like the way you reinforced that knee brace. I will probably copy that idea and i agree, replace all the rivets of the brace. Not a lot of work for a lot of insurance.
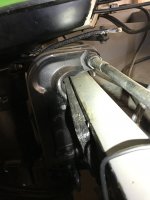
I will work out pulling all the wires off the motor and disconnecting the steering today. Not sure how to do the steering though. I think it has fluid as well as cables? Will google it.
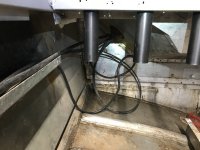
The moeller fuel tank will sit on the deck floor that runs floor to stern. It was put in by the PO and is 3/4” thick ply that has been epoxied. A few pieces of the bow area have not been epoxied though so I will be doing it for all wood going into the boat.
On that note, I will also be redoing the trailer bunks since they are treated 2x6’s, and not sealed. Once the motor is off, all wires will be taken out so I can have a bare hull. Even debating stripping the paint now after seeing classiccats, yours, and watermanns work.
I was hoping for a slightly less intensive renovation, but you dont really know until you tear into it. I have accepted the fact that I will not be done in a few months, but I should be done by June at the latest when boating season starts. Was originally aiming for the start of fishing season (march) but will see how it goes.


.


 !
!