Moserkr
Chief Officer + Starmada Splash Of The Year 2021
- Joined
- Nov 23, 2020
- Messages
- 883
*** Official Start ***
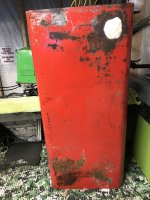
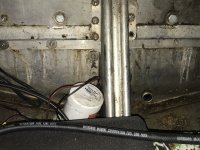
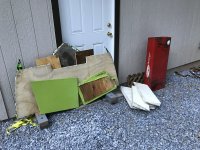
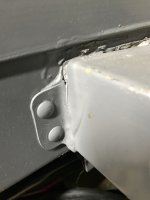
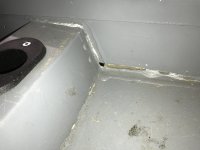
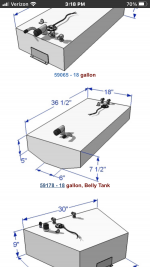
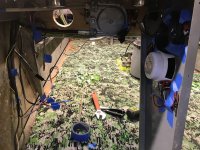
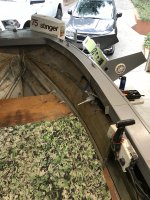
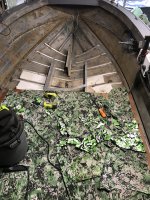
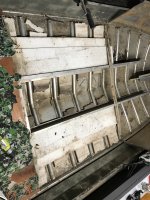
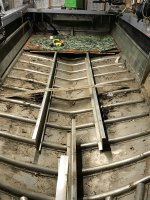
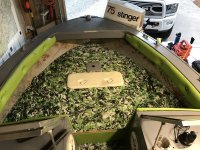
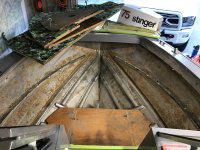
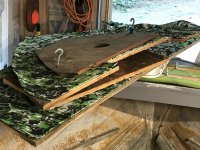
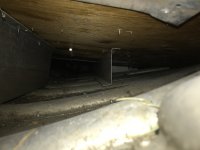
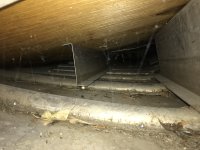
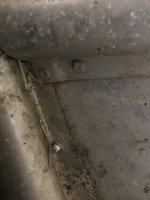
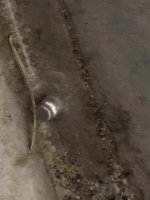
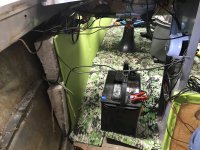
Was able to tear into the bow today through different pieces of lumber and screws, to get to where I can see the hull. No surprise since I know the PO that the project was done, but not done right. Deck boards are all screwed down using square head screws into the hull supports. Underneath the main deck is little to no foam as expected, with the little foam being original styrofoam. Lots old rivet pieces lying around - nothing was cleaned up after his work - again, expected. Not sure if the rivets he put in are done right though. The old ones and new ones look different. I also measured for the fuel tank location and its going to be tight to get it up front. I will lose a lot of storage that I previously had so im going to have to look at my options before making that big decision. I see a bunch of junk on the hull too that needs to be cleaned up before I apply gluvit so will have to research that too.
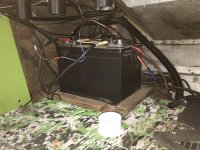
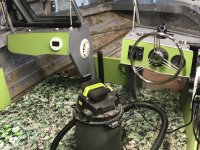
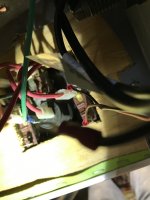
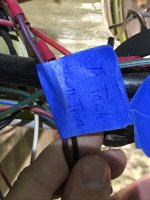
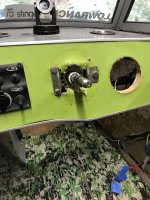
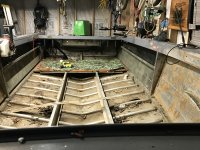
Next step while I consider my gas tank options, is working on the main deck. I need to get the electrical all labeled before disconnecting, take out the batteries / old gas tank, and then remove the consoles. After that i can get the main floor out which shouldnt be too difficult.
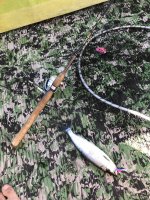
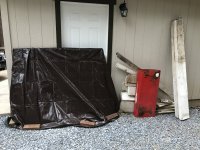
My garage is small and full of all my outdoor stuff, so im literally against a wall while working. Had to remove the trolling plate and trailer hitch to close the garage, but the boats only in there during the winter. Goal is to move fast yet do it as right as I can before winter really hits and it gets colder. Usually february-march is when we could see massive amounts of snow. Almanac is calling for a drier winter here so maybe ill get lucky.
Was able to tear into the bow today through different pieces of lumber and screws, to get to where I can see the hull. No surprise since I know the PO that the project was done, but not done right. Deck boards are all screwed down using square head screws into the hull supports. Underneath the main deck is little to no foam as expected, with the little foam being original styrofoam. Lots old rivet pieces lying around - nothing was cleaned up after his work - again, expected. Not sure if the rivets he put in are done right though. The old ones and new ones look different. I also measured for the fuel tank location and its going to be tight to get it up front. I will lose a lot of storage that I previously had so im going to have to look at my options before making that big decision. I see a bunch of junk on the hull too that needs to be cleaned up before I apply gluvit so will have to research that too.
Next step while I consider my gas tank options, is working on the main deck. I need to get the electrical all labeled before disconnecting, take out the batteries / old gas tank, and then remove the consoles. After that i can get the main floor out which shouldnt be too difficult.
My garage is small and full of all my outdoor stuff, so im literally against a wall while working. Had to remove the trolling plate and trailer hitch to close the garage, but the boats only in there during the winter. Goal is to move fast yet do it as right as I can before winter really hits and it gets colder. Usually february-march is when we could see massive amounts of snow. Almanac is calling for a drier winter here so maybe ill get lucky.
Attachments
-
 E971BBF6-C303-4842-AC5D-30FCD1796B67.jpeg3.9 MB · Views: 35
 -
 19FAE2D3-D429-497F-8DBA-178B97A95BD6.jpeg3.3 MB · Views: 33
 -
 58192D8C-70A3-4201-9B61-00BBF59584CE.jpeg2.4 MB · Views: 32
 -
 099D55B7-B9B5-4AF0-A446-AA0D804A95D7.jpeg882.1 KB · Views: 34
 -
 C41CA29B-37BA-4AE1-A77C-CCDF224FEB81.jpeg1.1 MB · Views: 220
 -
 F9EC80DB-E7FE-4057-9732-5E323E9C71BA.jpeg988.2 KB · Views: 35
 -
 95F844B5-C40E-4E4A-9283-CEB42A795597.jpeg630.4 KB · Views: 34
 -
 59D8A980-D5BE-45D7-B3E0-D1BD4896FCFB.jpeg3.2 MB · Views: 38
 I have a quazi-HOA where we pool together our $$ to insure the forever-green areas of our plan...but there are still restrictions. If it weren't for an HOA, I'd have a pole-barn with a lift & room for 3+ boats!
")