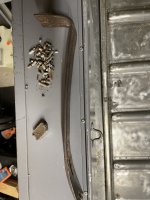
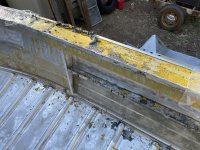
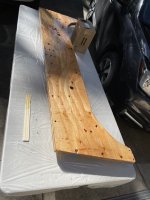
@SHSU Way to rain on my parade... lol. Transom was tight W and H wise, but plenty of room L. I didnt realize glass would take up that much space! When i removed the gunnel braces in the stern it made it easy to slide the transom and extra AL in. Just enough space for a little glass on the sides. Top and bottom need to be shaved.... so sanded them a bunch today for nothing lol. I appreciate the questions - i didnt stop n think enough apparently lol. Shouldnt be too hard at least, I had to clean up the edges and bore out the holes anyway.
For the extra rivets to just fill holes, yes I was planning on over sizing the holes, filling with epoxy, and drilling again. Basically just leaving an open space for a rivet tail to stand out without much contact. Ill test fit and add extra 5200 to these holes when i finish putting in the transom.


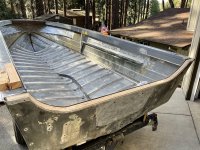
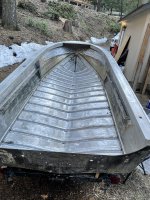
 . I did redo 3 of them when they werent flush. All good now. Dont have clecos so plan is to drill em out one by one and replace with a piece of tape over the head, holding it in place. Then when its time to rivet, dip in 5200 and send it home. Figure that will buy me time so I only need a helper for a short while. Luckily I only got around 100 solids left to do that require help.