Moserkr
Chief Officer + Starmada Splash Of The Year 2021
- Joined
- Nov 23, 2020
- Messages
- 883
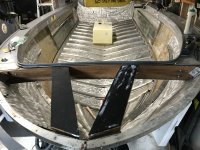
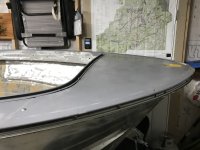
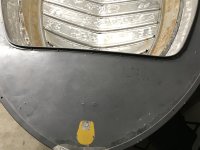
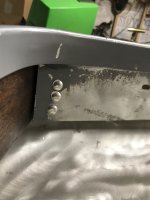
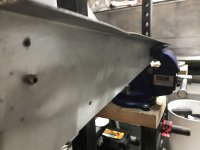
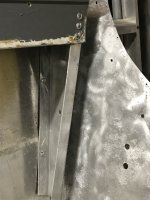
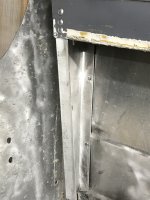
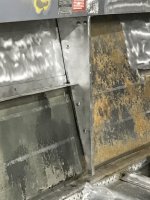
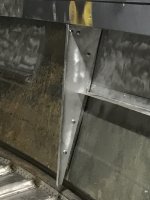
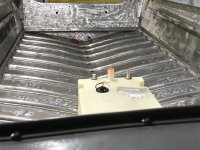
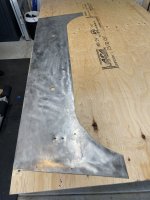
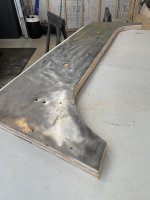
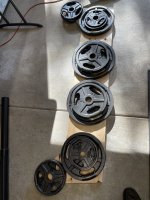
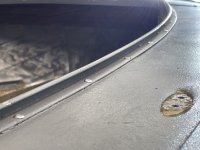
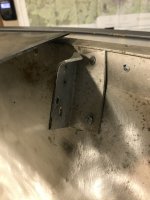
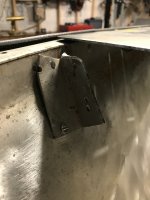
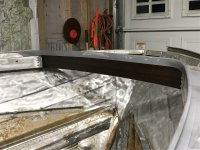
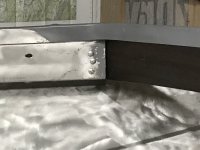
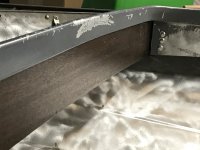
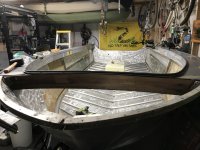
@classiccat Thanks! The practice ones turned out great. The boat ones, most were good lol. But the bow area is awkward to work on in my defense as a FNG. I forgot to turn down the pressure after doing my first few! Thanks for the reminder. Here are a few more pics of the front! Going to work into the night after dinner and try to get the front done.
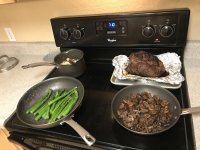
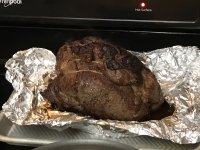
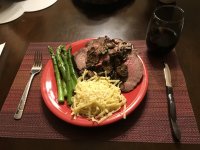
Making a cross rib roast (rare or its wrong) with sautéed garlic mushrooms, blanched asparagus, and Admiral is adding a fettuccine herb and parmesan cheese pasta. Bottle of red wine to boot! We also like to cook n eat right
Making a cross rib roast (rare or its wrong) with sautéed garlic mushrooms, blanched asparagus, and Admiral is adding a fettuccine herb and parmesan cheese pasta. Bottle of red wine to boot! We also like to cook n eat right
Attachments
-
 C0211BAC-D94C-44B7-B48E-556746F95400.jpeg1.1 MB · Views: 24
 -
 C1F42926-4B91-49AC-829D-1C8B21D73AA7.jpeg1.1 MB · Views: 24
 -
 B80FD7BB-2C61-40C1-A01A-5E37A9937082.jpeg2.3 MB · Views: 24
 -
 1DE245A8-684B-4E3A-8A29-F67C8FA7F26E.jpeg1.1 MB · Views: 24
 -
 04AFAD9C-CCF6-4F09-96B5-F75DFEF95B3C.jpeg1.4 MB · Views: 25
 -
 FBA13C7F-6E57-409D-B10A-AEE962CCDBC6.jpeg2.9 MB · Views: 24