1979 26' Commander gas & H2O tank replacement & ?

zool

Captain
Joined
Aug 19, 2012
Messages
3,432
yea, Mike, Ive used most of the 3m spray adhesives many times on headliners, carpet, ect. (the 77(standard), 90(stronger), and trim adhesive( for over metal)

Heres a video installing vinyl using the 3m trim adhesive and 3m remover.

https://www.youtube.com/watch?v=xKMeGN0zOq0

its around the 3:00 mark in the vid.
 
Last edited:

Mikeopsycho

Senior Chief Petty Officer
Joined
Feb 6, 2014
Messages
738
Thanks a bunch Zool. The video sold me, I'm gonna get 3M spray adhesive. It looks a lot more forgiving than contact cement. Now I'm feeling quite confident that I can get this done.
 

kcassells

Fleet Admiral
Joined
Oct 16, 2012
Messages
8,715
Dang....I was looking for that video...dang again. Good you got it that Zool is the Bestesist!
 

Mikeopsycho

Senior Chief Petty Officer
Joined
Feb 6, 2014
Messages
738
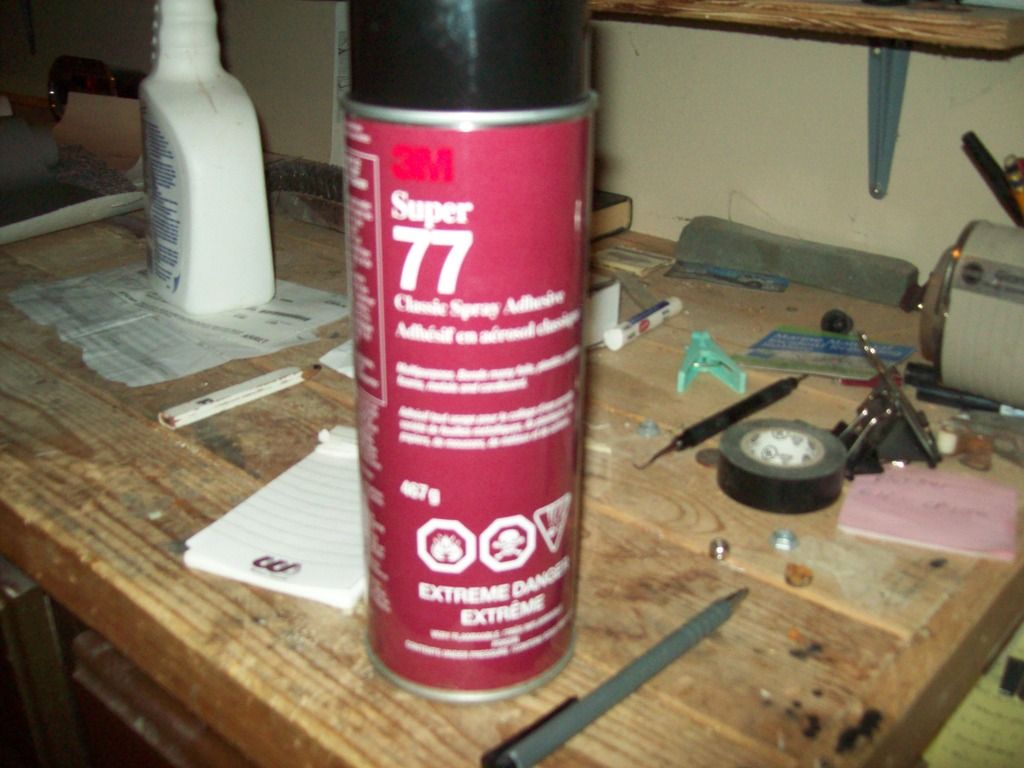
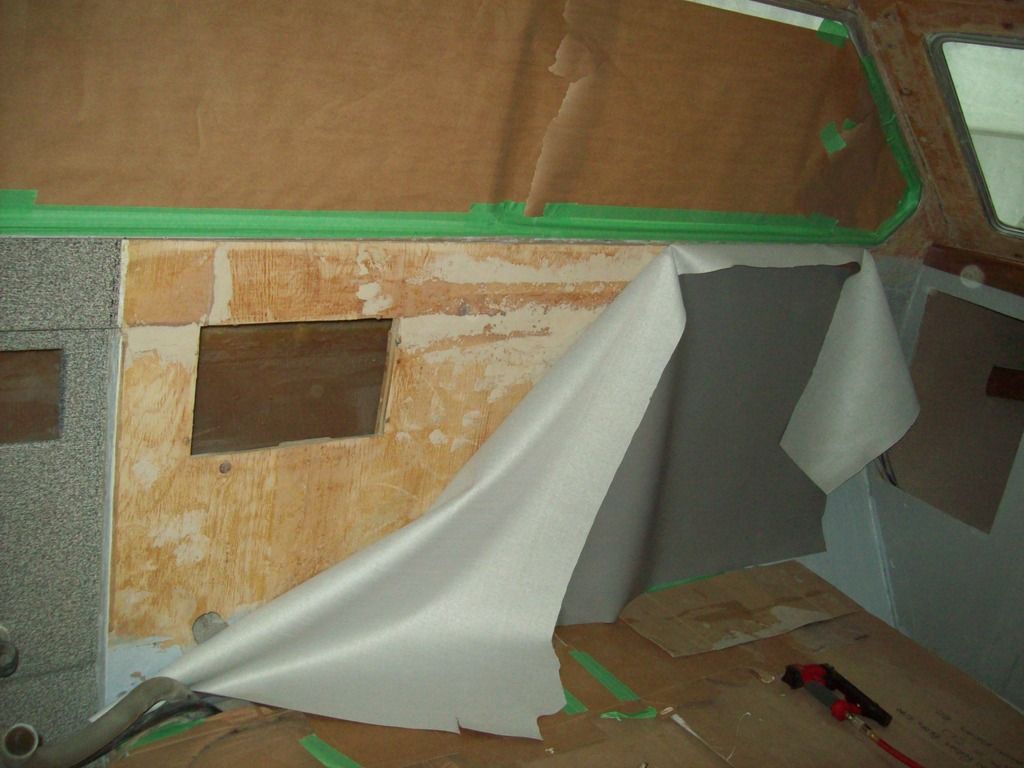
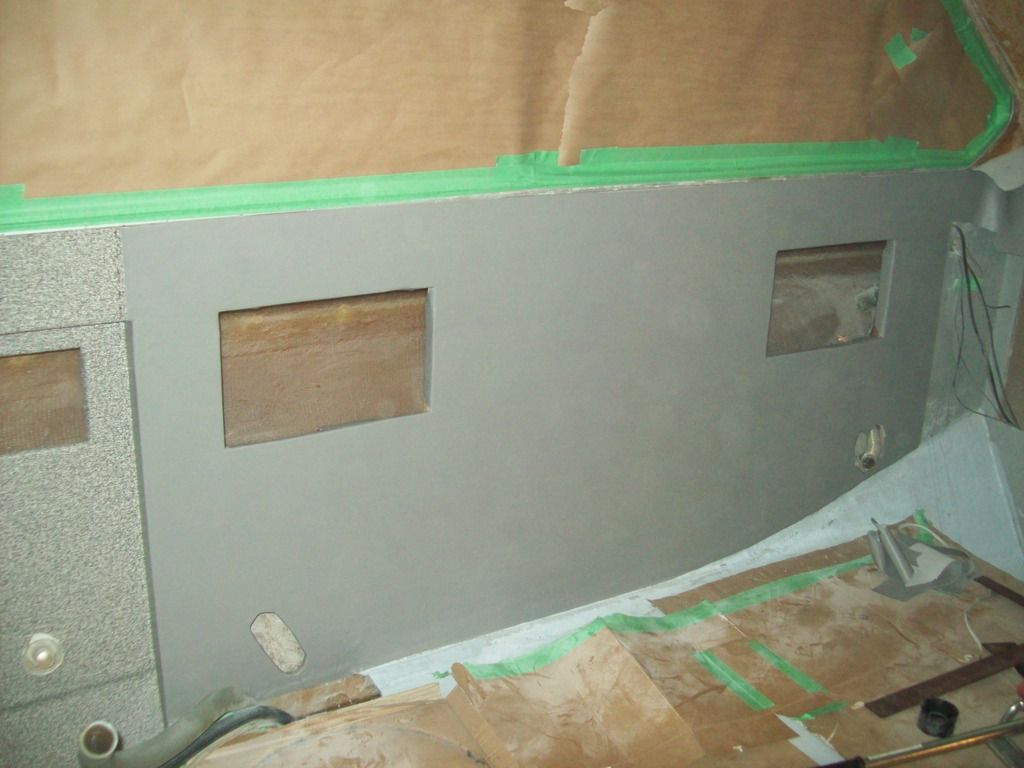
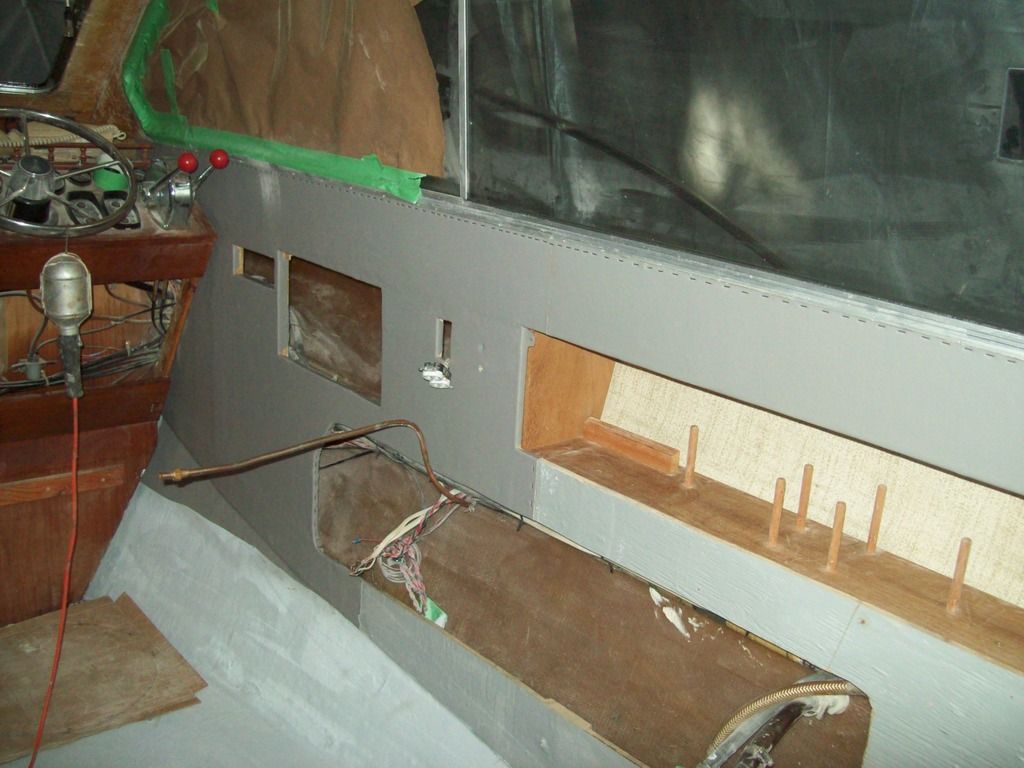
I picked up some 3M 77 adhesive and man oh man does it ever work well! :whoo:It not only sticks the vinyl to the wall really well, it sticks arm hair to skin really well, and pant knees to cardboard too. :facepalm: I started on the port wall forward of the bathroom. I rough cut a piece of material 94" long and 36" wide. I masked off the window for easier clean up. Rather than try to do the whole piece at once, I did it in thirds. My first section was a bit frustrating getting it down flat with no wrinkles, and after pulling it off three times I had to re-spray with 77. I found the hand roller works well for removing air bubbles. Once I got it down and smooth I trimmed the edges. Around the shelf box openings I cut the vinyl so I could fold it into the openings and glue it down. I didn't staple the edges that will be covered by trim yet, but I think I'll do that for a little insurance. Can't hurt, me thinks.

I asked in the "trailer and towing" section, but I'll ask here as well. I want to put a 12 volt power winch on my trailer, hand cranking the boat on is a real grunt. The boat weighs 8000 lbs, and my trailer is rated for 12500 lbs. I'd prefer overkill. Any opinions on what winch I should be looking at? Any brands better than others? :noidea:
 

Mikeopsycho

Senior Chief Petty Officer
Joined
Feb 6, 2014
Messages
738
The vinyl is up!!! Yeehaa! Lots of prep work went into this to ensure a nice finish, but it was worth the effort.

This is great stuff!


Here's the port wall getting applied,


And here it is on the wall,


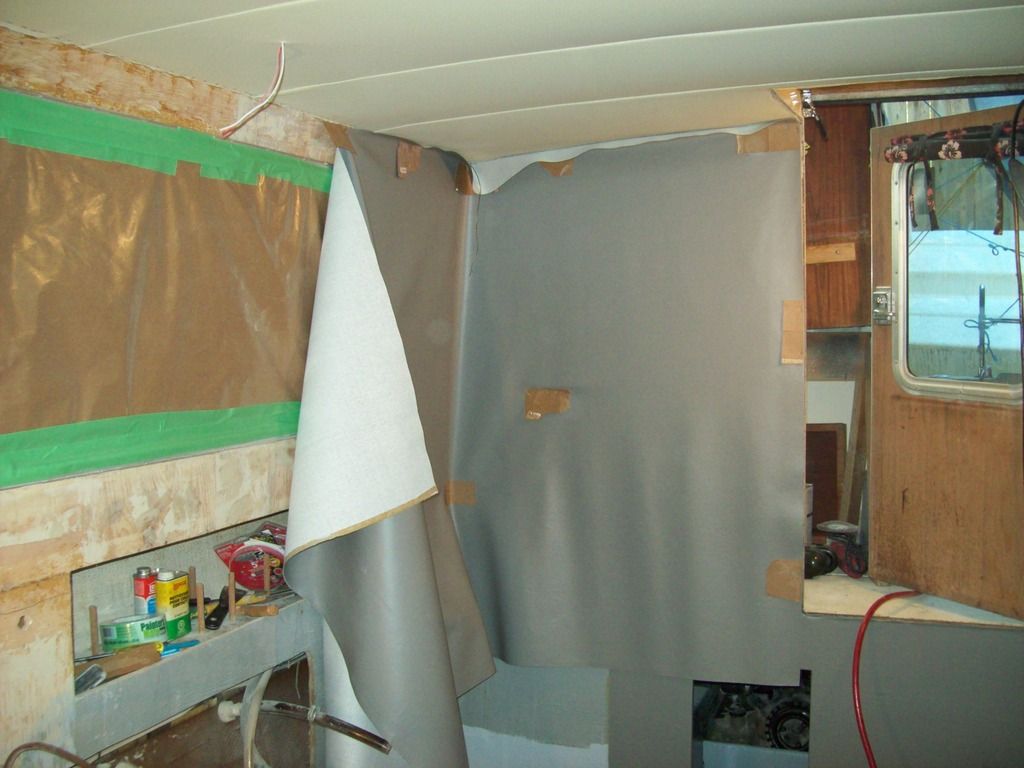
Next was the aft wall and the back third of the starboard wall, which I put up in one piece so I wouldn't have a seam in the corner,


And glued down,
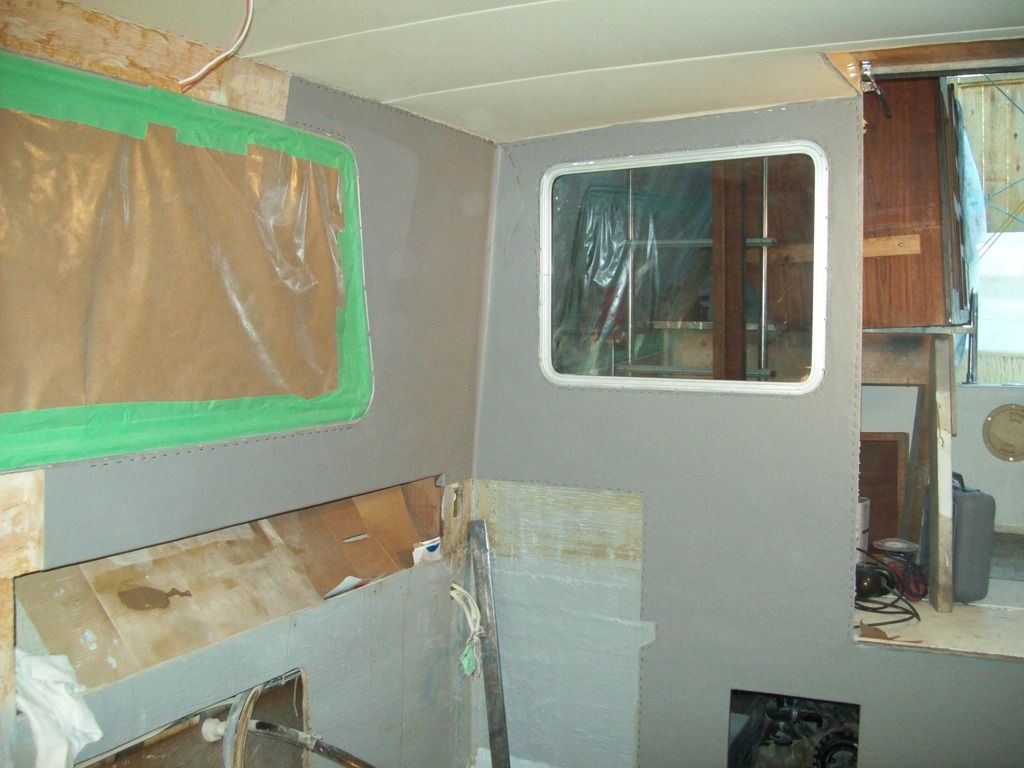


The rest of the starboard wall done,


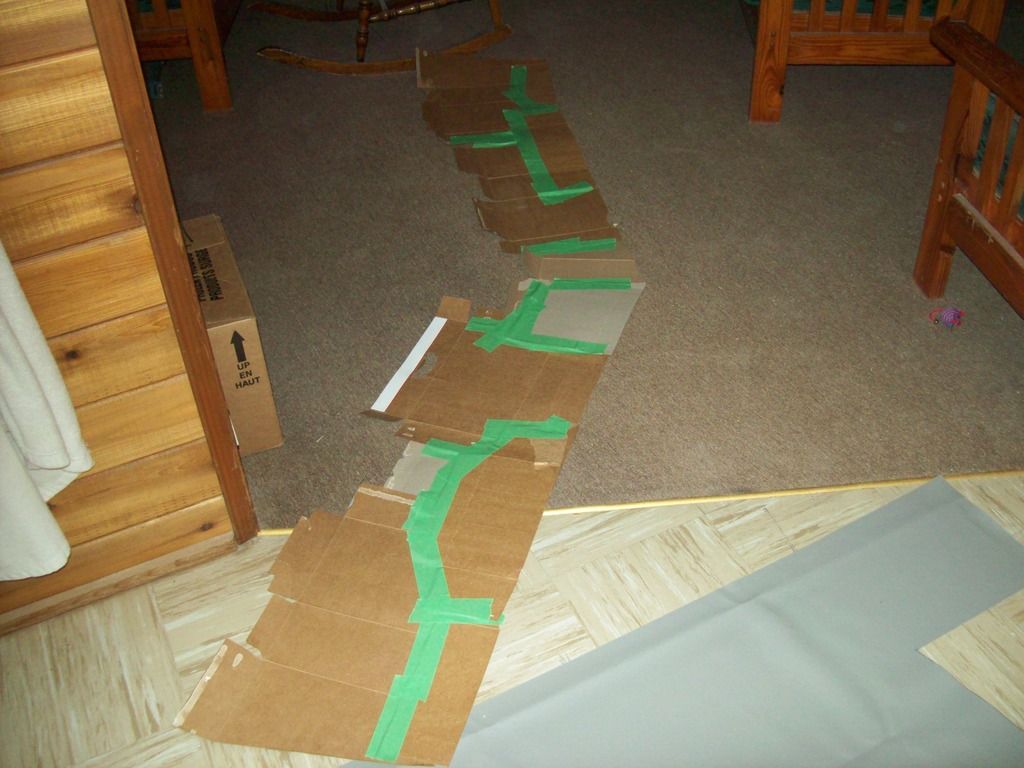
At this point all I had left was small pieces of vinyl, so to avoid having a bunch of seams around the windshields, the Admiral picked up another 3 meters (3 + yds) of material. Around the windshields was the tricky part. Lots of compound angles.The dash is slightly arched where it meets the front, the windshield walls are sloped in at the top, and are angled in at the sides, so I made an empty beer carton template of the bottom edge, and cut the vinyl,
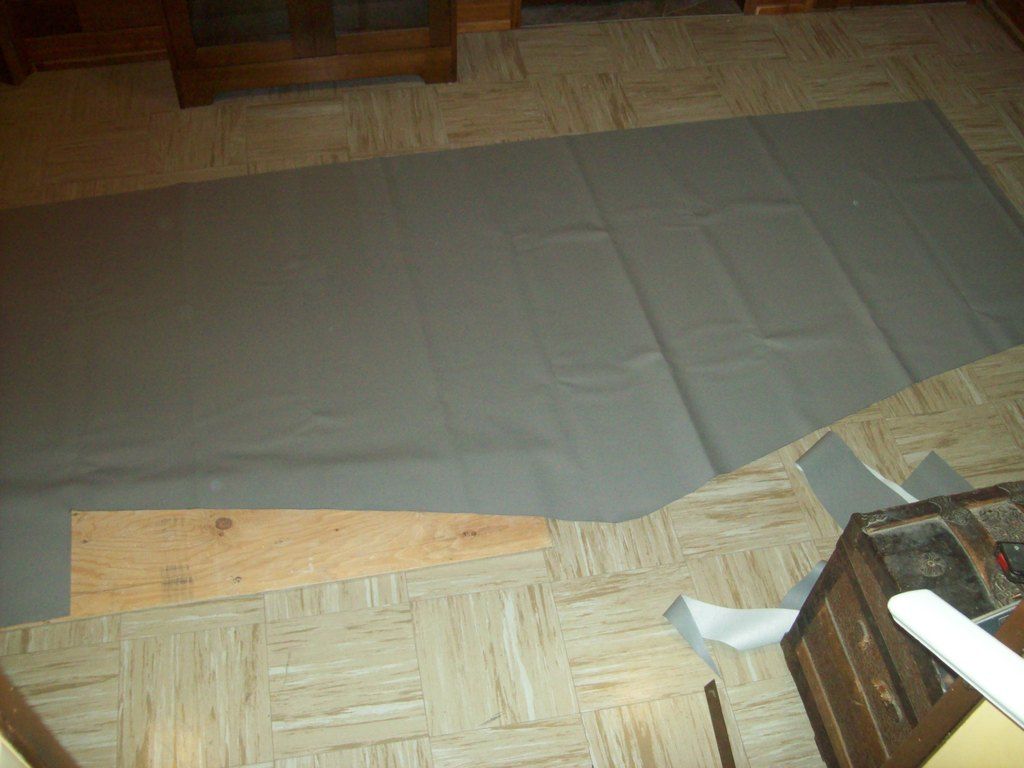


Everything is masked off and ready,
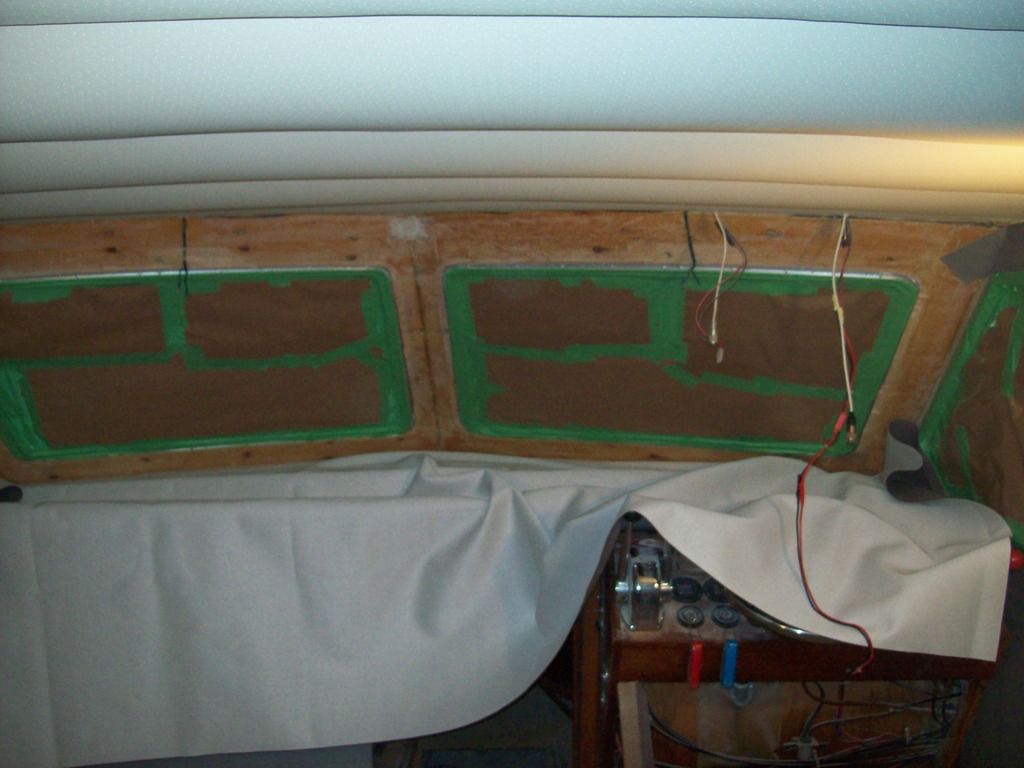


And here she is,
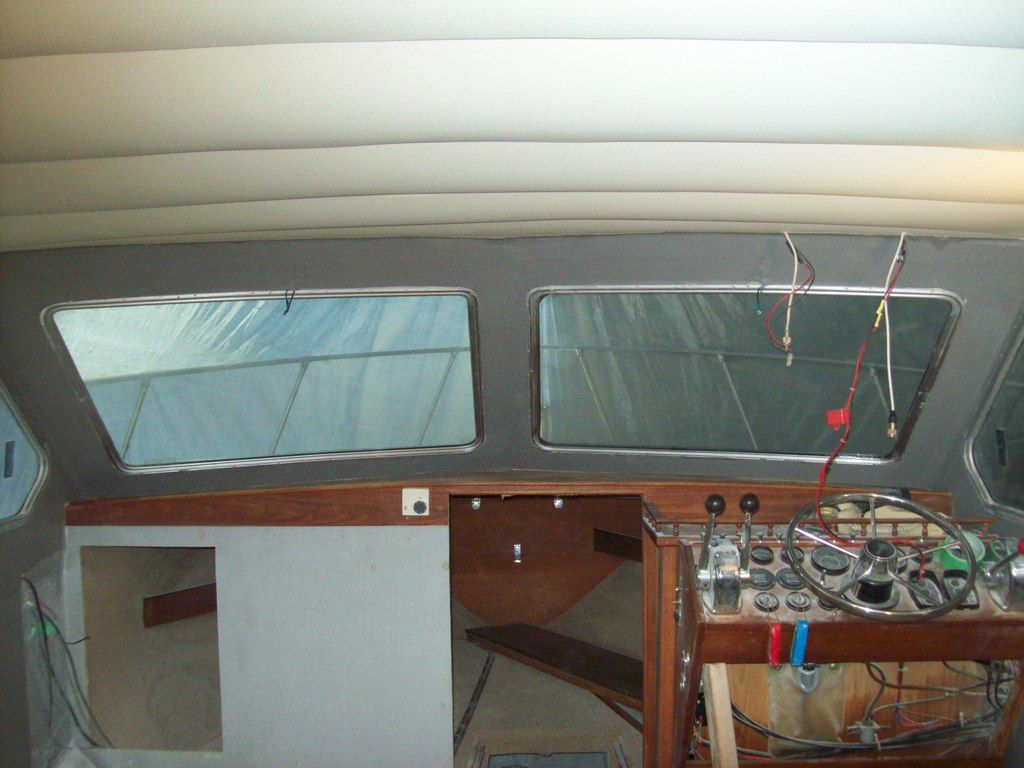


I ran out of stainless staples again, so I've got to resupply so I can staple down the rest of the edges before I install all the trim and moldings. It's gonna get fun now, I get to put the old girl all back together again!

I also finished off the bottom of the shower pan/washroom floor with a layer of 1708. I mixed the waxed resin with about 2.5% mekp, which kicked off nice in the cooler temps. I set it in the sun to help it along,
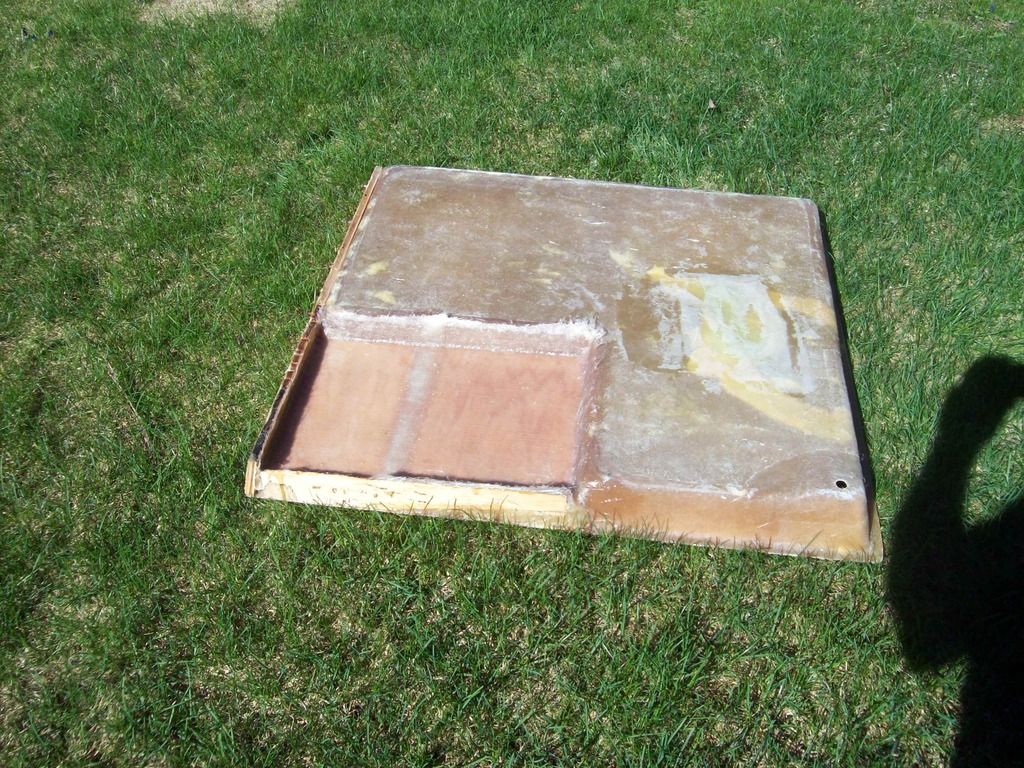


I knocked off the hairy stuff with the grinder and now she's good to go.
 

Mikeopsycho

Senior Chief Petty Officer
Joined
Feb 6, 2014
Messages
738
Thanks guys, she's coming along now.

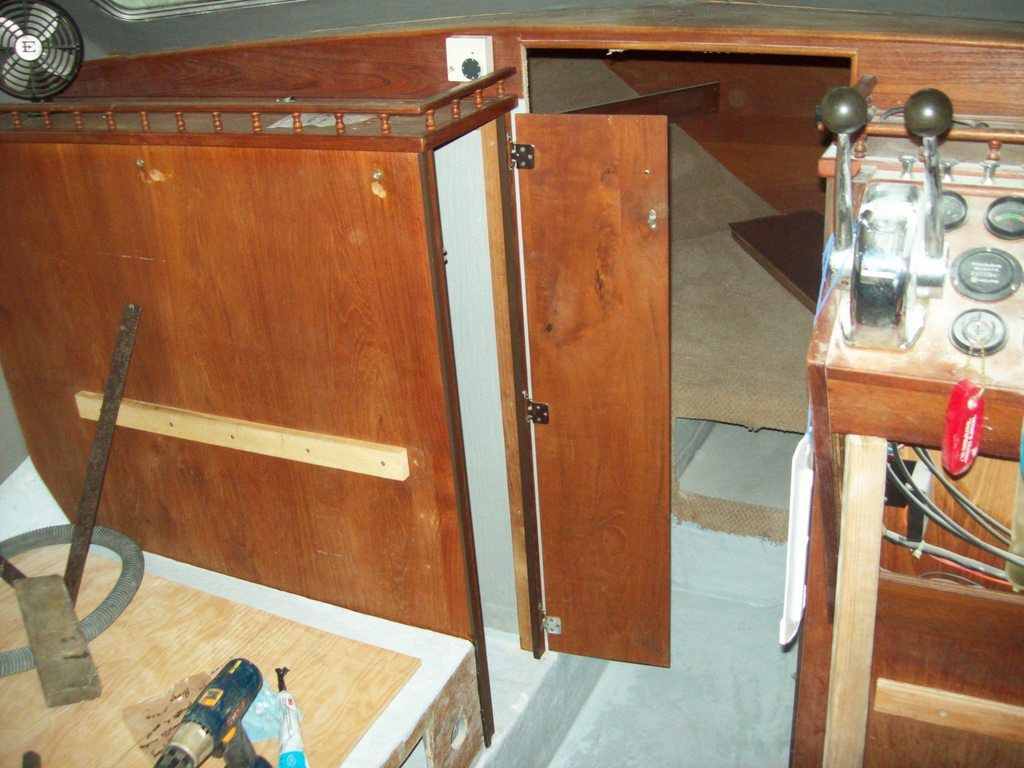
I got all the vinyl wall covering stapled down at the edges where the staples will be covered. Then I re-assembled and installed the port side hanging locker. I was expecting to have to make some modifications, figuring the new deck and new dinette base wouldn't be exactly like the original, but the locker fit in beautifully! Luck or skill?......you decide :rolleyes:


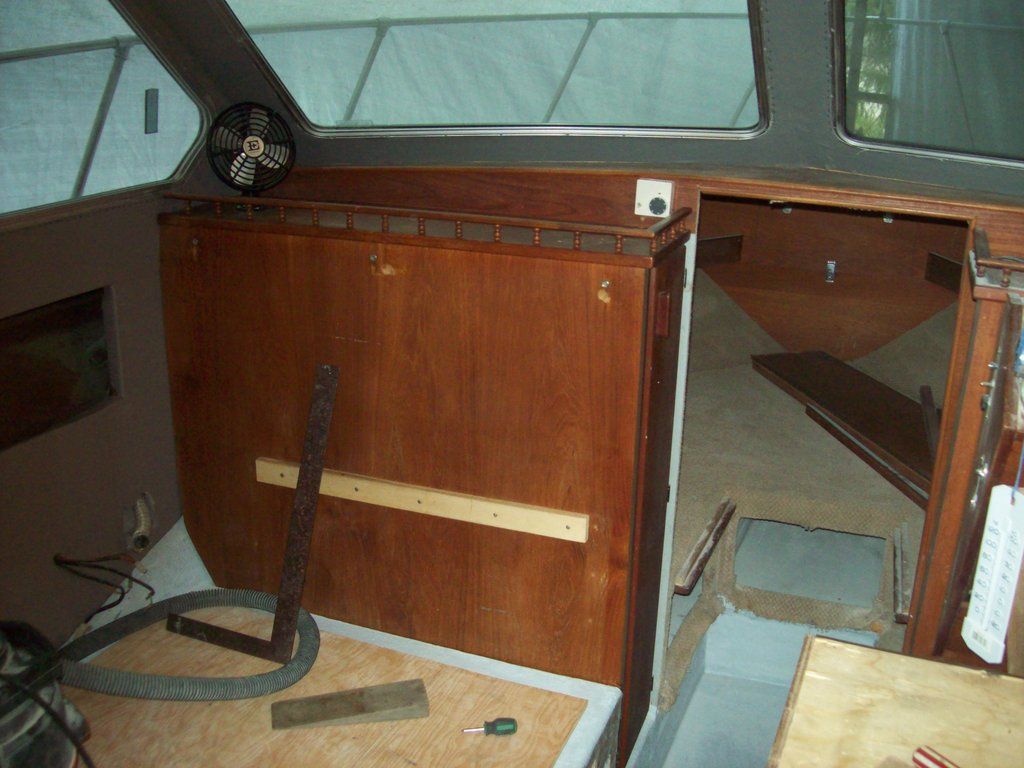
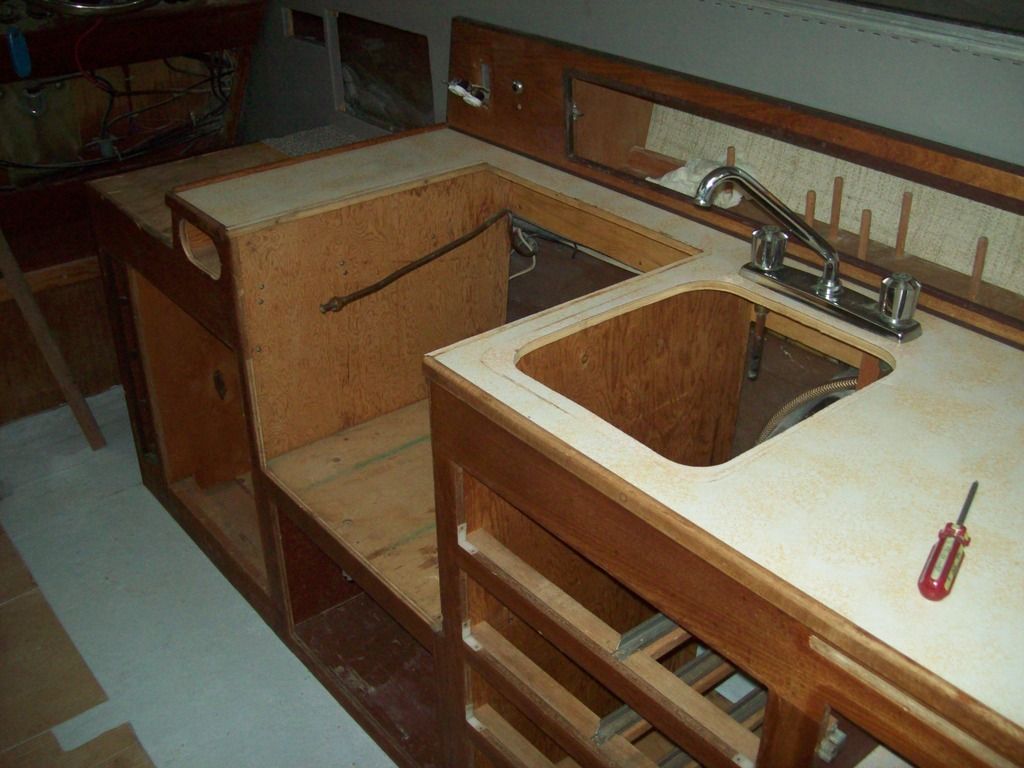
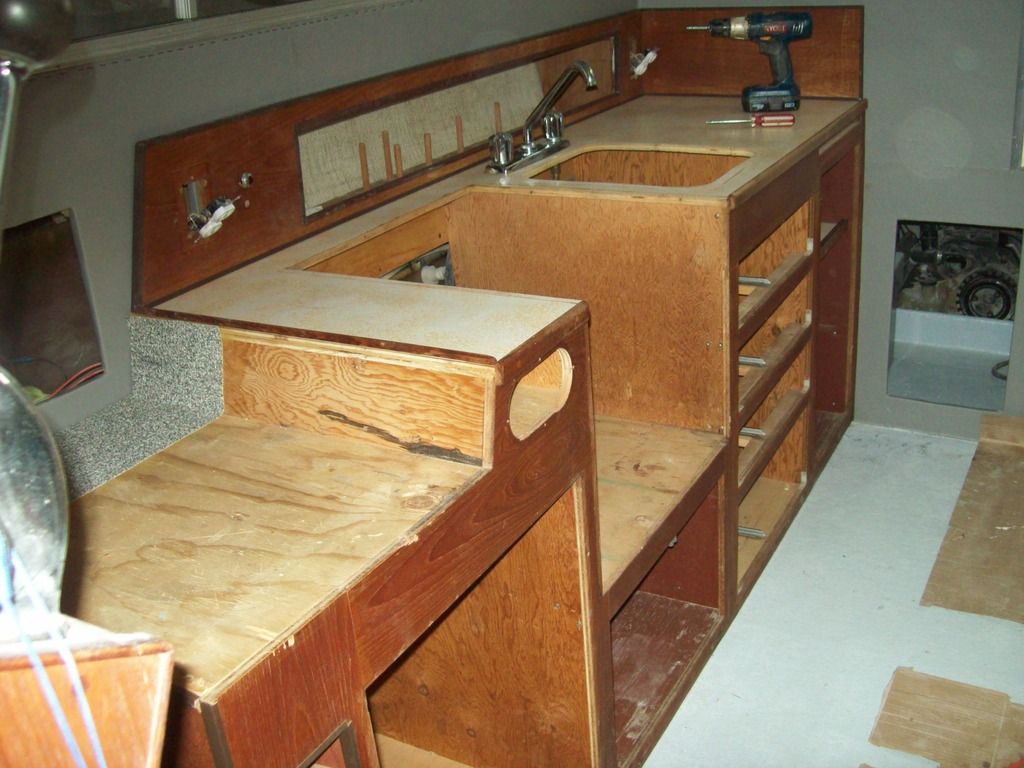
Then I got to work on the galley cabinets. It had to be screwed to the floor in 5 places :eek:, argh, my new floor :facepalm:. I set the cabinet in place and marked the screw holes, then I pulled out the cabinet and pre-drilled into the sole. I forced 3m 5200 into the drilled holes, put the cabinet back in place, coated the screw threads with 5200, and screwed her down. There were also 10 screws through the back and the side, which I put in dry.


The teak backsplashes are placed but need to be fastened.

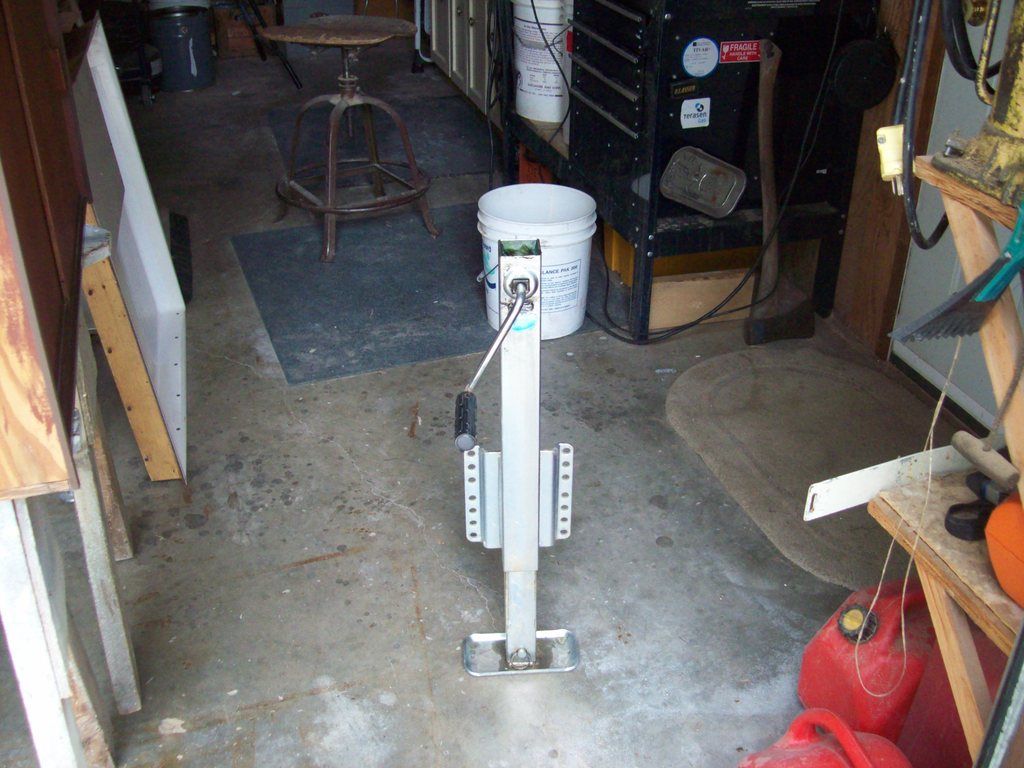
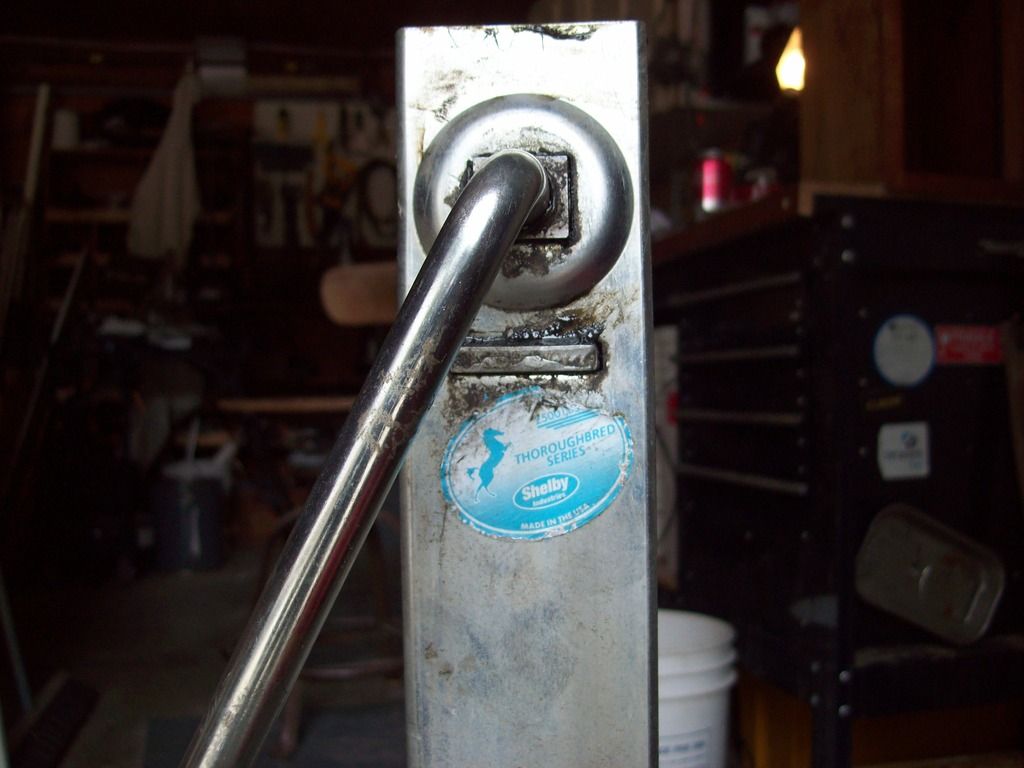
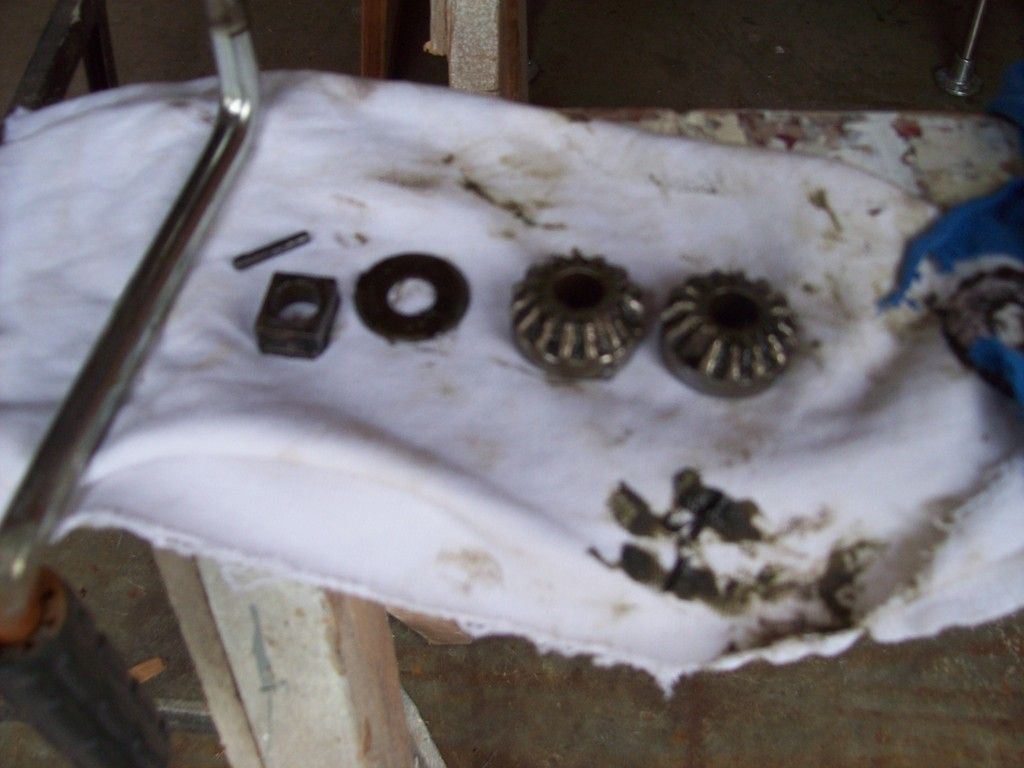
I remembered last year when I went to adjust the trailer that the jack wasn't working. The crank handle turned, but the gears weren't meshing. I took off the jack to have a look, and I found there's a cog missing on both gears.


It's a Shelby 2500#. I found the rebuild kit on the Shelby website, yahoo, under 15 bucks. I was going to order one, but the shipping through UPS added another $100 to the bill! And that's US, so I'd have the exchange to Canadian dollars too, and maybe duty too. :Cry: I'm trying to find a Canadian supplier. I'm going to phone the trailer builder (road runner) and see if they can get parts.
 

nurseman

Lieutenant Junior Grade
Joined
Jun 2, 2013
Messages
1,045
ouch...:eek: And you can go ahead and count it as skill. Anytime something works out right, you should always take credit for it.;)
 

Mikeopsycho

Senior Chief Petty Officer
Joined
Feb 6, 2014
Messages
738
Hehehe, alrighty then, skill it is :D, I'm just glad it fit.

I got the shore power put back together and operational. It's a very basic set up, a double breaker box set in the upper corner of the aft galley cabinet, with power in from a deck fitting, and one circuit into the salon which powers the fridge and a couple outlets, and a circuit into the machinery space that powers the water heater and the smart charger. Lots of contortionist moves were required to make all the connections, but another step completed. :shocked:

The guy I talked to at road runner trailers said they just replace broken trailer jacks and don't repair them. I also contacted a guy at Trailers Canada who said they don't have rebuild kits for my jack, but at 2500 lbs it's undersized for my application, and he suggested I go to a 7k or 8k rated jack. They have one but I'd have to cut the mounting bracket off my existing jack and weld it to the new one. I don't want to go there. The old one is galvanized. For now I'm thinking I'll still try to get some new gears, and if it strips out again I'll look into a higher capacity jack.
 

Mikeopsycho

Senior Chief Petty Officer
Joined
Feb 6, 2014
Messages
738
I got ahold of someone at Shelby industries via e-mail. The rep didn't answer my question regarding a cheaper shipping alternative than UPS ($110.00 US), but did give me the name of a Canadian company that carries their brand. I e-mail the company, but no response so far. If they can't supply me with the rebuild kit I'll have to buy a new jack. I can get a weld on 8000# winch for about the same price, but It wouldn't be galvanized.

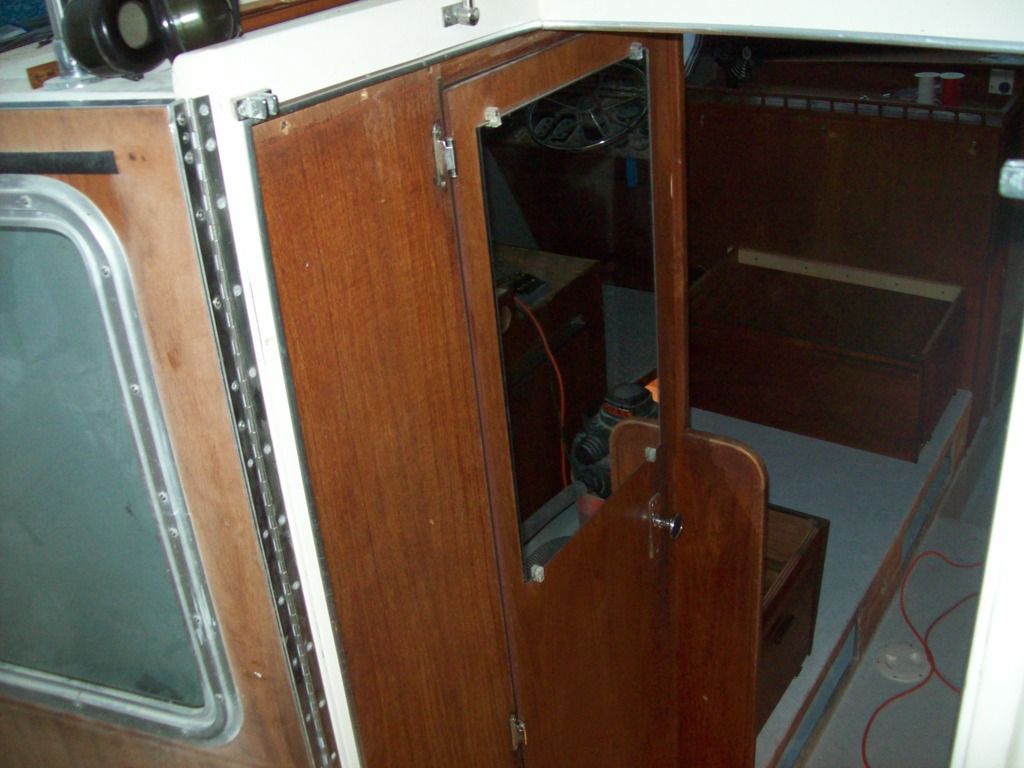
I got lots of the interior put back together and installed, should pretty well finish that up today or tomorrow. I'll snap a couple pics when I'm done.

I'm ready to install the fiberglass shower pan in the bathroom, but I'm not sure what to use to adhere it to the rolled gelcoat deck. Would 5200 do the job? Or some other adhesive? Any suggestions?
 

kcassells

Fleet Admiral
Joined
Oct 16, 2012
Messages
8,715
5200 would be fine. Scuff it up a bit so your adhering to the deck and not the gelcoat.
 

Mikeopsycho

Senior Chief Petty Officer
Joined
Feb 6, 2014
Messages
738
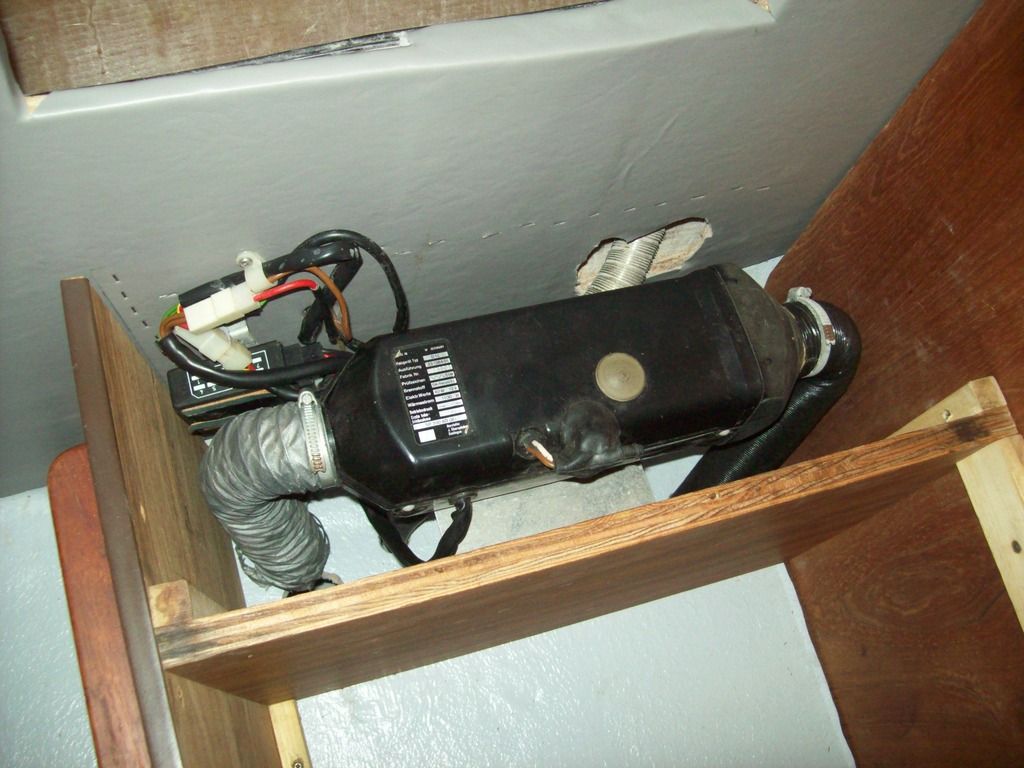
I got the diesel furnace installed, but I'm going to need to replace the 3" flexible ducts,


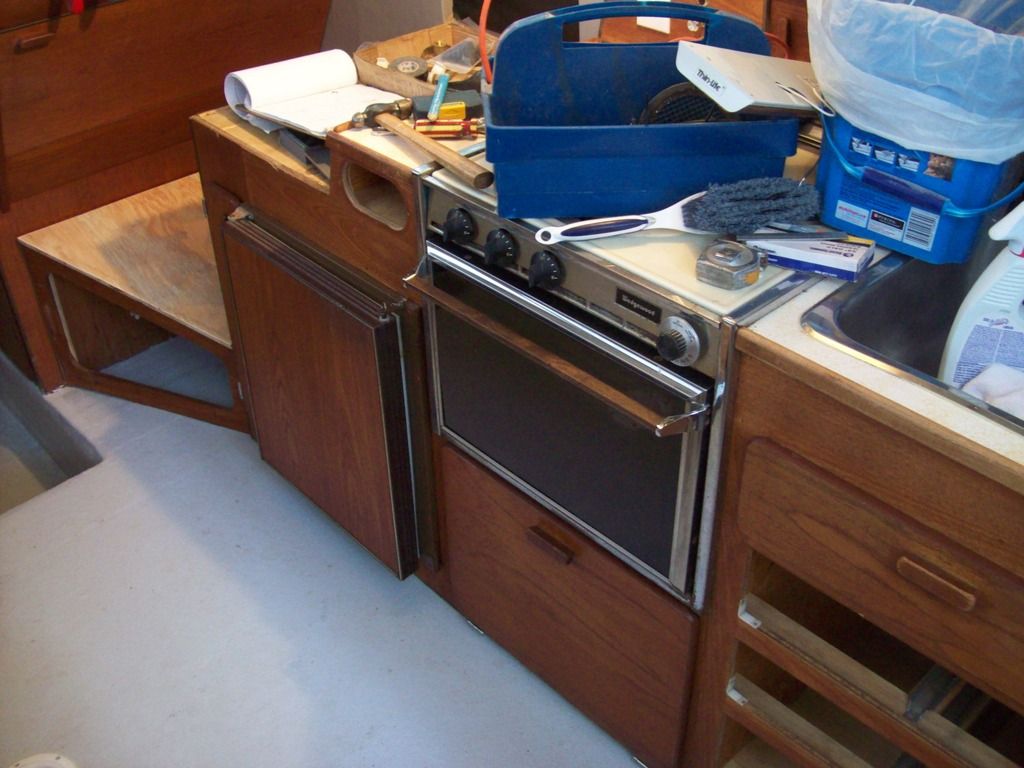
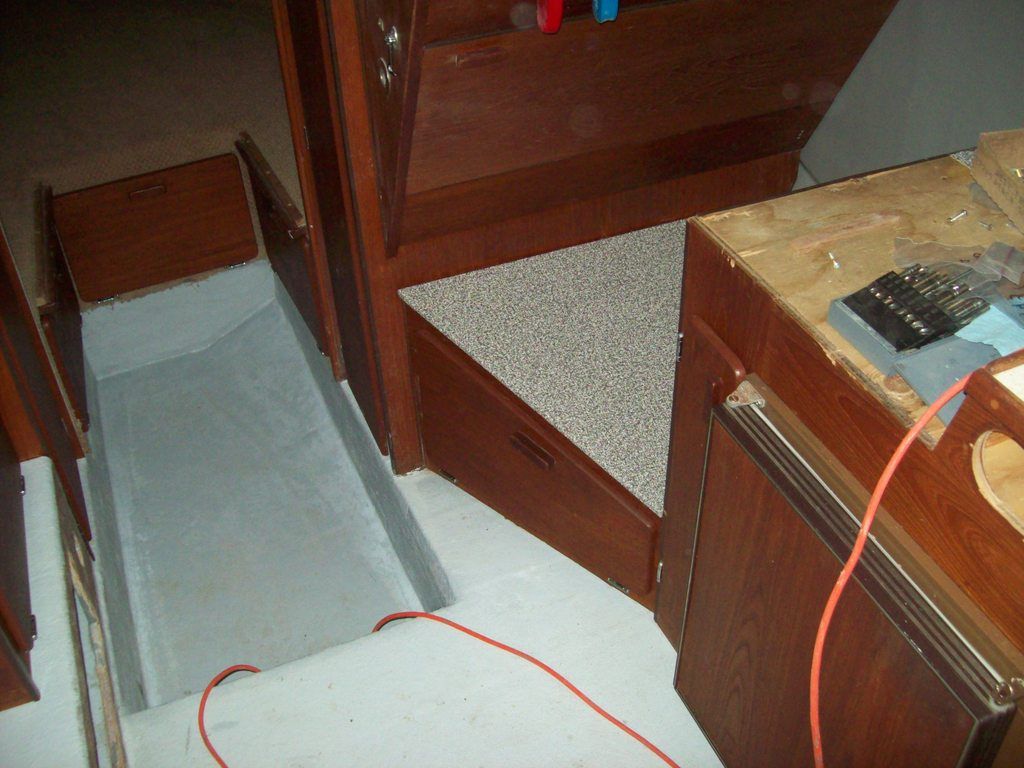
The cook stove and fridge are in and operational, and you can see the new 1/2" fir plywood helmsman's foot rest dry fit in place,


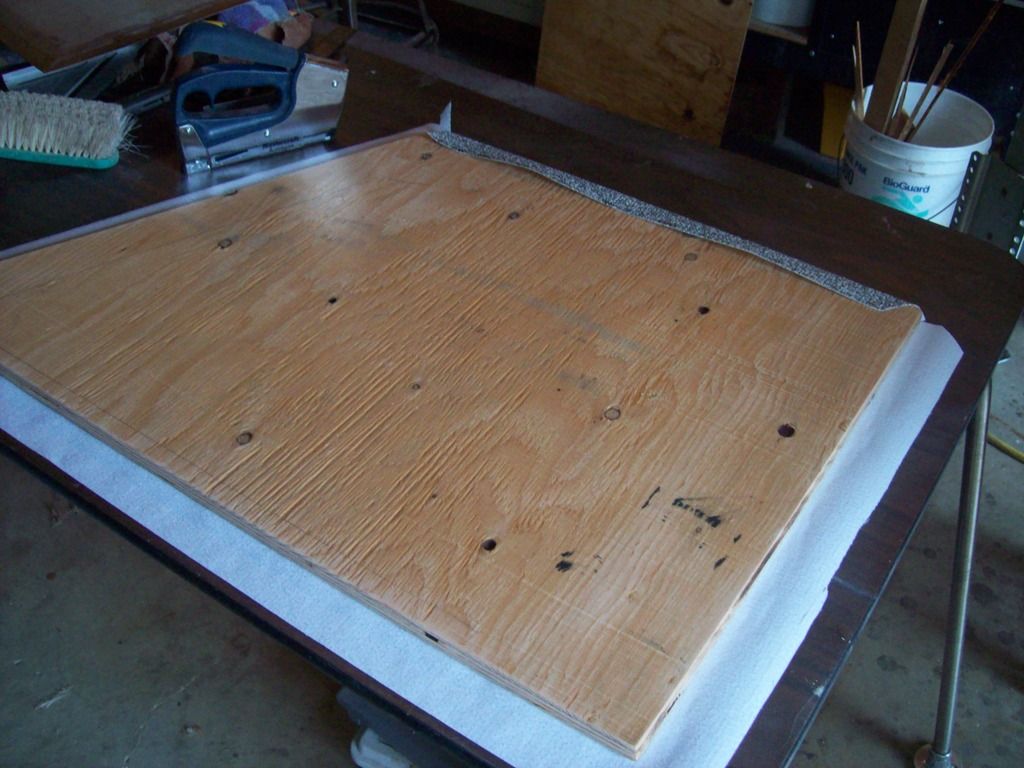
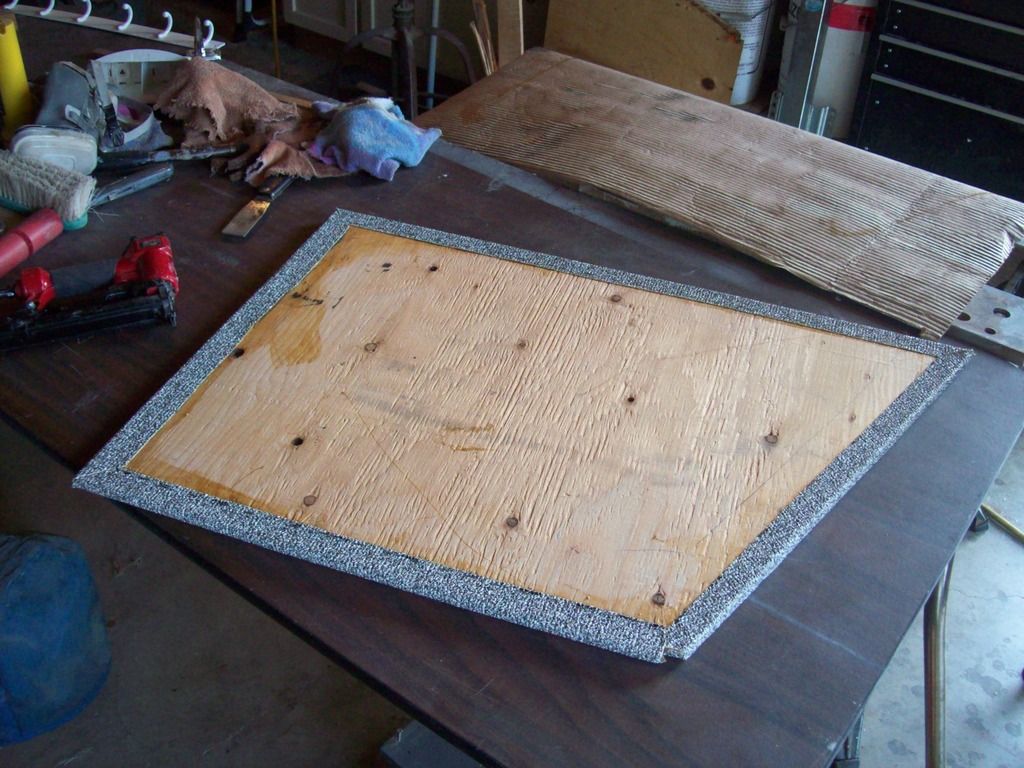
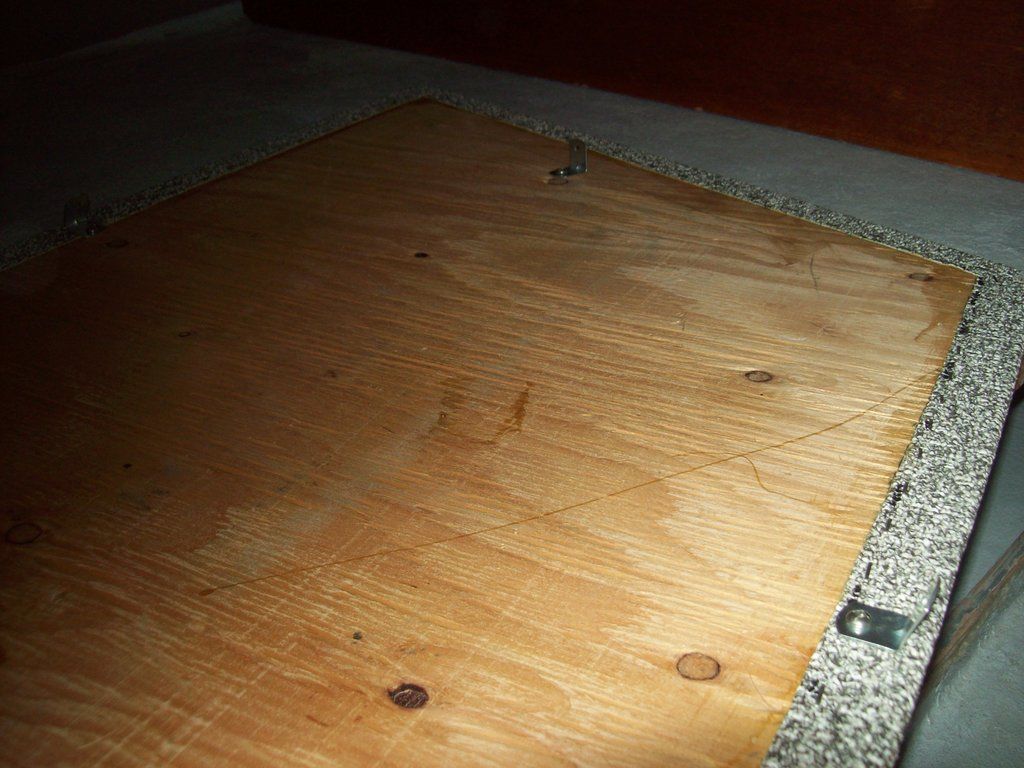
I wrapped the foot rest in Nautolex with contact cement. I did this in two stages. First I rolled one edge over and dry stapled it to the back side to help with line up, then I stuck together the face surface and let it sit with some weight on it for about an hour.


Then I trimmed the corners and contact cemented and wrapped the material onto the underside of the footrest. I also ran a line of 3/8" stainless steel staples along the underside for a little extra insurance,


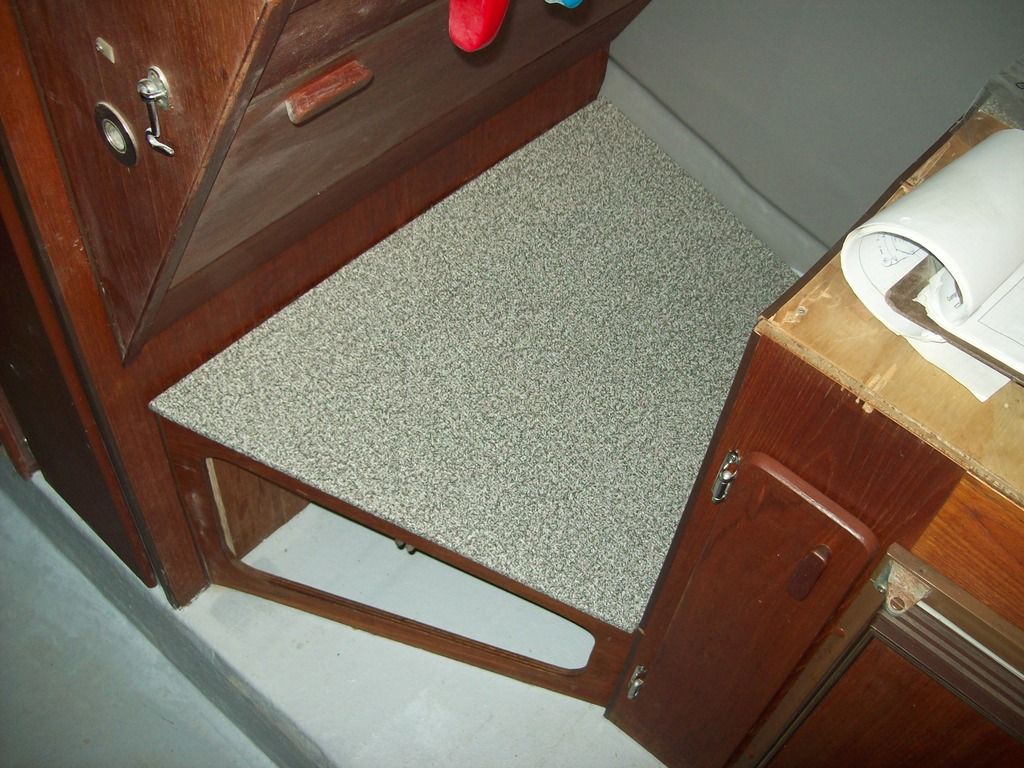
And here it is in place. I still need to secure it, probably from underneath,


I roughed up the deck and the underside of the washroom pan, wiped the surfaces down with acetone, and stuck down the pan with 5200. I re-screwed it to the forward wall, and left some weight on it overnight,


Oh, I almost forgot, I got a phone call from Greg at Points West Marketing in Winnipeg, and he's going to fix me up with the gears I need for my trailer jack. Heck of a nice guy! He said it'd be under 20 bucks. Another problem solved. :)
 

sprintst

Commander
Joined
Apr 18, 2009
Messages
2,066
Nice work on a great project. Funny how it starts as checking one small thing and ends up being a deep dive when you get into it. You are going to a have a solid boat when you are done though.

I've had issues getting parts into Canada without taking a beating on price to ship. I've shipped to friends in the US and went USPS from there or drove over to pick up cheaper than UPS. Not sure if you can get some of your suppliers to ship to Bellingham or Sumac and use of these places. http://www.myshiphappens.com/

I've had some vendors do free shipping in the US but outrageous UPS shipping as the only option into Canada
 

Mikeopsycho

Senior Chief Petty Officer
Joined
Feb 6, 2014
Messages
738
Thanks for the suggestion sprintst. Good idea. One of my daughters lives in Penticton, relatively close to the border, and she and her husband have some kind of mail drop set up in Orville, so I could use theirs if need be. Next time I come across this costly shipping problem from the States I'll keep this in mind. I heard from Greg at Points West Marketing again, $16.24 plus tax and $10.00 shipping will get me the new gears for my trailer jack. :D

I put these little brackets on the bottom of the helmsman's foot rest,


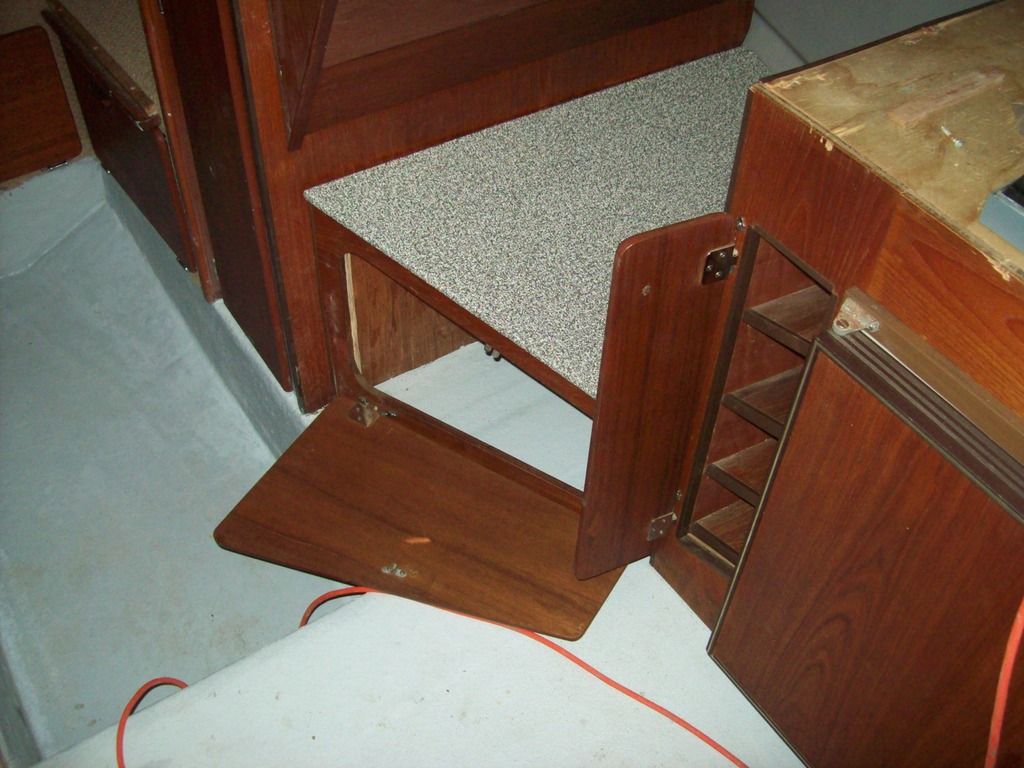
I screwed it in place and mounted the stowage door,


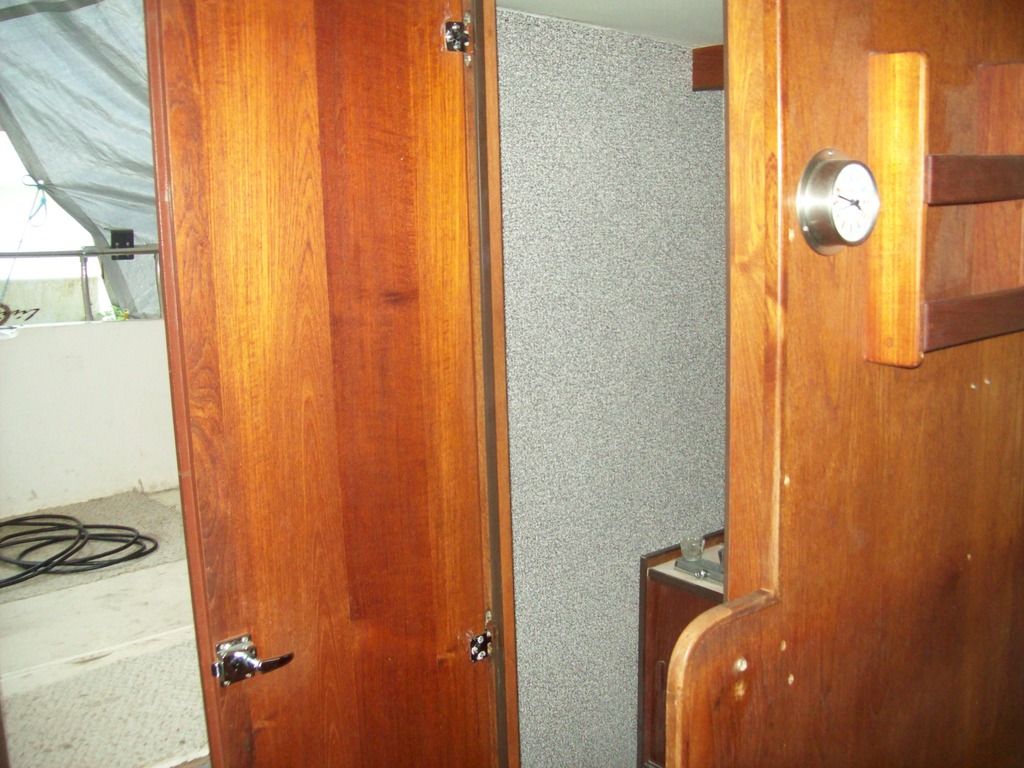
I installed the rest of the washroom wall and hung the door. I had to trim a bit to make the door fit correctly. I took 1/8" off the top and 1/4" off the bottom of the small striker plate wall section for a perfect fit,


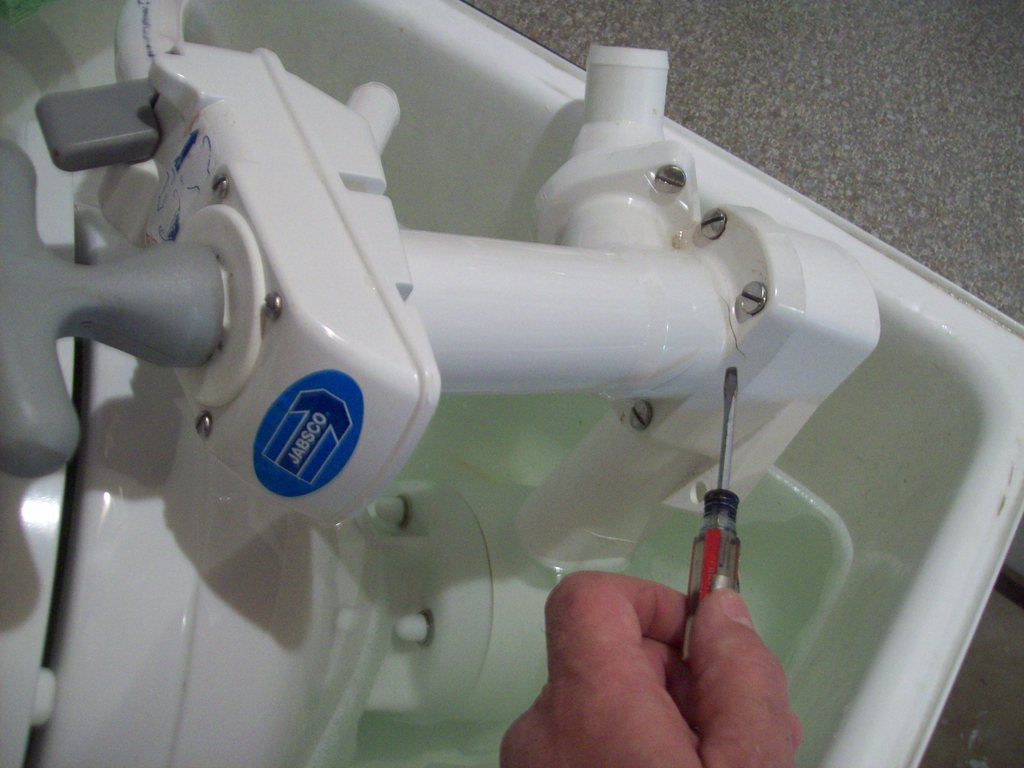
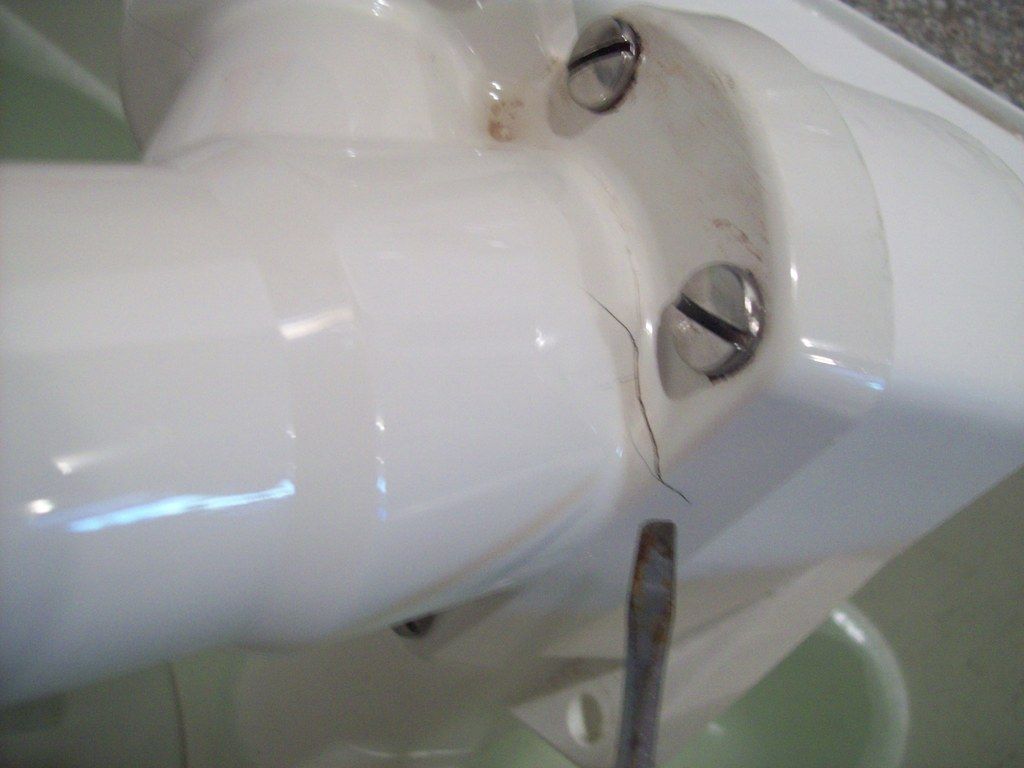
I also put back in a bunch of trim, ceiling lights, plumbing fixtures, etc.. While washing up the head pre installation, I noticed a crack,


I'm sure it's leaking, because I remember just before I last laid-up the boat I had run out of granulated holding tank stuff, so I used some liquid blue stuff instead. The next day I saw some blue around the base of the head. At the time I thought I must have spilled a bit, but now I know the truth. :blue: I hope I can just replace the damaged part and don't have to buy a whole new head.
 

kcassells

Fleet Admiral
Joined
Oct 16, 2012
Messages
8,715
If it's plastic a little dremmel action and EEEEpoxy might get you some time.
 
Top