1979 26' Commander gas & H2O tank replacement & ?

Mikeopsycho

Senior Chief Petty Officer
Joined
Feb 6, 2014
Messages
738
Kc, jc. and bd, thanks guys, I'm gonna post headliner pix every so often just for the fun of it :D.

Yup bigdirty, she's going back in this season for sure. I need to get some kind of vinyl for the walls, stick the interior back in, hook up a few hoses and wires, blah blah blah, next thing ya know she's in :thumb:.

I had to do a bit of yard work lately to please the AdmiralI. She caught me looking at other boats on the internet the other day. She said that I'd do unmentionable things to a sheep if I could get another boat. I was quick to defend myself though....I said "what kind of boat?" :becky::bolt:
 

zool

Captain
Joined
Aug 19, 2012
Messages
3,432
Kc, jc. and bd, thanks guys, I'm gonna post headliner pix every so often just for the fun of it :D.

Yup bigdirty, she's going back in this season for sure. I need to get some kind of vinyl for the walls, stick the interior back in, hook up a few hoses and wires, blah blah blah, next thing ya know she's in :thumb:.

I had to do a bit of yard work lately to please the AdmiralI. She caught me looking at other boats on the internet the other day. She said that I'd do unmentionable things to a sheep if I could get another boat. I was quick to defend myself though....I said "what kind of boat?" :becky::bolt:

That's funny, the admiral catches me on yachtworld looking often too, but shes favorable to an upgrad, but after I finish this project...so now im just working on keeping both...you have to do the rope a dope thing..it works! :D
 

Mikeopsycho

Senior Chief Petty Officer
Joined
Feb 6, 2014
Messages
738
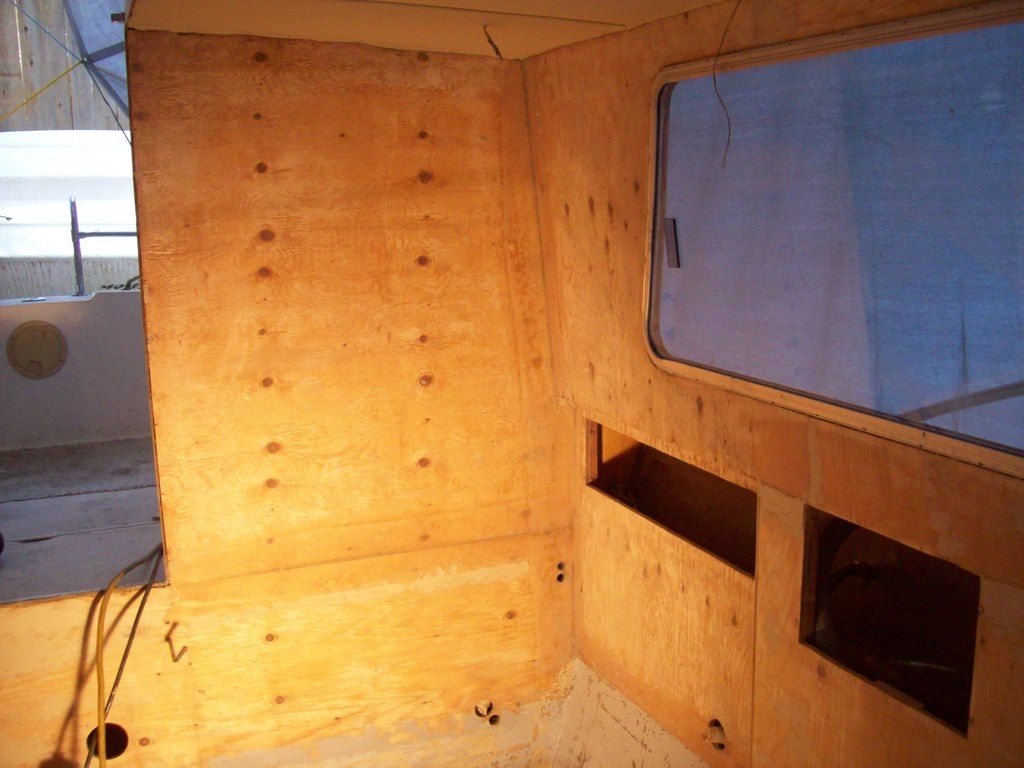
Well.........here we go again :D. I'm finally getting back at the project. I've been doing a bit of work on the inside walls to prep for vinyl, and getting the old adhesive off has been a real pain! I worked my way up from hand scraping, sanding with the orbital, and sanding with the belt sander to grinding with the angle grinder and 60 grit resin disks. I plan to grind the entire surface then fill voids and defects with wood filler and sand smooth.

I'll be installing Nautolex on the bathroom walls and a marine vinyl will go on the other walls. Question; the Nautolex instructions say to seal any bare wood with a primer, but they don't say what kind of primer. I'm thinking an exterior grade latex would do the trick, because the Nautolex 88 adhesive is water based. Does that sound correct? :noidea:
 

kcassells

Fleet Admiral
Joined
Oct 16, 2012
Messages
8,715
Well lookie heara now....LOng time and good to see ya back in dasboot! Seal the wood or paint it hmmmmm. I'ma dinking a dink in the poly to seal dat woods. Dunno know fer sure so let's see who else yaps back at ya. :playball:
Back in the saddle...cool!
 

nurseman

Lieutenant Junior Grade
Joined
Jun 2, 2013
Messages
1,045
Hey there Mr. Psycho! Nice to see you out of your winter hole!!! I looked at the instructions for the Nautolex, and all you need is something to keep the wood from soaking up the adhesive, so I think you would be just fine with latex primer if you want to use that. I think using a spar urethane might get you some added protection/soak into the wood better, but that's JMO. Can't wait to see some progress pics!
 

Mikeopsycho

Senior Chief Petty Officer
Joined
Feb 6, 2014
Messages
738
OK guys, thanks. Nice to hear back from you fella's! I am leaning towards latex primer for a couple reasons, one, It looks like there was nothing but adhesive originally, two, it is inside the cabin, not out in the elements, and three, I have some latex primer on hand :). There are some areas where plywood sections were joined with poly fiberglass, will the latex adhere to these areas properly?

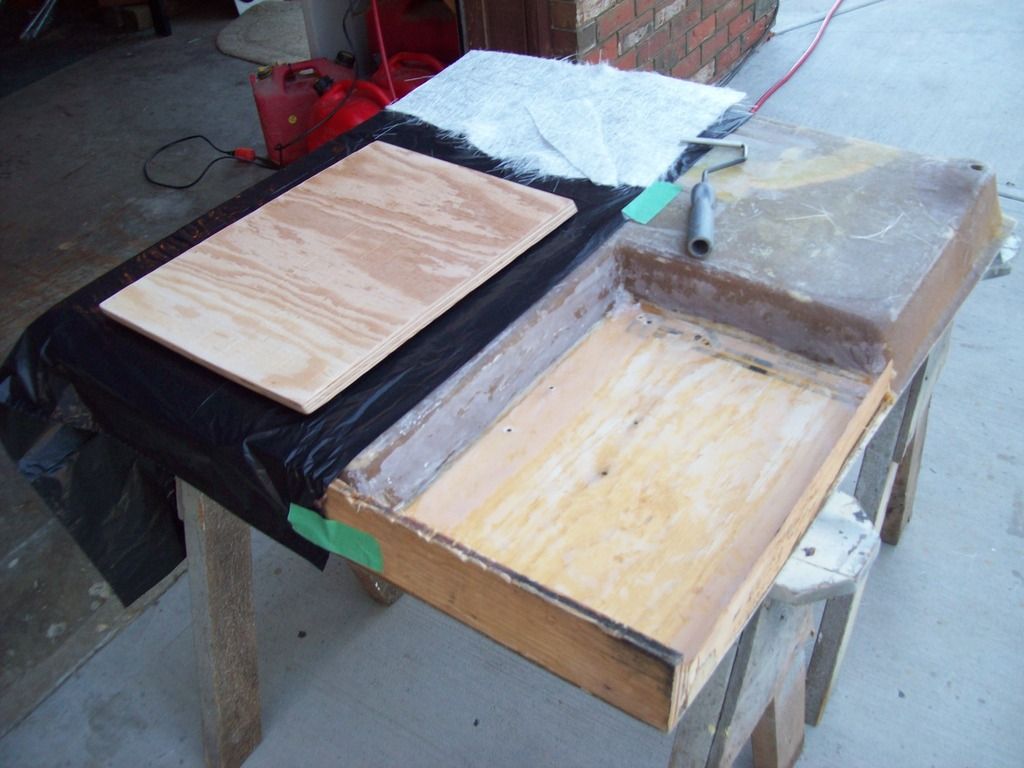
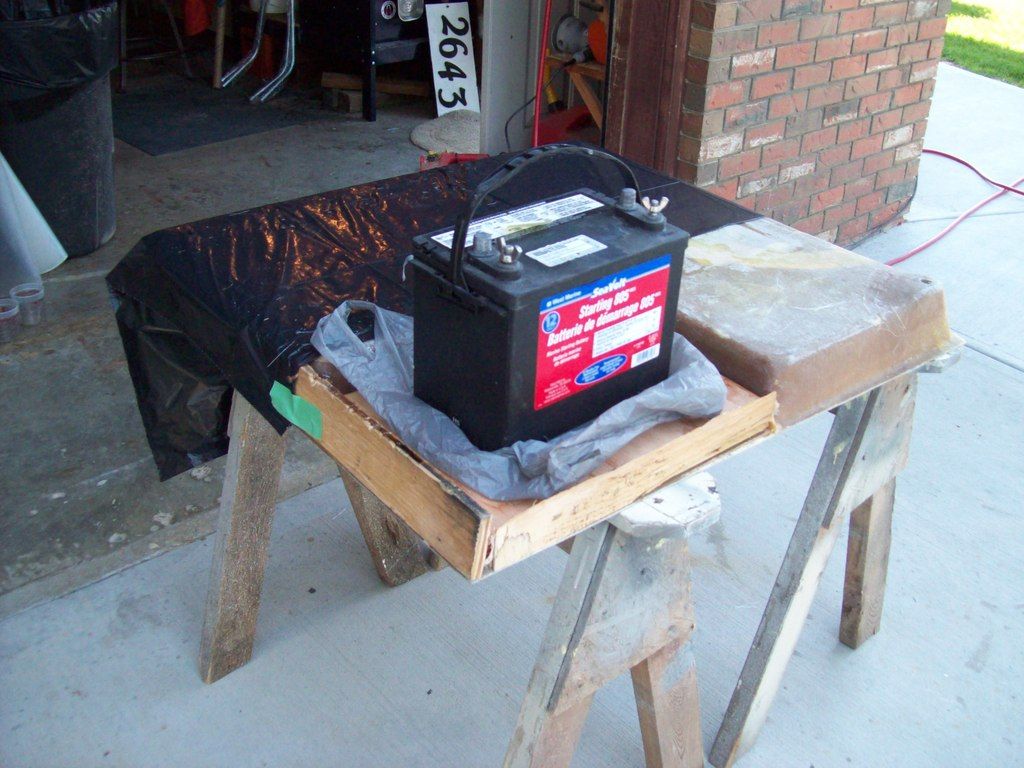
I decided to strengthen the head (toilet) mounting area. The washroom floor is a one piece fiberglass unit that serves as regular floor, shower floor, and head base. It looks like someone had replaced the head at one time because there are a couple extra bolt holes. The portion where the head mounts is raised and has a piece of plywood glassed in. I ground out the underside, cleaned up with acetone, and sandwiched a piece of csm between the old plywood and a new piece of 5/8 fir plywood. Once that kicked I fileted the edges with thickened resin and chop strand (pb). That used up the last of my resin, but I plan to finish it with a layer on 1708 when I get more resin.


Mikeopsycho

Senior Chief Petty Officer
Joined
Feb 6, 2014
Messages
738
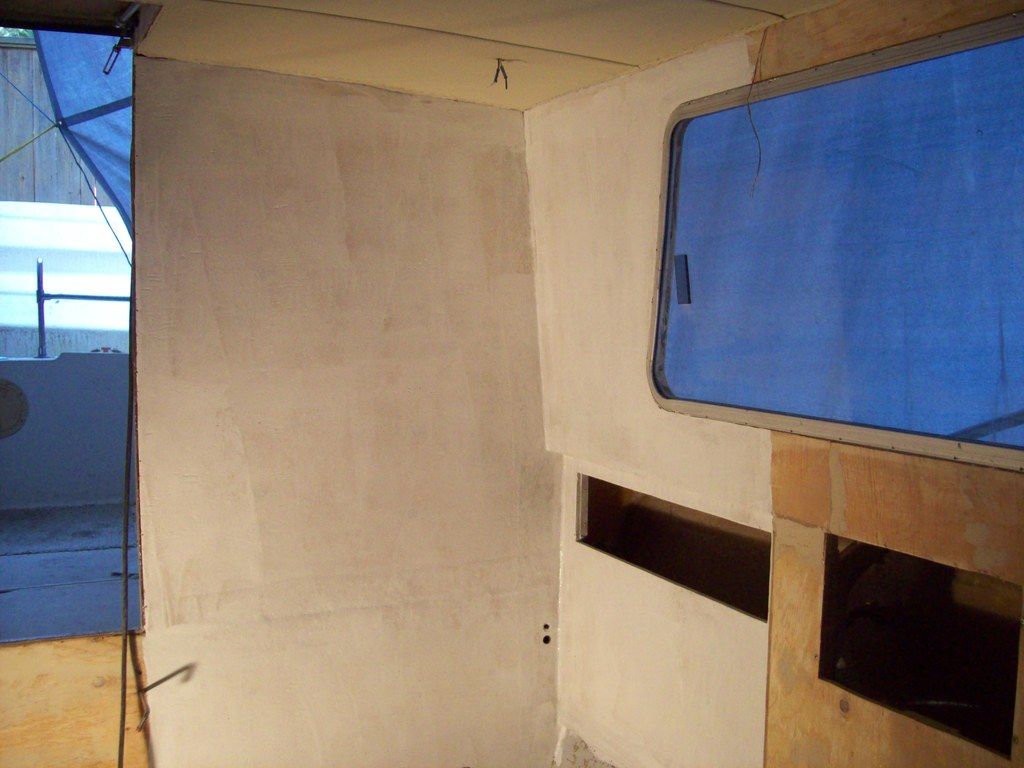
After lots of grinding and filling and sanding I got the bathroom outer walls cleaned up and ready.


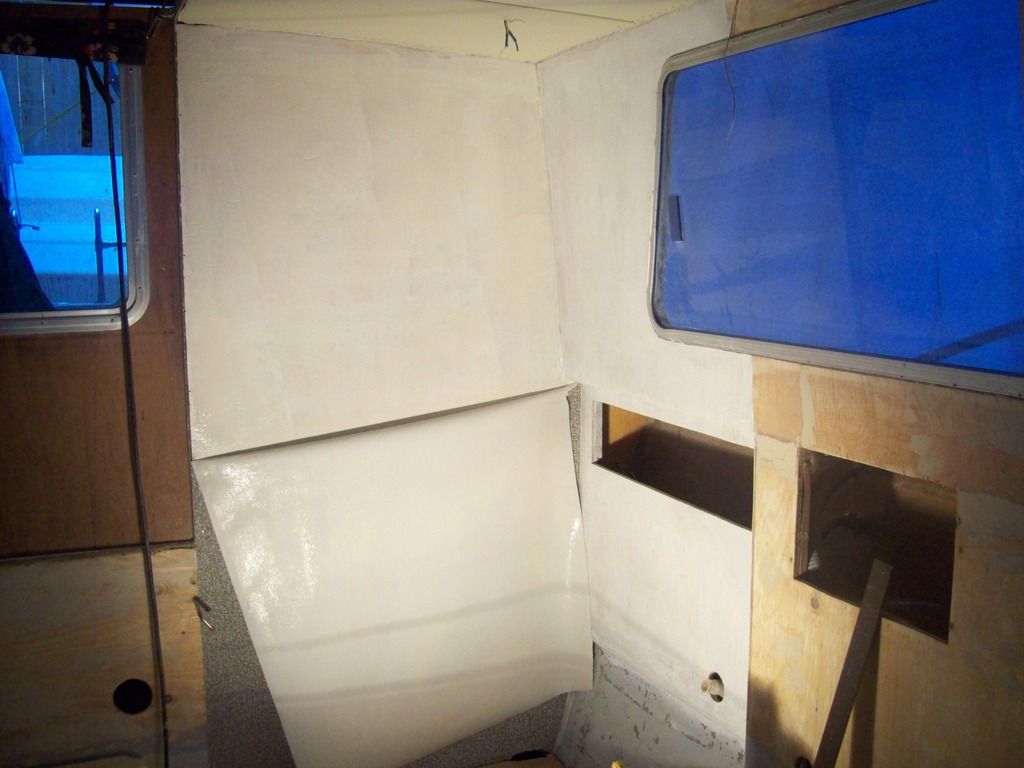
Then I roughly cut a couple pieces of Nautolex to fit. I didn't trim the corners where the pieces will meet, I'm hoping I can get a good fit and will trim during installation.


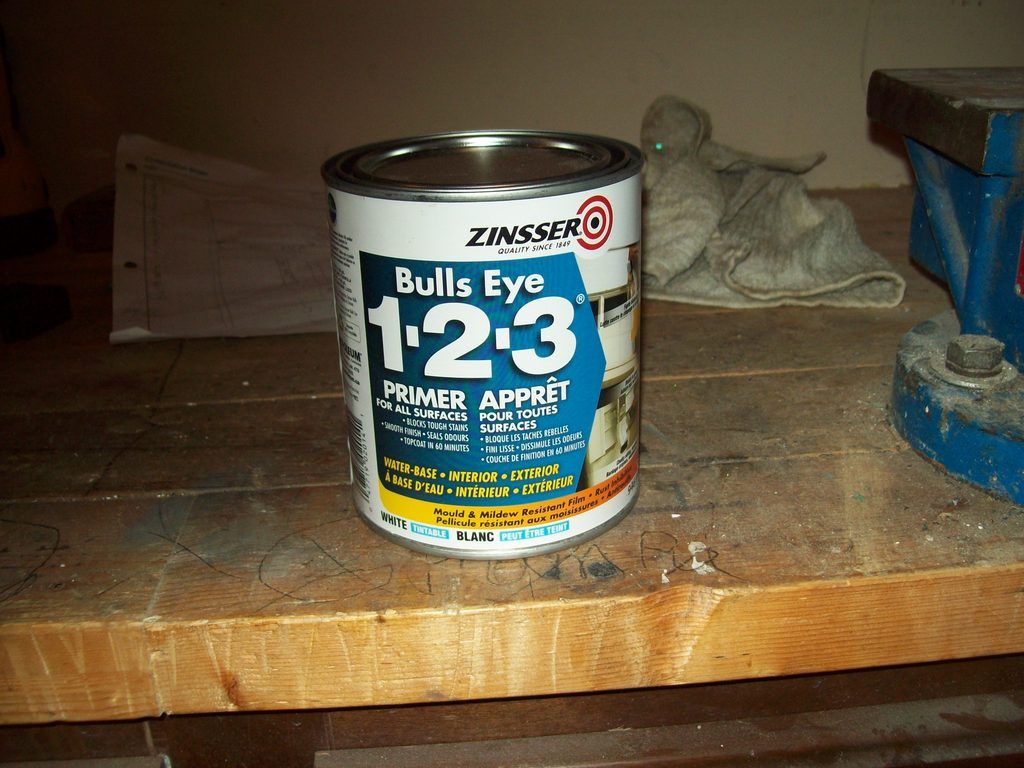
And I primer painted the walls,


With this stuff,


It's still freezing at night here, so I left an electric space heater and a halogen light inside and closed things up.
 

zool

Captain
Joined
Aug 19, 2012
Messages
3,432
That's gonna look good Mike....I think if you overlap the corner seams, and cut them with a sharp blade at once, you may get a perfect fit...imo
 

Mikeopsycho

Senior Chief Petty Officer
Joined
Feb 6, 2014
Messages
738
Thanks Zool, I tried that, and it worked quite well. :thumb:

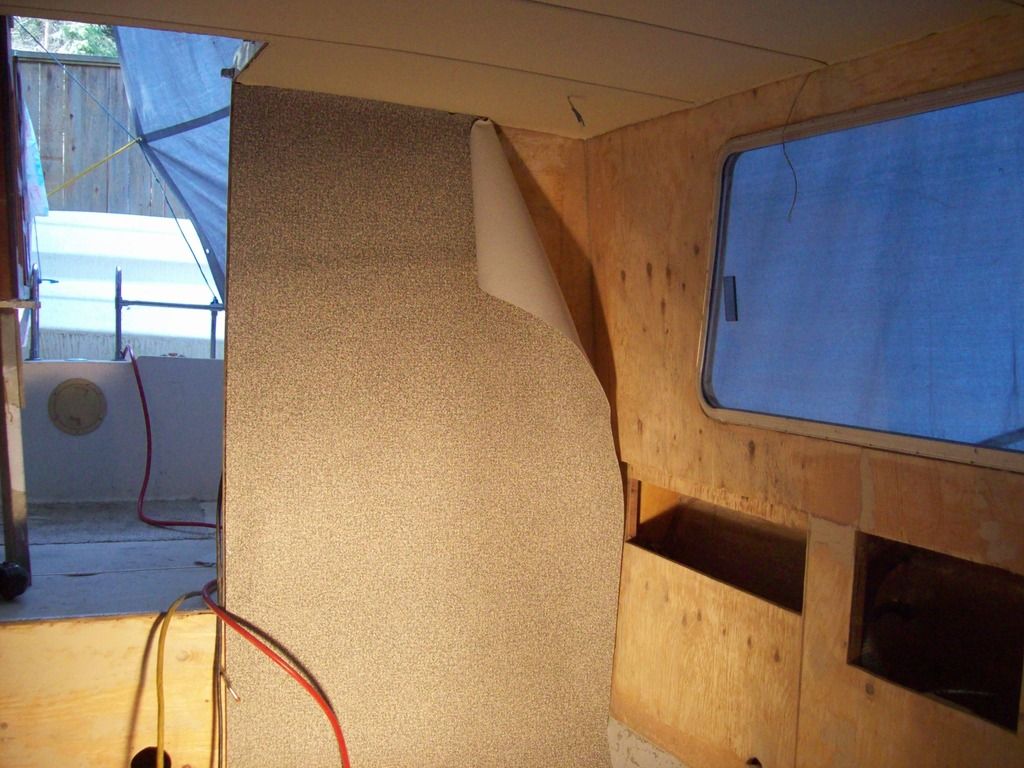
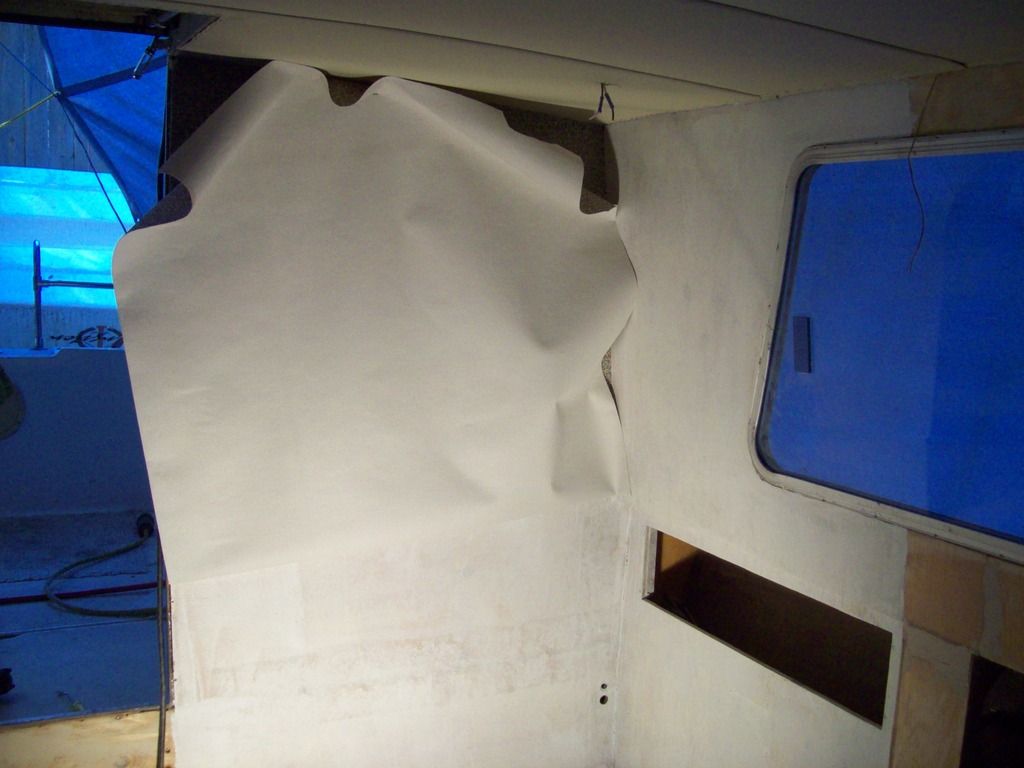
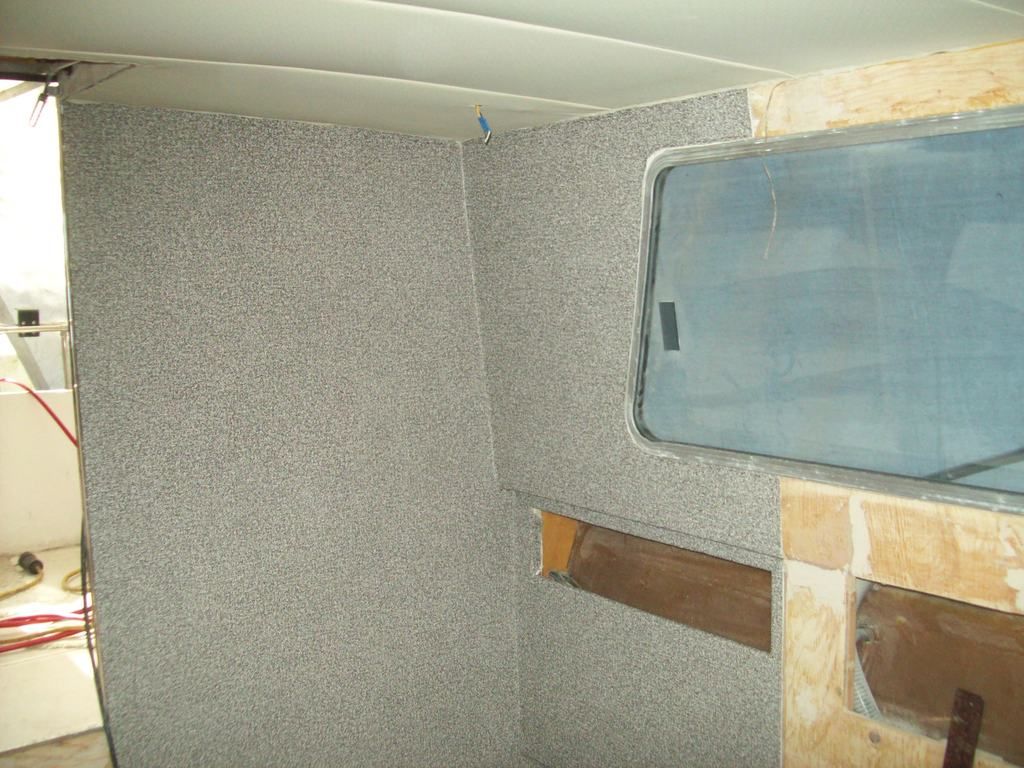
I went over the paint with 120 grit on the orbital sander, then wiped down the walls with a damp cloth. I temporarily stapled the top of the Nautolex on the aft wall, then folded the vinyl up from the bottom and tacked it out of the way,


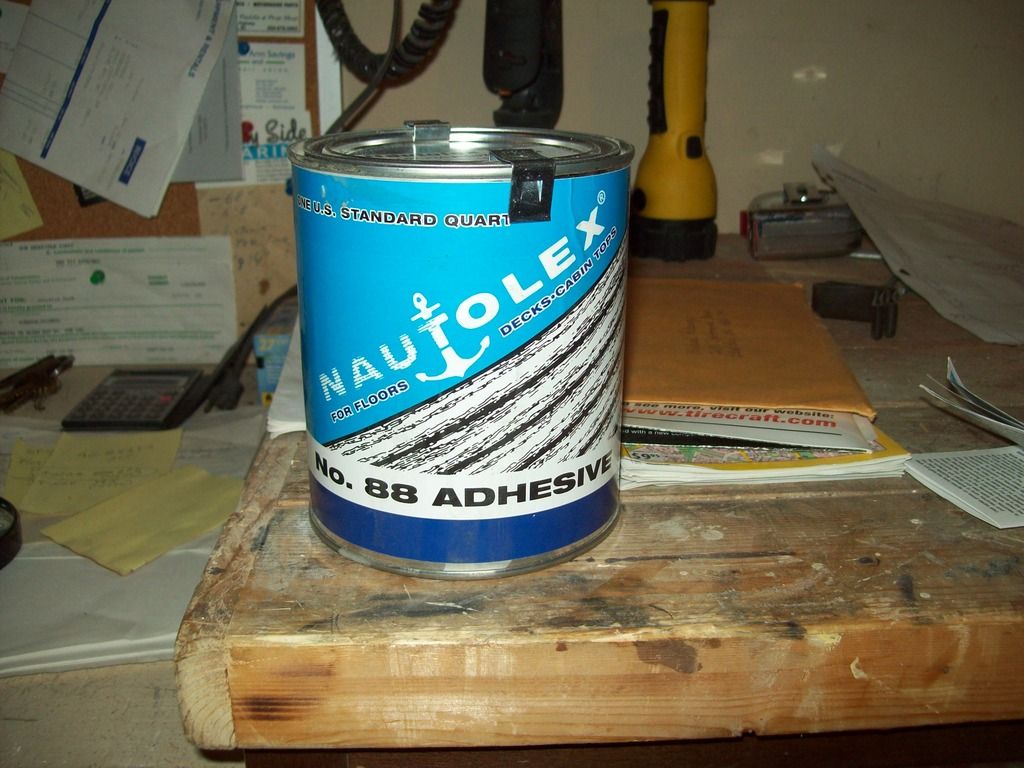
I brushed 88 adhesive onto the bottom of the wall and on the back of the vinyl,


I waited till the surface got sticky but not wet as per instructions, then smoothed down the vinyl, rolled it and stapled the edges that will be covered with 3/8" stainless steel staples. I did the same with the top half of the wall,


I did the same procedure on the port wall, then trimmed the corner as per Zool's suggestion, cutting through both layers of Nautolex for a nice tight fit. Hopefully the vinyl won't shrink and separate at the corner, but I plan to add a bead of 5200 later, so I guess it wouldn't matter too much anyway.


I'm really happy with how it turned out! I really like Nautolex, and wish I'd ordered enough to do all the walls. I do have enough left to cover a false floor in my little aluminum boat, but that's another project for the future. I'm gonna try adhering regular marine grade upholstery vinyl to the remaining walls.
 

nurseman

Lieutenant Junior Grade
Joined
Jun 2, 2013
Messages
1,045
That looks really nice! Any reason you can't just order a bit more?
 

kcassells

Fleet Admiral
Joined
Oct 16, 2012
Messages
8,715
Mike...You have skills!! Looks Great. Zools idea was perfect, like what you would do to wallpaper seems.
 

Mikeopsycho

Senior Chief Petty Officer
Joined
Feb 6, 2014
Messages
738
Thanks guys. Good question NM. Two main reasons I don't order more Nautolex ; the Admiral says the shark grey color/pattern is would be too busy with striped upholstery on the dinette, and, the cost. I need 6.5 running yards of material, at $29 or so US per yd., plus tax, shipping, and US/Canada exchange...:faint2:..kaaaaching! Then there is the 88 adhesive. Last year I ordered 1 quart from a US supplier (couldn't find it in Canada) for about $35 Canadian. Shipping was another $34 C. Then when UPS delivered it there was another $32 charge for duty. That's about $100 for one quart of 88, and I'd need at least a gallon, yikes! :rant:Oh, and I have the marine vinyl on hand, so I may as well use it.
Hey KFC, yea, the wallpaper technique worked well. That's something you would not be able to do if you used contact cement, but with 88 adhesive it's no problem.
 

nurseman

Lieutenant Junior Grade
Joined
Jun 2, 2013
Messages
1,045
Yikes!:eek: that does sound like a lot of $$. I can totally dig the "use what you have" route!. (makes it easier to justify keeping stuff if you can use it once in a while!) Can't wait to see what you are gonna do!
 

Mikeopsycho

Senior Chief Petty Officer
Joined
Feb 6, 2014
Messages
738
Hehe, you got it NM. I always make sure to point out to the wife when I use something I've been saving for years. See, I was RIGHT, I NEW I'd use that some day.:sad:

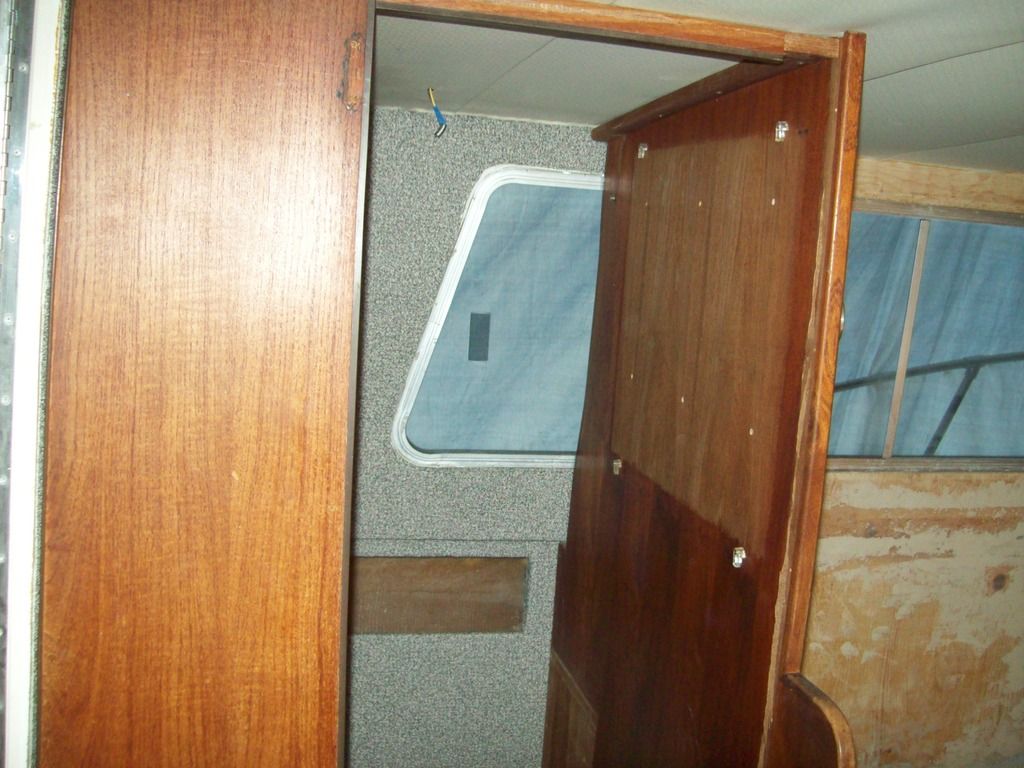
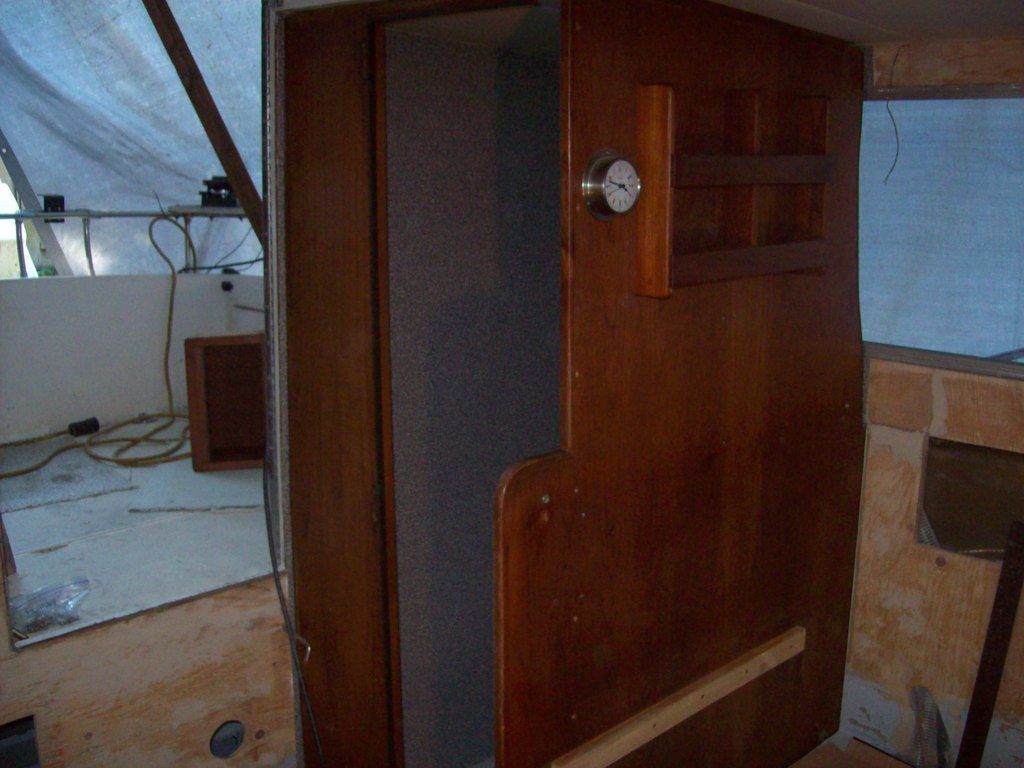
I temporarily installed the washroom walls (again) so I could mark and trim the vinyl to ensure my seams will line up where the inside walls meet up with the outside walls,


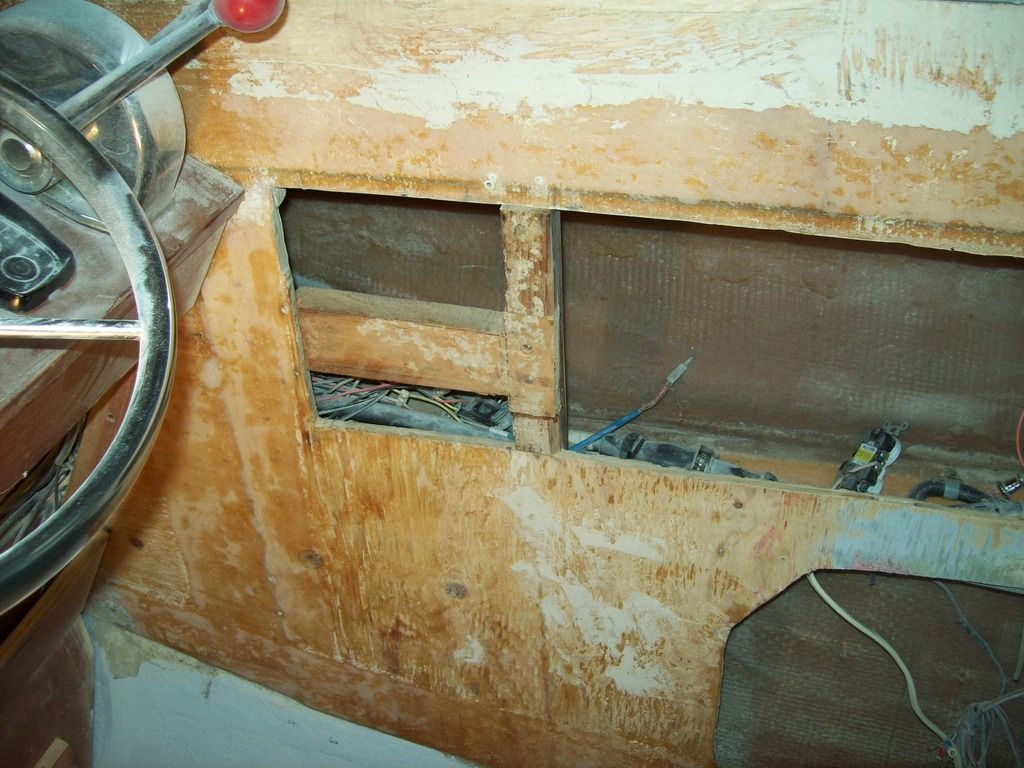
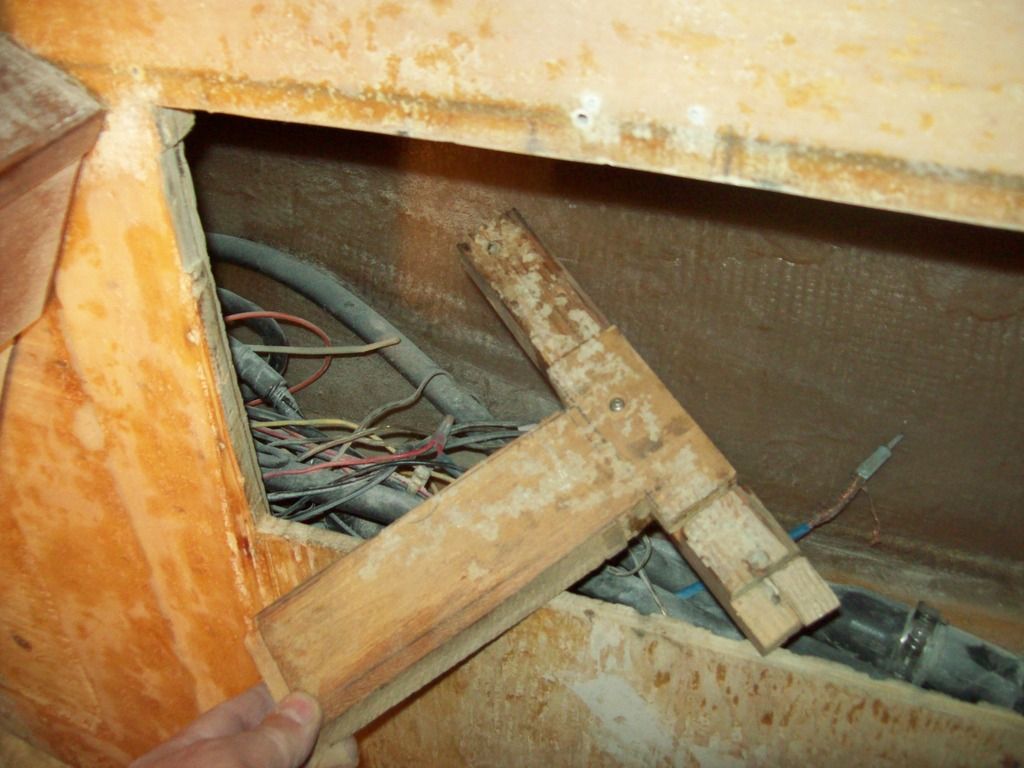
The area where the stereo mounts was kinda mickey mouse, so I removed what was there.


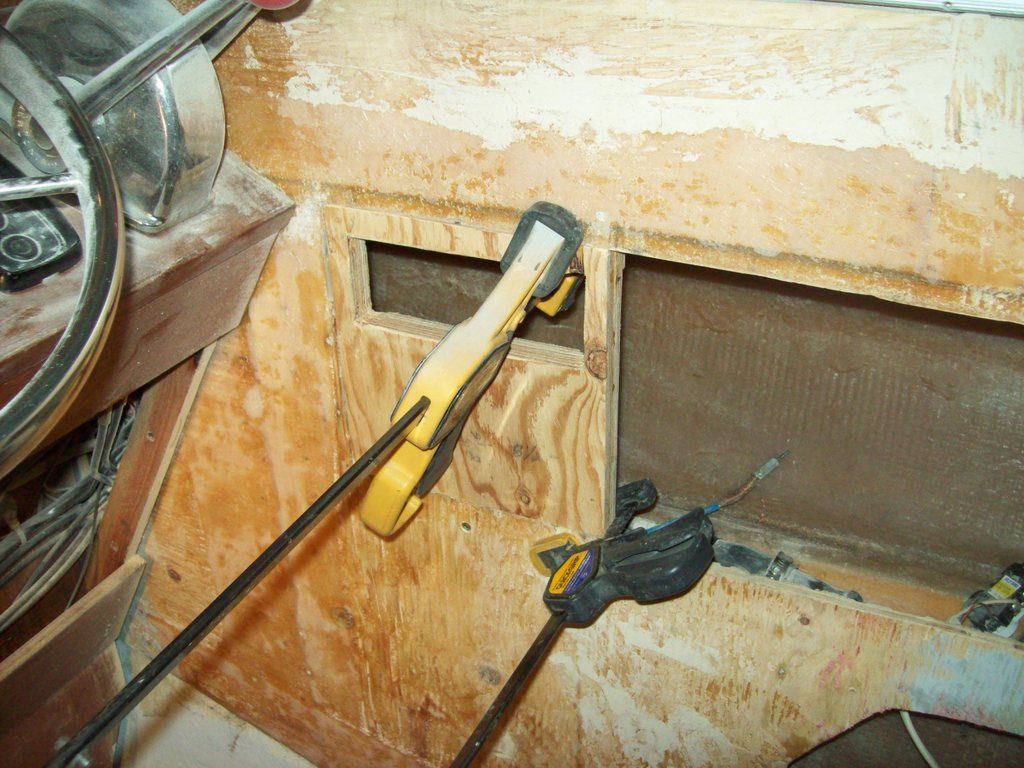
and patched in a double layer of 1/2" plywood. Glued with tite bond 3 and screwed with stainless screws. This'll firm up the wall below a bit. The open area adjacent will have a storage shelf mounted in it.


I left it clamped overnight with the heater on.

I need to pick up some more 3/8" stainless staples before I apply the material to the remaining walls. I can't believe I've used almost 1000 on the headliner and the walls so far. :eek: Man oh man you go through a lot of consumables fixing up old boats, staples, rollers, paint trays, beer, gloves, rags, beer, grinding disks, resin, beer, and on and on. :becky:
 

kcassells

Fleet Admiral
Joined
Oct 16, 2012
Messages
8,715
The Beer is definitely worth it! Glad to to see you out of the cave bear {beer} man!
Looks great too btw.
 

Mikeopsycho

Senior Chief Petty Officer
Joined
Feb 6, 2014
Messages
738
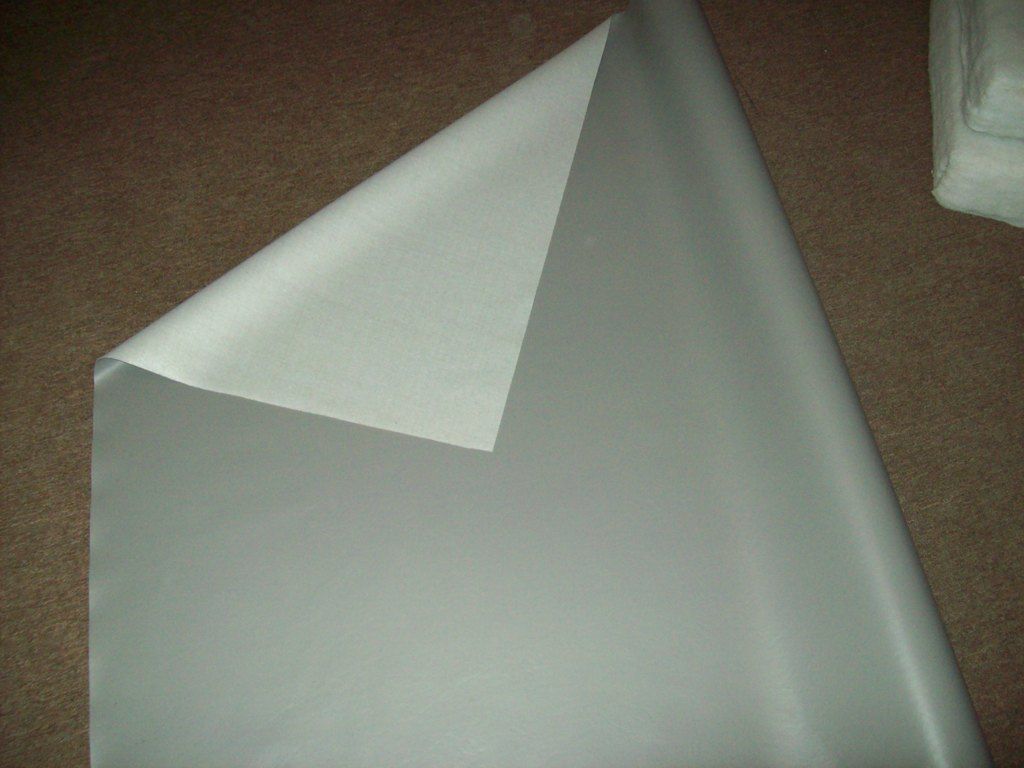
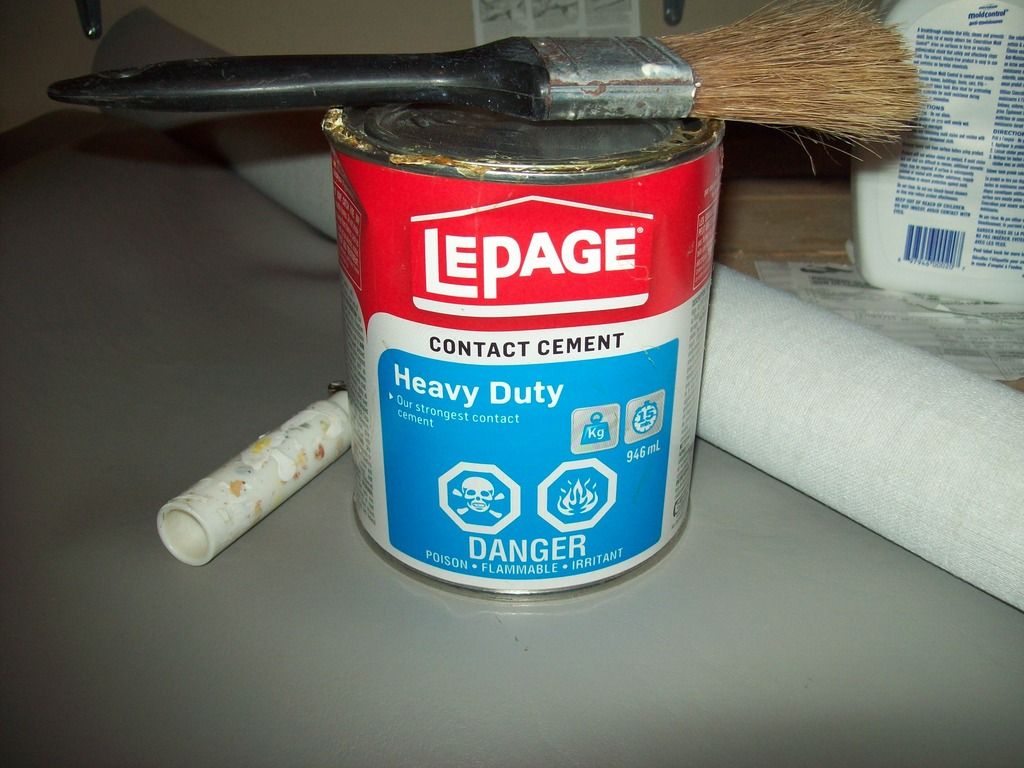
So here's the material for the walls. Its called pearl gray marine vinyl,


And here's what I planned to stick it on with,


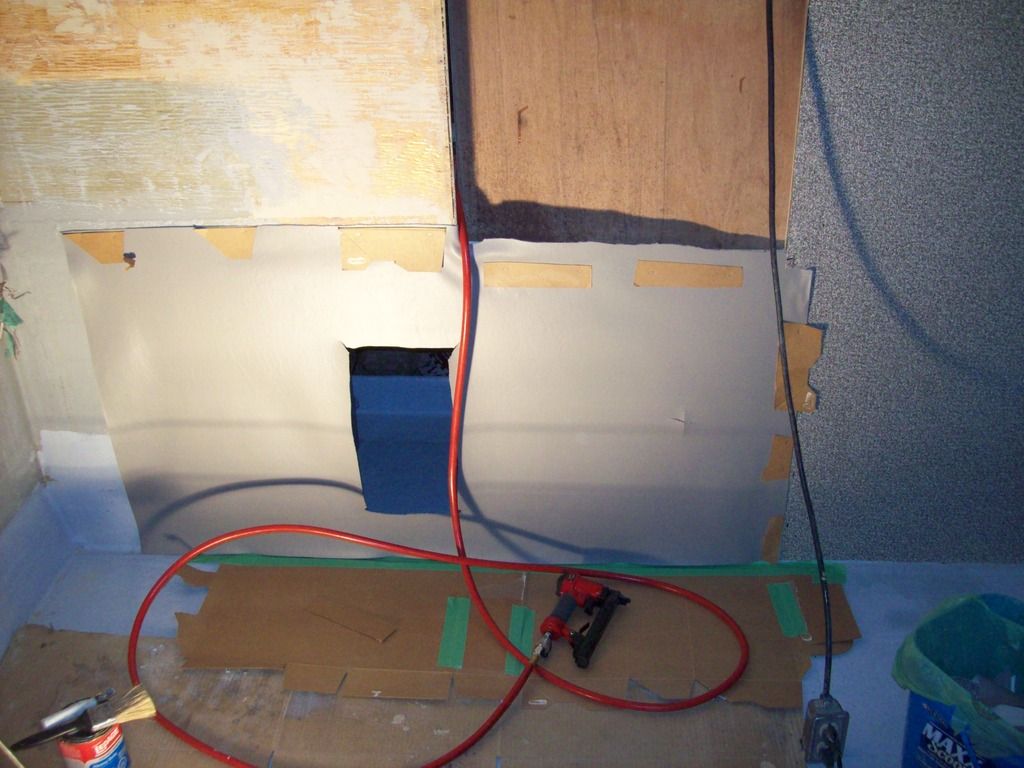
I started with the smallest piece to see how my plan will work out. I temporarily stapled it up top in position,


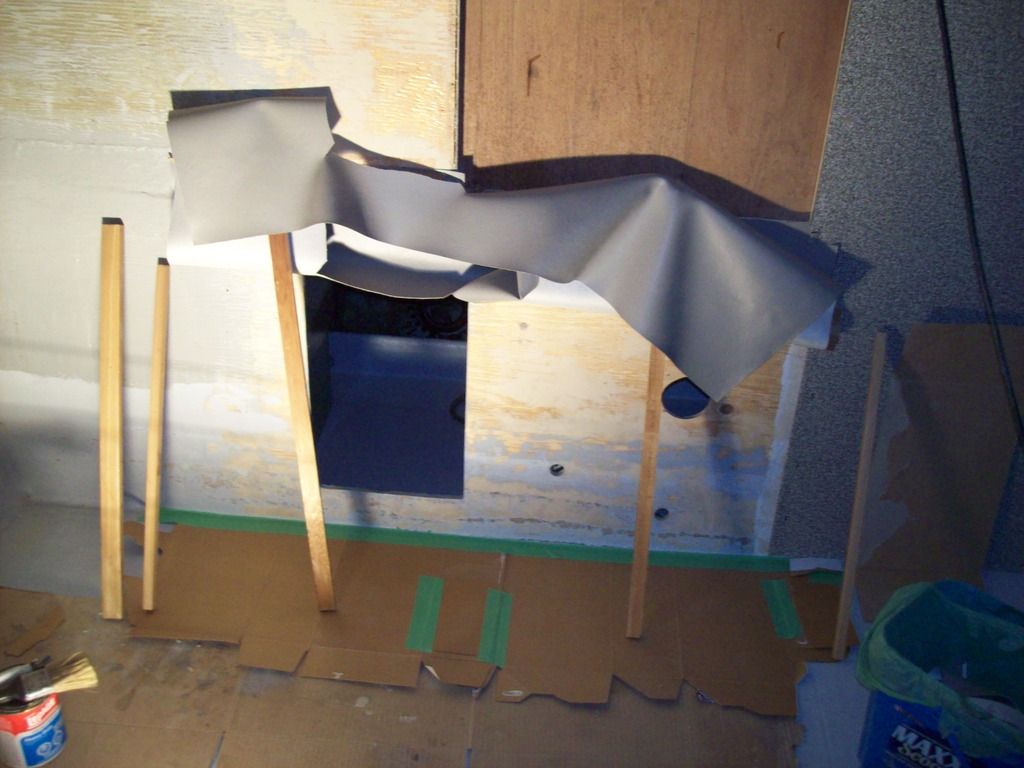
then used sticks to hold the vinyl up so I could apply the contact cement to both surfaces of the bottom half,


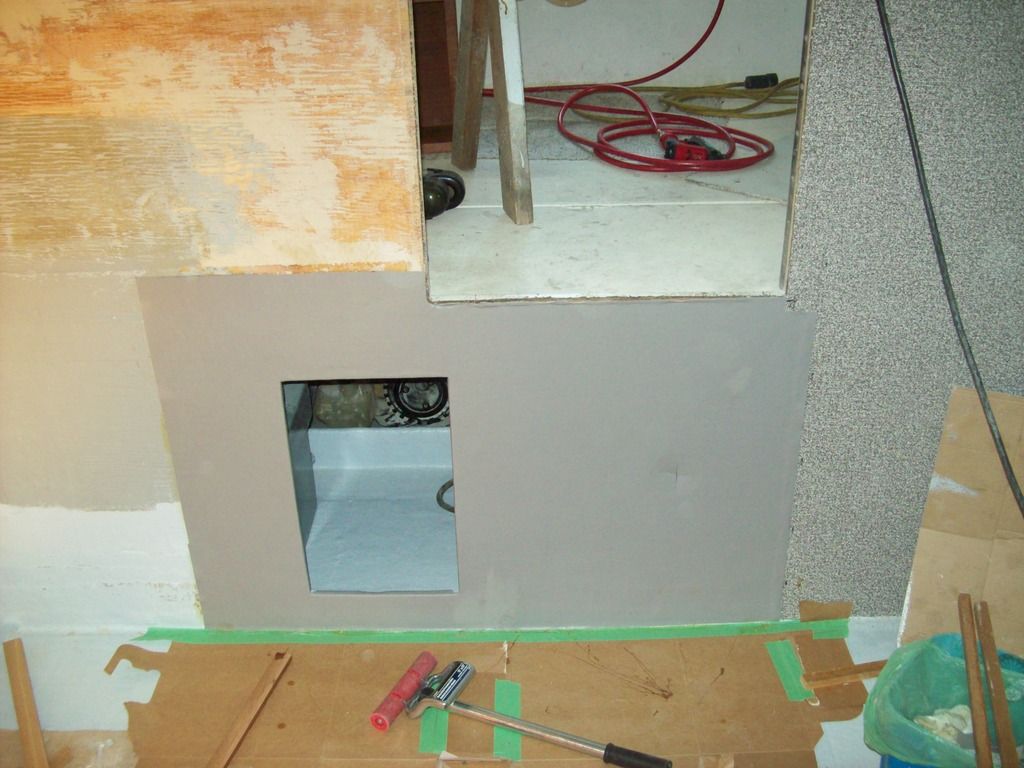
when it was ready I eased the vinyl down, rolled it, then repeated the procedure for the top half, trimmed around the trash can compartment and stapled it along the back edge,


What a royal PITA!!!! There's no way in hell I'm going to be able to do all the walls this way! It's easy enough to paint the cement onto the wall, but it's ridiculously difficult to brush it onto the back of the material without making a mess. I got some on the front in a couple spots, I got some on my arms, I got some on my ear...don't ask....and this was the smallest, easiest piece I need to do. :frusty: I think I can clean up the cement on the surface, so I'll plan on leaving it on, but I have to come up with a different adhesive.

I'm thinking I'll try a spray on contact cement next. Does anyone know what would be a good product to try?
 

nurseman

Lieutenant Junior Grade
Joined
Jun 2, 2013
Messages
1,045
Wondering if a regular floor type adhesive would work. Something suitable for vinyl flooring might work. That would allow you to just trowel the adhesive on the wall side, and then roll the vinyl smooth. The advantage being that you would have more workability once it is on the wall. Just a thought...
 

kcassells

Fleet Admiral
Joined
Oct 16, 2012
Messages
8,715
Mark off any vertical or horizontal ends with lines where the fabric ends/starts. So when going back up after template fit out you have exactly where it needs to be. Work it up, down, side to side like a wall paper. Yea this can be a tricky messy job but you'll go right on with it.
 

Mikeopsycho

Senior Chief Petty Officer
Joined
Feb 6, 2014
Messages
738
Thanks guys.

NM, I like the idea of having a little working time a trowel on adhesive would offer, I'll look into that option.

Zool, that looks like it would work, although I guess I'd have to mask off where I don't want the spray to go. Have you used this stuff?

I think I'll go into town tomorrow and see what's available.

Hey KC, ya, I'm trying to make as few seams as possible, so I've got some big pieces to install, including going right around a corner that cannot be stapled because it won't be covered by molding. But you're right, I'll get her done somehow.
 
Top