1977 Bayliner 2550

T748

Seaman
Joined
May 1, 2012
Messages
60
I’ll admit it. I’ve made ALL of the “new to boats” buyer mistakes. Let’s list a few….
Not running. “It’s got low compression in a cylinder. I think it just needs a valve adjustment”.
Soft decks (sole) including the obvious naked plywood lying over the deck in the head.
Sketchy paperwork on boat and trailer.
Great looking transom that’s actually rotted out on the bottom.
Rock bottom price. The old “Buy the trailer and get a free boat!” deal.
The biggest sin of all- Wanting a boat bad enough to overlook any of these (and more).
I’m not sure if this qualifies as a mistake. Buying a boat that’s too big. It seemed so as soon as I towed it home. It’s gotten smaller to the point now where I’m thinking I might have gone a bit bigger. I guess at this point I should introduce the boat that followed me home….
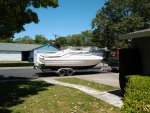
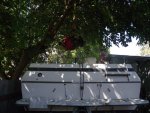
1977 Bayliner Saratoga Sunbridge 2550. It’s got a Chevy 350 and a Volvo 280 outdrive. $1500 and the boat’s title and a bill of sale for the trailer were in my hands. The young couple that sold this was smart enough to know it would be too much time and money to continue. Me, I justified it as having another project to fixate on.
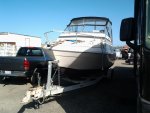
2012-05-17 17.07.20.jpg
2012-05-17 17.06.26.jpg2012-05-21 13.16.32.jpg
I wasn’t truthful in the opening paragraph. This is not my first boat. It’s my second (not counting ships I called home in the Navy). My first boat is a little 14’ Gregor aluminum boat with a 25 horse Johnson. I’ve owned it a little over a year now. This was my first boat project. All cosmetics and nothing like the work that the Bayliner will need. Did I mention I have ZERO experience with fiberglass?! The Gregor is a great little aluminum boat, but the emphasis is on little. I’m two bays off the ocean and this thing gets a bit scary in the chop, or when a big assed freighter comes rolling through.

new seat test 009.jpg
The idea soon took shape that the girlfriend and I need a bigger fishing boat that you can actually walk around in. A working head is a must, and maybe a place to get out of the weather too. I looked at a million over priced beater boats on Craigslist and quite a few boats at dealers that were more than I could afford. When the ad popped up on craigslist for the Bayliner, I was just about ready to give up. This boat turned out to be local and at such a low price. Next thing you know it’s taking up most of my side yard. I’m a multi boat owner! My own Fleet! A little engine work and I’m practically a yacht owner! WOOHOO!

At this point I find this corner of the internet and the truth of what I really have and what the future holds sinks in…
What was I Thinking???!!!
After some serious soul searching the boat is not going for a ride to the landfill. I’m committing to a top to bottom overhaul. This will take longer than most of the others I’ve read here. It will need transom, stringers and soles redone. The motor will be addressed and freshwater cooling will need to be added. The Volvo 280 outdrive will need new all new rubber. The electrical system needs to be redone. The portable head went to the dump and will be replaced with a porcelain throne. Other than that the interior and galley will be done at a later date when we know what we really want and where it should be.
I’ve owned the boat since this summer so some of the non-fiberglass/ wood demo work has started... -Tom.
 
Last edited:

T748

Seaman
Joined
May 1, 2012
Messages
60
Re: 1977 Bayliner 2550

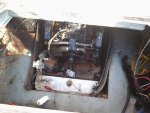
When I bought the boat the owner was trying to get the compression up on the bad cylinder(s) by re-setting the valve lash. I’m not a chevy guy, but I know the drill. The motor sat down in the engine room with cardboard form a 12 pack trying to keep the oil from running into the bilge while doing the running adjustments. I bought it in this condition without wanting to see it run. Heres a picture of it before buying it. The fact that oil bottles were all over the boat and oil was dripping out of the bilge plug hole didn’t seem to bother me at the time of purchase.
2012-05-17 17.14.01.jpg

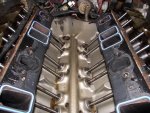
One of the first jobs once it was home was to do a compression test. The numbers were ugly. Cylinders 1-3-5-7- 42, 165, 100, 165. Cylinders 2-4-6-8- 120, 60, 133, 148. Bringing out a leakdown tester next I tried it on the worst cylinders #1 and #4. Leakdown was 100% or close enough that the heads were coming off for a look see.top end removal 008.jpgtop end removal 014.jpgtop end removal 032.jpg
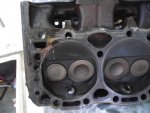
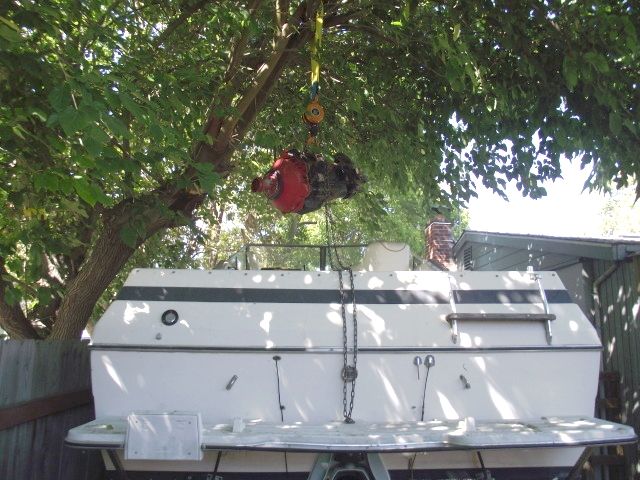
I pulled the heads off and placed them on the work bench. With the plugs in I poured water into the chamber. It poured out the not sealing valves as fast as I could pour it in. The heads definitely need a little lovin’. The shortblock looked surprisingly cleen on the inside. I have a feeling this is one of those cheap parts store motors. Wile pulling the heads off I dropped a tool in the bilge and had to fish it out. I had one hand on the transom low down by the bilge plug. It didn’t feel right for some reason . A little pushing resulted in finding a rotted out void. Man my heart sank! I was ready to haul the whole thing to the dump right then. Instead I let it sit for a week or two. I spent a lot of time here reading about how to replace transoms and what not. I guess it wouldn’t hurt to pull the motor out and see how bad it is. I’m still feeling about 75% sure it’s taking a ride to the dump. With that in mind I wasn’t about to build an A-frame or hire a crane to pull the motor. There was a nice branch close by. All it needed was to move the trailer as close to the fence as possible and hook up a strap and chainfall from Harbor Freight. engine and outdrive out 021.jpg
Oh ya, I might have left out the part about removing the outdrive. Other than driving the pins out of that it was easy-peasy. Both the outdrive and the engine took about a pot and a half of coffee to get out. Of course all friends and relatives were missing in action on this day. I guess it’s the same as working on cars. As soon as it’s time to do some real work, no one is anywhere to be found…. –Tom.


T748

Seaman
Joined
May 1, 2012
Messages
60
Re: 1977 Bayliner 2550

engine and outdrive out 022.jpg
I left the motor dangling over the boat wile I finished the last of the coffee. I was daring it to fall and kill this project right here and now. It didn't so I moved the boat out of the way and dropped the engine on to a hand truck. The shot transom took this out of the quick fix relm and into full on project land. After seeking council of freinds, buddys and co-workers I was 50% ready to keep it. My dad said in a nice way that I should sack up and do what needs to be done. Add in that the girl freind was giving me grief about needing a skirt if I couldnt handle another little project.... Well here I am, 99.9% commited to do this. It's only time, a wheel barrow full of money, and alot of hard work, right? What was I thinking!-Tom.
 

GT1000000

Rear Admiral
Joined
Jul 13, 2011
Messages
4,916
Re: 1977 Bayliner 2550

Welcome Tom,
As you already know, this is the best place on the interweb to get all the information, encouragement, harrassment and support you will need to tackle this crazy endeavor...
Ask all the questions and take all the pics...the gurus will be along to provide the guidance...

Best of luck and most of all have Fun!
Gus
 

mrdjflores

Lieutenant Junior Grade
Joined
Apr 1, 2009
Messages
1,169
Re: 1977 Bayliner 2550

we're all here for ya....go ahead a create you a photobucket account so you can link larger pictures directly in your thread.
read through some of the stickies at the beginning of this forum for some beginner advice.

keep us updated
 

T748

Seaman
Joined
May 1, 2012
Messages
60
Re: 1977 Bayliner 2550

Went out today and continued stripping down the engine compartment. The “shelves” that surround the engine had galvanized sheet metalcovers. Man is that a mess underneath. Wet rotten wood with little white bugs. Termites maybe? On one hand all this rotten wood is demoralizing. On the bright side it should make removal easier. The hole at the transom was the first clue that all was not well.

The boat is too big for the top to be popped off. The plan is to leave it on along with the canvas top. I put a tarp over that and should have a dry work space over the winter.
A few questions for everyone…

1. The transoms plywood is 1 ?”. The inner sheetgoes completely from side to side. The top ?” sheet is only in the center andis 47 ?” wide. Is there anything wrong with making it the full thickness allthe way across?
2. The trailer it’s sitting on has 4 bunks, 2 perside. The keel rollers are not touching the boat. Do they need to in order to provide support during transom, stringer and sole replacement? The top is staying on, but the engine compartment bulkhead will need to come out for repairs.
Thanks, Tom.
002.jpg

007.jpg

016.jpg
 

proshadetree

Lieutenant Commander
Joined
Jul 19, 2008
Messages
1,887
Re: 1977 Bayliner 2550

Love the boat. You should have plenty of support to replace the transom while on the trailer. Check the hull for warp before doing your stringers. Sometimes they bow in the middle. Dont worry you can brace and weight for a week or two to bring it back in shape if it is. Love those boats immensely.
 

T748

Seaman
Joined
May 1, 2012
Messages
60
Re: 1977 Bayliner 2550

Thanks pro, I'm glad to hear good things on the boat. This is a leap of faith for me, since I've never been on the water with it. I think it's the right size and style for what I want to do. The sole decking and parts like the shelves in the engine compartment appear to be only fiberglass topped with no cloth added. These are all cracked. Was this the way the factory did it or am I looking at a previous owners repair? I'll be fixing it the iboats way to avoid this happening again. Here is a shot in the "cave" that illustrates the cracking. -Tom.
019.jpg
 

jbcurt00

Moderator
Staff member
Joined
Oct 25, 2011
Messages
25,056
Re: 1977 Bayliner 2550

Although some years of Bayliners take a beating for lack of build quality & very little attention to detail, I doubt that the boat left the factory w/ poly resin coated ply w/ no cloth, roving, or CSM of some sort on anything. But that is an opinion based on what I've seen on Bayliner resto's.

There does appear that there may be some fiberglass threads printing thru the black in your pix.

But if you're interested in pulling it apart & putting it back together, the dry dock crew @iboats, will help you accomplish that.

Welcome to the iboats dry dock
 

KennethfromGA

Petty Officer 2nd Class
Joined
Apr 26, 2012
Messages
105
Re: 1977 Bayliner 2550

So your dad and the girlfriend talked you into taking on a gigantic mess of a problem that you know will cost you an arm and a leg all while they kick back and enjoy your slow tortuous humiliation (err TRIUMPH)from a safe distance.....your gonna feel right at home here my man as you are just the right kinda crazy. Request permission to tag along.
 

FastFission

Petty Officer 2nd Class
Joined
Sep 3, 2011
Messages
134
Re: 1977 Bayliner 2550

I agree with jbcurt00 that it doesn't look stock. Mine's smaller and a few years newer, but the black color doesn't look stock either. They might have used a chopper gun, but I haven't seen any in the resto threads with no glass at all.
 

Friscoboater

Captain
Joined
Jul 3, 2009
Messages
3,095
Re: 1977 Bayliner 2550

This is going to be a great build. I know it seams daunting when you look at all the work that needs to be done, but stick with it. Everyone who sees my projects just laugh until I finish them up like a brand new penny. Then everyone wants to use them :)
 

GWPSR

Senior Chief Petty Officer
Joined
Jul 25, 2012
Messages
758
Re: 1977 Bayliner 2550

I agree with jbcurt00 that it doesn't look stock. Mine's smaller and a few years newer, but the black color doesn't look stock either. They might have used a chopper gun, but I haven't seen any in the resto threads with no glass at all.

My 81' 2750 had what appeared to be just a layer of gelcoat over the belowdeck flooring and bulkheads. Mine also cracked like that and when I demo'ed the interior, there was no sign of any glass except where the floor or bulkheads were tabbed to the hull. Same deal on the engine room 'benches'.

All I can say is that mine won't be put back together the same way.:)
 

FastFission

Petty Officer 2nd Class
Joined
Sep 3, 2011
Messages
134
Re: 1977 Bayliner 2550

Now that you mention the gelcoat, I might have been thinking wrong. I don't think Bayliner would have been using plain resin on a deck, but it's pretty common for their boats to have plywood decking with gelcoat in place of paint. I still don't think the color is stock. On my Capri, they covered most of the exposed wood with gelcoat. One thing the did NOT do was to cover the back or bottom sides of the plywood very well. Gelcoat over bad wood might look like resin, I suppose.
 

T748

Seaman
Joined
May 1, 2012
Messages
60
Re: 1977 Bayliner 2550

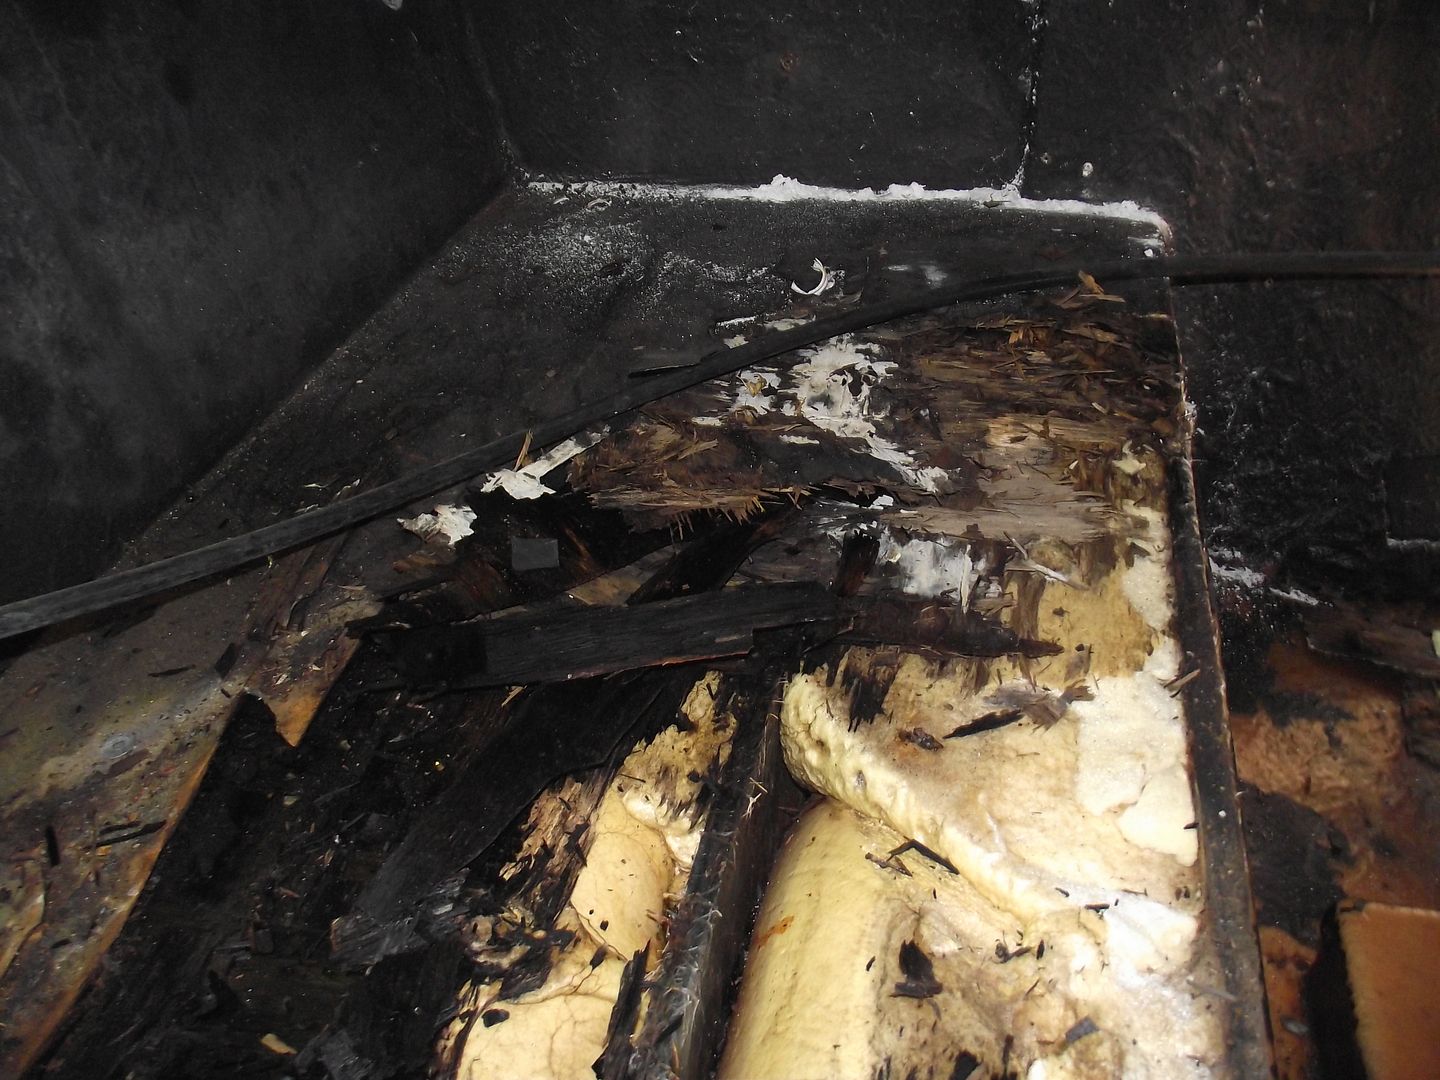
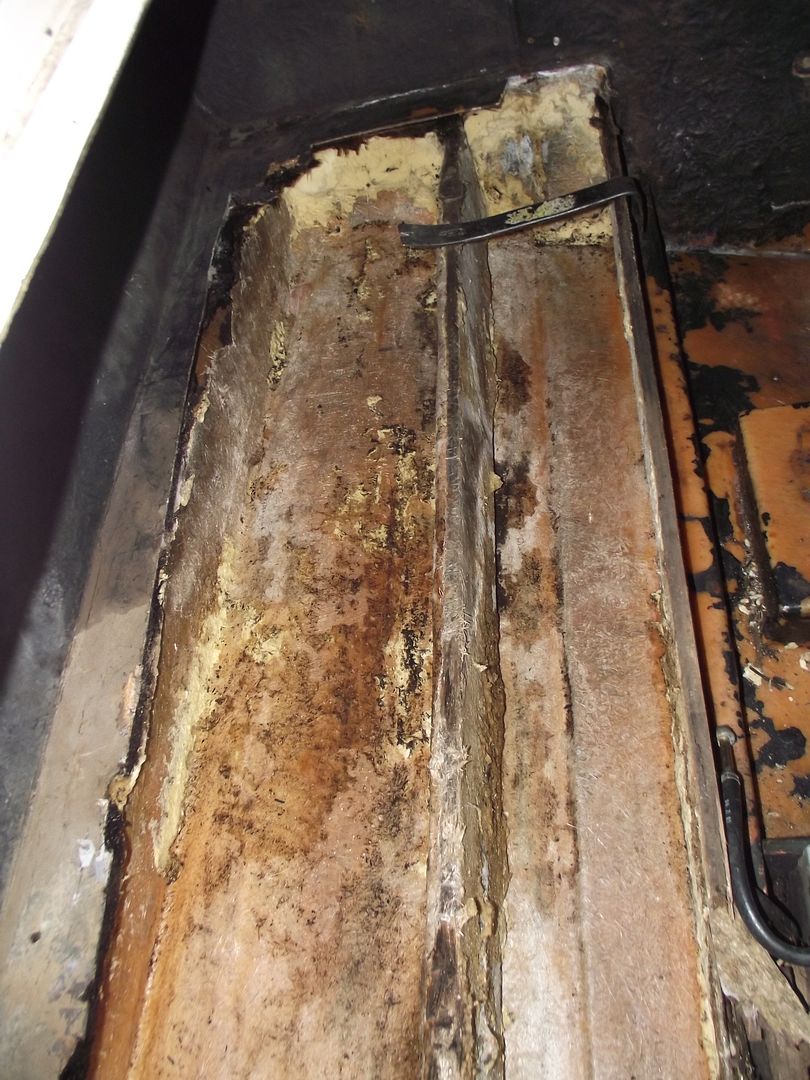
The boat has sat through the winter without any work getting done on it. I had to take some time take care of my parents and rebuild the transmission in the Explorer (commuter car). The boat wasn't fully forgotten. I bought a Duoprop lower off of the "bay" and a few other things. The lack of getting any work done on the boat was getting embarassing. Well this weekend was the time to get back at it. The job at hand was to remove the lids and foam from the engine compartment.These are the "boxes" that sit on either side of the engine. As rotted as the lids were, it was an easy job. On the solid wood, an oscillating saw and a 5" double cut saw worked well. A real suprise was how dry the foam was. even with the tops rotted out, the majority of the foam was dry. A pry bar took out the foam without issue. It's hard to believe that little space held almost 5 garbage bags of foam! -Tom.
deconstruction003_zps0012f066.jpg

deconstruction016_zps38195166.jpg

deconstruction003_zps3cf984ef.jpg

deconstruction007_zpsaab0a615.jpg
 

T748

Seaman
Joined
May 1, 2012
Messages
60
Re: 1977 Bayliner 2550

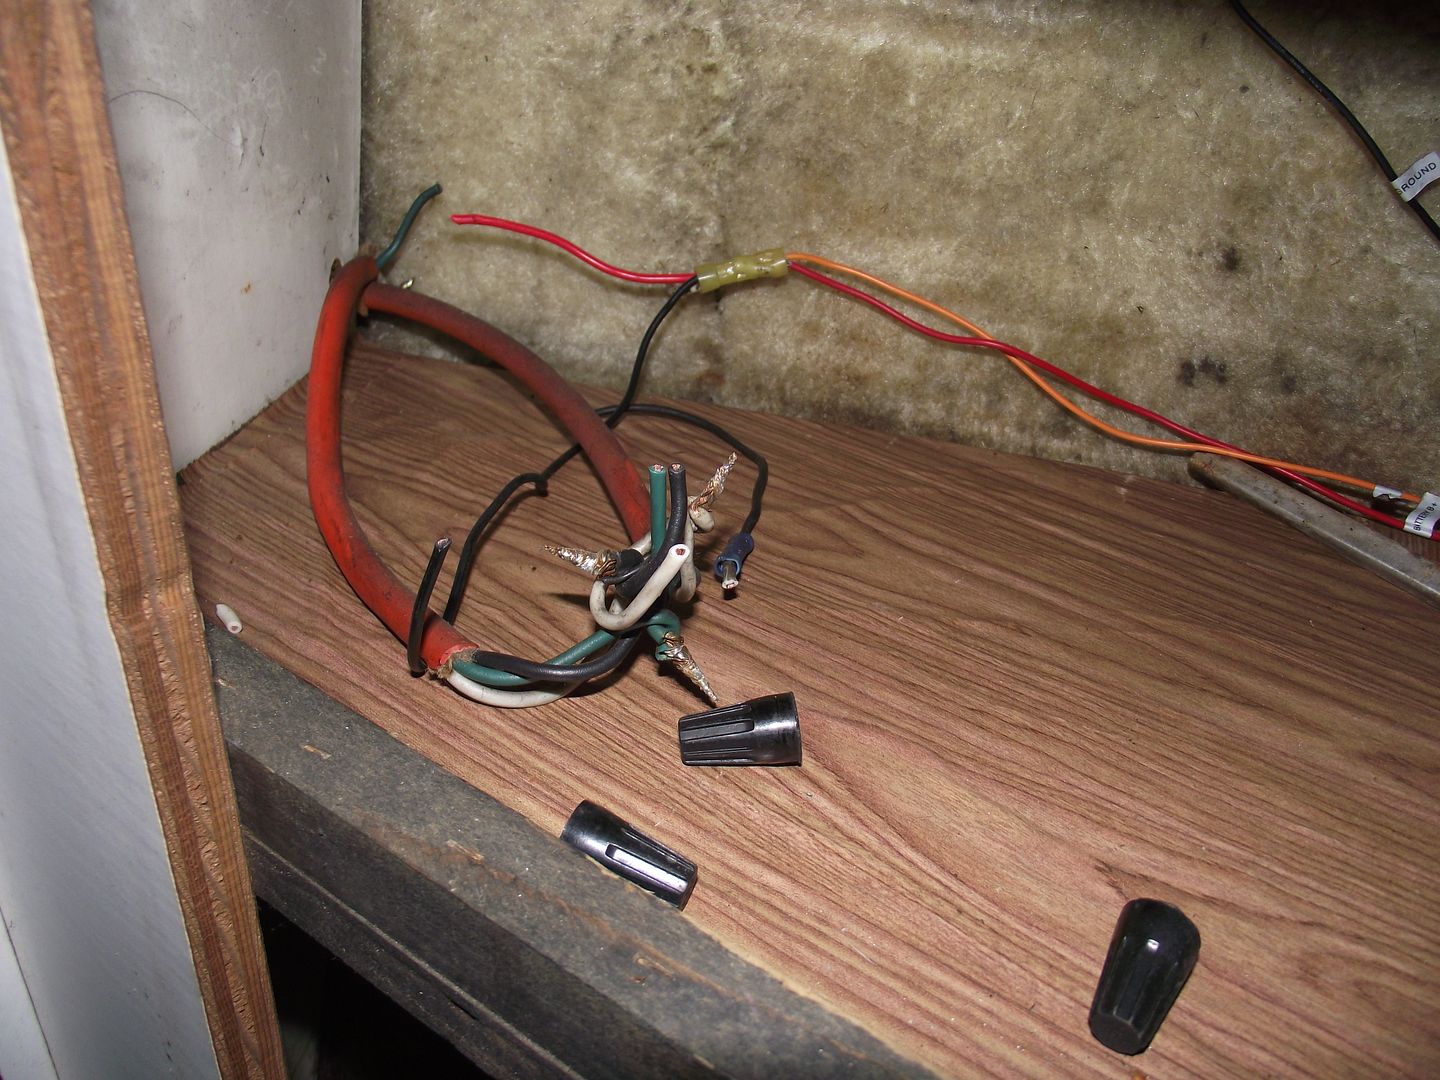
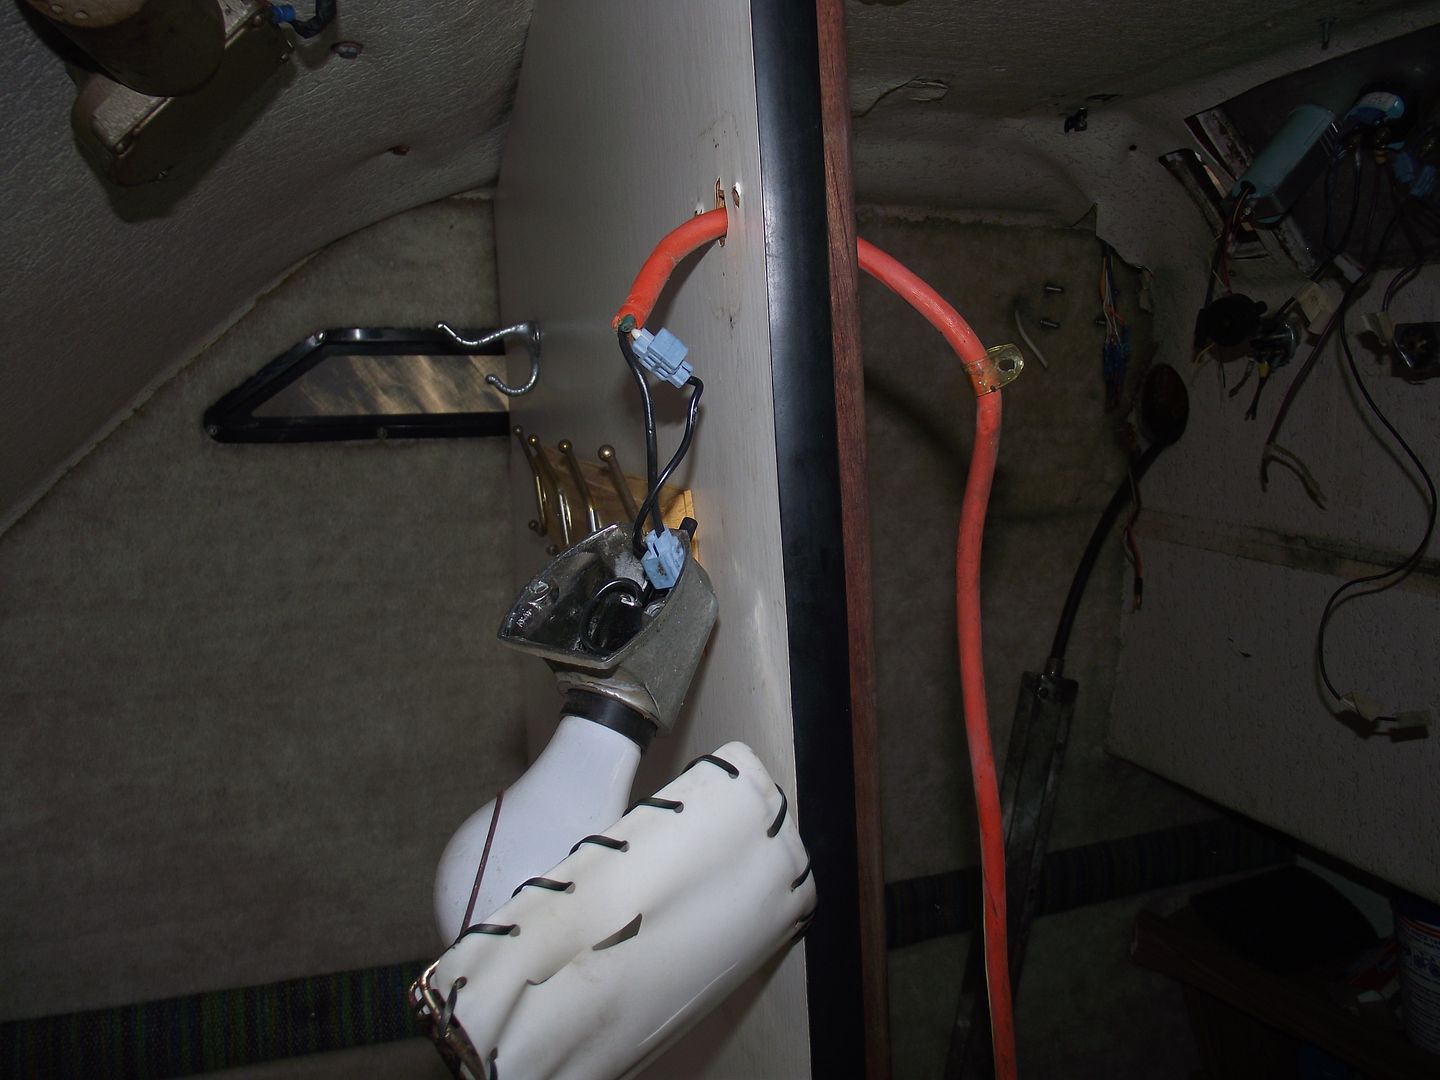
Today was a fun day. I started gutting the interior. The 110 volt system was quite a suprise. The only time I ever plugged it in to shore power it tripped a breaker. The system consists of one GFI breaker outlet, four lights and a non working battery charger. I thought it also had a refrigerator, but it turns out to be a non powered ice box. The GFI outlet and marine wiring gave me hope. Pulling the outlet out, there was only 2' of marine 110 wiring. the rest looked like this...
deconstruction009_zps75e1d317.jpg

deconstruction004_zps937d9961.jpg

The orange extension cord wire must have been from a previous owner that really loved to use wire nuts on everything. He or she wasn't a fan of the ground wire either.

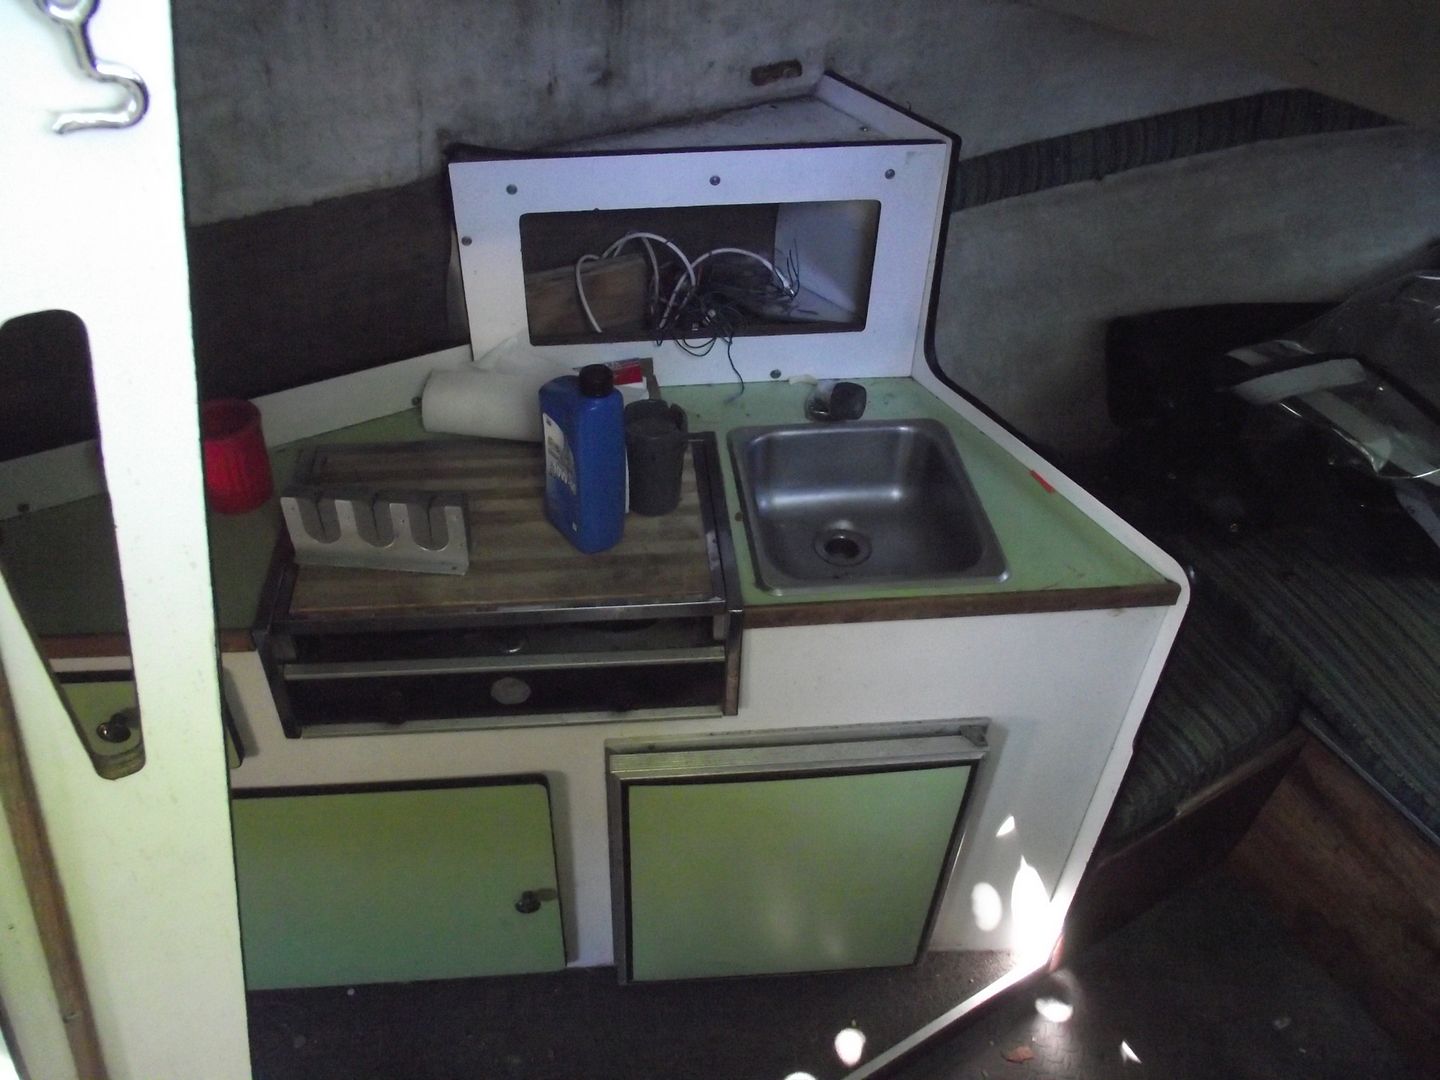
The galley isn't worth saving even being everyones favorite 70's color. I think a bare bones galley will go back in once the boat has logged some sea time. Heres a before and after.
bayliner5-21-2012105_zps28b554c5.jpg

deconstruction010_zpsc959120f.jpg

I pulled up a bit of the carpet. Under it is 1/4" ply covering rotted deck and a few holes. It should make deck removal easy-peasy! -Tom.
 

GWPSR

Senior Chief Petty Officer
Joined
Jul 25, 2012
Messages
758
Re: 1977 Bayliner 2550

This is all looking eerily familiar. :)

All of it.

I sense how this might proceed. Good luck!
 

T748

Seaman
Joined
May 1, 2012
Messages
60
Re: 1977 Bayliner 2550

I took a few days vacation to get some work done on the boat. This is a continuation of stripping the interior out. It took alot longer than I thought. There are 10 million screws holing this tub's guts together. Well maybe not a full 10 mill, but I do have half a coffee can of stainless steel gold! If you've priced stainless screws lately you know why I'm saving them.
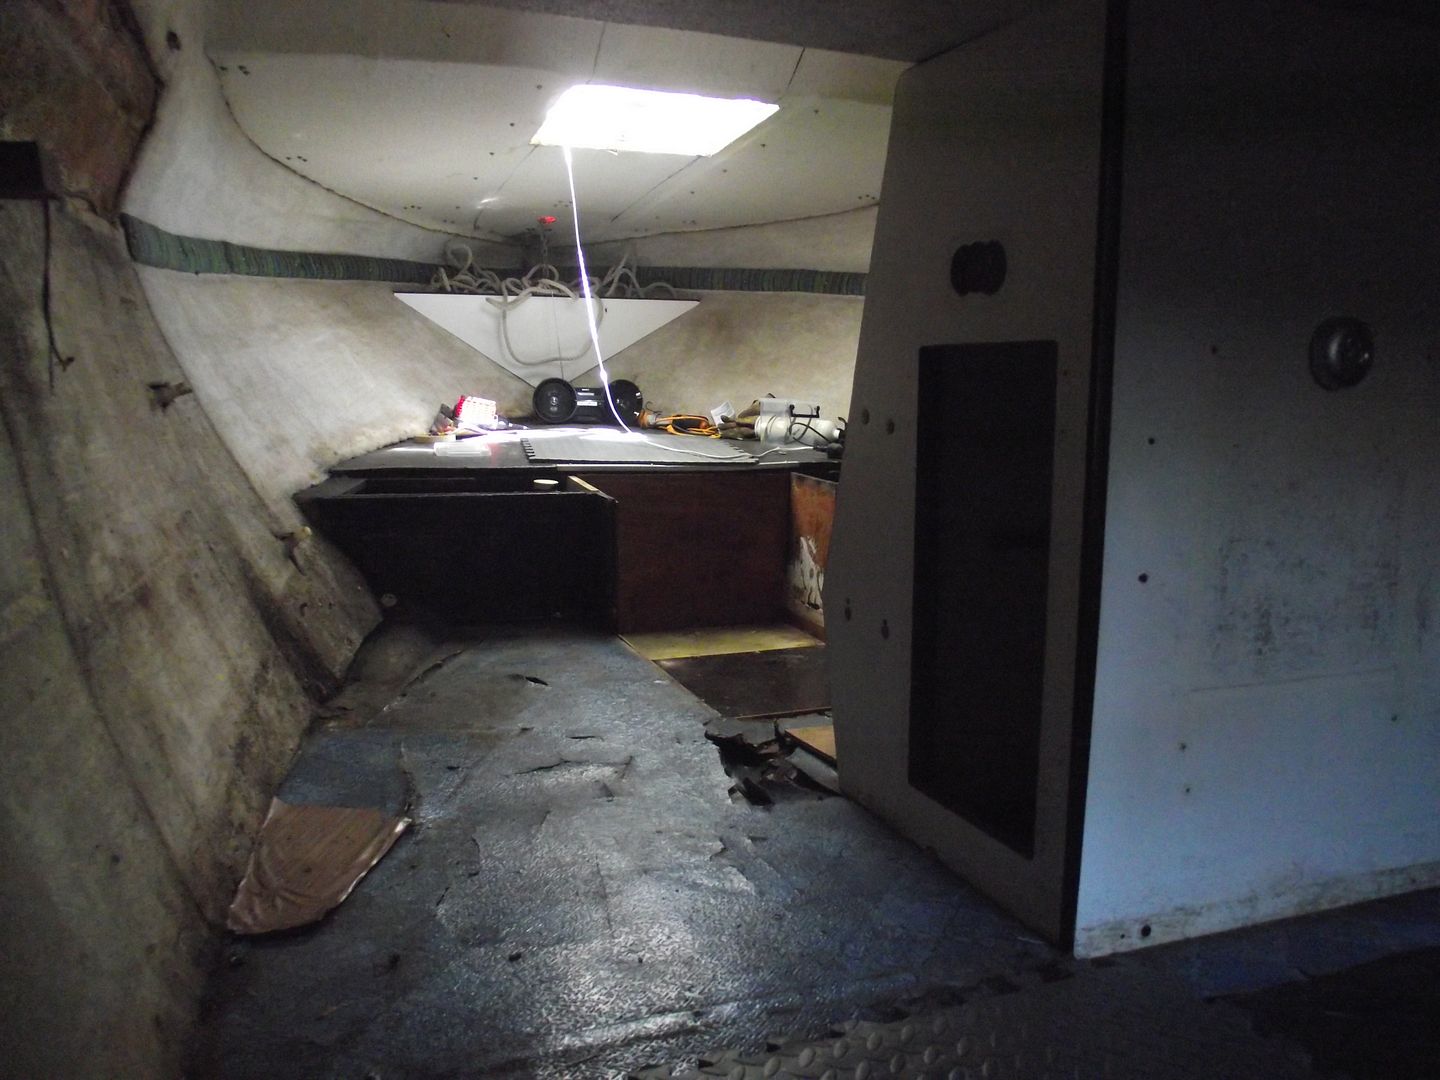
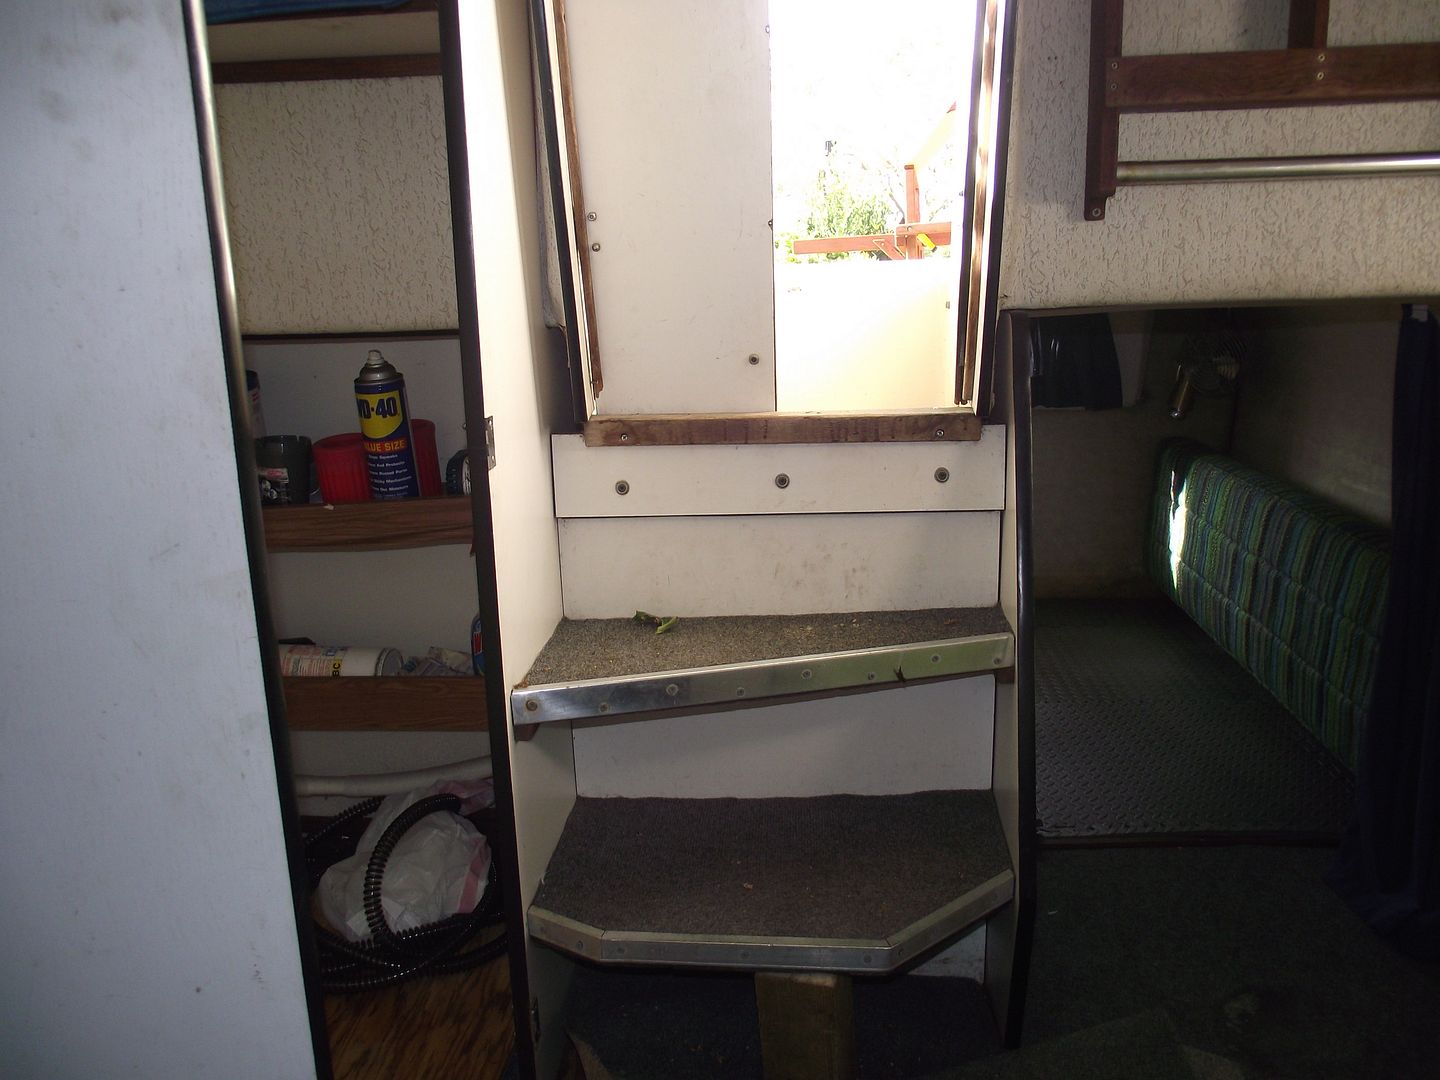
The steps and cabnit behind it were removed along with the head encloser and shelving.


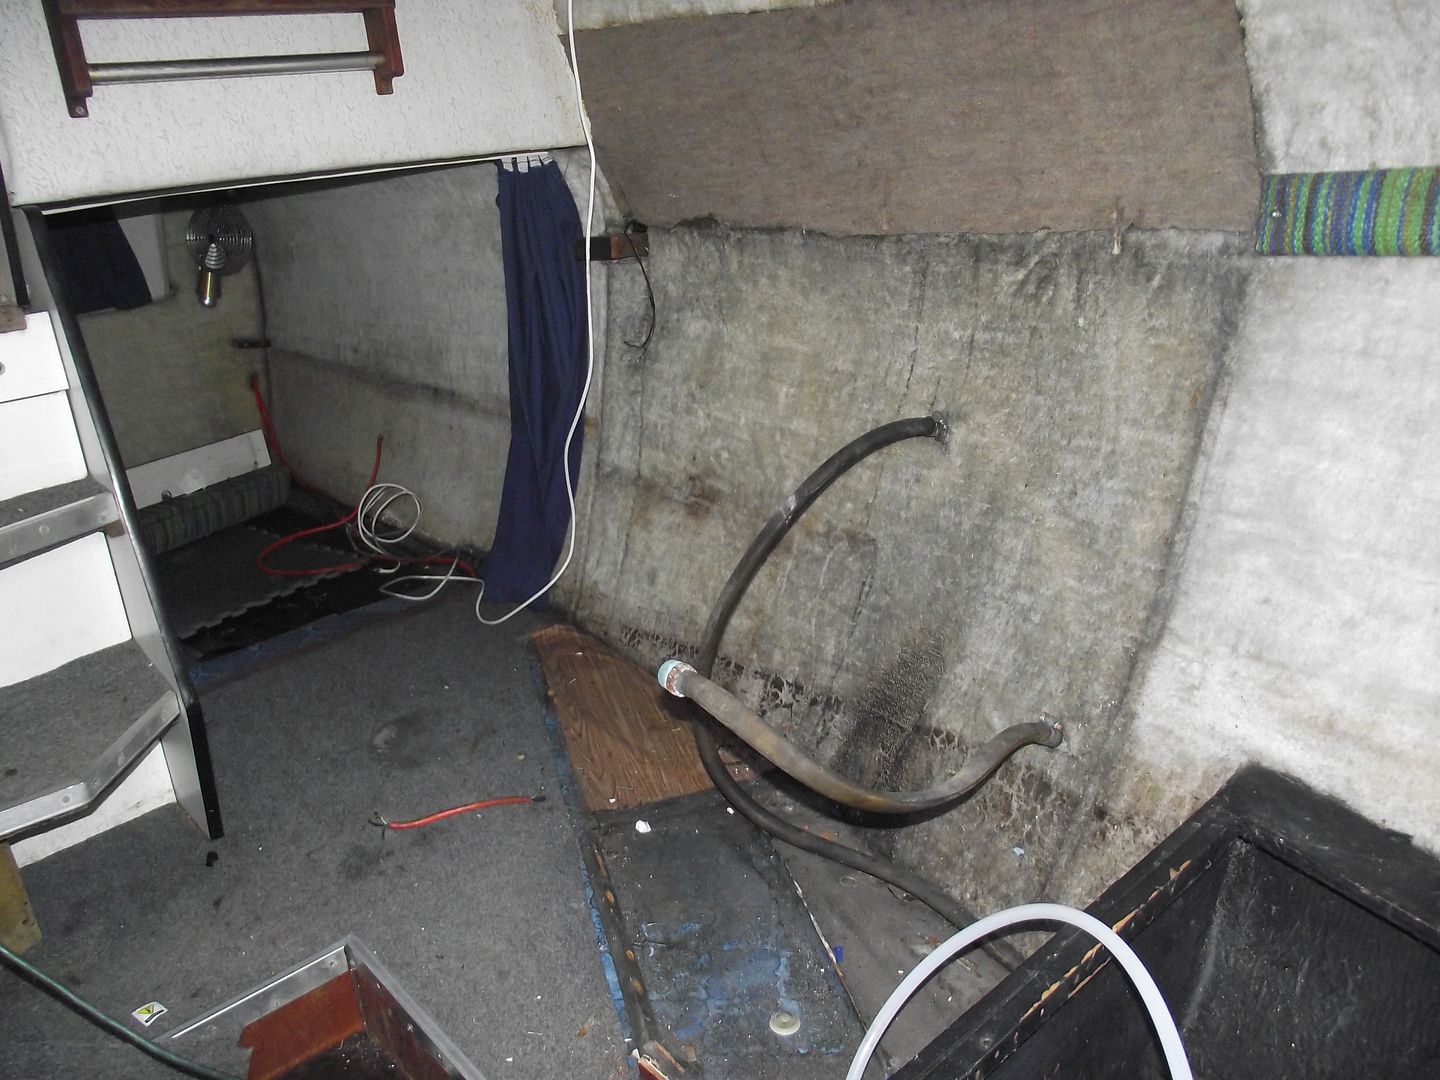
Last to come out was the "cave's" forward bulkhead. A little massaging with a rubber mallet and it's looking bare.


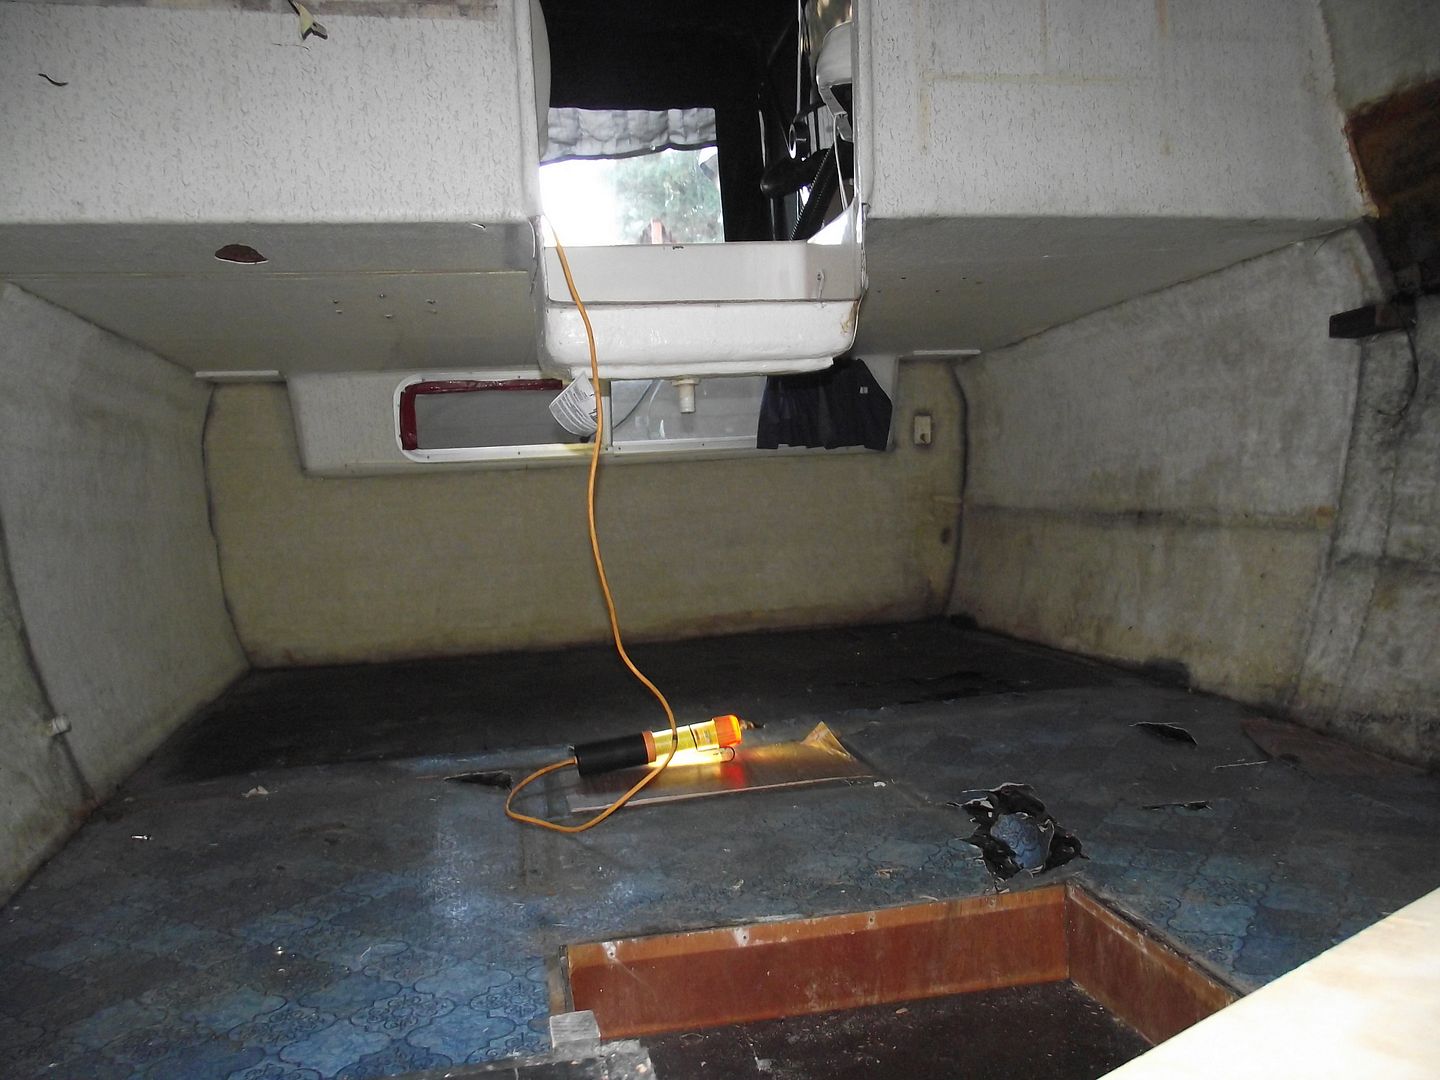
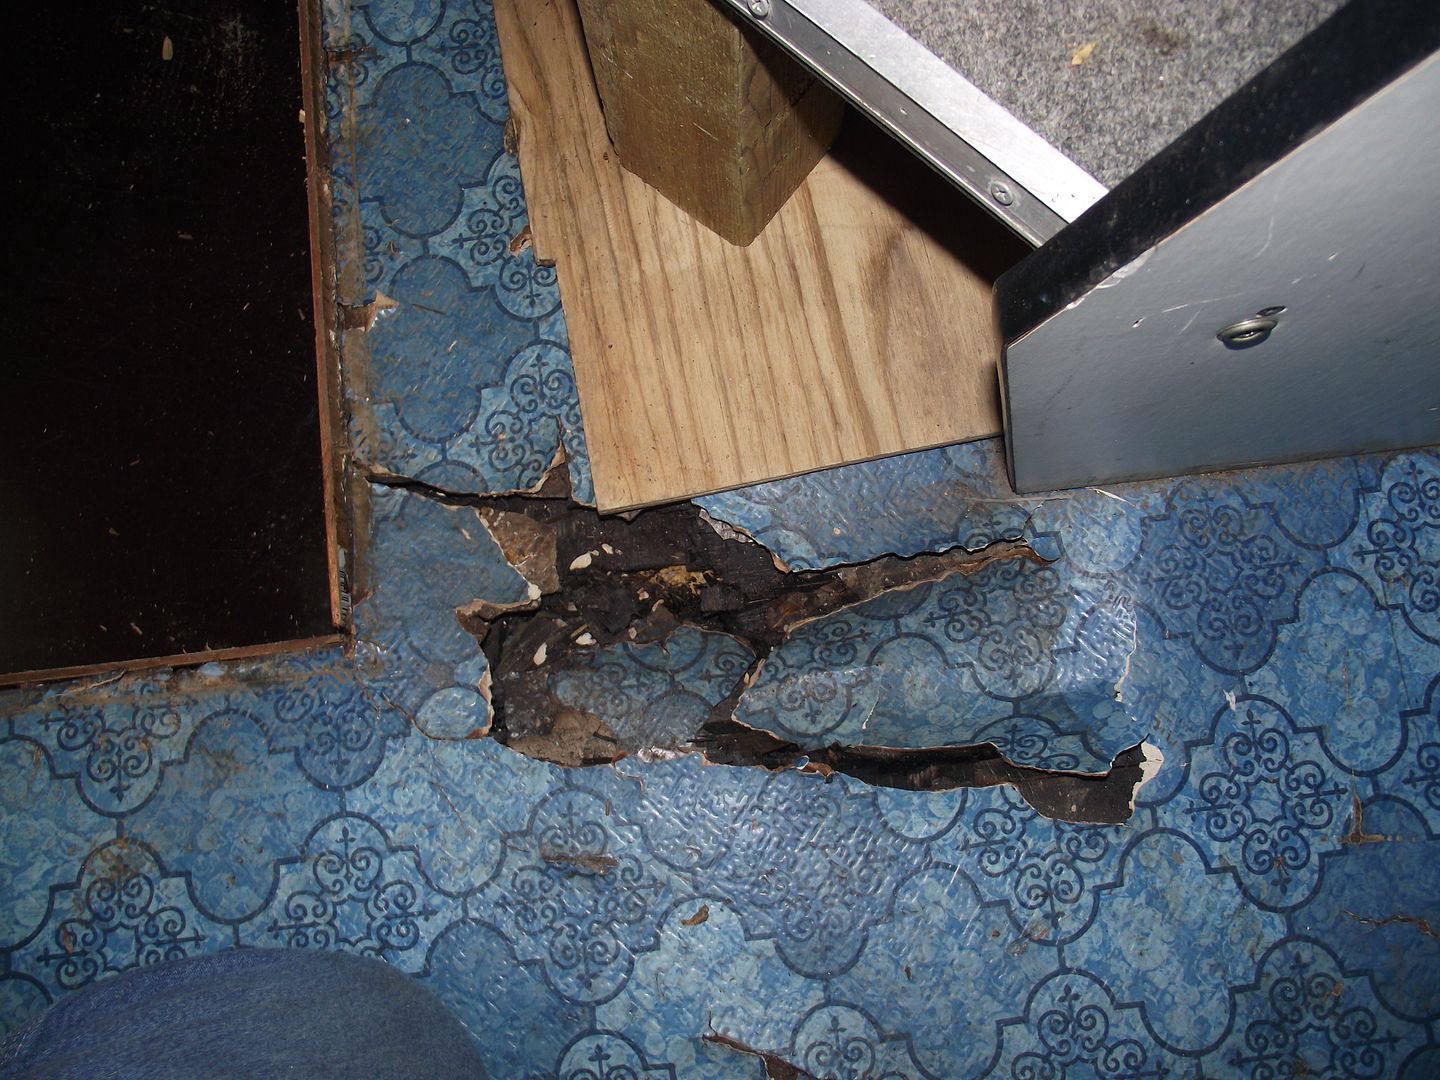
The only downside to all this open real estate is having to come and go through the hatch over the V-birth. To cure that I took a trip to Lowe's for a 3' step ladder. With the uneven floor and wet rotten wood, it needed a base added. You can see how wet and rotten the wood is. My foot when right through. It should be easy to demo this floor!


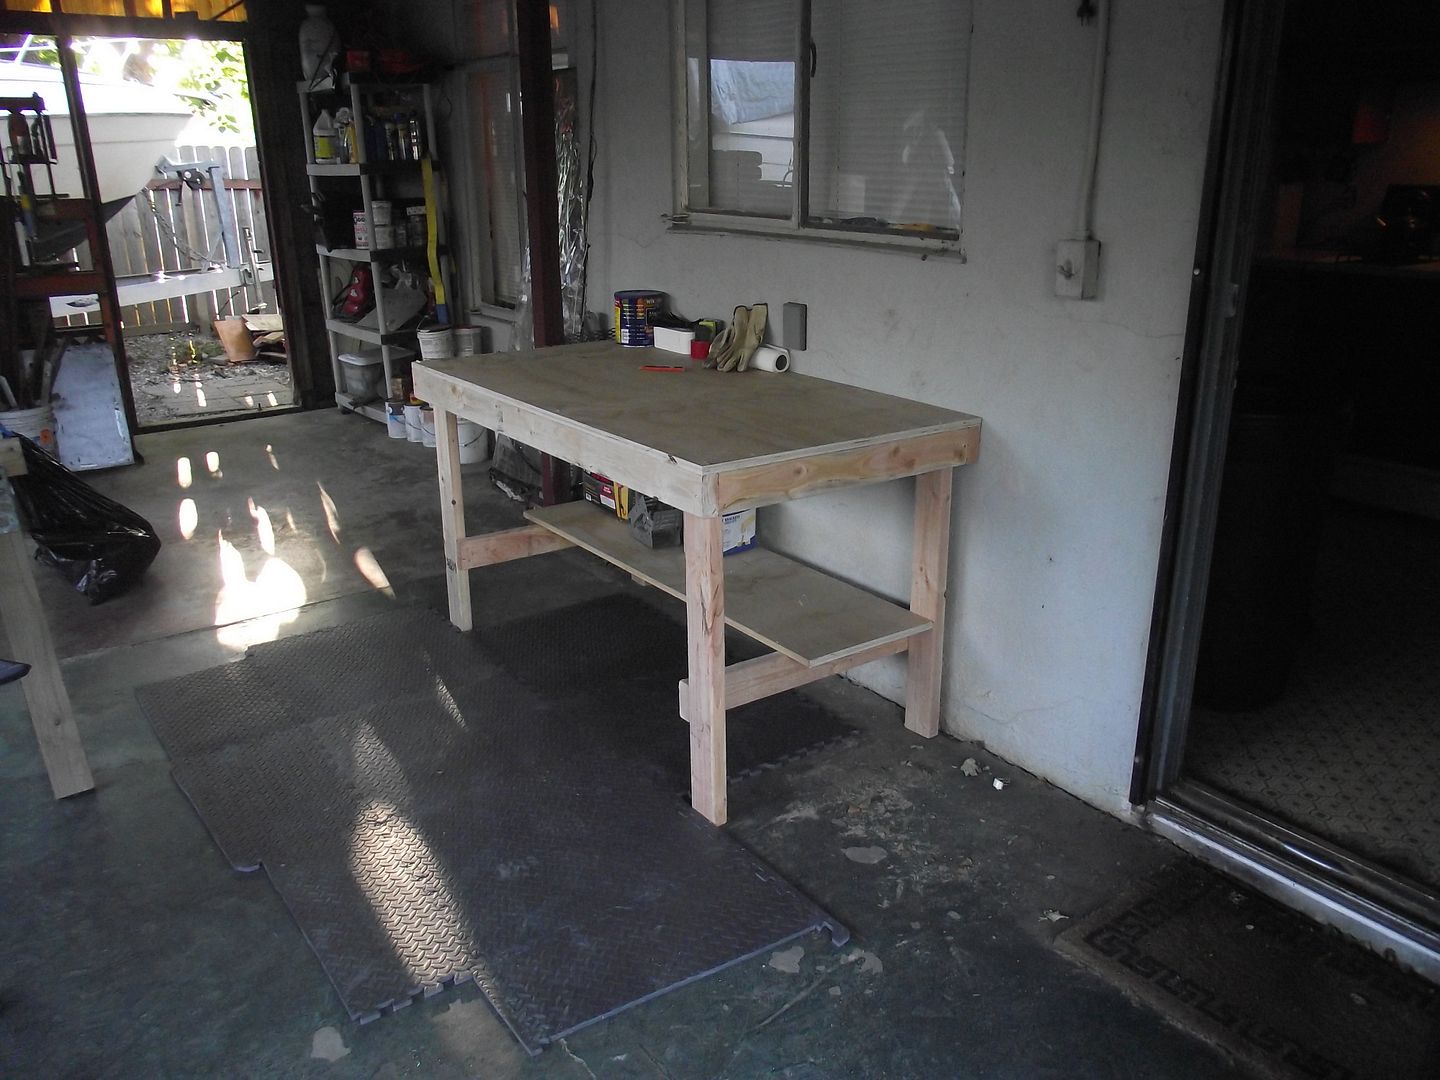
Wile at Lowe's I scored enough lumber to throw together a bench for resin mixing and what not.


That's it for this week. Next up is V-birth and floor removal. The engine room to "cave" bulkhead still needs to come out too. I'm starting to like this project more every boat workday! -Tom.
 
Last edited:

T748

Seaman
Joined
May 1, 2012
Messages
60
Re: 1977 Bayliner 2550
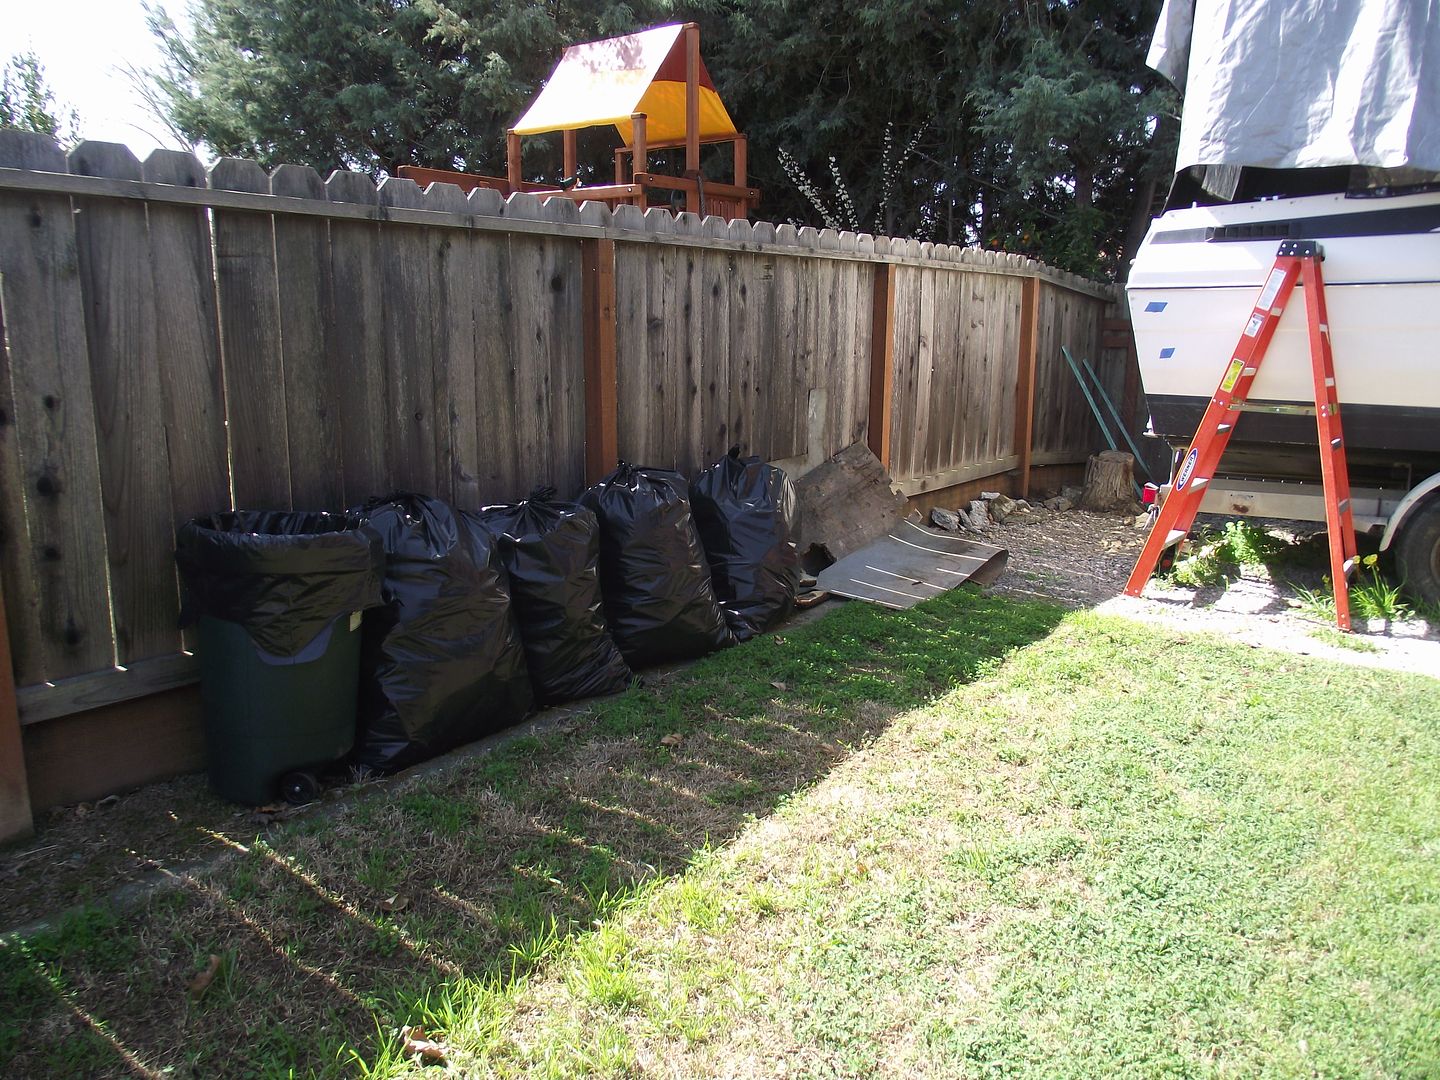
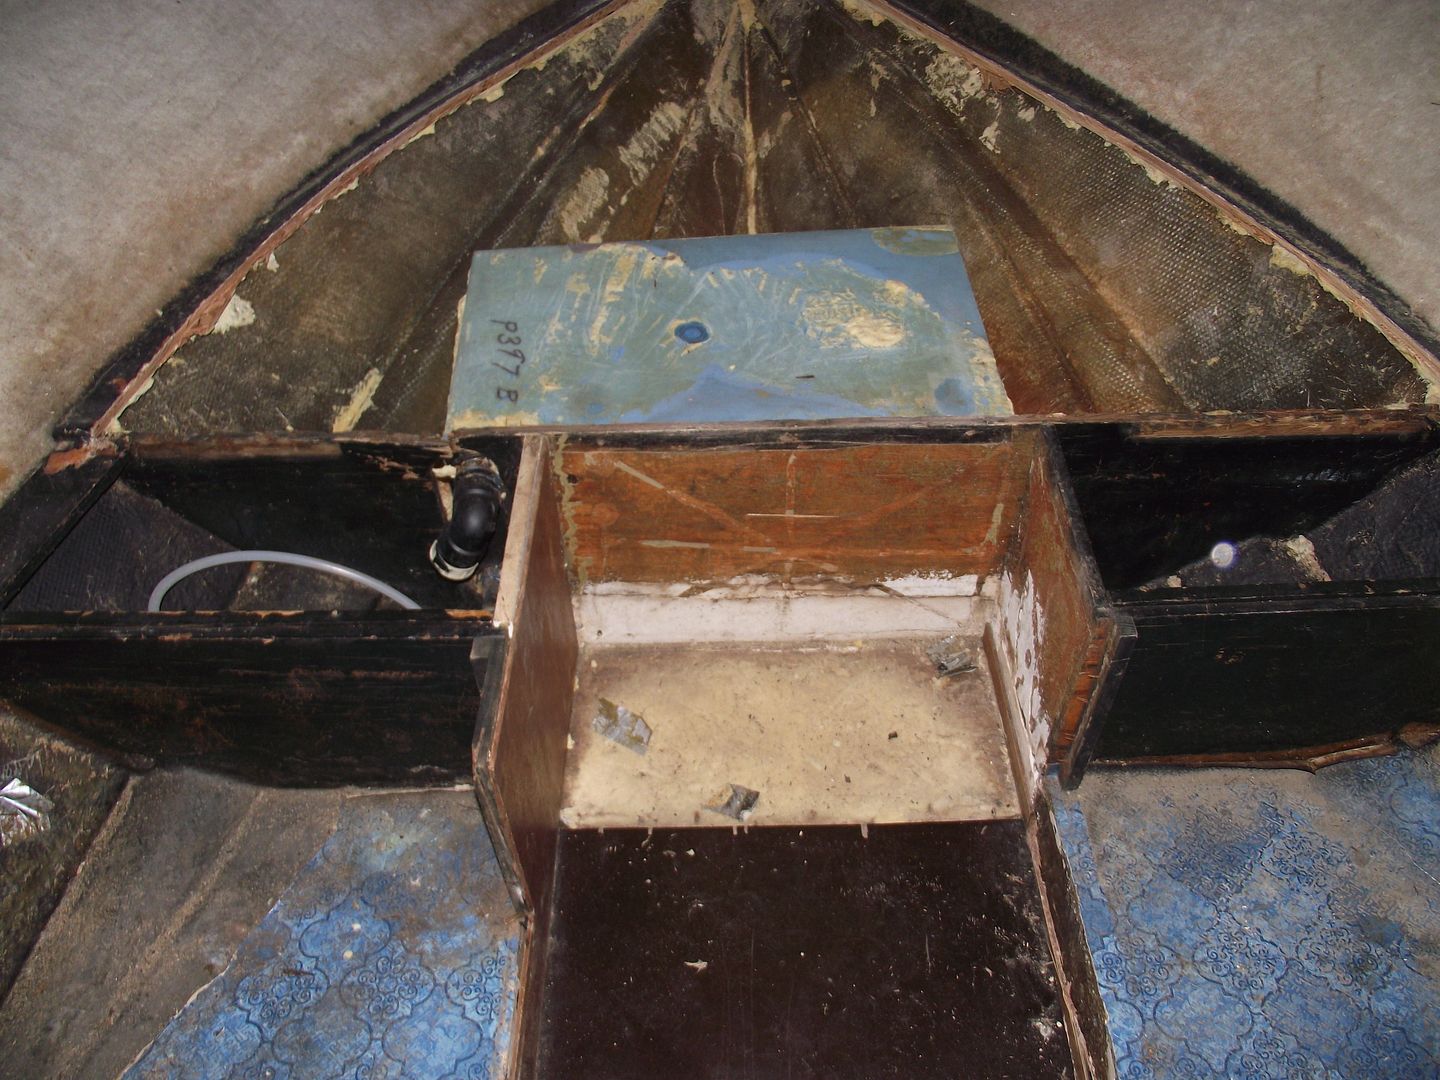
Foam foam and more foam! I've pulled sixteen 42 gallon contractor bags of foam chunks out of this tub, and it's not done yet. The V-birth held a bunch.

The blue tank is a 15 gallon freshwater tank. It's still glued in place by foam on the back and bottom.
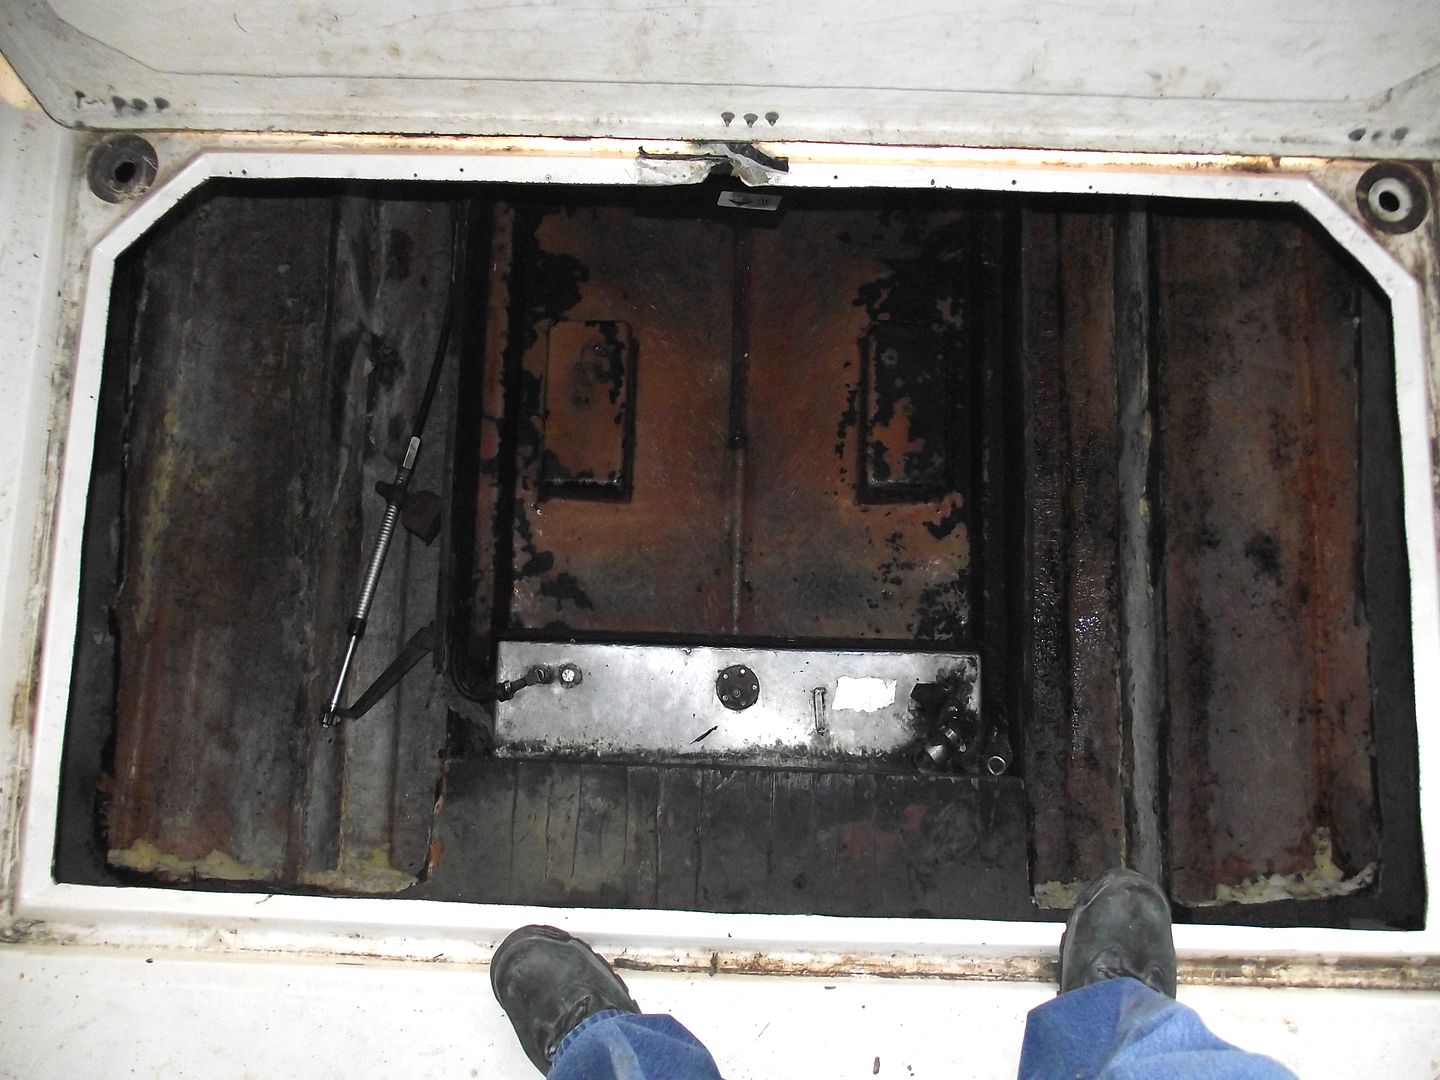
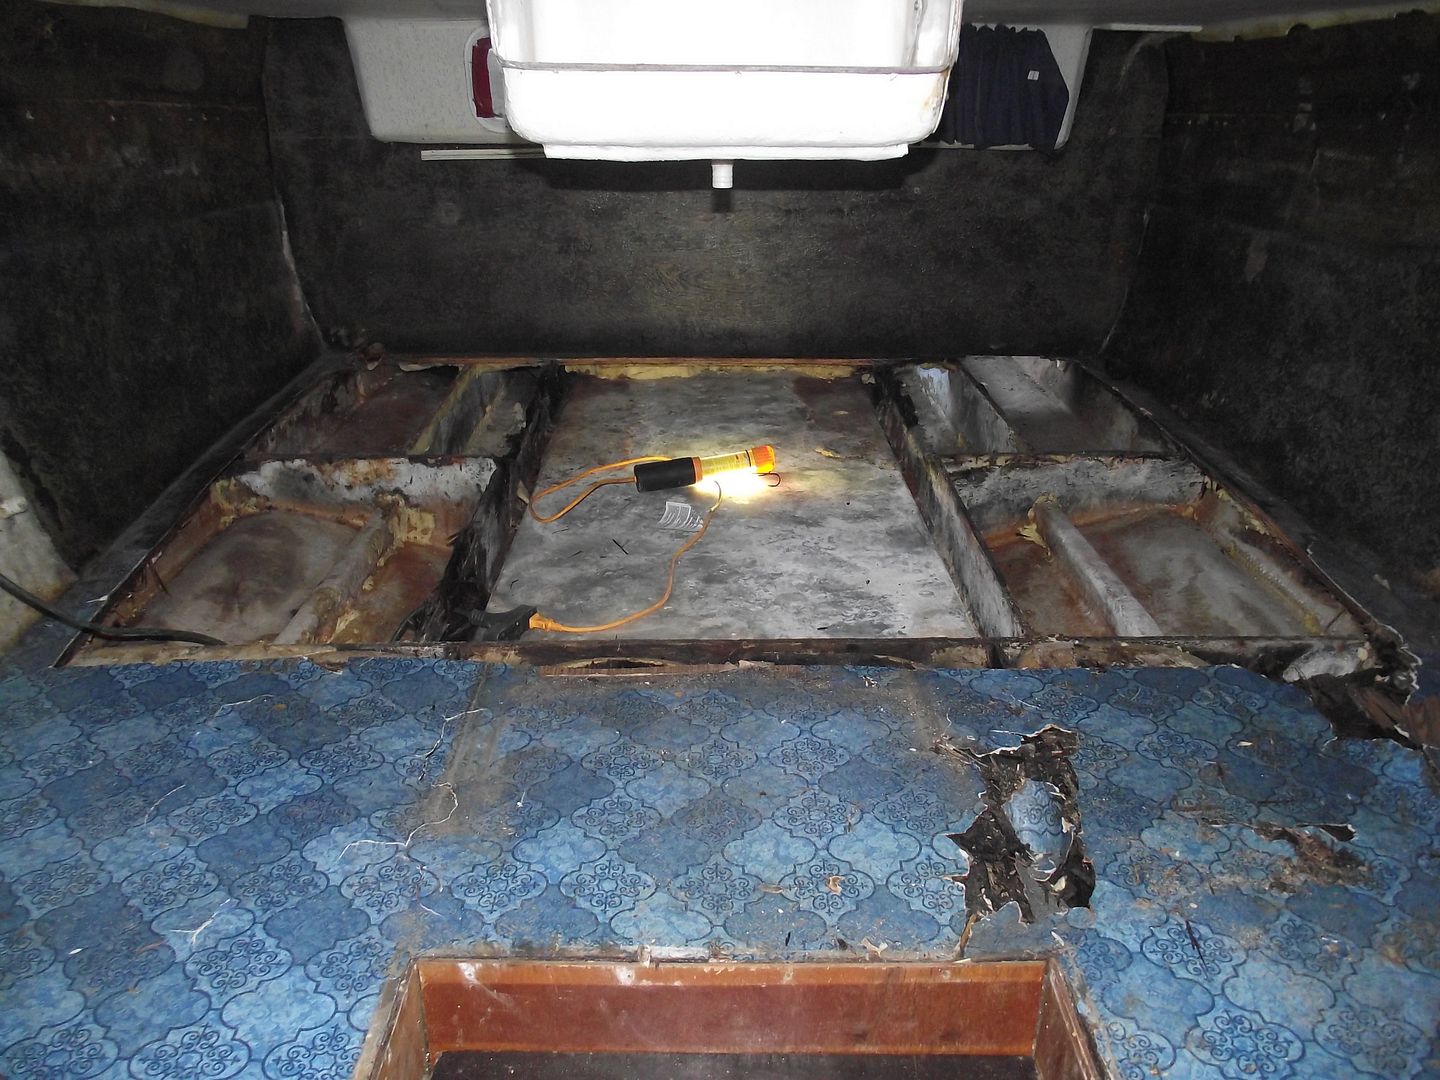
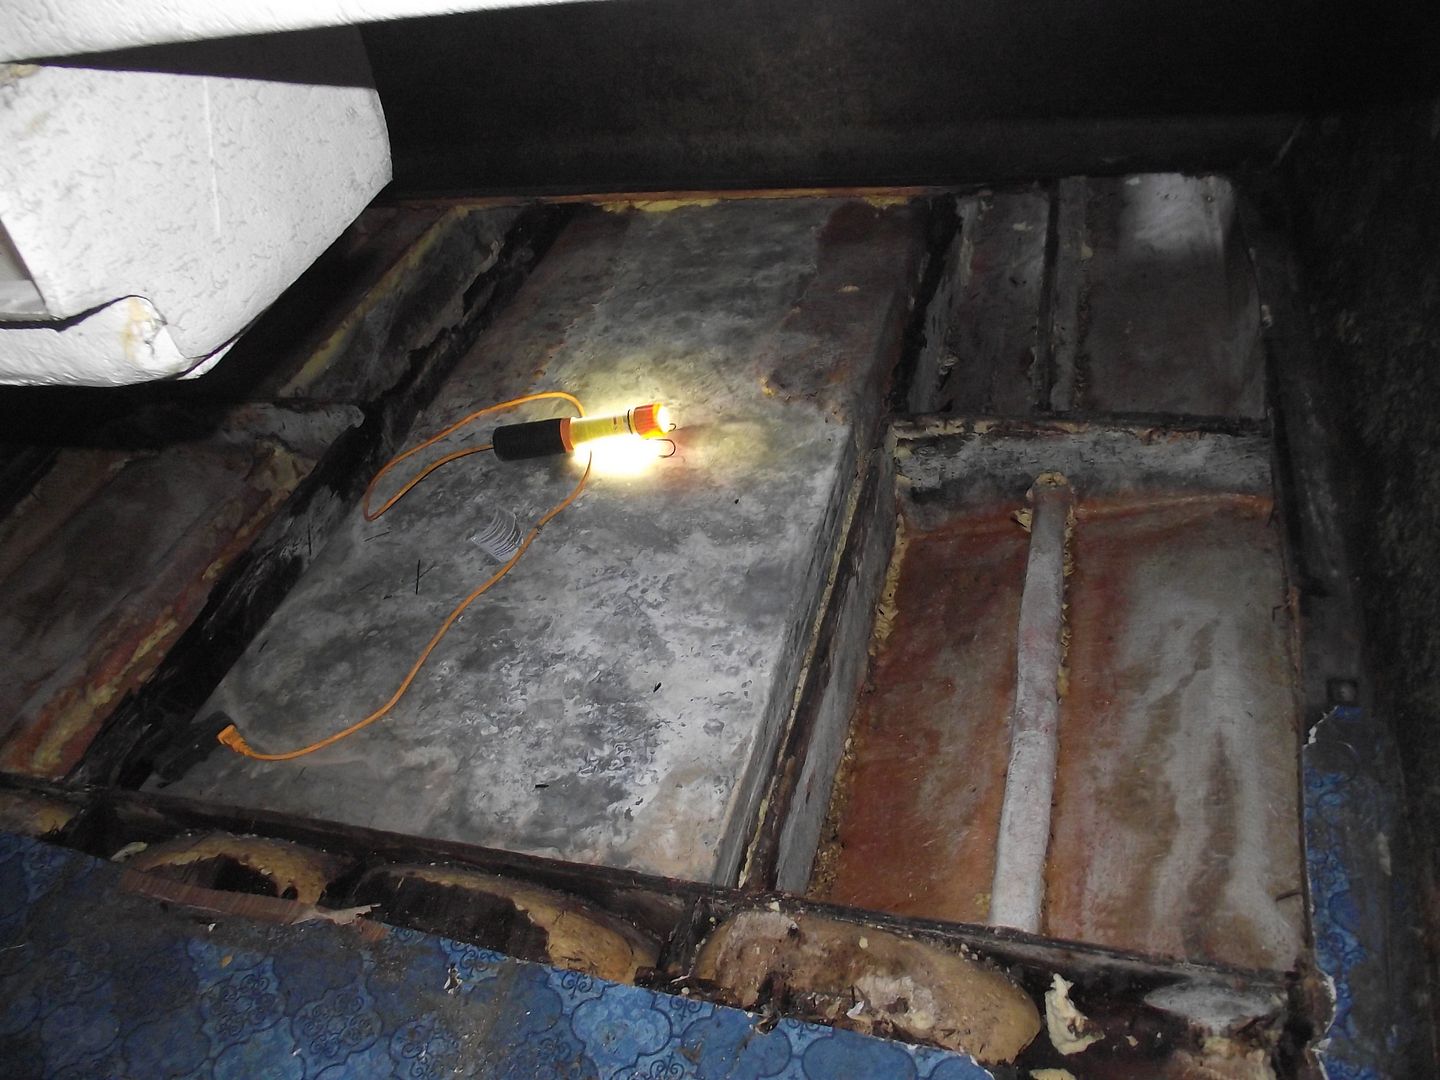
After digging the V birth out I took a shot at removing the deck and foam from the aft birth, "the cave". This exposed the fuel tank. I'm Hoping to be able to remove it from the boat. I know GWPSR wasnt able to get his out. This being a smaller tank (95 gallons?), maybe it will come out without surgery.


Next up is removing the last section of deck and foam. This is the linoleum covered section in the picture. Also will try to remove the engine room to aft birth bulkead. -Tom.
 

T748

Seaman
Joined
May 1, 2012
Messages
60
Re: 1977 Bayliner 2550

Spotted this at the dump. What a shame. It looked pretty good from what I could see. -Tom
 
Top