1977 Bayliner 2550

T748

Seaman
Joined
May 1, 2012
Messages
60
Re: 1977 Bayliner 2550

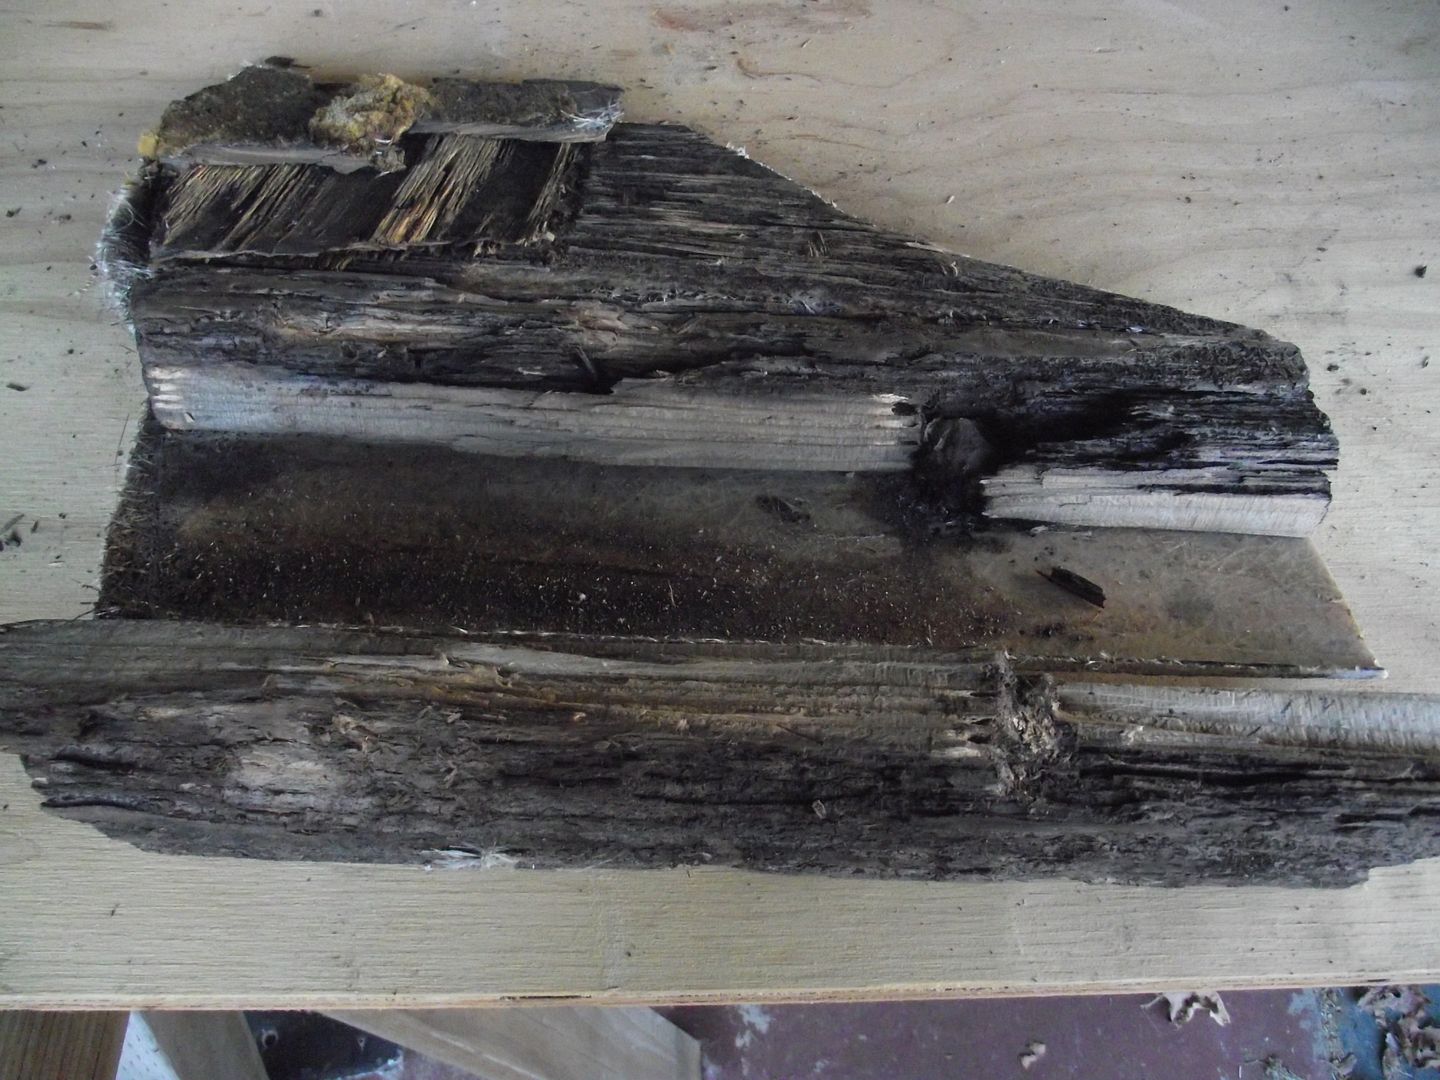
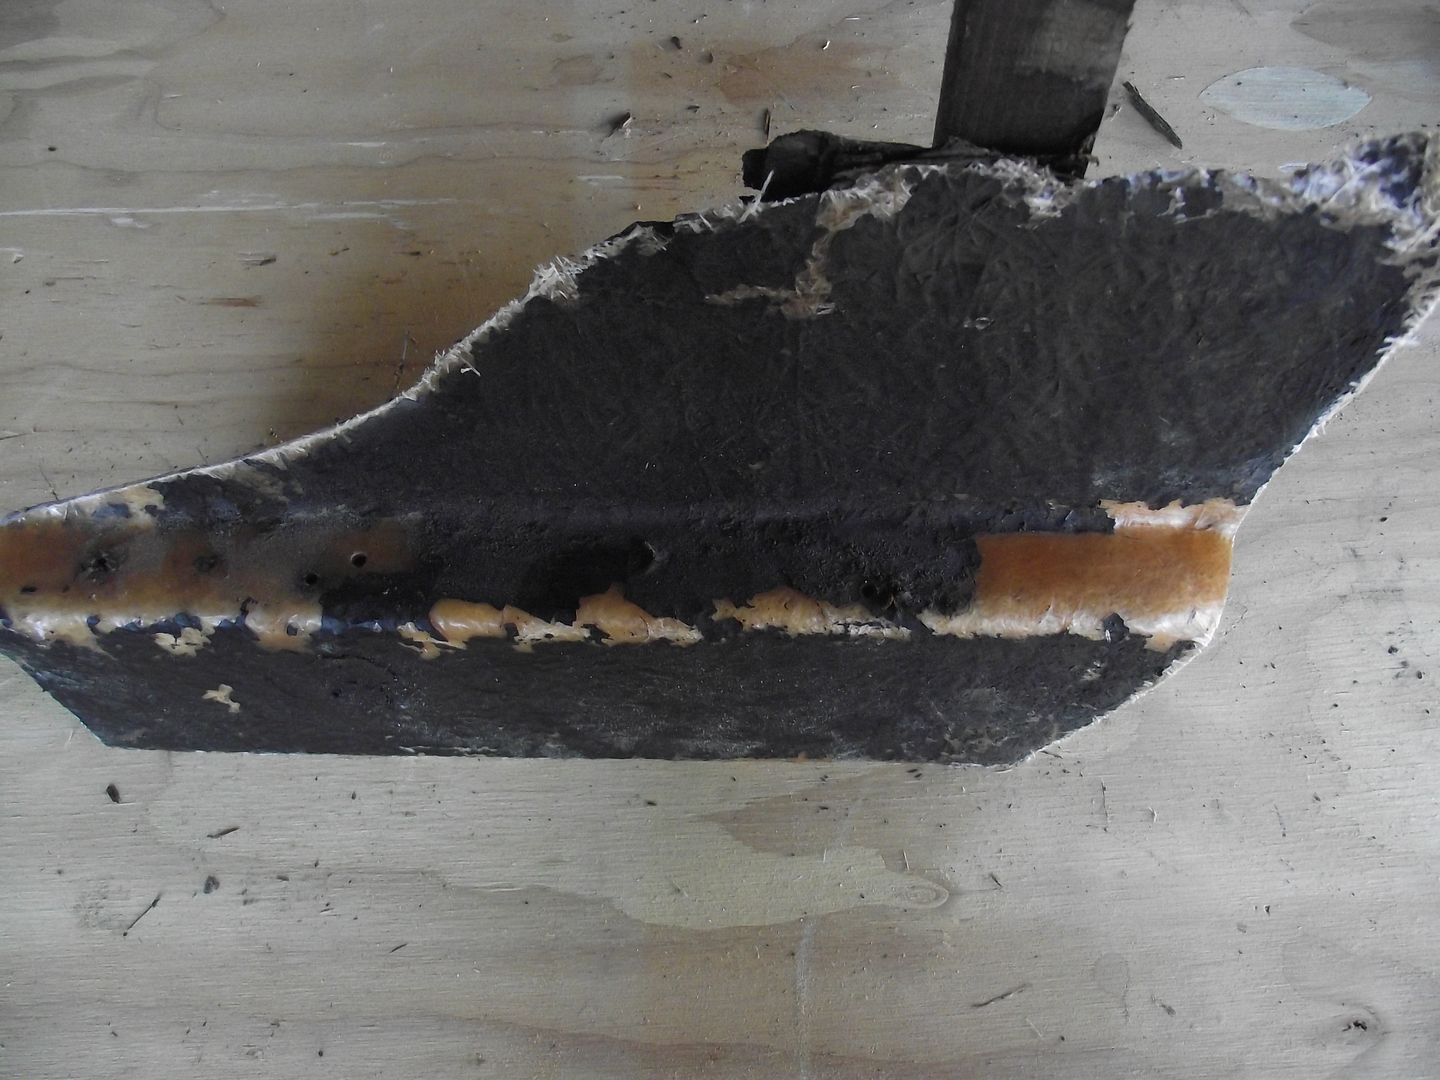
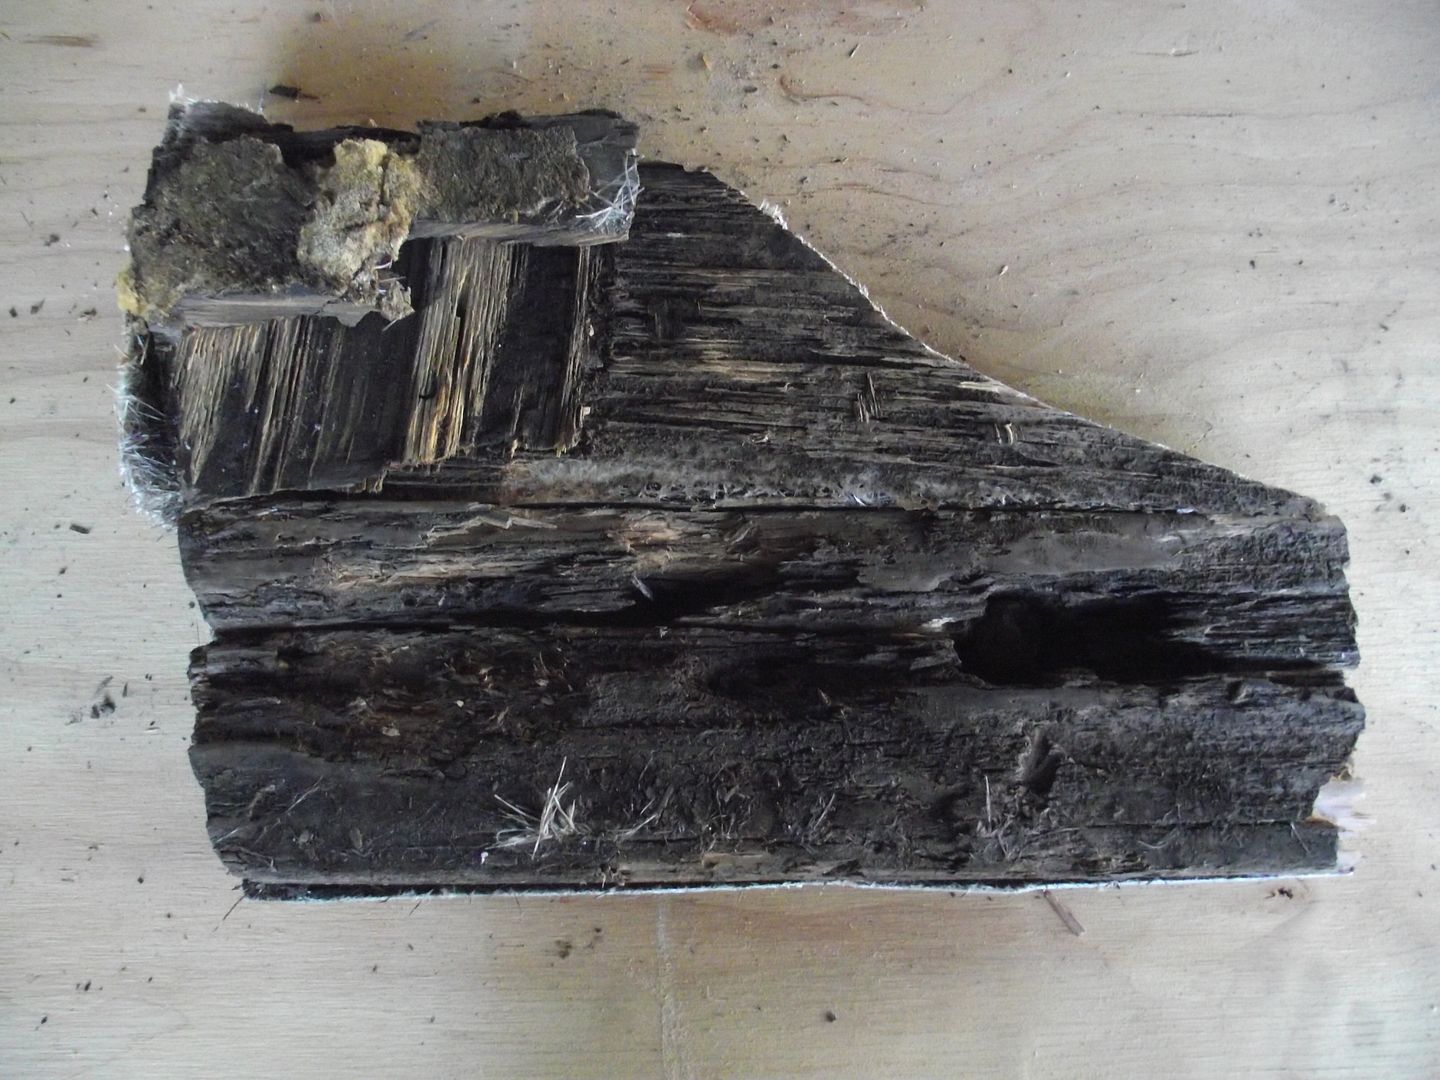
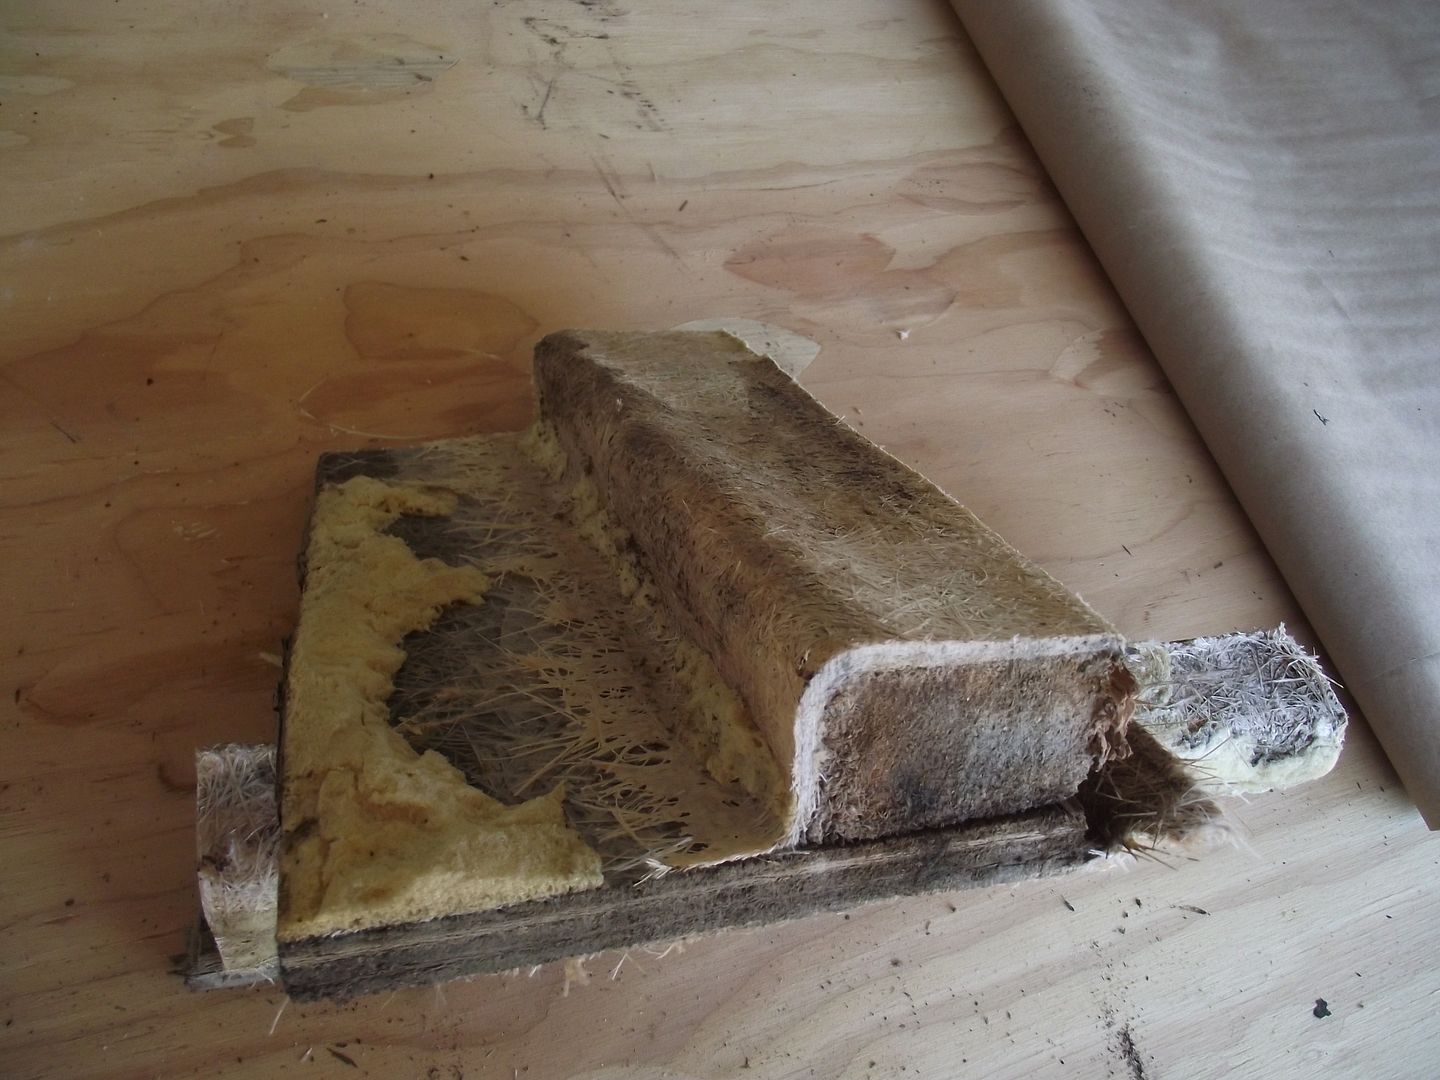
Back in post #21 I stated that the stringers were good to go. Well, on further review, that's just not true. I've been prepping the transom for removal and in doing that I needed to cut the stringers back a foot or so. Here is a picture of one of the inner stringers. It's a 2X6 That had 5/8" plywood stapled and fiber glassed to it's inner side. The plywood makes up the sides of the foam box. Holes were drilled next to existing holes. The wood came out of the drilled holes dry light colored. I was surprised to find the stringer looked like this once removed. It looks like the lack of proper sealing on the plywood led to rot on the back side of the stringer. Needless to say plans have been changed and all stringers will be replaced. -Tom.
 

T748

Seaman
Joined
May 1, 2012
Messages
60
Re: 1977 Bayliner 2550

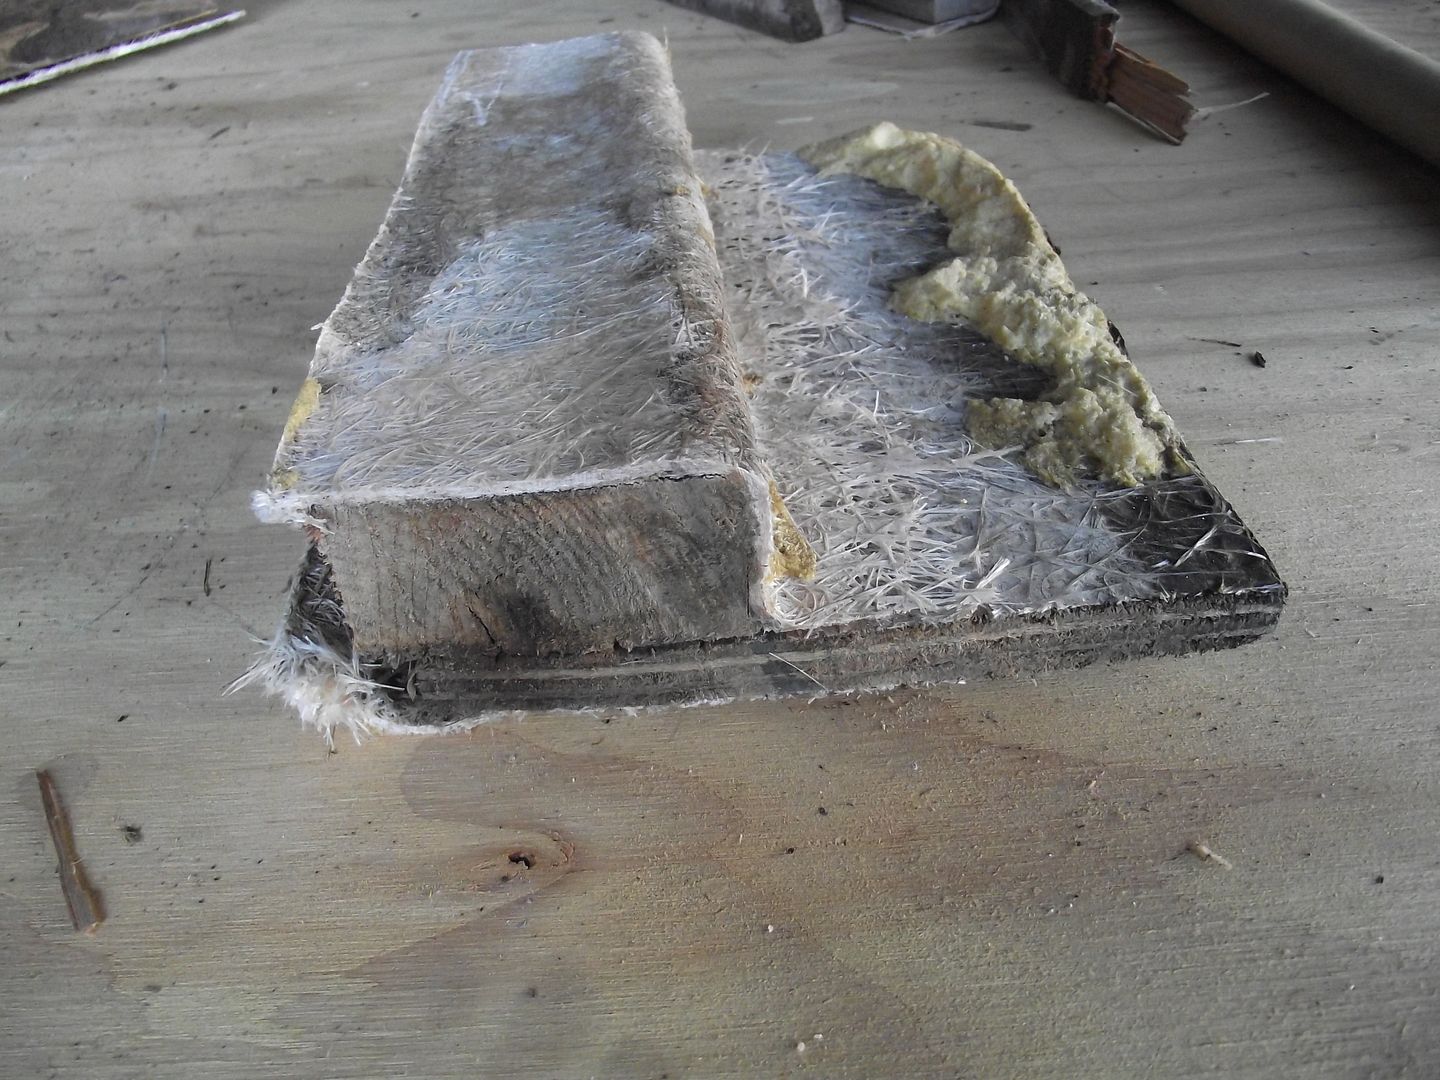
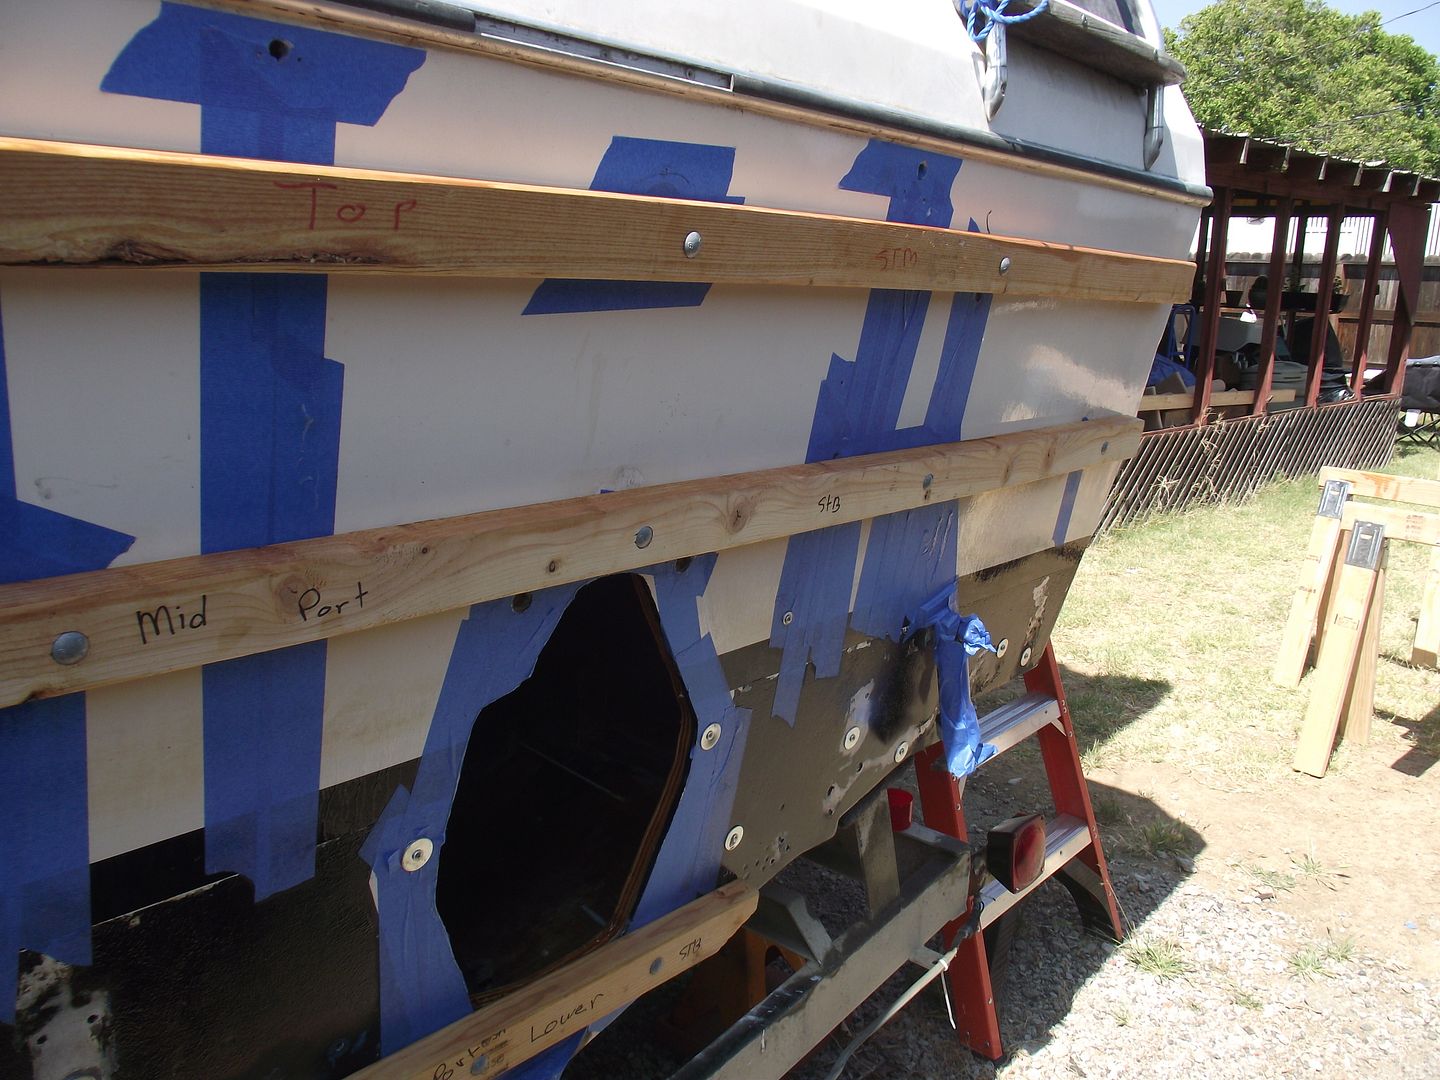
Here is an outer stringer. This is a 2X4 with 5/8" ply that supports the middle of the foam box. This shows how poorly the ply was sealed. -Tom.
 

T748

Seaman
Joined
May 1, 2012
Messages
60
Re: 1977 Bayliner 2550

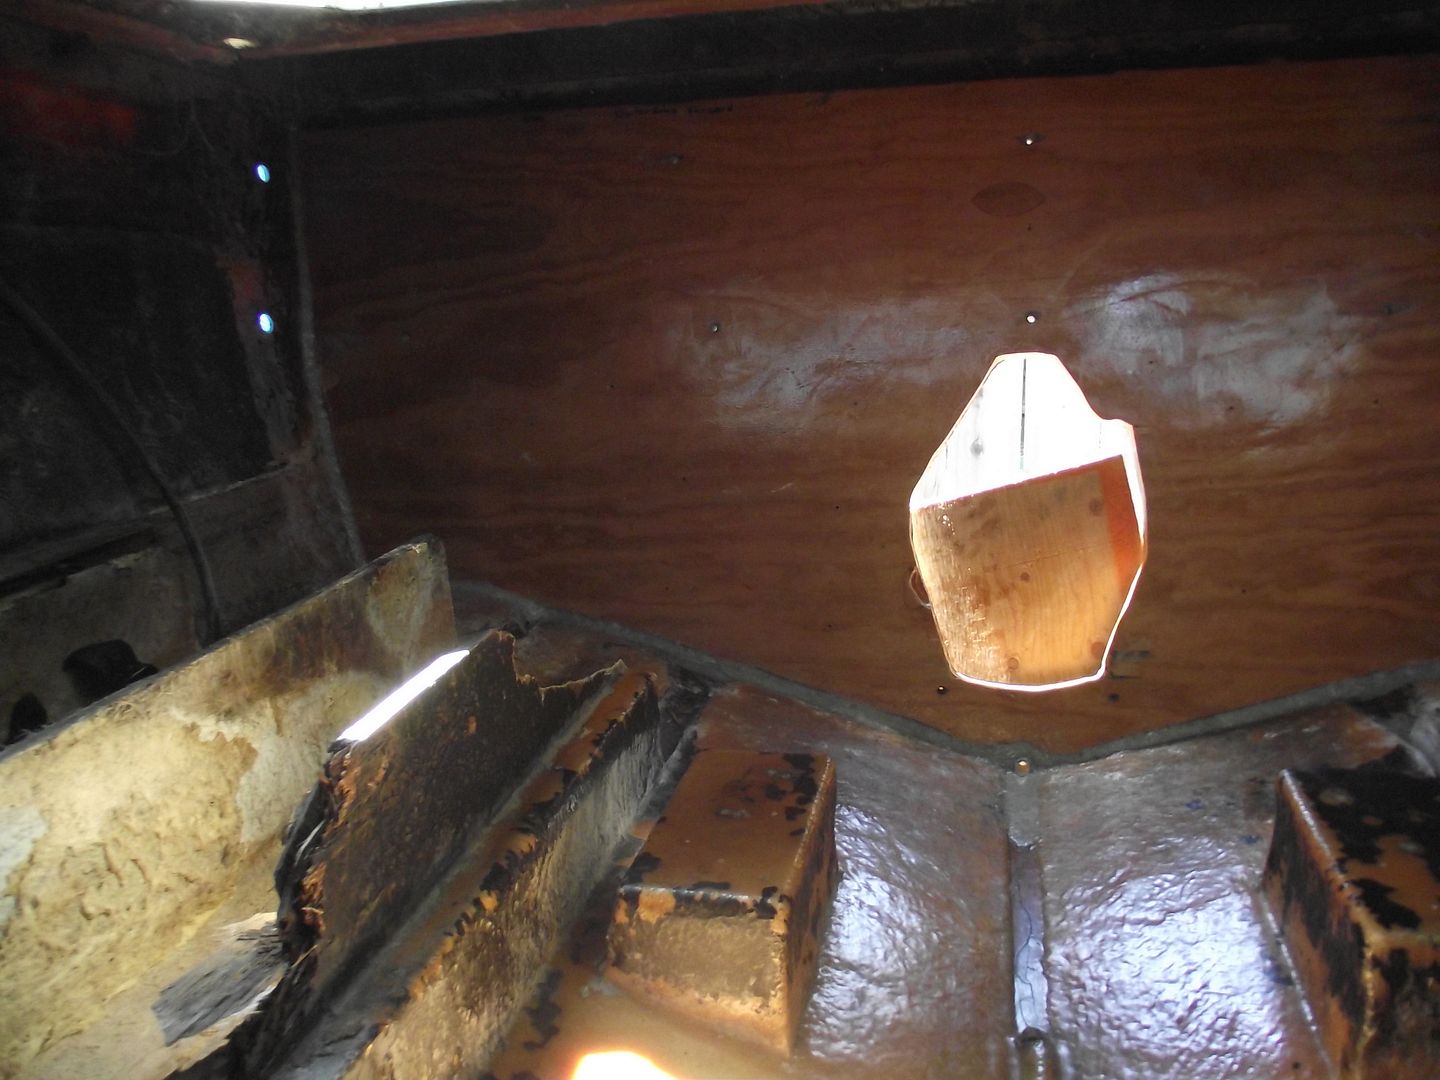
The inner section of the transom came out pretty easy. It was stapled in place and only had a small amount of tabbing on the sides. I'm about halfway done with the outer transom sheet. Each sheet is 3/4" The outer is coming out with an air chisel, after cutting a grid in the wood with a circular saw. Pictures of that mess coming tomorrow. -Tom.
 
Last edited:

GWPSR

Senior Chief Petty Officer
Joined
Jul 25, 2012
Messages
758
Re: 1977 Bayliner 2550

002_zpsf51e1a96.jpg

That picture is a great illustration of how rot starts low and spreads upward and outward, much like fire spreads. And, as you've discovered, it moves outward horizontally as well, consuming wood everywhere it goes.

You can probably identify which screws through the outside of your transom were leaking slowly over the years. Or maybe even something attached down low on the inside.

If the PO could have seen into the future, I bet they'd have spent the extra 5 minutes to properly seal all of their hull penetrations and checked and resealed them periodically.

Lucky you though -- you get the benefit of learning from their omissions. And from the 'labor saving' methods of the manufacturer, like chopper-gun tabbing. The rebuild can't help but be better than the original.
 

T748

Seaman
Joined
May 1, 2012
Messages
60
Re: 1977 Bayliner 2550

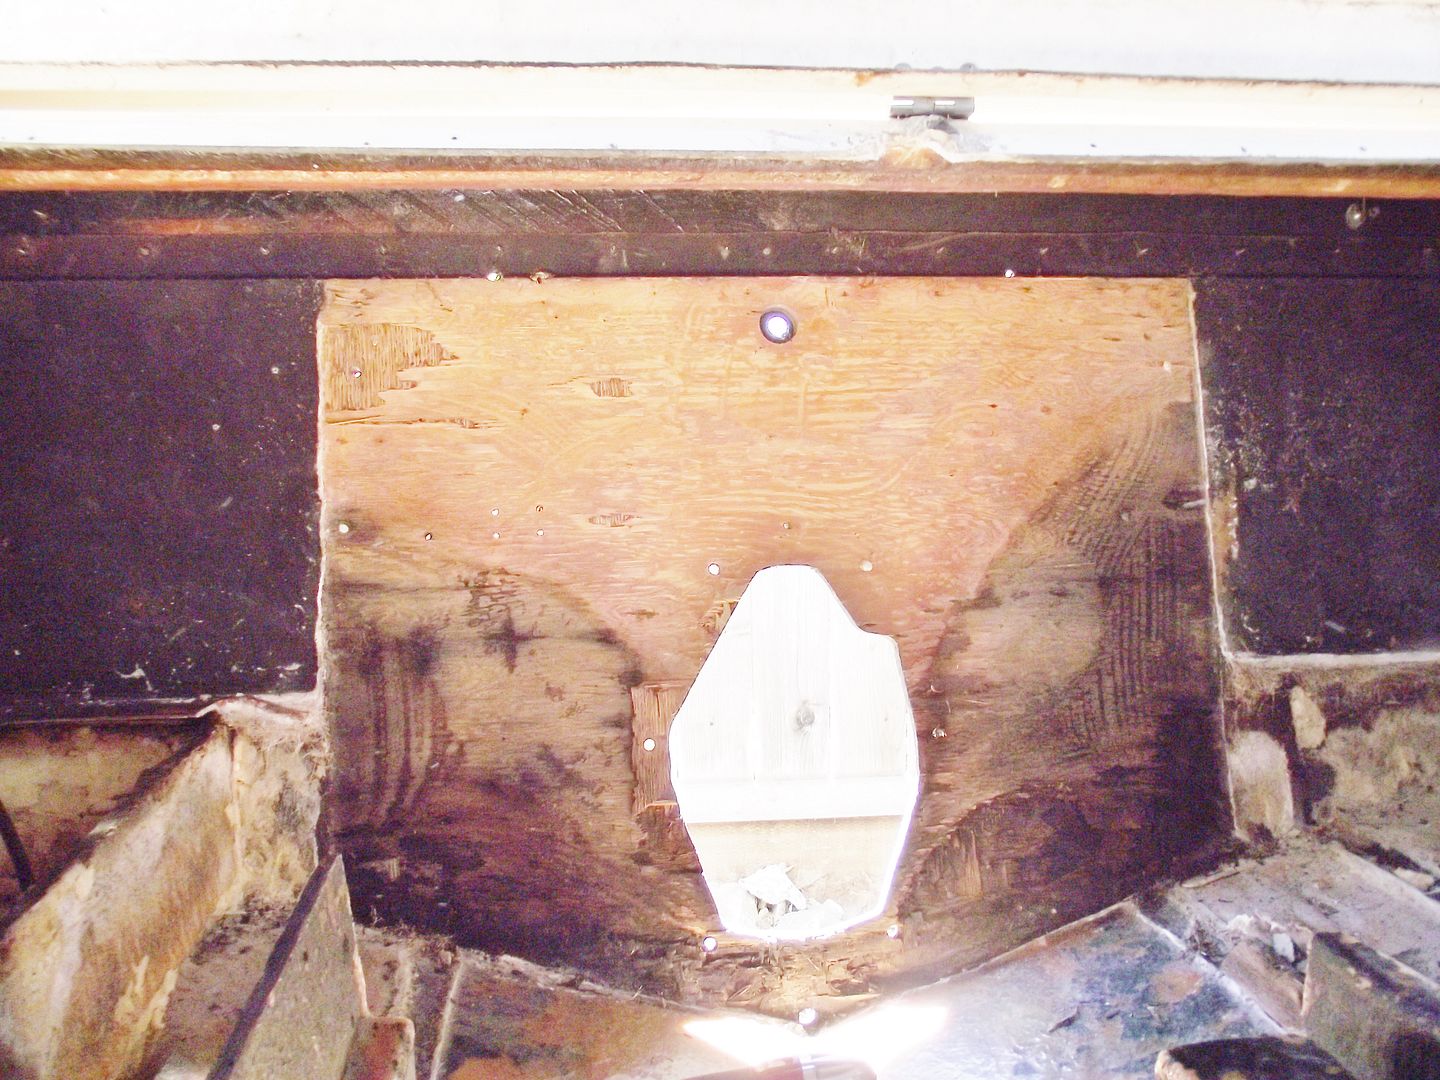
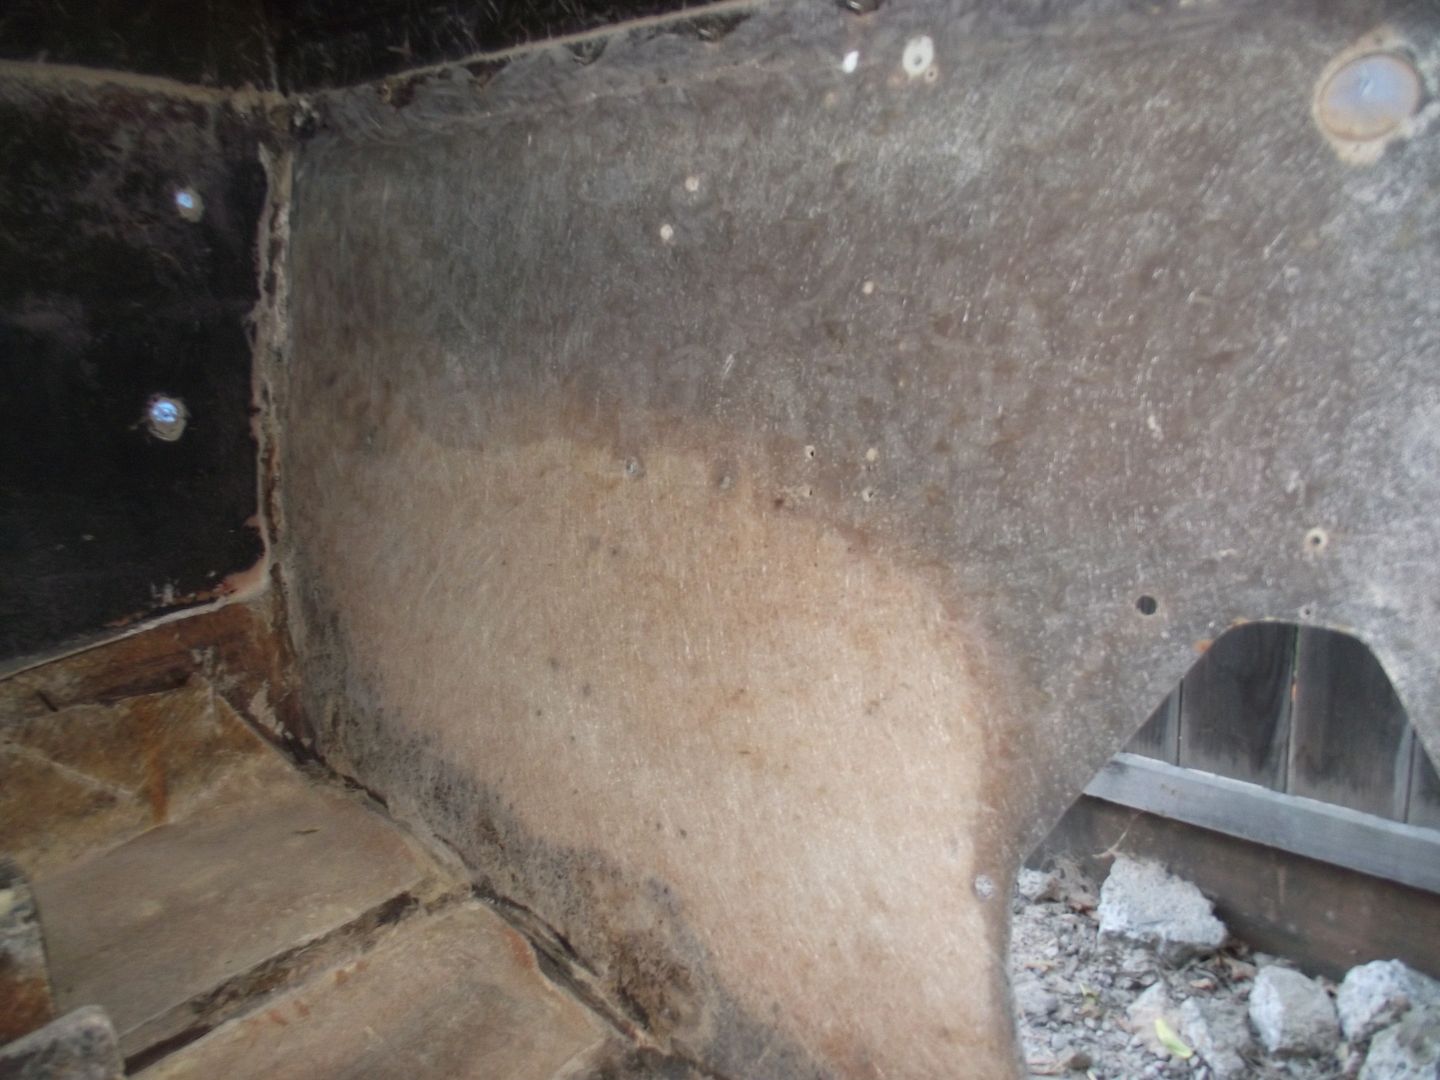
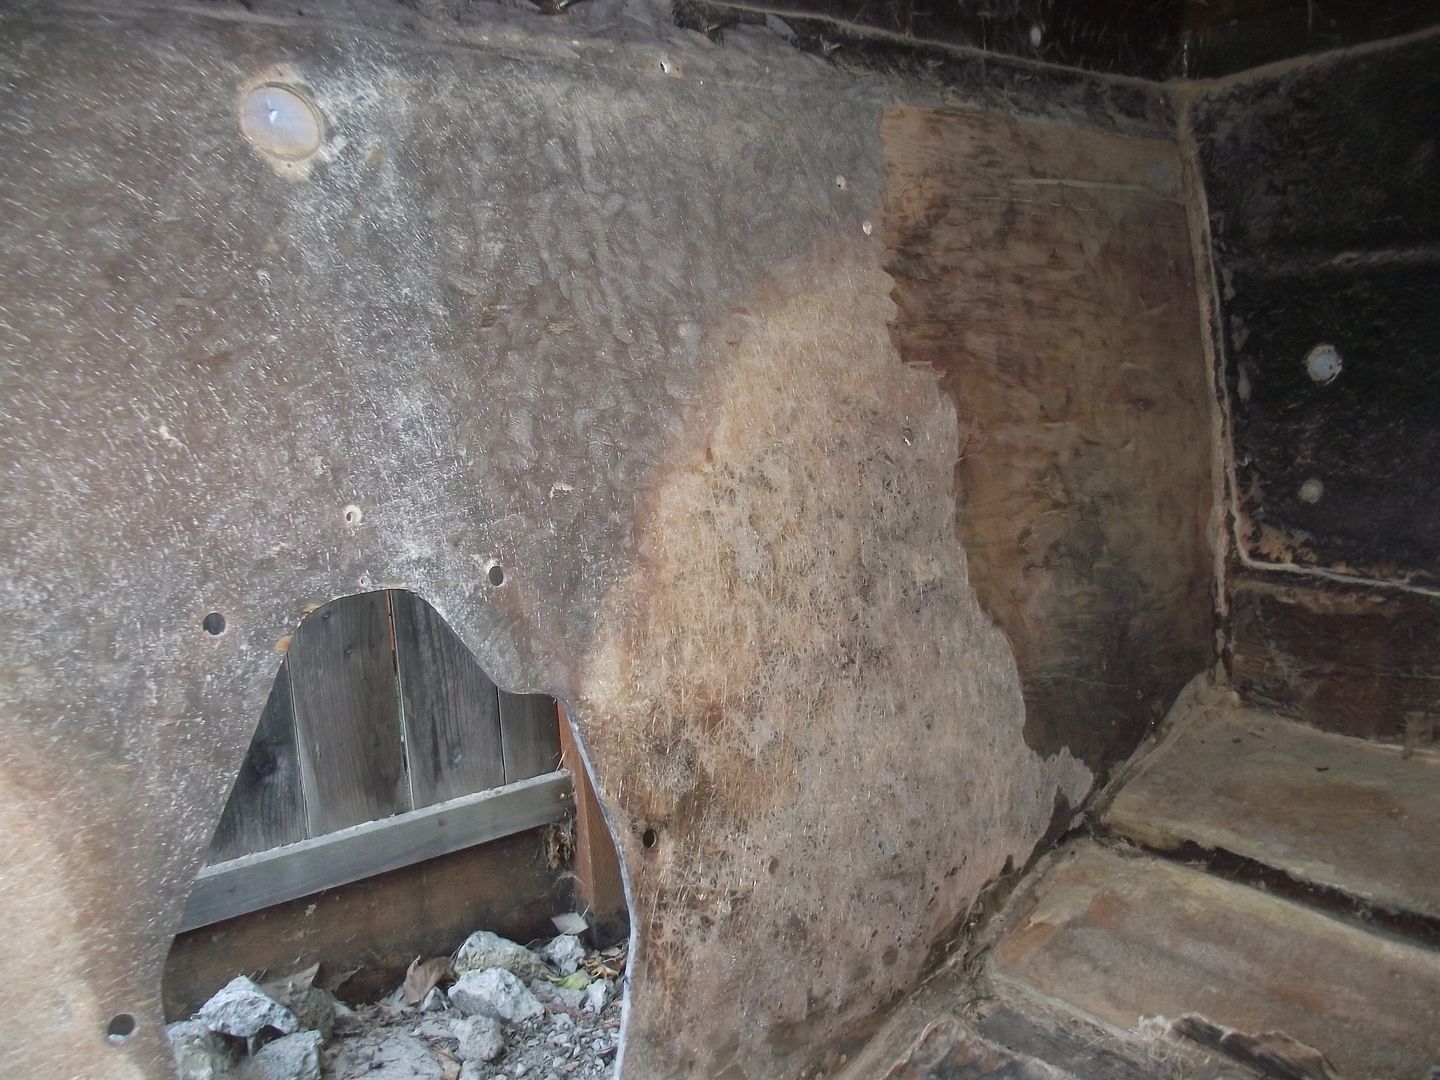
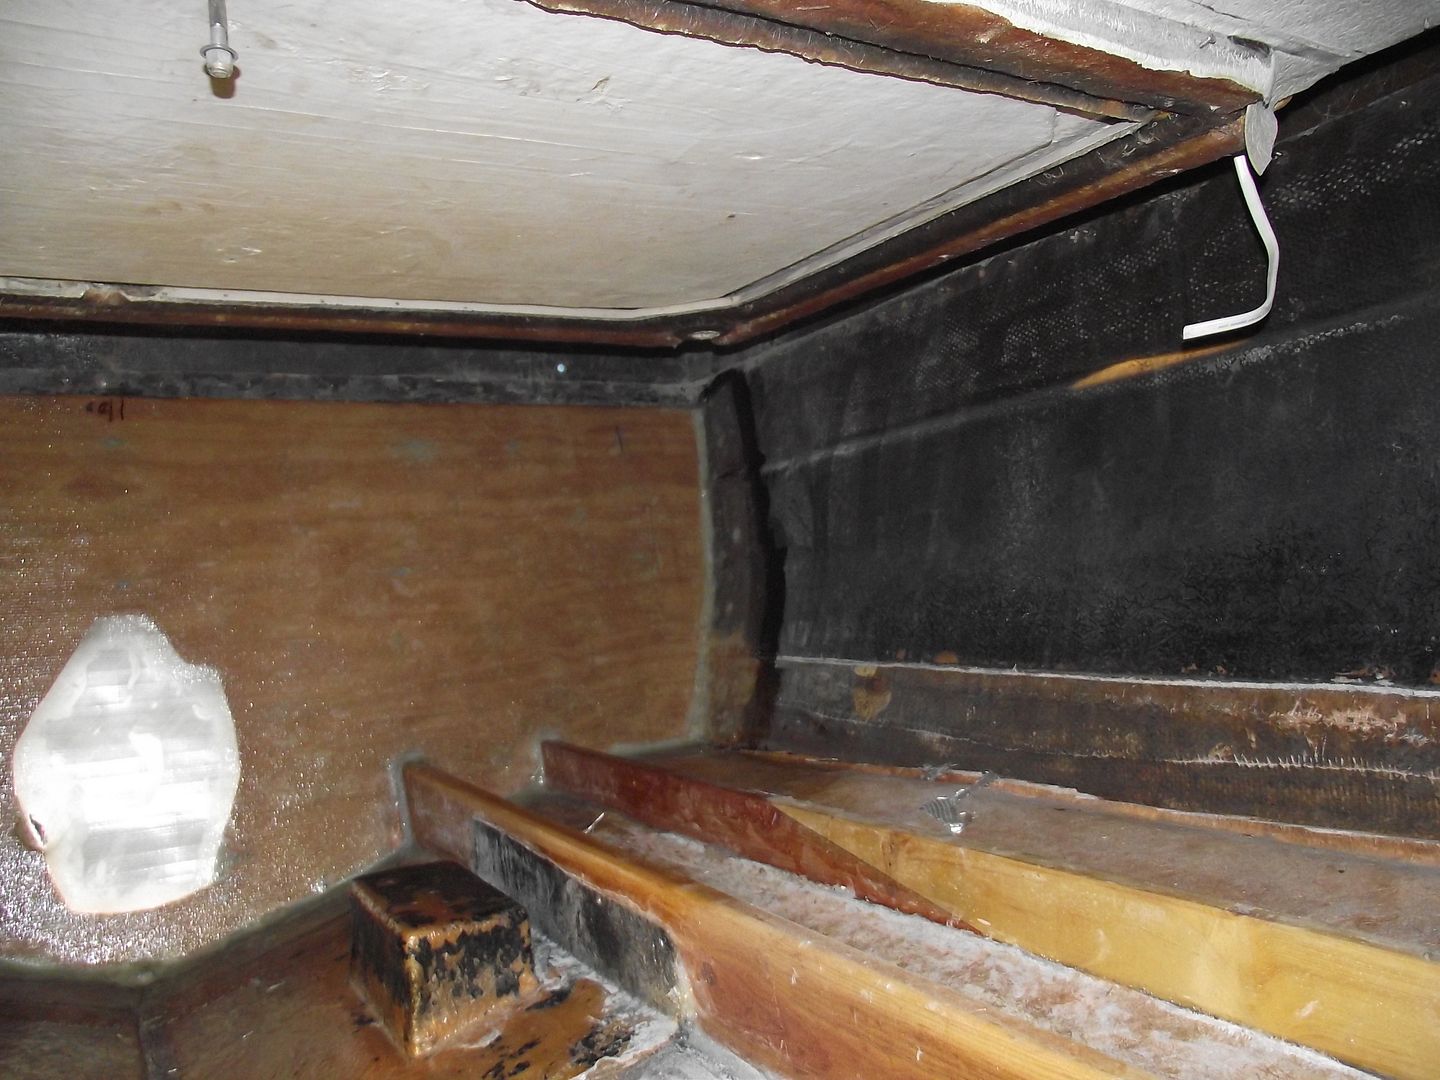
I believe the rot started with a previous owner mounting a fish finder transducer without sealing the mounting screws. Once the rot got down to the garboard drain, it must have took off from there. The only thing holding the garboard in place was a bit of petrified sealant. I've spent two days grinding wood off of the transom. If your needing a grinder for your project, here is a recommendation. Harbor freight has a paddle switch grinder on sale for $30. 4-1/2" Angle Grinder with Paddle Switch The paddle switch works a lot better than the type you have to thumb on. Here a few shots after spending some time with the new grinder and an assortment of sanding discs. Very dusty work in an enclosed space. Other than being stuck in uncomfortable positions, it's been easy and enjoyable work. Tyvec coveralls, and a full face resperator are a must! A good radio, loud enough to be heard over the grinder is a definite plus. -Tom.
 
Last edited:

GWPSR

Senior Chief Petty Officer
Joined
Jul 25, 2012
Messages
758
Re: 1977 Bayliner 2550

The 'after' pics look MUCH better! I'll look for that HF grinder since I burned up my last one. I took it apart and resurrected it, briefly, but it was too far gone and I'll need a replacement.
 

TAD99

Recruit
Joined
Feb 7, 2013
Messages
4
Re: 1977 Bayliner 2550

Wow. Bet mine will look just as bad. Have started at the front cutting out the rotten wood. My water tank is plastic and was not glued in with foam so it came out easy. Now I need to start the cleanup to the point of the fuel tank so I can start building new support pieces for the floors etc.

My guess is that while the front part of the stringers looks good its in the engine area where the rot will be found. Maybe in a few weeks I can get all the loose foam out so I can start looking deeper at the engine area wood.

Tom
1979 Saratoga.
 

TAD99

Recruit
Joined
Feb 7, 2013
Messages
4
Re: 1977 Bayliner 2550

[Nice to see you are making progress. Finally got my outdrive off along with all the parts connected to the transom. Fuel tank will be next and then I start removing all that rotten wood.

Keep at it, she will be a great boat when you are done.

Tom
 

K-2

Chief Petty Officer
Joined
Apr 3, 2011
Messages
406
Re: 1977 Bayliner 2550

You ever consider using Nidacore instead of plywood?
 

T748

Seaman
Joined
May 1, 2012
Messages
60
Re: 1977 Bayliner 2550

Hey Tom! Good to hear your getting after it. Take plenty of pictures of your progress. I've dropped the ball on mine. We didn't have any rain at all up till now. I blew off working on the boat the last few months to work on indoor house projects. Now I REALLY want to get crackin' on the boat, and it's practically flooding outside. My big picture planning seems to be lacking. I've got a few divots to build up on the transom, and then install the ply. I hope to get that done sooner than later.
K-2, I've got to admit I know nothing about Nidacore. I already have 2 sheets of marine ply for the transom. The rot in the old transom could have been avoided, had the previous owners shown a little more attention to detail. With proper care I think the marine ply/ epoxy should last the rest of my boating lifetime. -Tom.
 
Last edited:

T748

Seaman
Joined
May 1, 2012
Messages
60
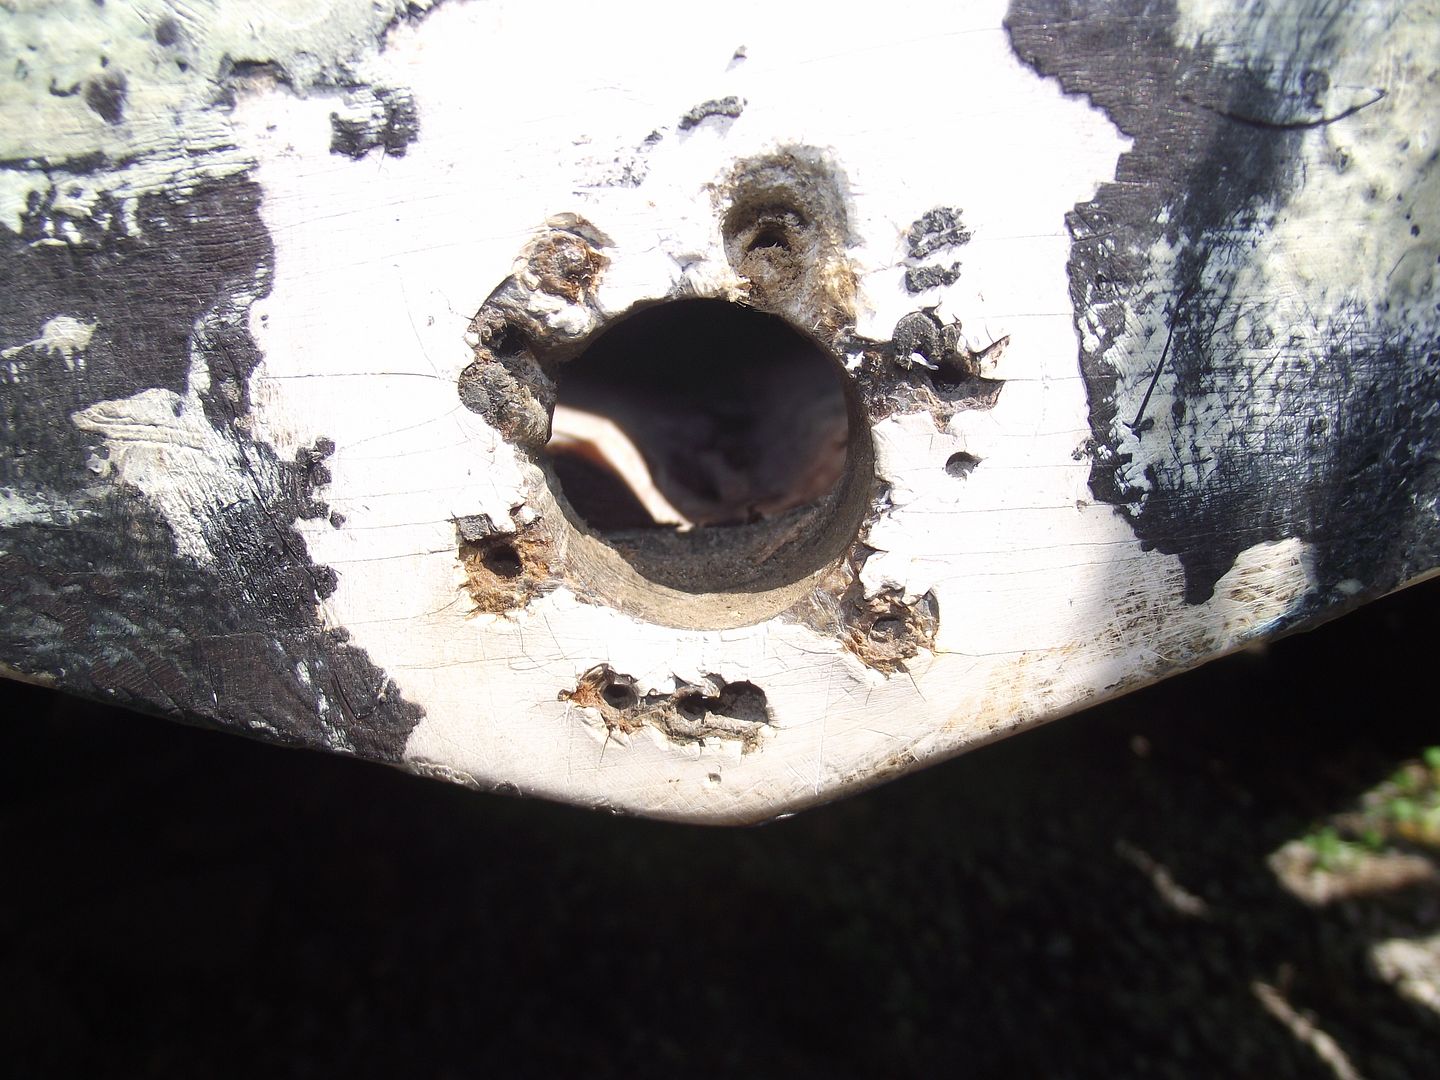
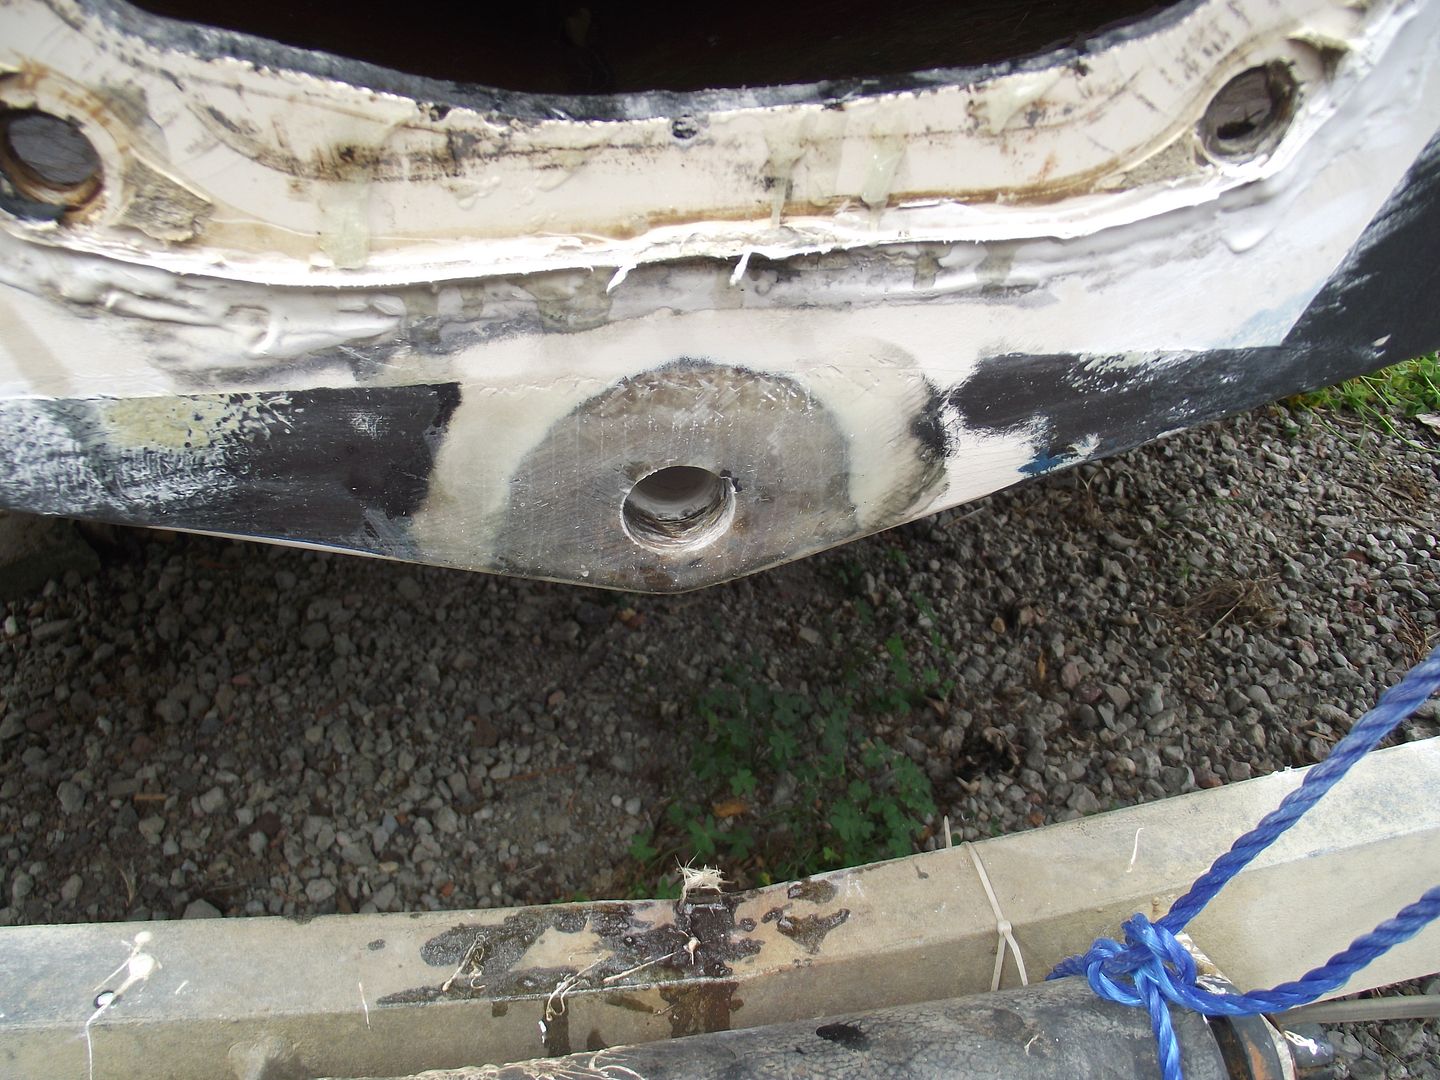
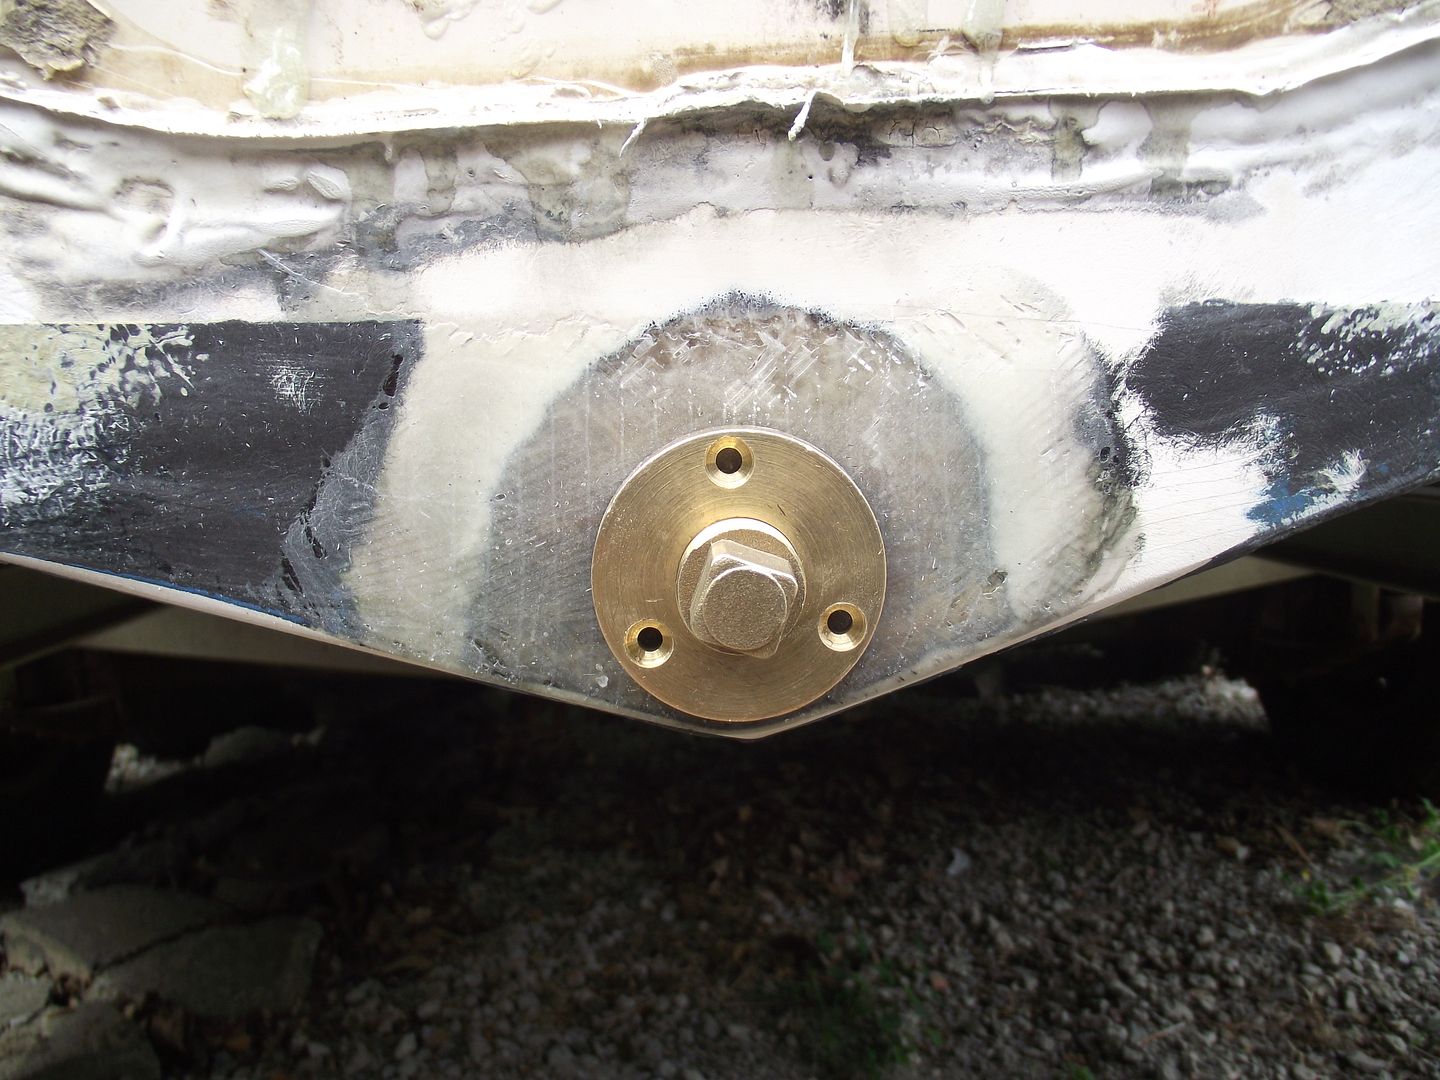
The last post was February 9th and here it is june already. I havn't been totally slacking off on the boat. As a matter of fact the last few weeks actual work has been done! The first job was getting all the pieces of broken screws out of the transom fiberglass. The total ended up being over 16 pieces dug out. The majority were down at the garboard drain. Here is a picture with the drain removed and almost all the screw chunks out.


The holes were then cleaned up and everything epoxied in. This included a stub of 3/4" diameter PVC for the drain. The old transom plywood just had a hole drilled through it, with a coat of resin to seal it up. I went ahead and built this area up so there wont be any plywood around the drain.


T748

Seaman
Joined
May 1, 2012
Messages
60
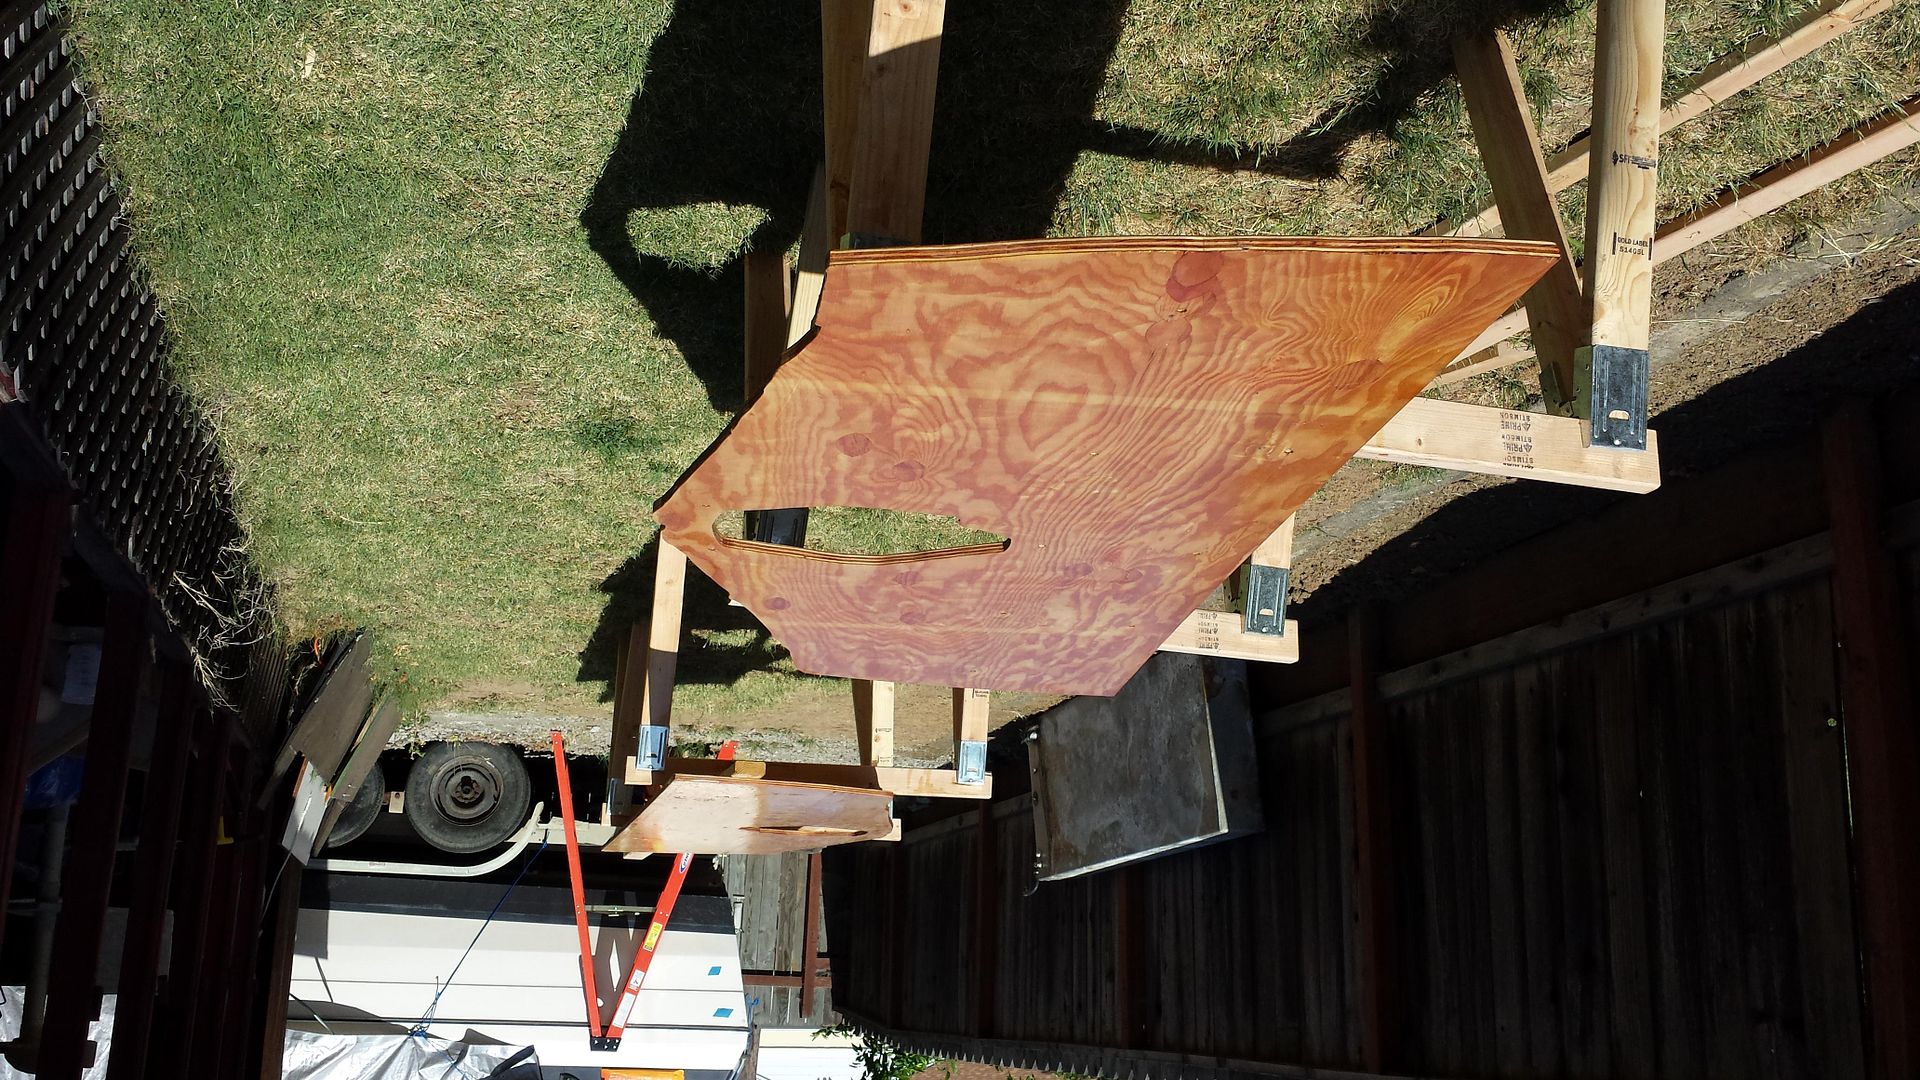
I finished prepping the inner transom fiberglass and cut out two pieces of 3/4" marine ply. It was a nice sunny day and the sheets did a good job of soaking up a good amount of epoxy resin.

After that dried over night I Wiped it down with warm water and added a second coat after that dried. This left it with a glass smooth surface that I was worried wouldnt have enough "tooth" to it, so it got sanded with some 100 grit. Next up was prepping the transom exterior. The girl freind cleaned all the old caulking and gunk off of it. We put some painters tape to keep any epoxy from getting on the gel coat. We also sprayed it down with cooking spray. That was also used as a release agent on the nuts/ bolts/ screws/ washers and sandwiching boards. That ended up working great. After troweling on PB/mayo style resin, the first sheet of plywood was bolted and screwed down. After sitting over night the second sheet was placed and alowed to dry. As it sits now it's 1- 15/16" Thick.


T748

Seaman
Joined
May 1, 2012
Messages
60
With the plywood in and still needing tabbing, I've used a touch over a gallon of resin (not including hardener). That and the marine ply add up to a not so small chunk of change. The wood could have been cut closer to a tight fit and saved on PB filling. The problem was getting the ply sheets moved around and mounted in a confined space. So in the end epoxy dollars were traded for ease of install. -Tom.
 

T748

Seaman
Joined
May 1, 2012
Messages
60
Fast forward 6 months...
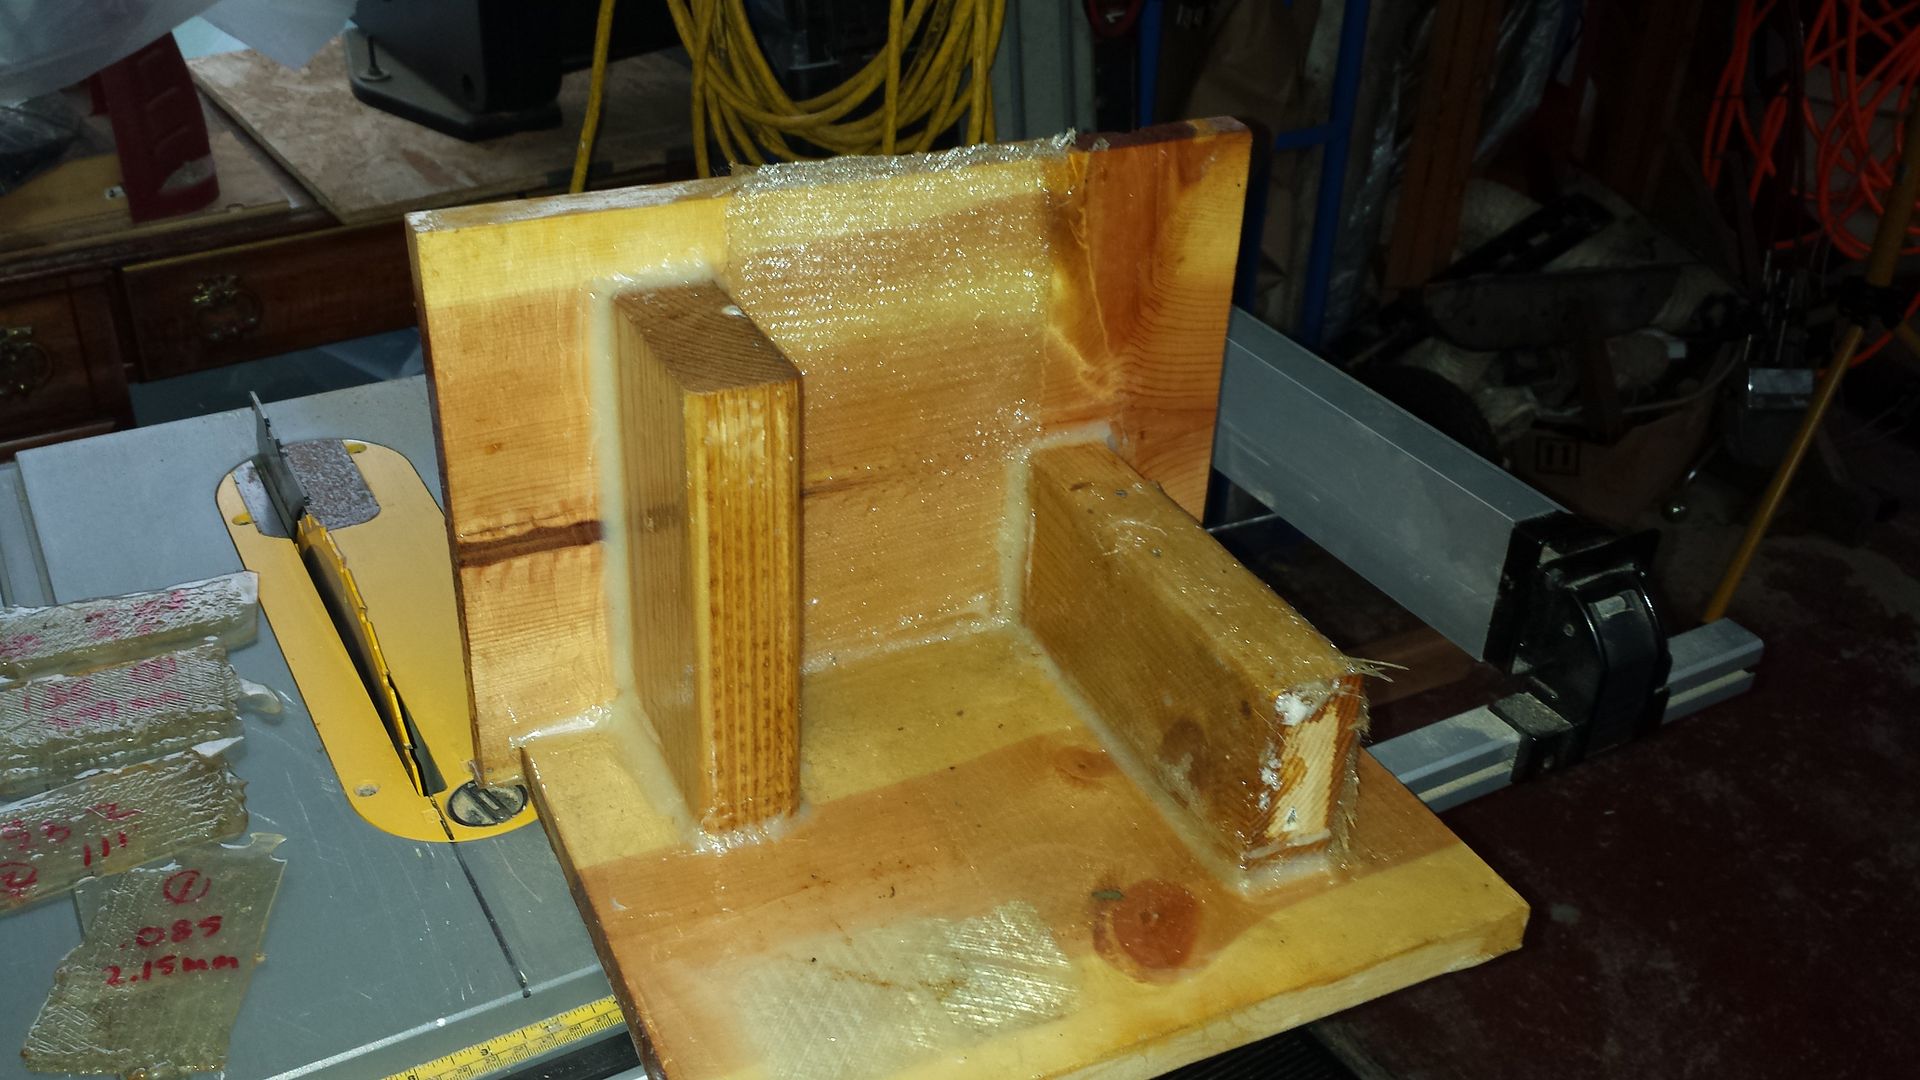
I've added 2 layers of 170z. biaxial cloth to the transom. This was a lot easier than I imagined it would be. It was the first time working with fiberglass and starting with a vertical surface added stress to the job. I decided to take some scrap wood and make a form to practice on before committing to the boats structure. This was a good idea. It gave me a chance to get the feel of things. Seeing how the cloth goes over stringers etc. The waste of a little epoxy and cloth was worth it to get a little experience under the belt.
The transom is in but still needs to be fully tabbed in. I've seen others projects where all the stringers are removed first. This way looks cleaner, you get all the grinding done at once. My worry is keeping the boats shape without adding bracing underneath. I'm sitting on a bunk trailer. I'm planning to replace the stringers one side at a time instead.
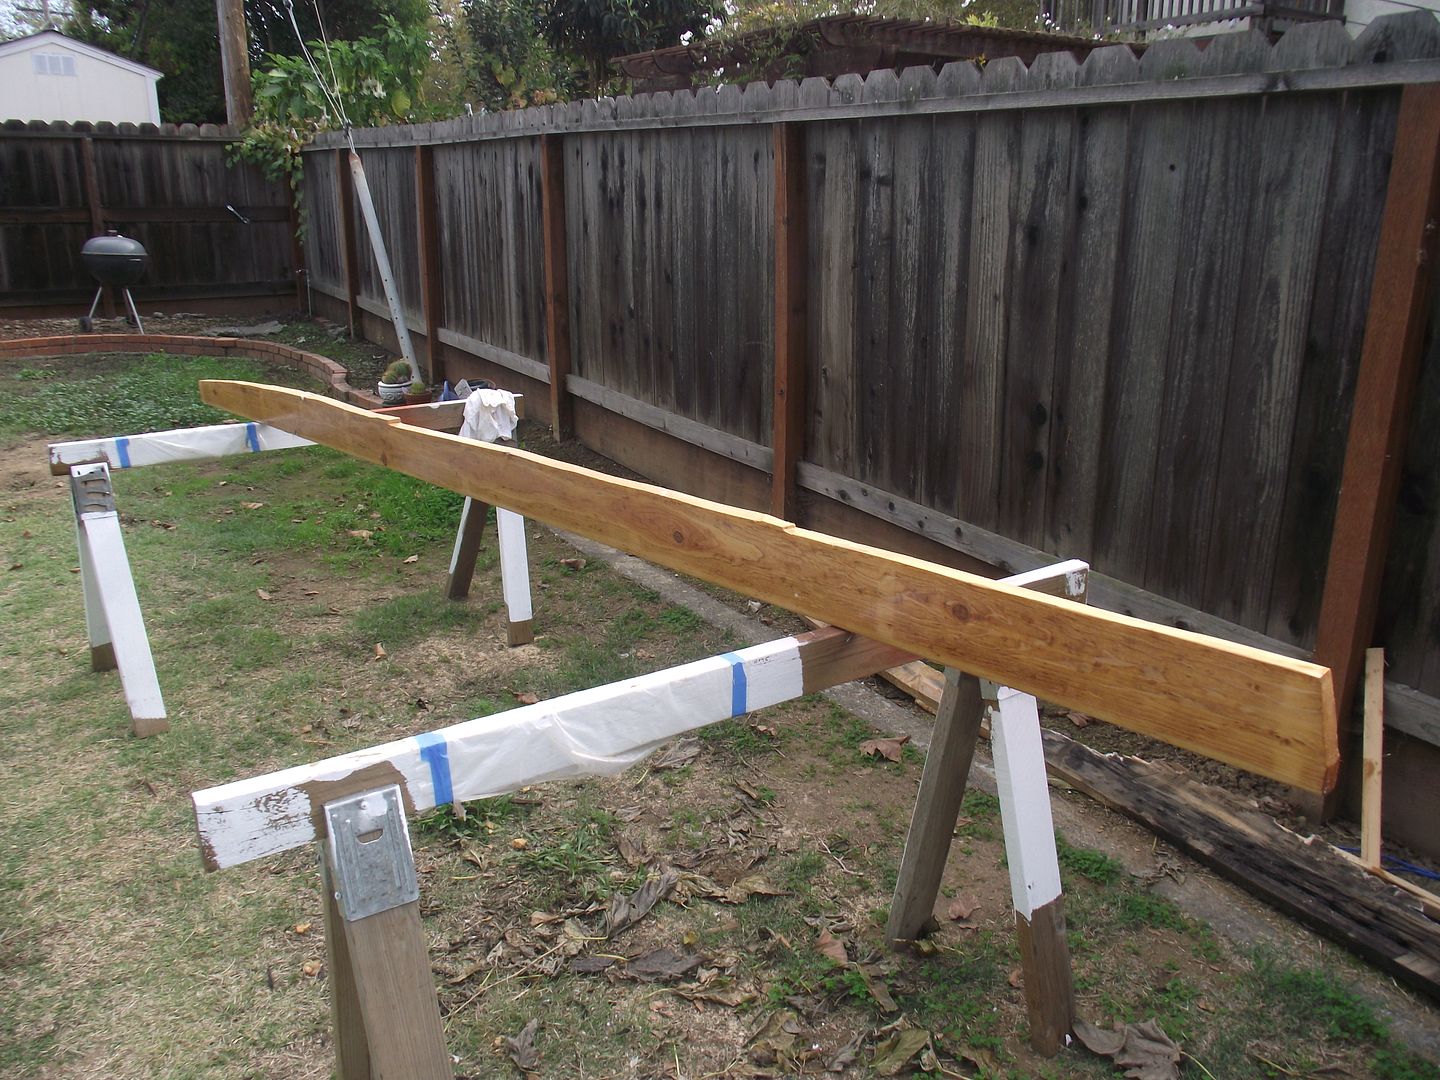
The stringers are 2X6's inboard and 2X4's outboard. There are 1X8's against the side of the hull, but I don't think these really count as stringers. They support the foam box tops and a section of the rear berth. Finding a 12' 2X4 that wasn't warped proved impossible. I took 2 8 footers and scarfed them together over 16". The 2X6's at the lumber yard were straight enough so no scarfing was needed to get a good length. All the lumber was "kiln dried". Next up is getting some cloth on the stringers. -Tom.


Woodonglass

Supreme Mariner
Joined
Dec 29, 2009
Messages
25,928
Most of the guys here on the forum use plywood for their stringers. You get a straighter/stronger stringer in the long run.
 

T748

Seaman
Joined
May 1, 2012
Messages
60
That would have been a good way to go. I wouldn't be hard to make a 12' long stringer an inch and a half wide out of plywood. It would probably been easier to fit too. Too late for that now. One side is in, and the other sides lumber is already on the jobsite. At the time I was just looking to copy what was in there to begin with. -Tom.
 

T748

Seaman
Joined
May 1, 2012
Messages
60
Stringer fiber glassing question...
The original stringers were glassed in using mat. It's around 1/8" thick and covered one side and the top. On the other side of the stringer, the plywood for the foam boxes were stapled in place and then mat was tabbed in a few inches up that side. I would like to use 17oz. biaxial cloth (no mat) to completely cover the stringers and tab them in too. After that the ply for the foam boxes would be epoxied in place.

The question is how many layers of biax are needed to do the job?

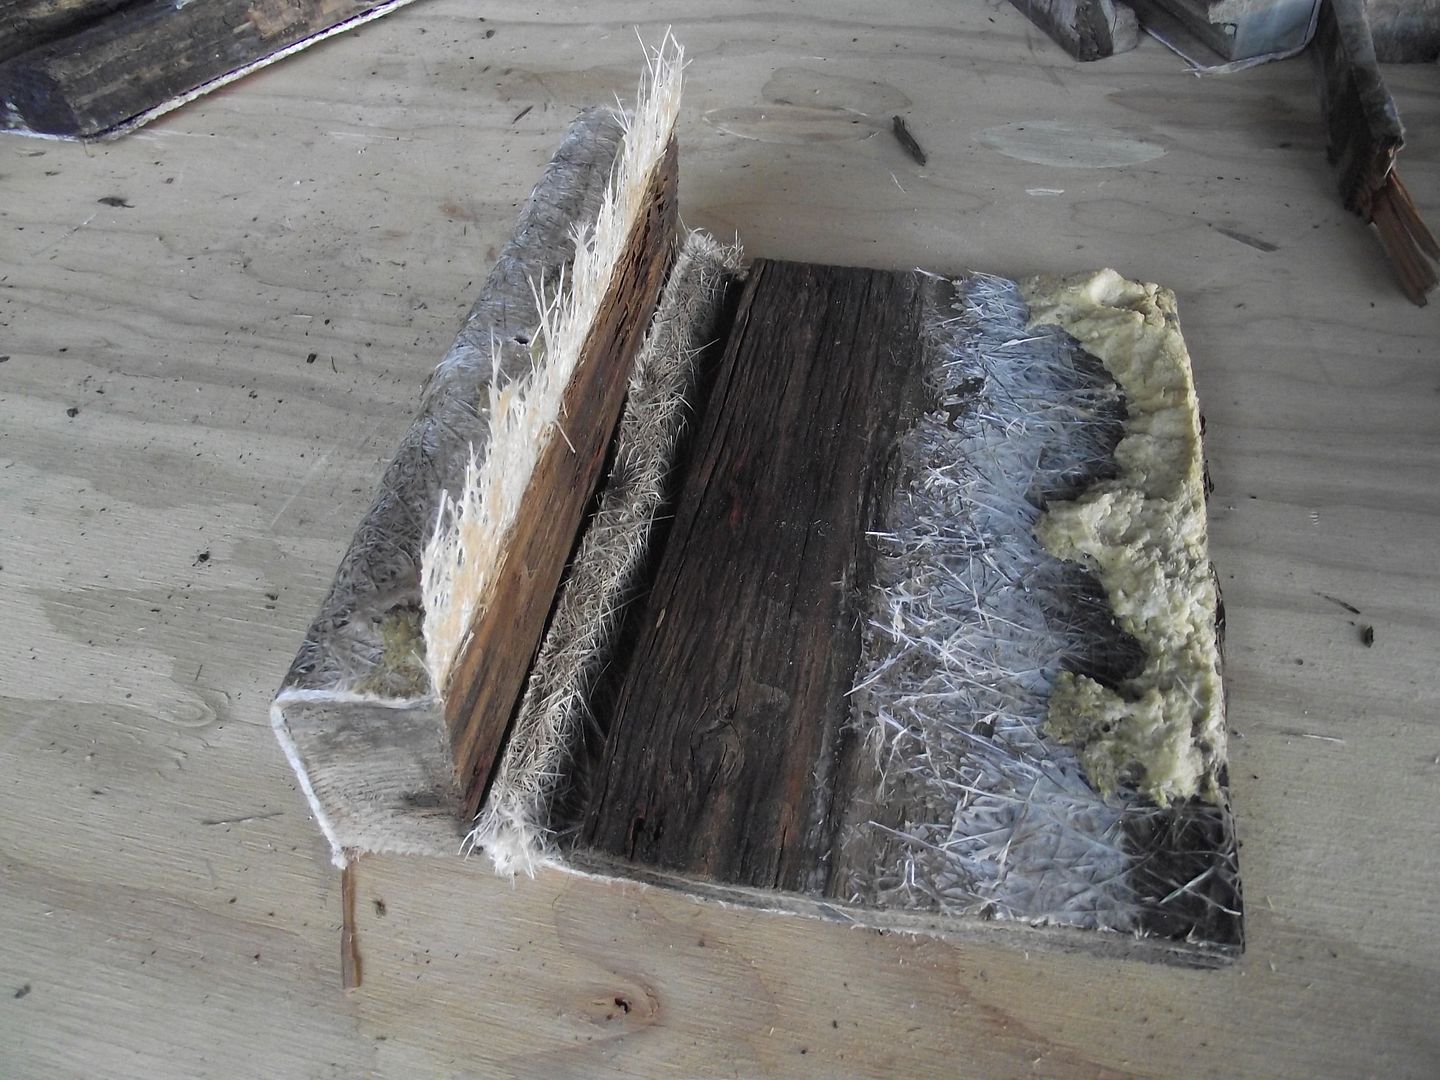
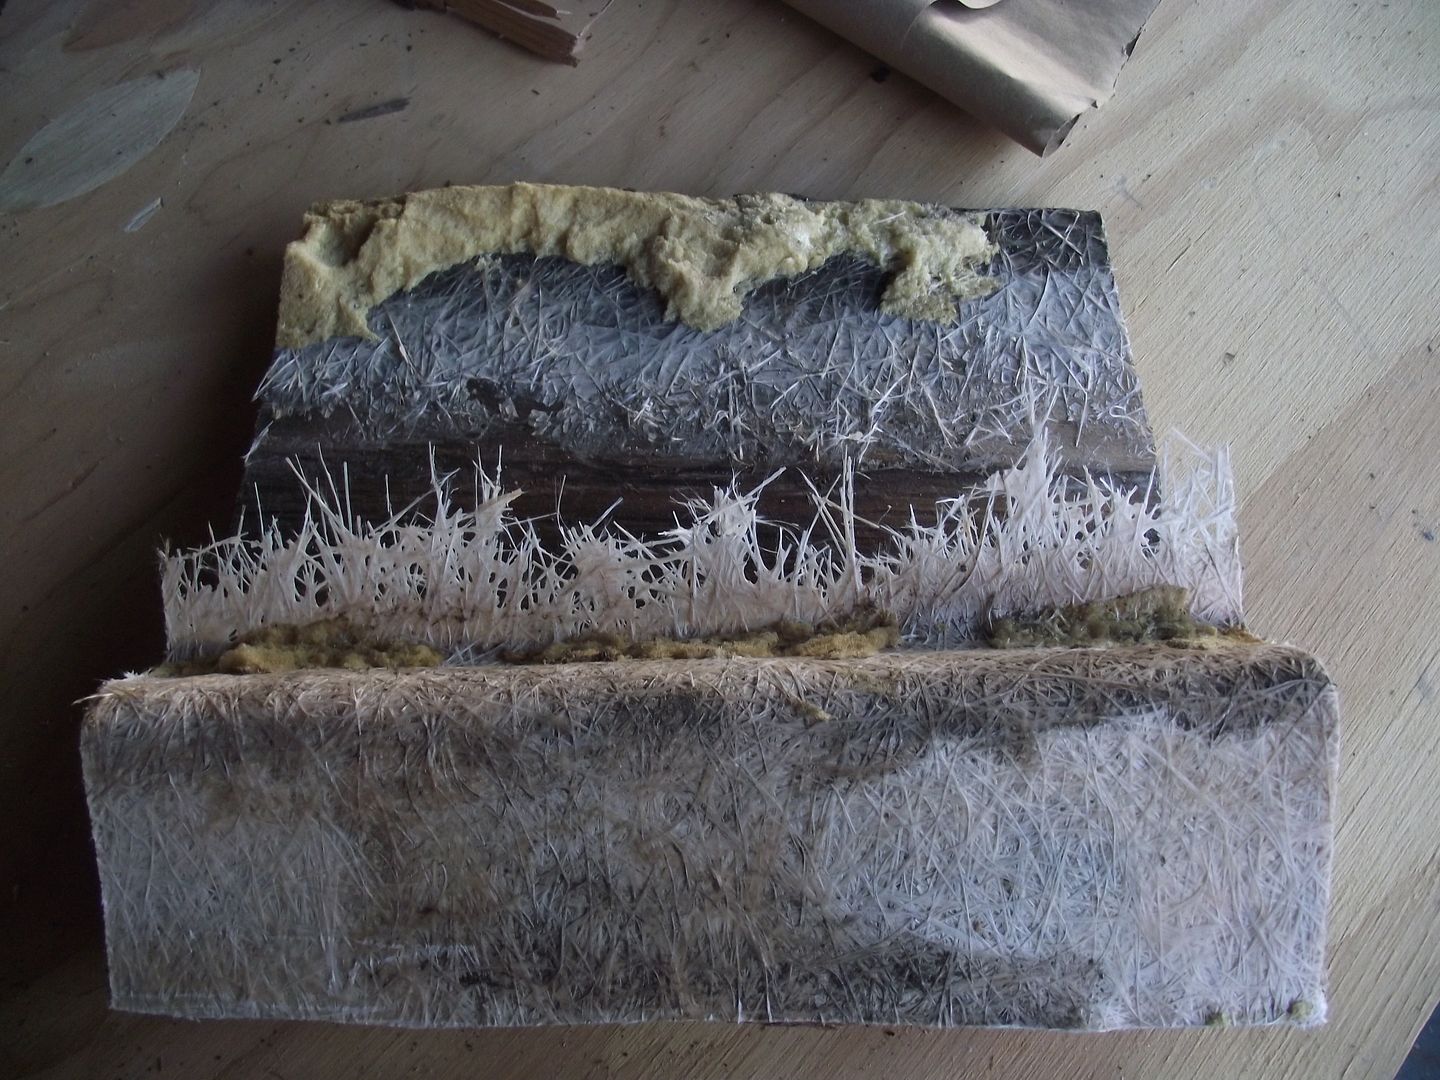
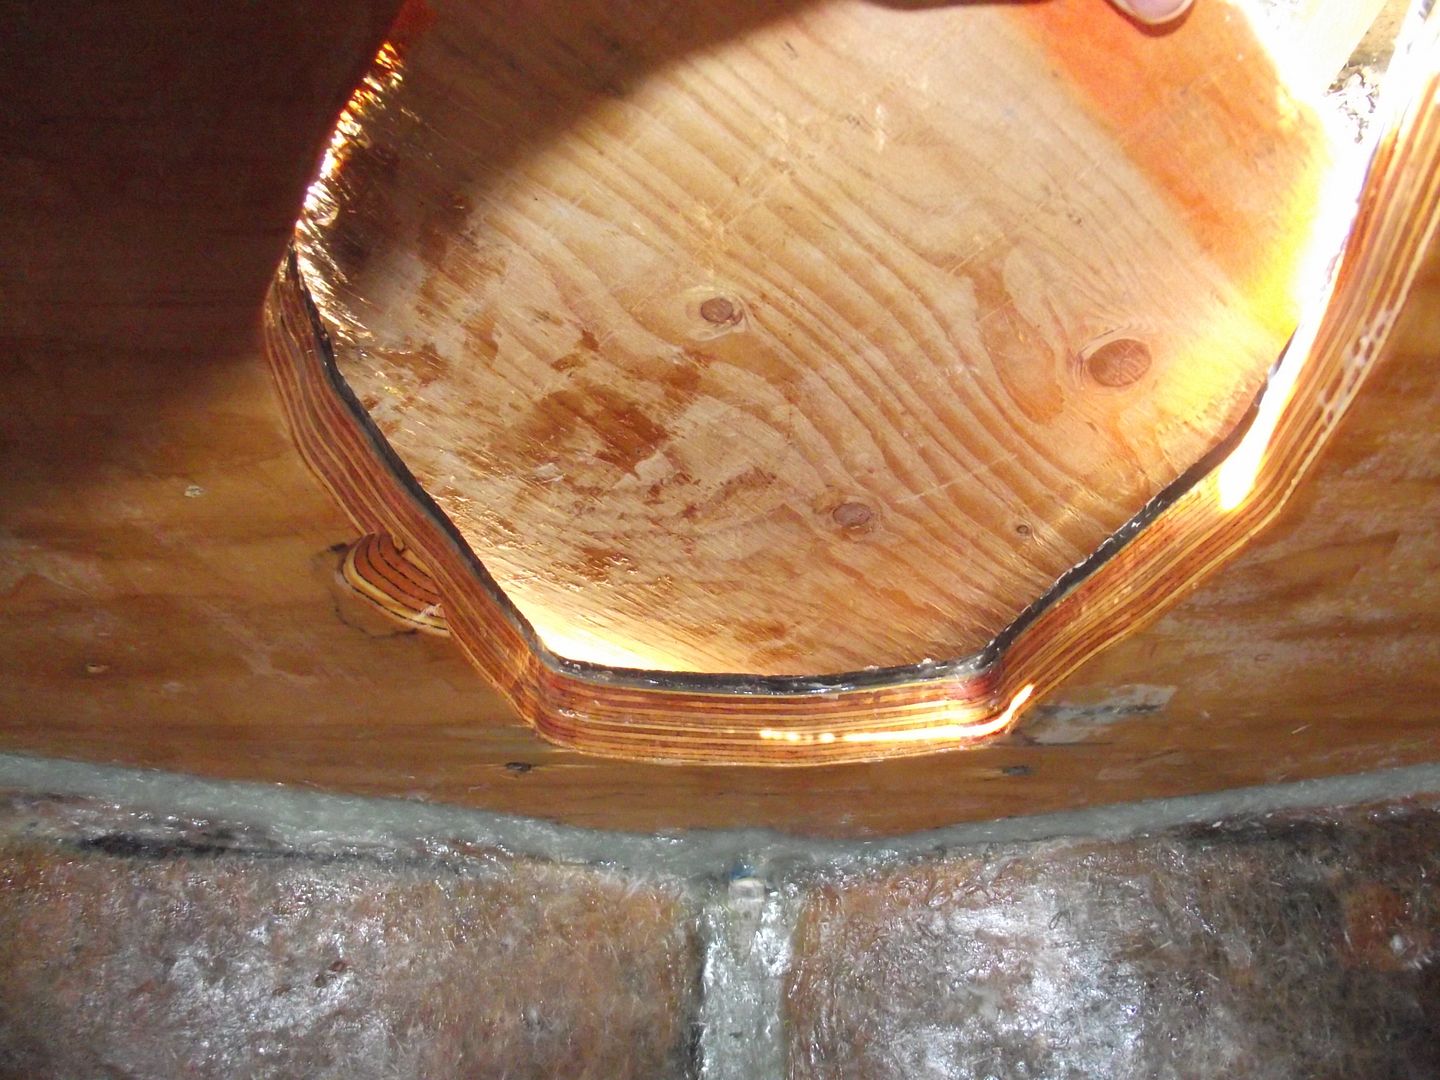
Everything I've read says to copy the thickness of the original. The original was poly resin and mat. Going in is biax and epoxy. Here are a few pictures of the original stringers sectioned out. It had really poor workmanship going on to the ply. Around the gas tank there's even a section of stringer that was naked. No glass at all. Just raw wood. The stringers weren't bedded in with the exception of a bit of foam at the forward ends. -Tom.


Woodonglass

Supreme Mariner
Joined
Dec 29, 2009
Messages
25,928
IMHO, since you're using Epoxy and it's stronger and more flexible than Poly, and your using 17oz biax which is WAY more structural than the older glass products you can easily get by with 2 layers of 17oz biax and obtain the same structural stength IF NOT MORE than what was there originally. You won't have the same MASS but in this case Mass is NOT necessary. If these were motor mounts it would be a different story.
 

Arawak

Chief Petty Officer
Joined
Aug 27, 2010
Messages
486
Stringer fiber glassing question...
The original stringers were glassed in using mat. It's around 1/8" thick and covered one side and the top. On the other side of the stringer, the plywood for the foam boxes were stapled in place and then mat was tabbed in a few inches up that side. I would like to use 17oz. biaxial cloth (no mat) to completely cover the stringers and tab them in too. After that the ply for the foam boxes would be epoxied in place.

The question is how many layers of biax are needed to do the job?

Everything I've read says to copy the thickness of the original. The original was poly resin and mat. Going in is biax and epoxy. Here are a few pictures of the original stringers sectioned out. It had really poor workmanship going on to the ply. Around the gas tank there's even a section of stringer that was naked. No glass at all. Just raw wood. The stringers weren't bedded in with the exception of a bit of foam at the forward ends.

Sounds exactly the same as mine. I'm not sure how much support those solid stringers were giving and how much was just there as a form to glass over. Probably why the glass was so thick... I suspect that it was the load bearing structure and the wood was just along for the ride.

Any marine architect will tell you that plywood stringers are stronger than solid wood, but I don't know by how much. I think one issue is that dimensional lumber is prone to cupping and warping, which could separate the core from the skin, which affects its ability to act as a beam. I know on my Bayliner the glass pulled away from the stringer wood easily.

So all that said, if it were me, I'd be tempted to go thicker than I would over plywood, even with epoxy.
 

Woodonglass

Supreme Mariner
Joined
Dec 29, 2009
Messages
25,928
Again this is just an Old Dumb Okies opinion but...Since you are using epoxy, you shouldn't have any issues with de-lamination. Epoxy is a superior adhesive and it WILL remain stuck to the dimensional lumber cored stringers. If you were using Poly then I would agree that you would need to use additional layers for bulk and strength. However as previously stated, due to the properties of the epoxy and the biax you're way ahead of what was previously there. Kiln Dried Douglas Fir should not have warping/cupping issues. Douglas Fir has excellent Marine use characteristics.
 
Last edited:
Top