gm280
Supreme Mariner
- Joined
- Jun 26, 2011
- Messages
- 14,605
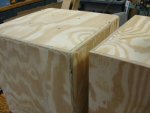
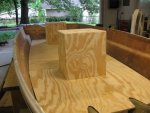
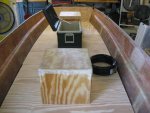
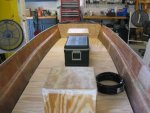
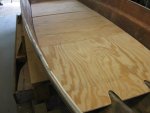
Okay here is todays efforts. While it really doesn't seems like much effort, it took a few cuts and tries to get it all worked out. And I am very pleased with the floor I ended up with. And NO it is not installed but merely laying there until I get other things worked out. Then it gets PBed in place...soon I hope! 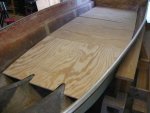
Now I know what everybody is going to say, so let me preempt it by saying YES the front section is running the opposite direction to the other sections. And while it seem to go against what would be the strongest grain, this piece of plywood in four ply. The two outer plies run with the long length of the wood while the two inter plies run cross grain to the length of the sheet. So in this case either way is the exact same strength. OKAY, I didn't see it until I cut it out...sorry! :sorry: You have no idea how ill that made me. What I stated is true, but it doesn't follow my original pattern. As OCD as I can be, I may buy another sheet and change it...IDK :noidea:
Okay with that dispensed, Look at how I was able to make one long totally flat floor without a casting platform. That was what I was shooting for. Now the front platform will be merely a place to mount the trolling motor and make a nice dry storage area underneath. It is only about 20 inches or so from the end of the floor t the very front of the hull. I can easily live with that.
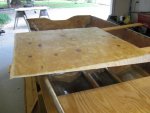
Slightly different angle.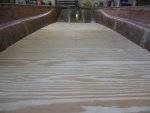
A shot from the transom to the front. Again a nice flat long floor...
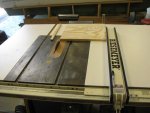
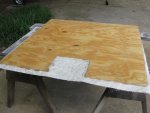
I used a method of cutting the floor sections that seems to work very nicely. The very first piece I cut I actually made a cardboard pattern first. And while that is a great way to do things, It still took a few trimmings and tries and belt-sandings and more ties to get it like I wanted it. So for the second section I tried something a little different. I took a marker pen (Sharpies) and marked every six inches along the side of the hull. Then I measured the width at each six inch section and divided that reading in two and plotted that on the plywood from a center line. So both sides of the center line received the exact same width measurement mark. And after finishing that effort, I simply connected the marks and cut it out and in one trial fit, it was perfect. So much for cardboard templates for me now... Of course there are tons of way to accomplish things, this is just what I did.
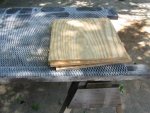
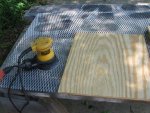
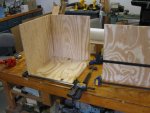
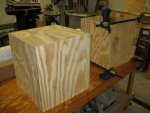
Okay there is todays efforts. Oh! I also cut out the two seat bases but haven't sanded them or assembly them yet. That is tomorrow's starting work. As I contemplate changing that last piece of plywood, you all have a wonderful evening... :thumb:

Now I know what everybody is going to say, so let me preempt it by saying YES the front section is running the opposite direction to the other sections. And while it seem to go against what would be the strongest grain, this piece of plywood in four ply. The two outer plies run with the long length of the wood while the two inter plies run cross grain to the length of the sheet. So in this case either way is the exact same strength. OKAY, I didn't see it until I cut it out...sorry! :sorry:
Okay with that dispensed, Look at how I was able to make one long totally flat floor without a casting platform. That was what I was shooting for. Now the front platform will be merely a place to mount the trolling motor and make a nice dry storage area underneath. It is only about 20 inches or so from the end of the floor t the very front of the hull. I can easily live with that.

Slightly different angle.

A shot from the transom to the front. Again a nice flat long floor...
I used a method of cutting the floor sections that seems to work very nicely. The very first piece I cut I actually made a cardboard pattern first. And while that is a great way to do things, It still took a few trimmings and tries and belt-sandings and more ties to get it like I wanted it. So for the second section I tried something a little different. I took a marker pen (Sharpies) and marked every six inches along the side of the hull. Then I measured the width at each six inch section and divided that reading in two and plotted that on the plywood from a center line. So both sides of the center line received the exact same width measurement mark. And after finishing that effort, I simply connected the marks and cut it out and in one trial fit, it was perfect. So much for cardboard templates for me now... Of course there are tons of way to accomplish things, this is just what I did.
Okay there is todays efforts. Oh! I also cut out the two seat bases but haven't sanded them or assembly them yet. That is tomorrow's starting work. As I contemplate changing that last piece of plywood, you all have a wonderful evening... :thumb:
Last edited:


