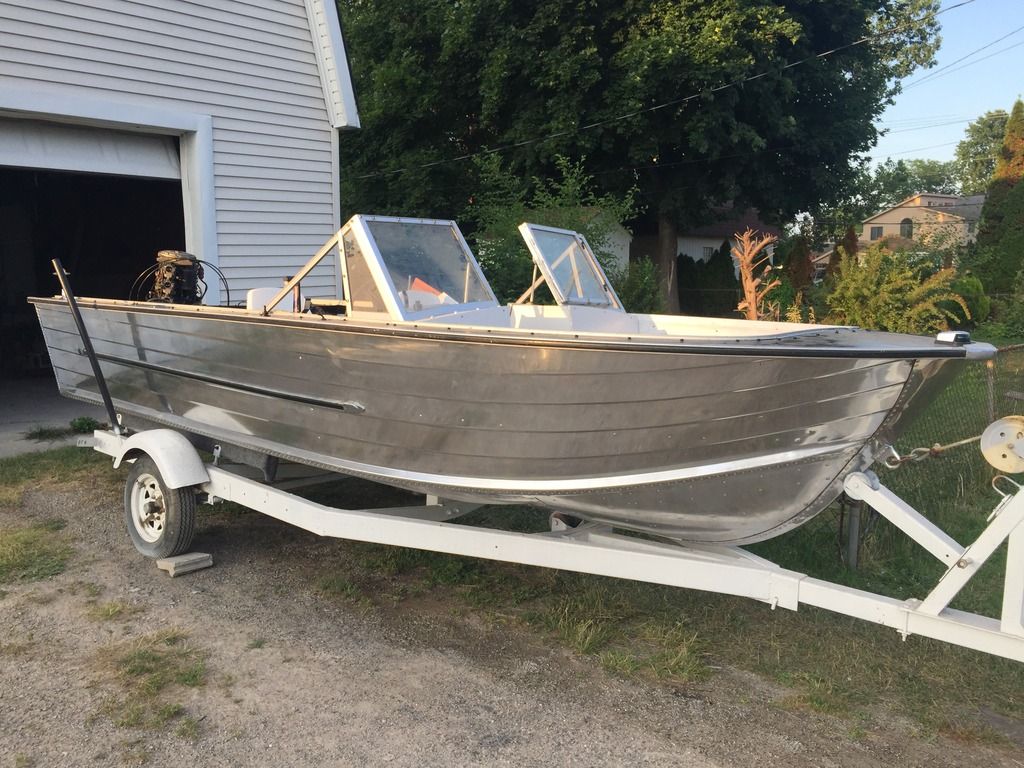
1974 starcraft 16 ft super sport

anderso8623

Petty Officer 1st Class
Joined
May 25, 2012
Messages
388
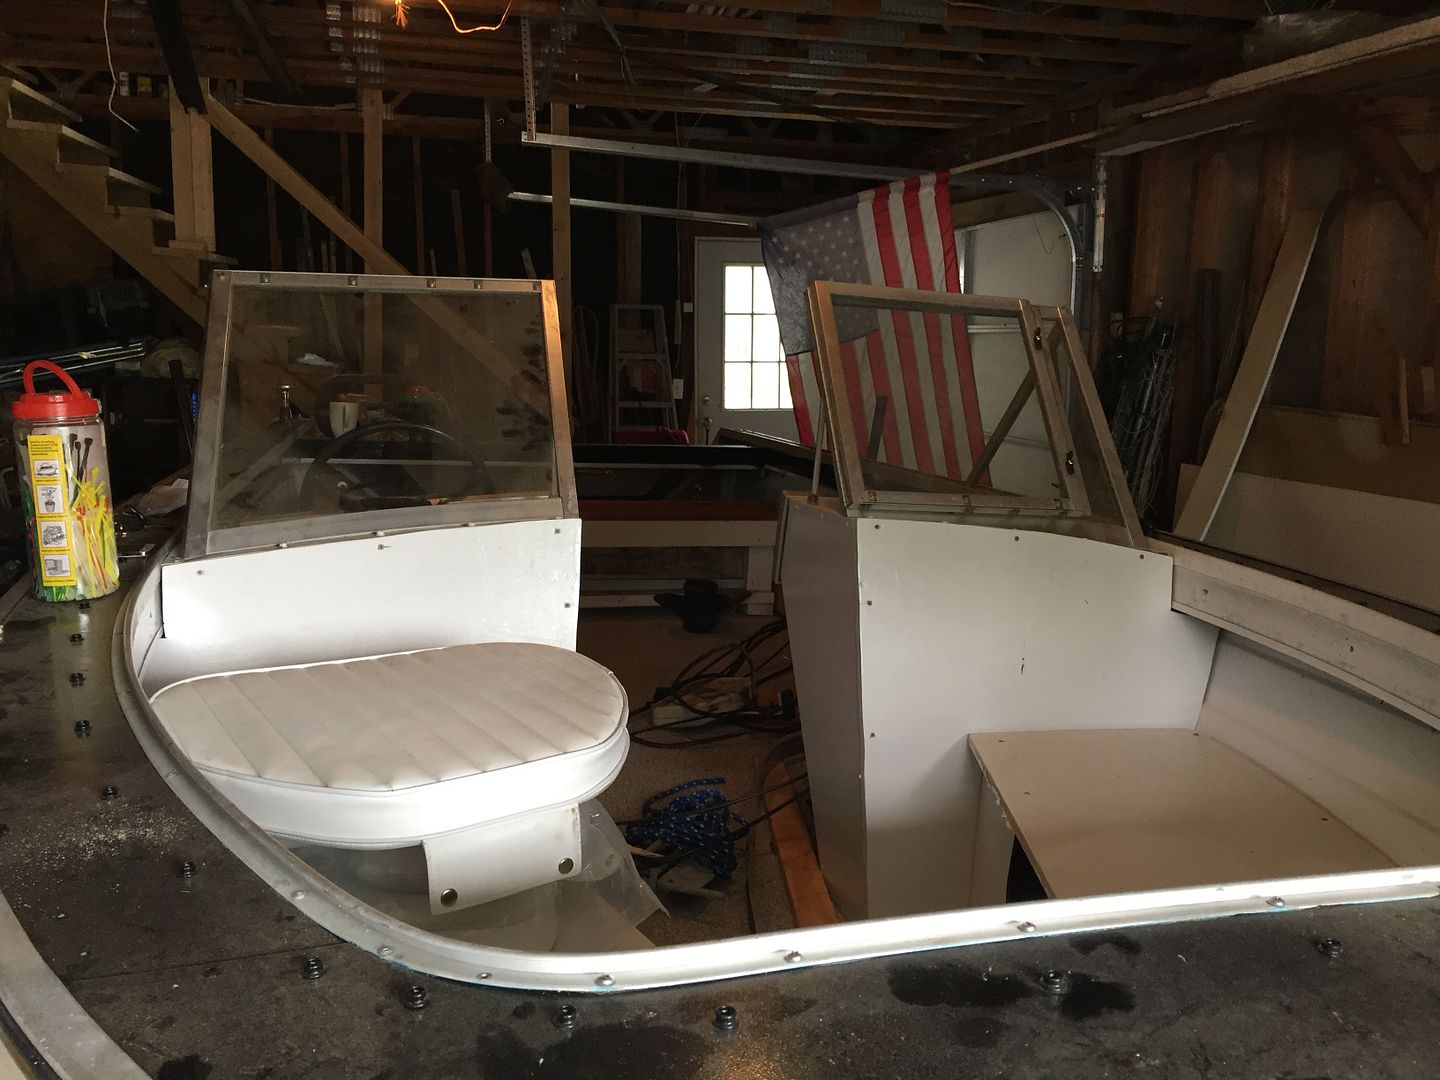
im back working on the tin! I have a little work left but just enough to keep me busy till the ice breaks free and melts! the bench oyu see above is obviously not finished. If you look at the second photo, there looks to be a gap between the lid and the side where you can see the frame. the front will be raised off the ground to allow for water to flow under. I had to come up with a way to make the back beam not be in the way when you lift the lid so that you can get larger items back there. I decided to attach the beam to the lid so that I still had the support for when people sit down. Now I have to come up with a hinge like design so that the lid can hang straight down when open. any suggestions? I thought I could use a long hinge and simply raise it up past the top beam but I dont know if that will be sturdy.

Here is a short list of items left:

Finish bench
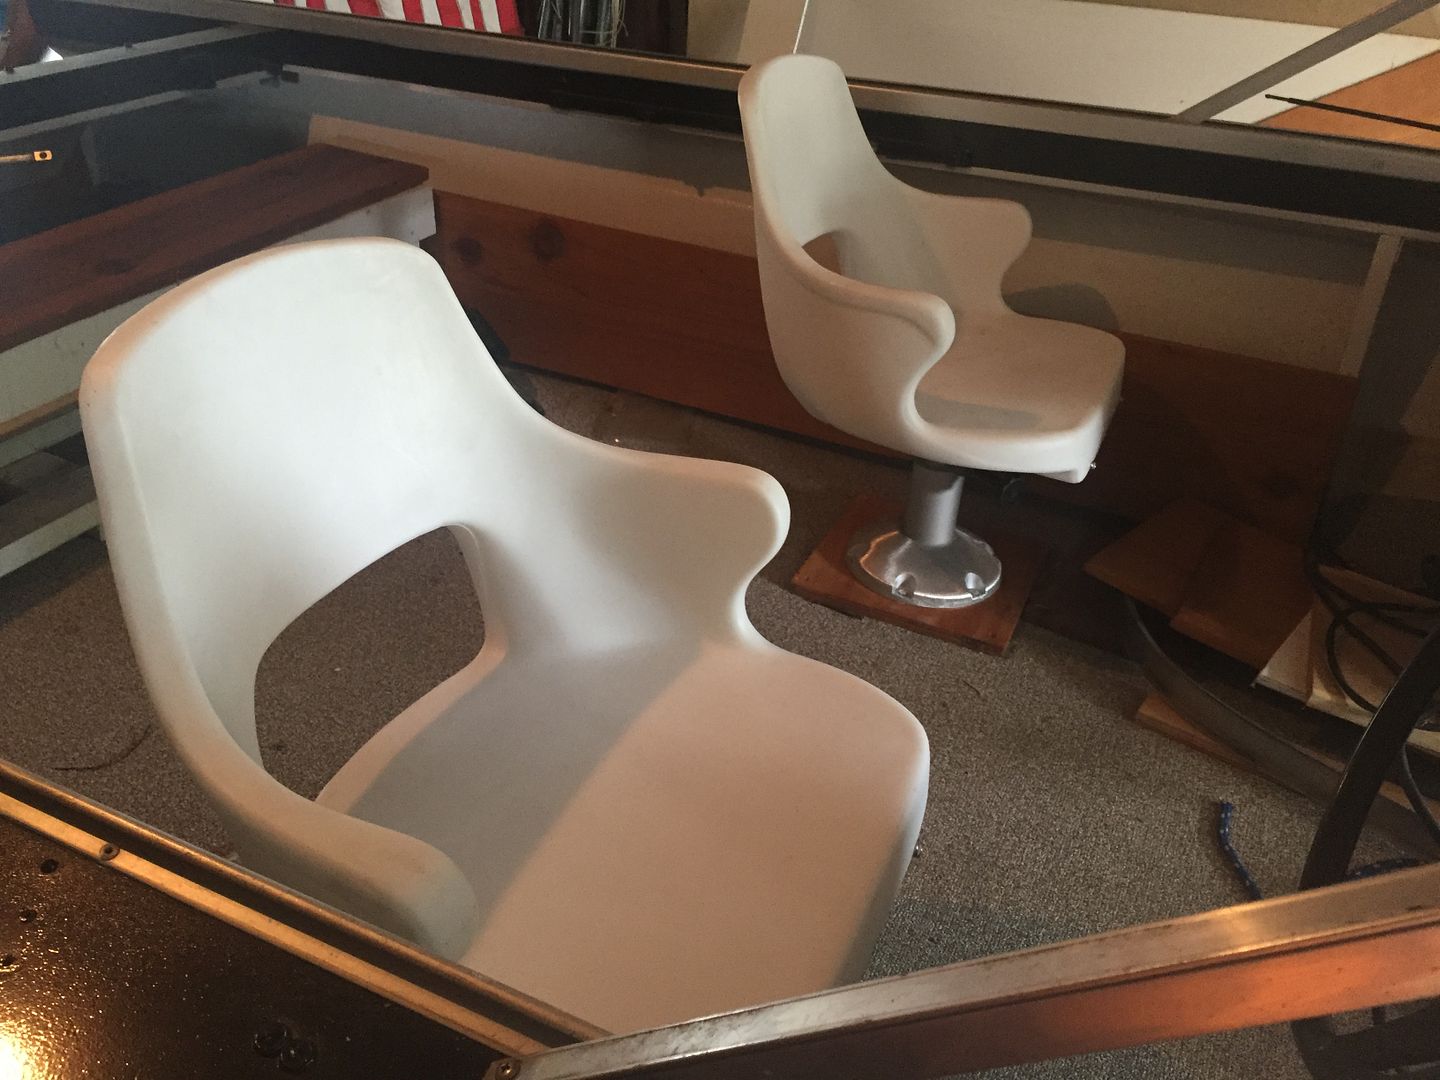
install seats
hang wires/cables
find new bow lights
install windshield
Install fuel tank
cap transom
install transom plate (goes between motor and transom)
find new motor
install cleats
install tach
mount controls
possible rod holders


I think that is it. I did see an 85 merc 800 I though of until I find and can fund a newer motor. Its pretty cheap and would be more than enough to power the boat.
 

wrunner74

Seaman Apprentice
Joined
Mar 27, 2016
Messages
41
I just found this post and was hoping to see the finished project. I recently acquired an identical 1974 Starcraft Super Sport from my father for $1.00. It's been stored indoors for over 40 years. The water pump was shot, and I MEAN shot. All the fins had disintegrated and the inside of the pump housing had vulcanized rubber embedded into the metal. Got a new housing on eBay for $17 and a new impeller and gaskets. I suspect the rubber pieces of the impeller are rattling around in the engine because the tell tale will run freely but slowly start sputtering and then stop. I removed the hose from the fitting which is a restriction area, I will try running again once the weather warms up. Maybe those small pieces will come out now.

I'm not super familiar with the cooling water flow, but it must leave the pump, travel upward and through the engine, but where does the bulk of the water exit? I suspect it mixes with the exhaust and blows down & out the prop. The tell tale is only a side route for some of the water just to verify the pump is working. Its this correct?

Anyway, the boat is in nearly pristine condition. Seats could be replaced but bow seating is in very good condition, just needs a cleaning. I'll thinking about removing the bow rail to make room for a trolling motor. I've looked at seats, but not sure how much higher to go, I'd like to see your solution. Thanks!
 
Last edited:

GA_Boater

Honorary Moderator Emeritus
Joined
May 24, 2011
Messages
49,038
Wrunner - We have so many SS threads here it will make your head spin. Look at the stickies on top of the Starcraft forum for a list of all the documented builds.

Start your own thread about the SS and start a thread on the motor in the proper motor section. New threads are the best way to get the answers you're looking for.
 

anderso8623

Petty Officer 1st Class
Joined
May 25, 2012
Messages
388
Well the build is back on. I have gone through a few boats while this has just sat at idle. Life has got in the way, new job, getting married in about 13 days. I sold my last large boat, a 1985 trophy. Good old bait but had to pay for the wedding.

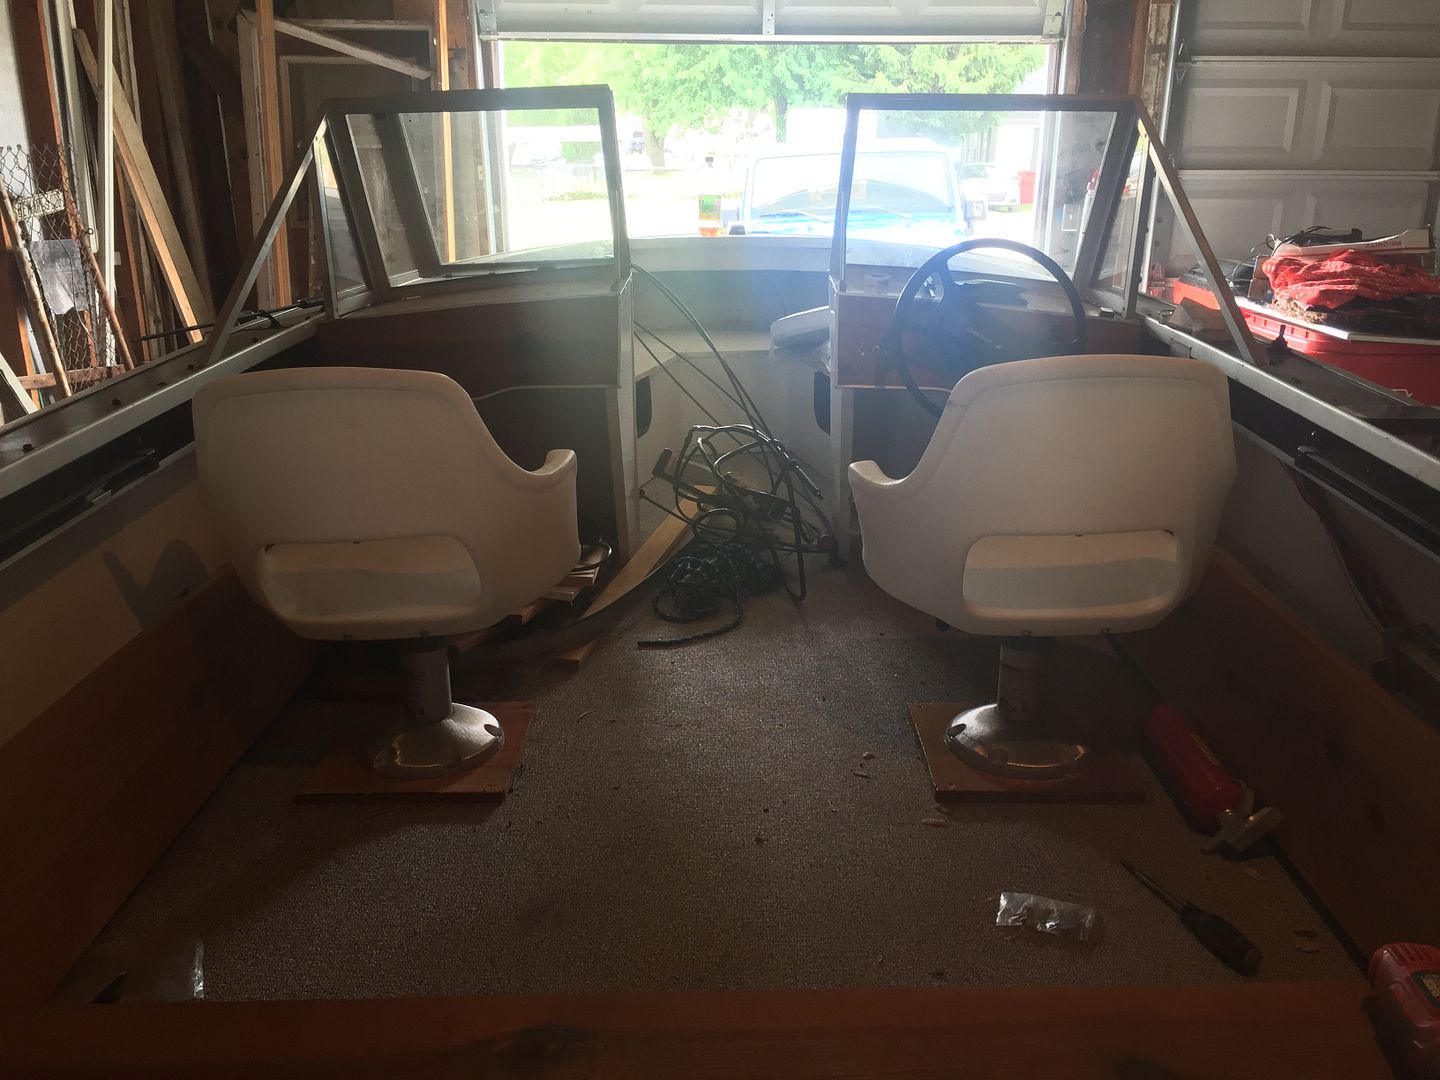
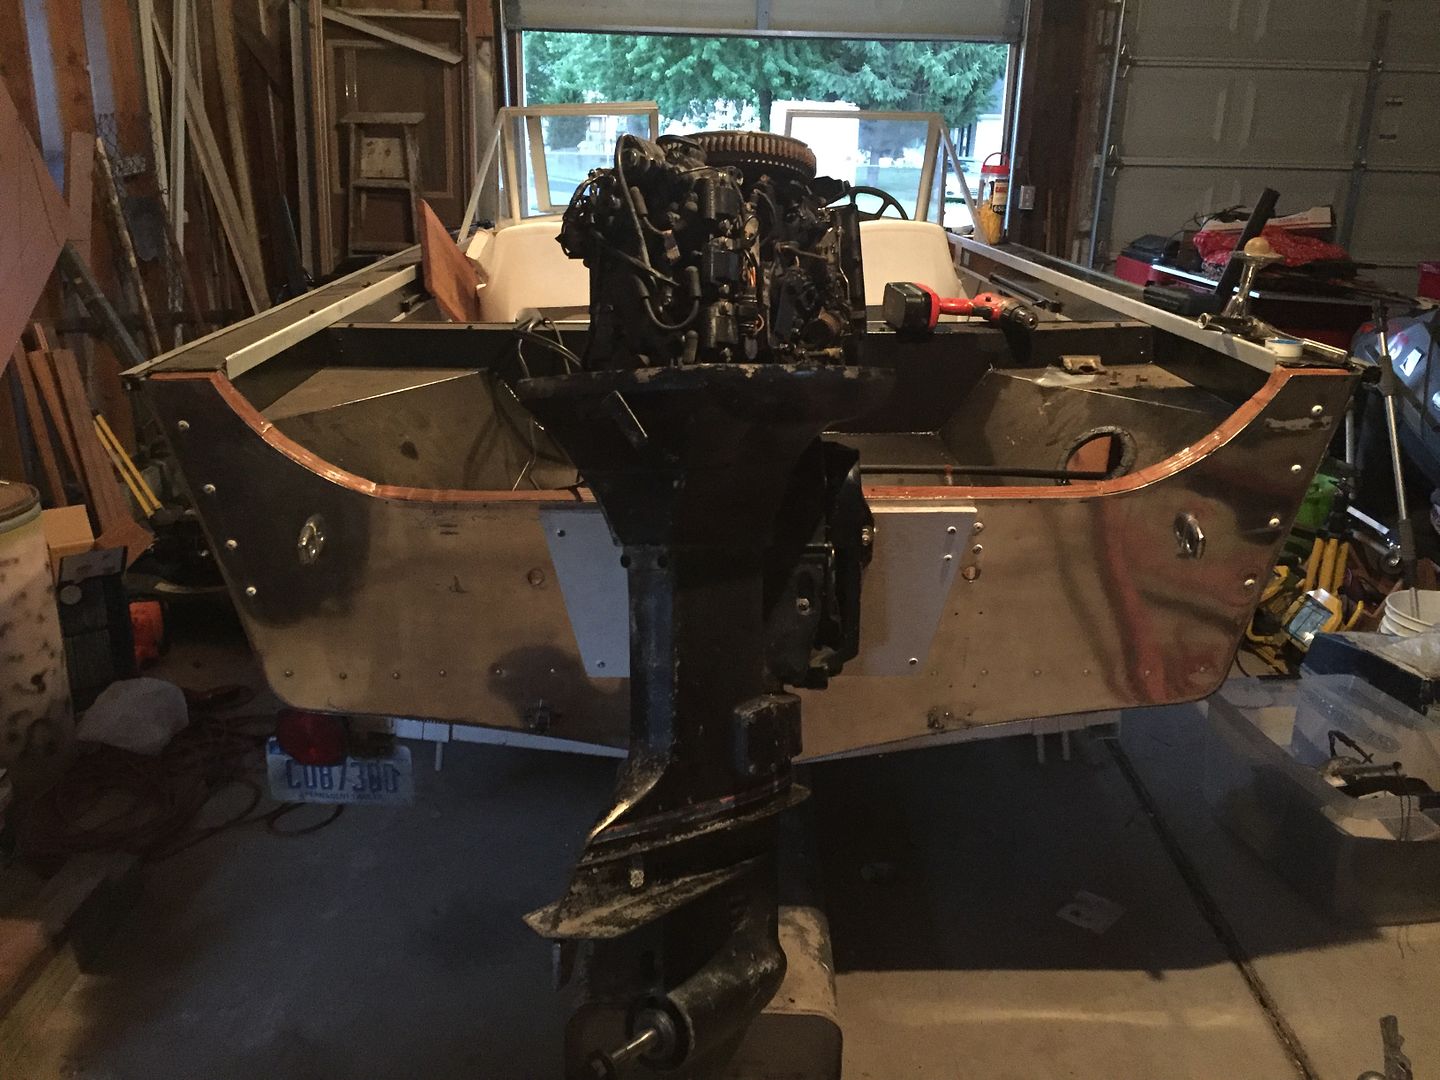
Few updates, I found a 75 Evinrude for 200 and jumped all over it. From what I can tell, she should run just fine. Just rebuilt the carbs, need a file line and I'm gunna start her up. Installed the bench seat, the two captains chairs and the windshield. Gunna install the throttle and hook up the steering and hopefully have a sea trial tomorrow. Pics to come.
 

Watermann

Starmada Splash of the Year 2014
Joined
Jan 12, 2013
Messages
13,804
Welcome back, looks like your just about ready to get her out on the water.
 

anderso8623

Petty Officer 1st Class
Joined
May 25, 2012
Messages
388
Almost... I need the rod that connects the steering cable to the motor and I need to see if I can clean out the starter. Small budget with the wedding or else I would just buy a remanned one. I hear a good cleaning works to get starters running again. I did hook up a different starter to see if the issue was elsewhere but the other starter turned right away.
 

anderso8623

Petty Officer 1st Class
Joined
May 25, 2012
Messages
388
Anyway, going to clean her out tonight. See if that works. If not, I'll get a kit to rebuild. The search for the steering linkage is on but again, low budget.
 

anderso8623

Petty Officer 1st Class
Joined
May 25, 2012
Messages
388
Tried cleaning up the starter but the armature was bad, multiple broken wires. Found one new on that auction site for $50. Do not need the steering link as I realized I need the sleeve casing from my old steering cable.
 

anderso8623

Petty Officer 1st Class
Joined
May 25, 2012
Messages
388
No more part needed anymore. Found the original steering cable and removed the sleeve that allows you to use the transom mount. Steering is all set, now we wait for the starter to arrive. Small things like installing the cleats and figuring out the transom cap. The transom is now too thick and the cap no longer fits. Still searching for a bow rail but that will have to wait till after the wedding.
 

Watermann

Starmada Splash of the Year 2014
Joined
Jan 12, 2013
Messages
13,804
Why's the transom too thick now for the cap?

So I went out digging in my disaster area of a garage tonight and found my 18' SS bow rails but I don't know if they'll fit on a 16'r and if the V5 models are yet again entirely different than the 74. Look at your mounting holes and give me a measurement of how long your bow rails are. Mine are phased out of the build with the holes filled and painted over.
 

anderso8623

Petty Officer 1st Class
Joined
May 25, 2012
Messages
388
Thanks Watermann, I will measure and get back with you. My assumption is that they may be a little long but that is nothing a pipe cutter could'n't fix.

As for the Transom cap, when I laminated the two sheets of 3/4 ply, it became too thick, the layers of epoxy looks to be the culprit. Even after sanding, I think I just went a little overboard.

I am just crossing my fingers that all is well with the motor. I have double checked everything and "on paper" it should work but I wont know till the starter gets here. I attempted to pull start it but I screwed up my elbow after a few trys and cannot pull it hard enough. Pray it comes tomorrow! I want to splash this bad boy this weekend.
 

Watermann

Starmada Splash of the Year 2014
Joined
Jan 12, 2013
Messages
13,804
Yeah I've seen that happen a few times with the epoxy. On my SN the cap was wasted so I used a thin piece of 1/16" AL annealed it and then just used a hammer to tap and form it over the edges.

I think it came out just fine.

IMAG0393.jpg


I'll dig into the mess I've created in the garage this weekend and find the end caps / supports for the bow rails. The rails are pretty short since the bow area of the V5 is smaller than the regular SS models. I think they would work on a 16 without the cutting now that I think about it. I just hope I can find the hardware and end caps now in the mess.
 

anderso8623

Petty Officer 1st Class
Joined
May 25, 2012
Messages
388
What do I use to seal the splashwell to the transom? Also, I have cracks in the aluminum on the splashwell, what would be the best way to fix this?
 

Watermann

Starmada Splash of the Year 2014
Joined
Jan 12, 2013
Messages
13,804
I would use 5200 to seal the SW to the transom seam, install and lay a bead of 5200 in the seam. So you don't make a huge mess with it, tape off the seam so the excess is easily removed.

I've not had to repair a cracked SW before but I've read some threads of guys who have, I hoped they would stop by and bring you up to speed with the been there done that advice. Not knowing the extent of the cracks it would be best for you to post up some pics of the cracking before advice on how to proceed.
 

anderso8623

Petty Officer 1st Class
Joined
May 25, 2012
Messages
388
Well, got the starter in today. I was so excited to get it, I forgot to charge my battery! Wha, Wha, Whaaaaa. Charging overnight and picking up som spark plugs in the AM. Cross your fingers. Anyone know what I need to gap the Sparks to? It's a 1983 75 hp Evinrude.
 
Top