1968 Starcraft Sprint V Rebuild

Status
Not open for further replies.

GA_Boater

Honorary Moderator Emeritus
Joined
May 24, 2011
Messages
49,038
Those are nice reevits, Mikey. What can you say about rivets except it looks a heckuva lot better than the welds. Have fun campin'.
 

64osby

Admiral
Joined
Jul 28, 2009
Messages
6,819
Very nice work. Hope the vacation is restful, 'cause then you have to get back to it.
 

BigMikey86

Petty Officer 3rd Class
Joined
Apr 3, 2014
Messages
91
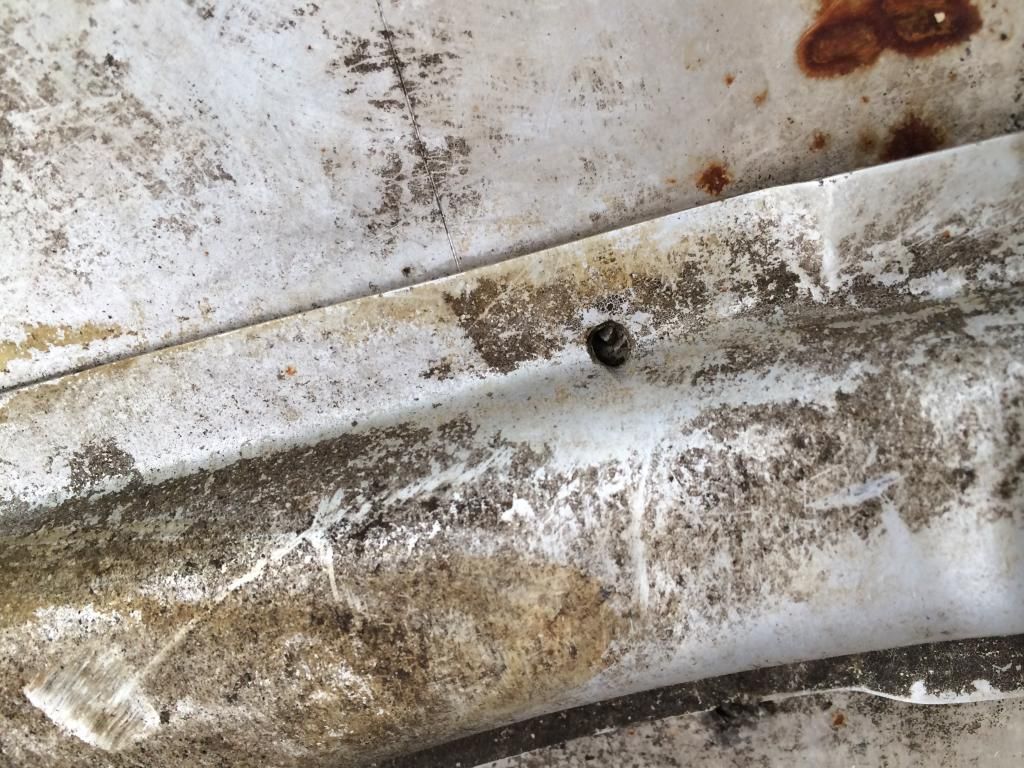
So after a very much needed vacation, i'm back! and with avengence! I manged to grind the rest of the chine and drill most of the rib/keel chine rivet holes. There looking good. My question is about these little guys.


I'm guessing my boat was built on a friday? but should i just set the rivet as best as i can lathered with 5200?

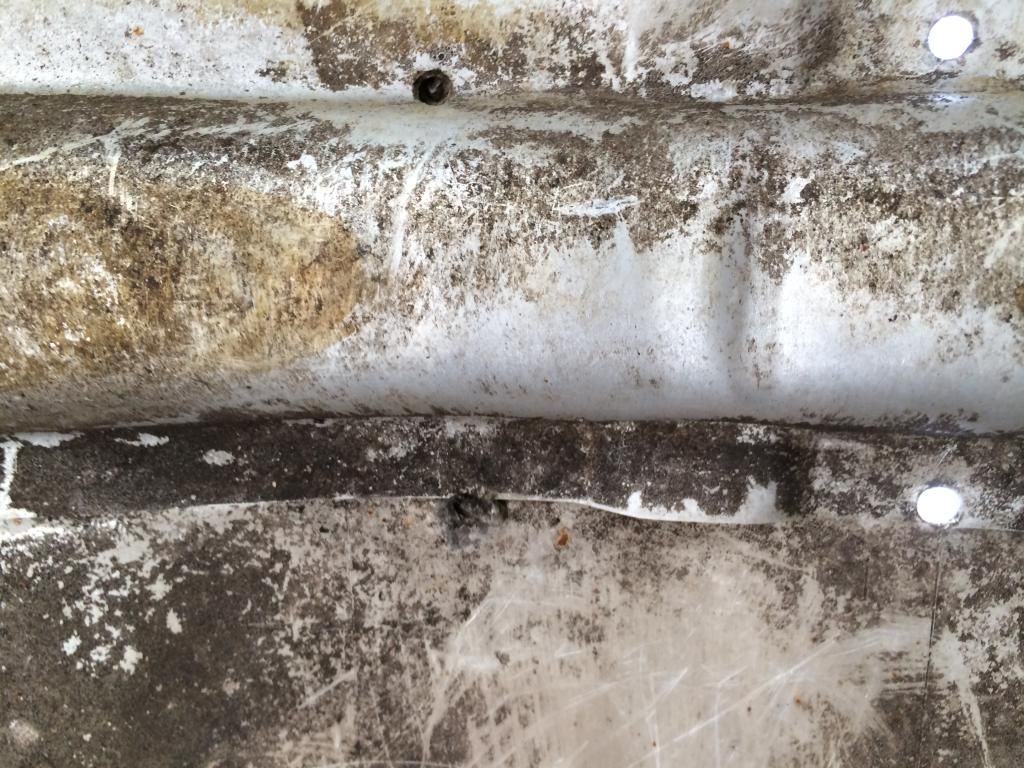
More confirmation my boat was built on a friday. some of the rivet holes on the ribs are not even present, just through the hull. Should i just do the rivet and leave the rib, or two rivets side by side.


Shes coming along, slowly but surely. Im hoping to get a good chunk of work gets done this weekend and up coming week, so good things are too come, i hope, or at least its about time haha.
 
Last edited:

BigMikey86

Petty Officer 3rd Class
Joined
Apr 3, 2014
Messages
91
I take it all you guys are actually out using your boats :p. Well i just gave her anyways, i doubled up that odd placed rib/hull rivet hole and laid a fresh one. I'm still waiting on my buddy to come help me set the rivets but i hope to have that done sometime this week. Hope everyone is enjoying the week, take care all.
 

GA_Boater

Honorary Moderator Emeritus
Joined
May 24, 2011
Messages
49,038
Hey - Mike, I think all our boats were built on Friday or Monday. Or those two days were hole drilling days. They weren't very careful about rivet placement. I see a few in your pic - close to the edge of the rib and the one in the radius between the rib hump and the flat against the hull. All you can do is what you did, double up. One to fill the hole and another where the rivet should be. Sometimes one more for the halibut.
 

BigMikey86

Petty Officer 3rd Class
Joined
Apr 3, 2014
Messages
91
Thanks GA, i know a lot of my questions seem dumb haha. But I still remember what my high school auto shop teacher always told me. "Ask dumb question to avoid dumb mistakes". This has been quite the (first boat) project but it's coming along, and without this community it would probably be in the scrap yard. Thanks again to everyone that has given your .02 cents. I'm collecting them all to turn this boat into a shinny dollar..
 

Watermann

Starmada Splash of the Year 2014
Joined
Jan 12, 2013
Messages
13,787
It sure takes longer to restore these old boats than it did for SC to build them from scratch. Keep up the steady forward progress and sooner or later she will be skimming the waves once again.
 

BigMikey86

Petty Officer 3rd Class
Joined
Apr 3, 2014
Messages
91
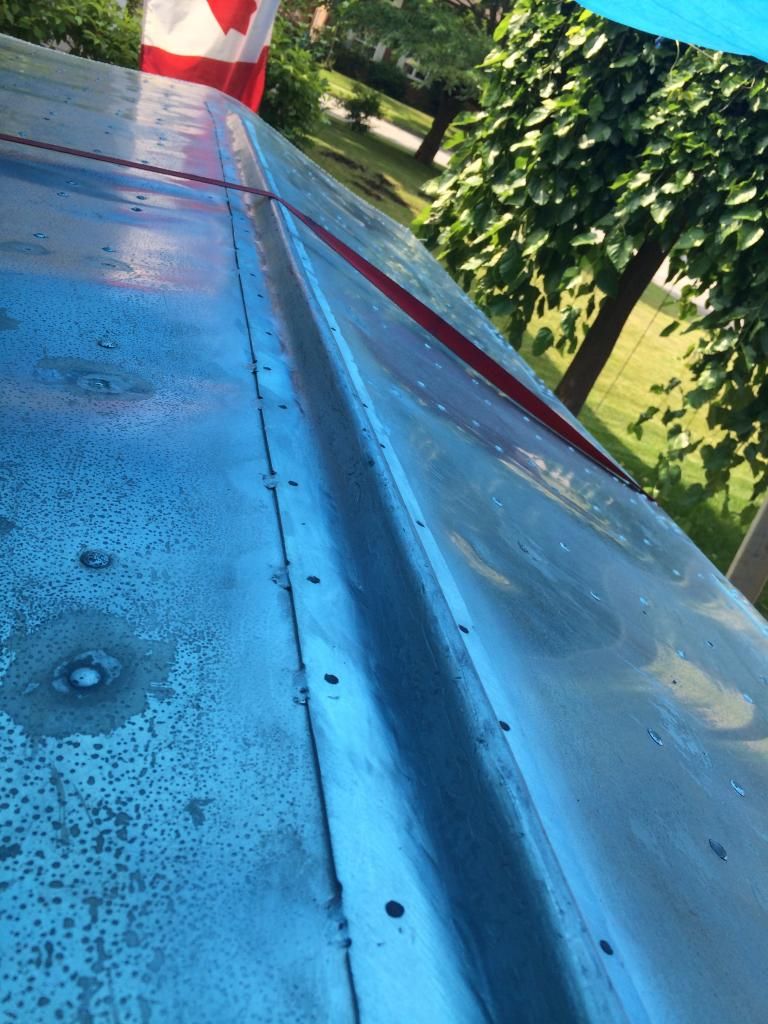
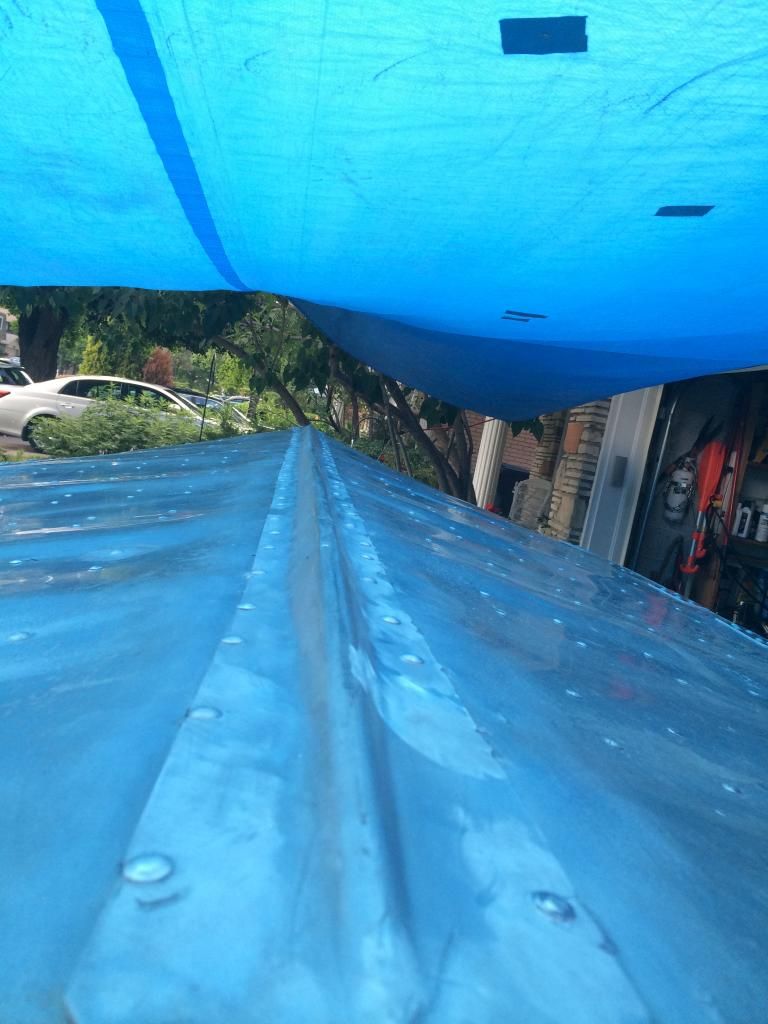
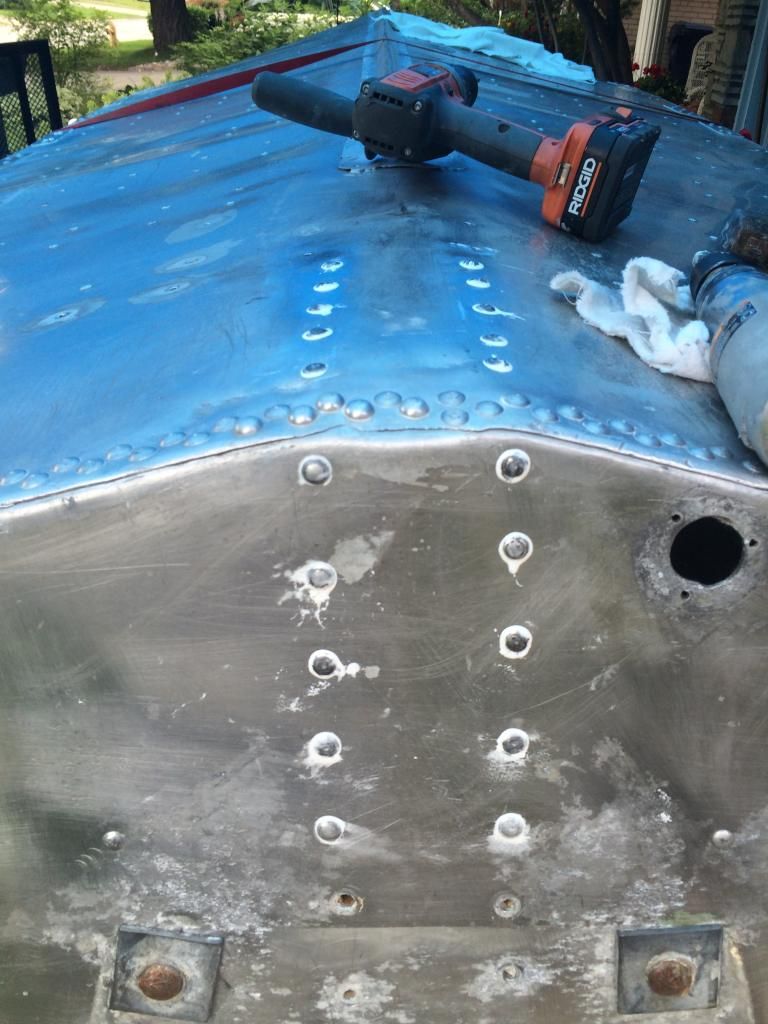
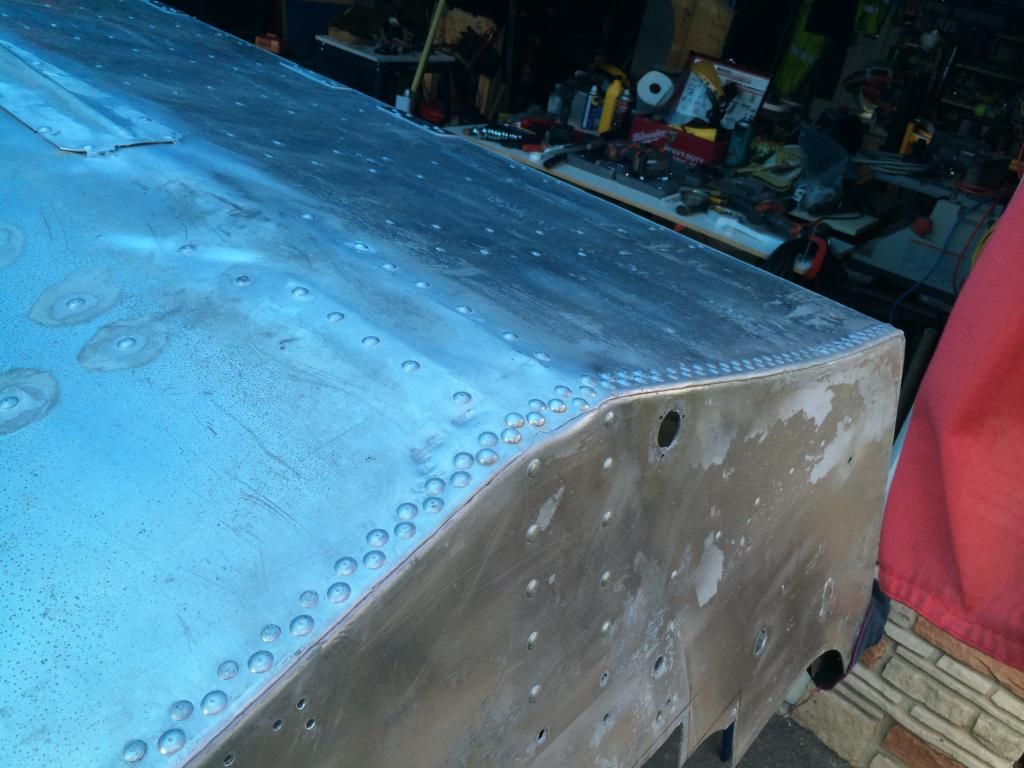
Well i managed to actually get some work done over the past week or so. Revealing more of the PO's wonderful repair work. I finished off drilling out the rest of the keel chine holes and prepped them for riveting.


It went pretty well using 80 grit 4 1/2" flapper grinding discs, had good surfaces to set some rivets on so i was pleased with how they turned out. Some of non ribbed holes where lapped over both sides with welds so some i just said $%#$ it and let them be.

Once ground, cleaned, reamed and cleaned we were ready to go. I know see what you guys mean about the 1100 being butters and the 2117 being PITA's when in a tight or awkward spot. but they all went in flat and came out great. I have to give it to my old man on this one, he worked the bucking bar like nobody's business.


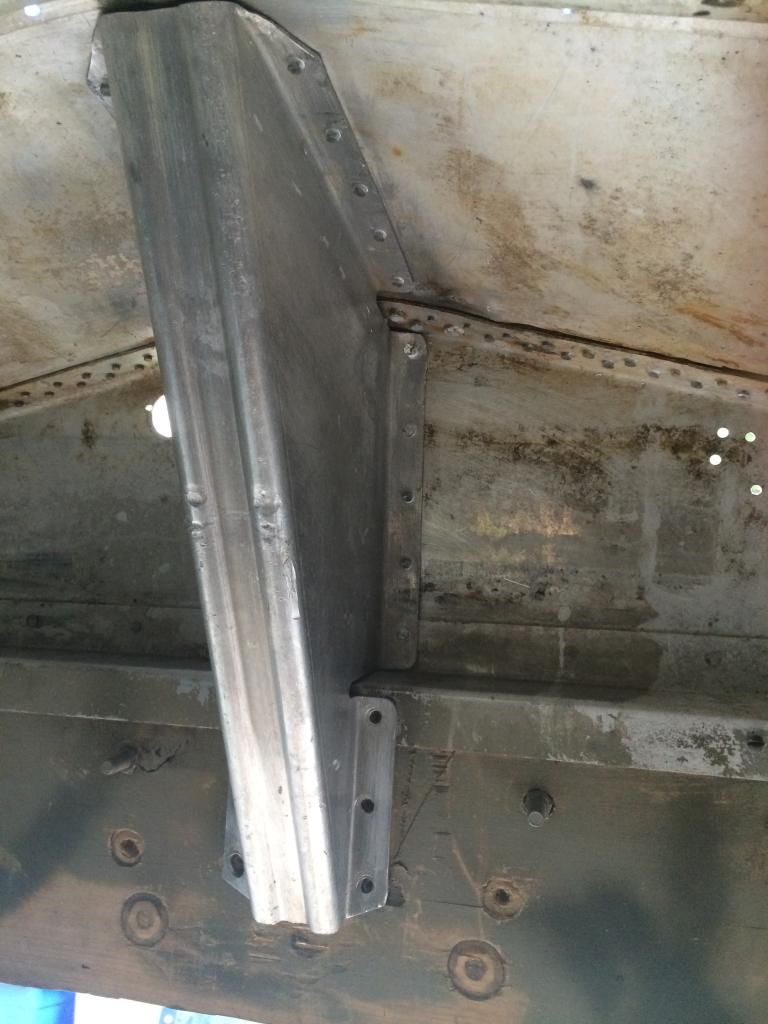
Managed to fix up the stern rivets as well and install the knee brace. I had to slightly notch the brace to fit with the new 1/4" rivets right underneath it.


Seems like she all went back together well. Although im questionable about the stern and how sealed it is. Earlier in the project i tried to braze the stern to fix a crack and toasted some of the factory SC sealant. I squeezed in 5200 upon reassembly and i'm hoping the gluvit will put an end to any worries.
 

BigMikey86

Petty Officer 3rd Class
Joined
Apr 3, 2014
Messages
91
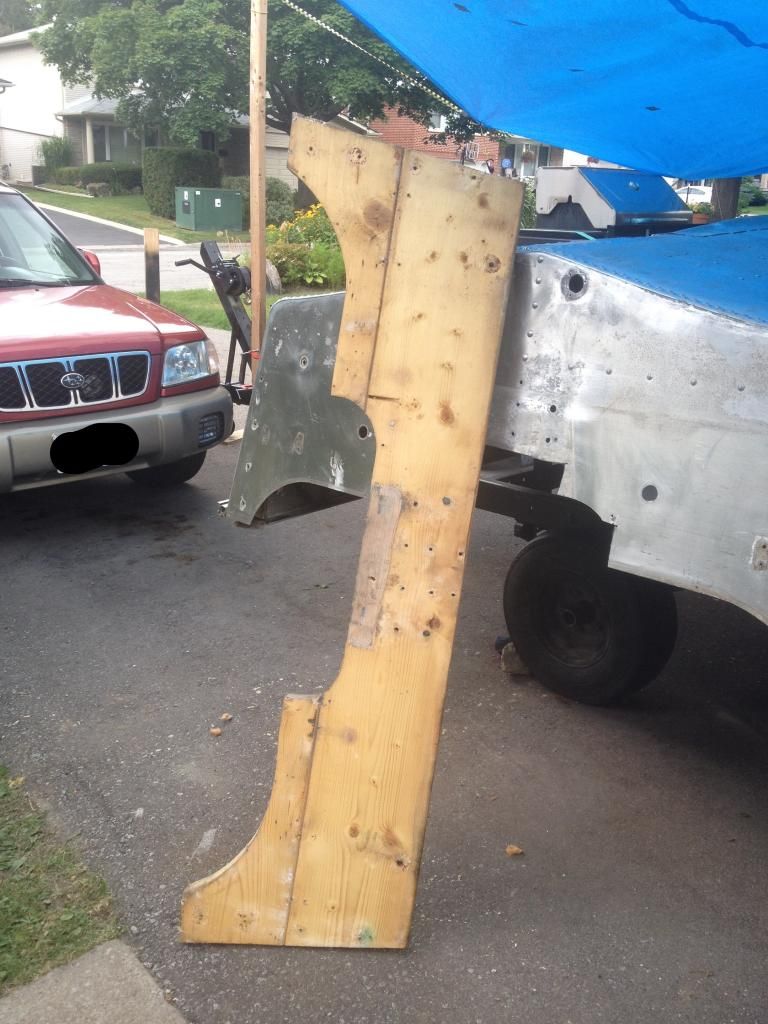
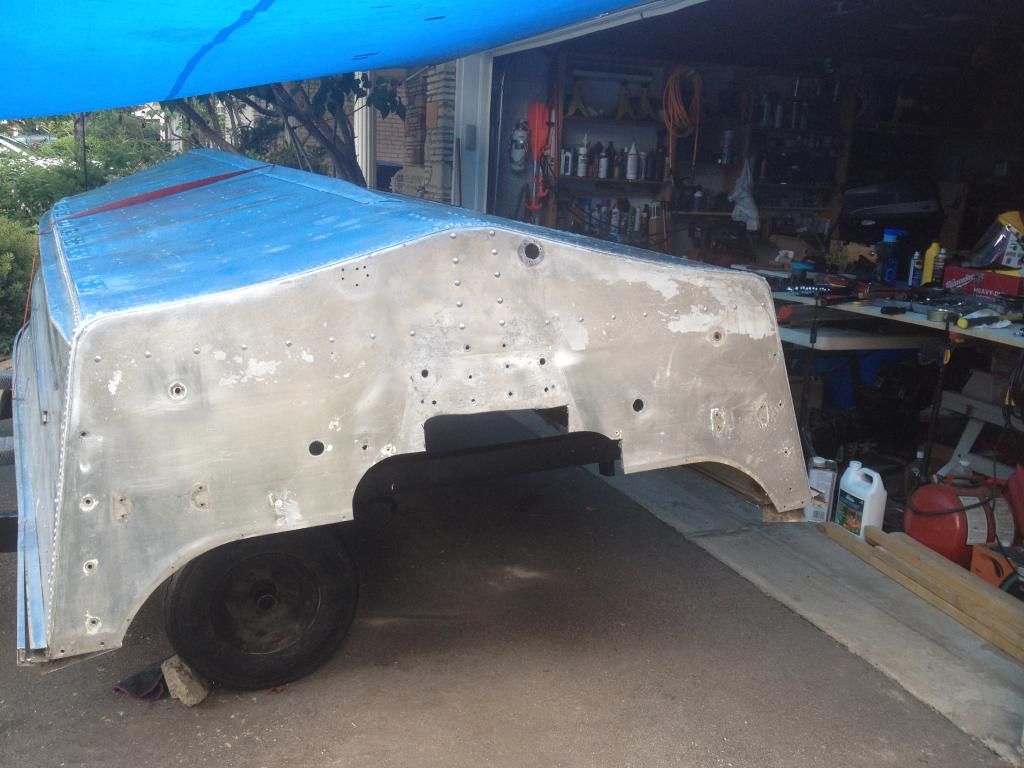
While being on a roll we went and took the old transom out. Good old PO and his two piece transom. Not surprising considering all the other catastrophes on this boat. Hid your eyes!


Naked transom


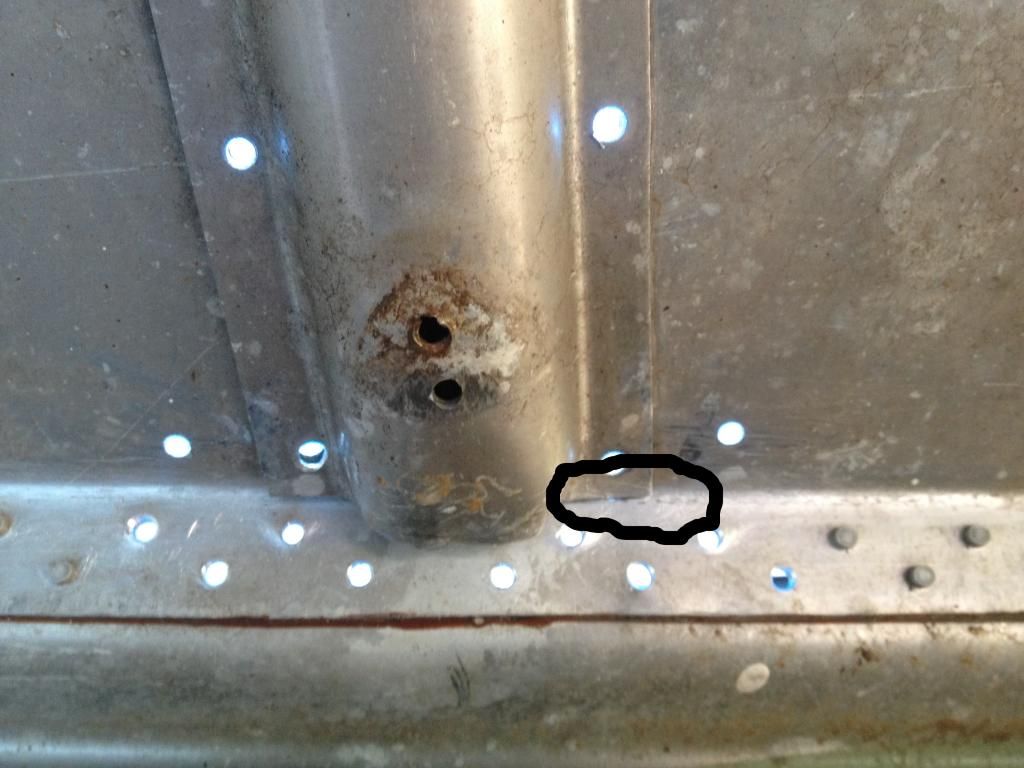
Unfortunately one of my boats buddies thought he was helping me when he tried to flatten out a rib with a hammer. Ended up cracking the hull slightly so I'm in the process of making a patch to fix her up. The crack is about an inch long right in the crease of the hull on the right side of the rib. I tried circling it with photosuckit but it won't let me display the pic.


The wifey is away for a couple of days so I'm hoping to grab a 24 pack of red bull and nap on Monday. Shes coming along slowly but surely and i hope to have her splashed by September 1st despite the previous months of slow progress. Fingers crossed!
 
Last edited:

Watermann

Starmada Splash of the Year 2014
Joined
Jan 12, 2013
Messages
13,787
Awesome work, I really enjoy seeing solids getting mushed in :thumb:

It means serious forward progress in a big way to get the hull in tip top shape. Most guys just don't go the extra mile when it comes to those repairs.
 

GA_Boater

Honorary Moderator Emeritus
Joined
May 24, 2011
Messages
49,038
Nice reevit work, Mikey. Is your transom wood dimensional lumber instead of plywood? It looks like a butchered 2X12.
 

BigMikey86

Petty Officer 3rd Class
Joined
Apr 3, 2014
Messages
91
Thanks for the encouragement guys. It seems to be much more comfortable to work on the boat now, not as nervous or worried about doing something the wrong way. I was anal in the way i built my race cars and it doesnt help carrying that trait into restoring boat. From a post i read on another thread and to quote a member "boats are seen from yards not inches" made me realize all this. But being strong, and safe are things i always incorporated into my cars.

GA- yuppers, he certainly wasn't the brightest tool in the shed. When i'm done with her, this boat is going to feel like its 1969!

Question for you guys regarding 5200 and gluvit. Which comes before the other? I was going to drill out my keel strip a 1/4 way up and redo the rivets and was wondering, once the riveting is complete, would it better to 5200 the hell out of it then run gluvit over to seal further? or would i be better off doing the rivets, applying gluvit and letting it soak in, then 5200, then more gluvit on top?

Any help or suggestions would be great. Undortunately i just realized in order to easily and properly fit the new transom, i'm going to have to bolt the old transom back up before i flip it just so not to cause any new cracks :facepalm:
 

Watermann

Starmada Splash of the Year 2014
Joined
Jan 12, 2013
Messages
13,787
When I made the hull stiffeners and patches, I used 5200 to seal the rivets and bedded the stiffeners in 5200. Then I applied the gluvit to the seams and over the areas of cured 5200 which wasn't very visible sandwiched underneath. Just be sure to wait a good 7 days for the 5200 to cure before applying gluvit. The gluvit ran into all the nooks and crannies not to mention covered the bucktails nicely.

Rather than fight that old chunk of wood back in and then out, just cut a scrap 2x4 to fit down in to hold the transom secure or run that 2x12 through the table saw and put a ratchet strap across from rail to rail to help outward flex too, that should do it.
 

BigMikey86

Petty Officer 3rd Class
Joined
Apr 3, 2014
Messages
91
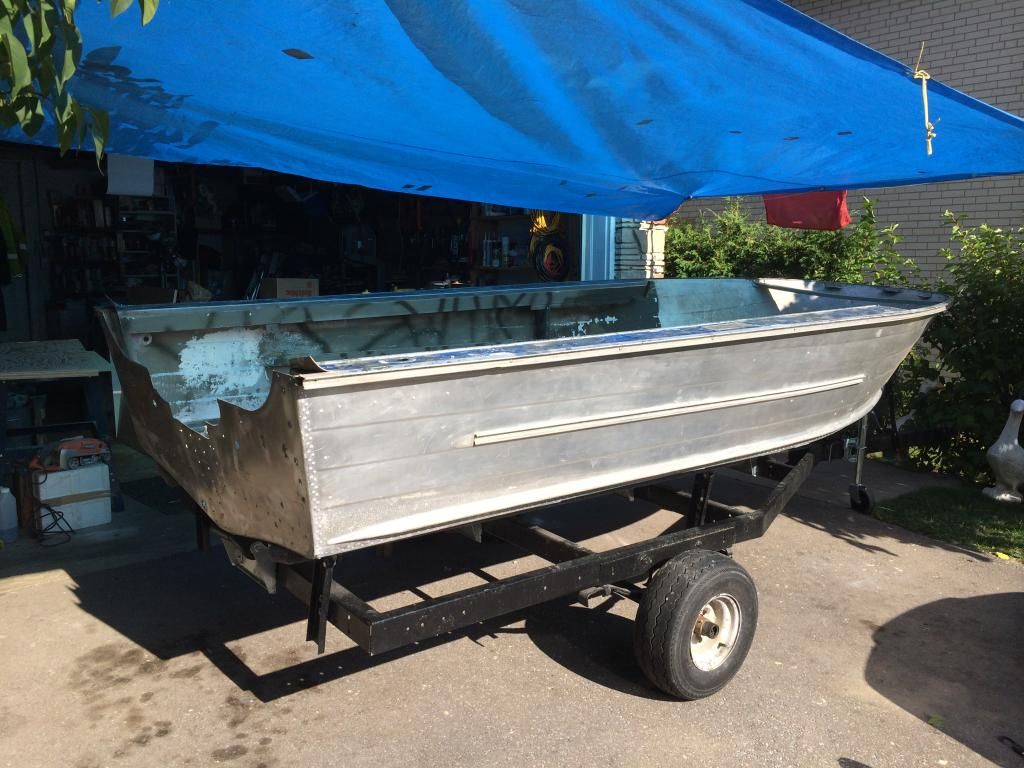
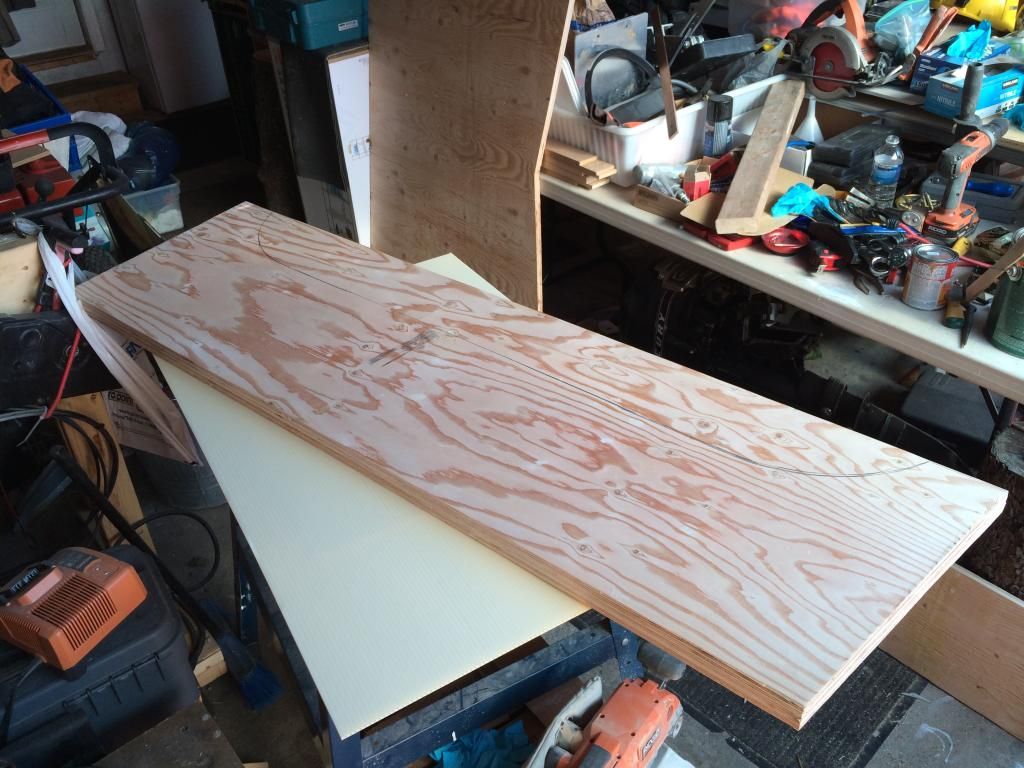
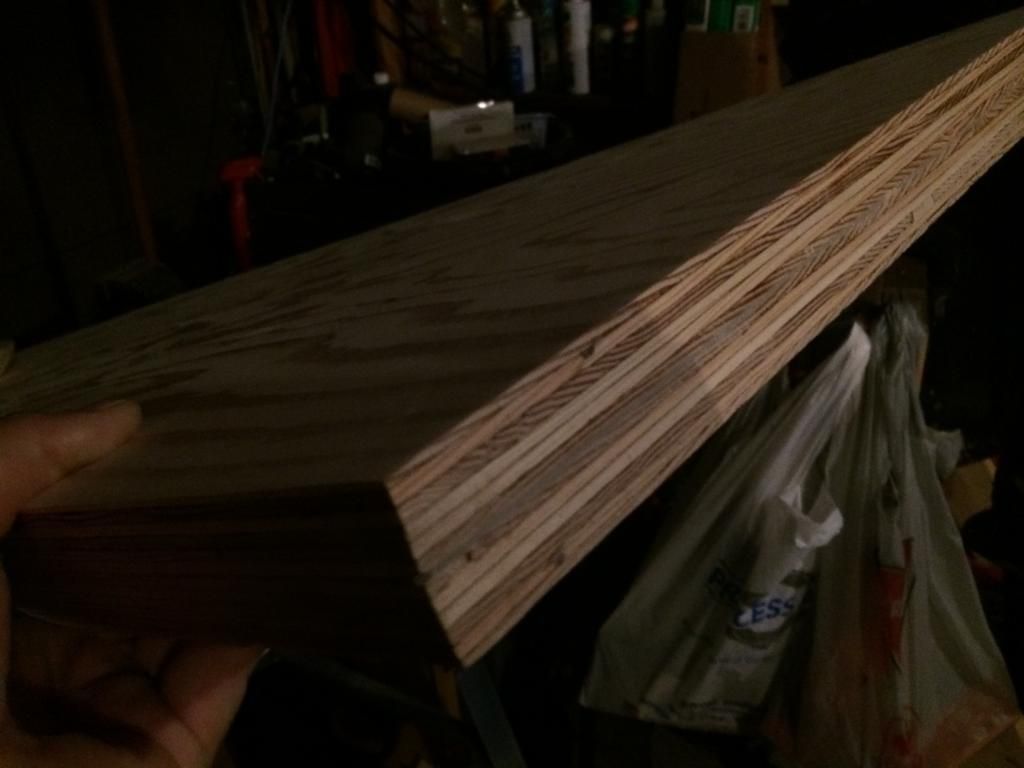
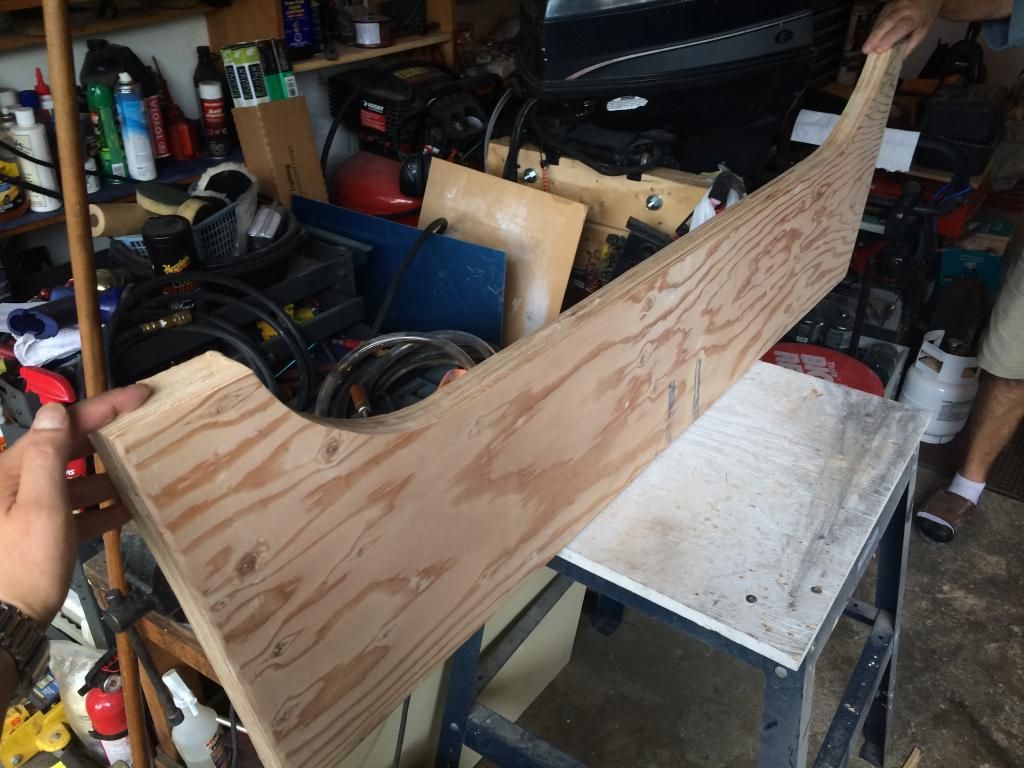
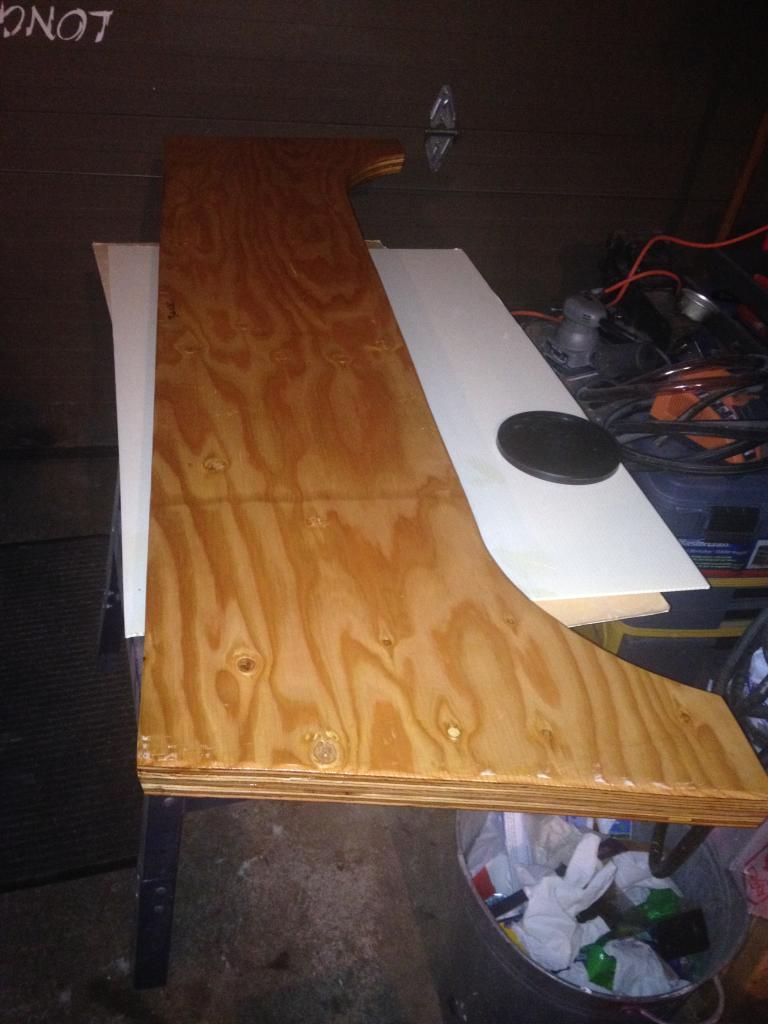
Well gents it's been a bit of time since I posted my progress. Unfortunately with work becoming an overload of crap time has slipped through my fingers. I got back at her though this week and managed to get some much needed work done on my little sprint. I managed to flip the boat with the help of my old man, we just cut down a 2x4 as suggested by Watermann. Worked like a charm. She's not looking to bad right side up. After that I laminated the two pieces of 3/4" exterior plywood with PL. Used two bottled and dispersed it evenly across. Turned out pretty good in my eye! After it cured I cut and trimmed the transom to fit perfectly. After multiple fittings I was happy with how she looked. On to the epoxy!! So after I trimmed, sanded and filled any slight voids with plastic wood I mixed up the epoxy, strapped on the respirator and went to work. This is what we ended up with. I'm pretty pleased with how the epoxy turned out. Applied well and didn't have to buy any more than what I purchased. I'm hoping to get some good work done with work simmering down at the moment. I know I have to get my ass in gear, old man winter seems to be walking up the steps here in the north. Till laters..
 

Watermann

Starmada Splash of the Year 2014
Joined
Jan 12, 2013
Messages
13,787
Looking good on the flip and transom work, that's some nice lumber you got there :thumb:

Yeah I had some frost on my boat cover the other morning, today it's nice sunny 87.
 

BigMikey86

Petty Officer 3rd Class
Joined
Apr 3, 2014
Messages
91
My god will this winter ever release it's grip! Looking forward to the 2015 build season. Just to let all know, theres more to come!. It's been a long busy year with work but the ice fishing has been great as well as the sledding!. Hope everyone is having a good time off in the dry docks. Once my boat is free from the 4 feet of snow surrounding it i will hope to have this thread full of pictures of my work in progress. Just getting ancy.
 

BigMikey86

Petty Officer 3rd Class
Joined
Apr 3, 2014
Messages
91
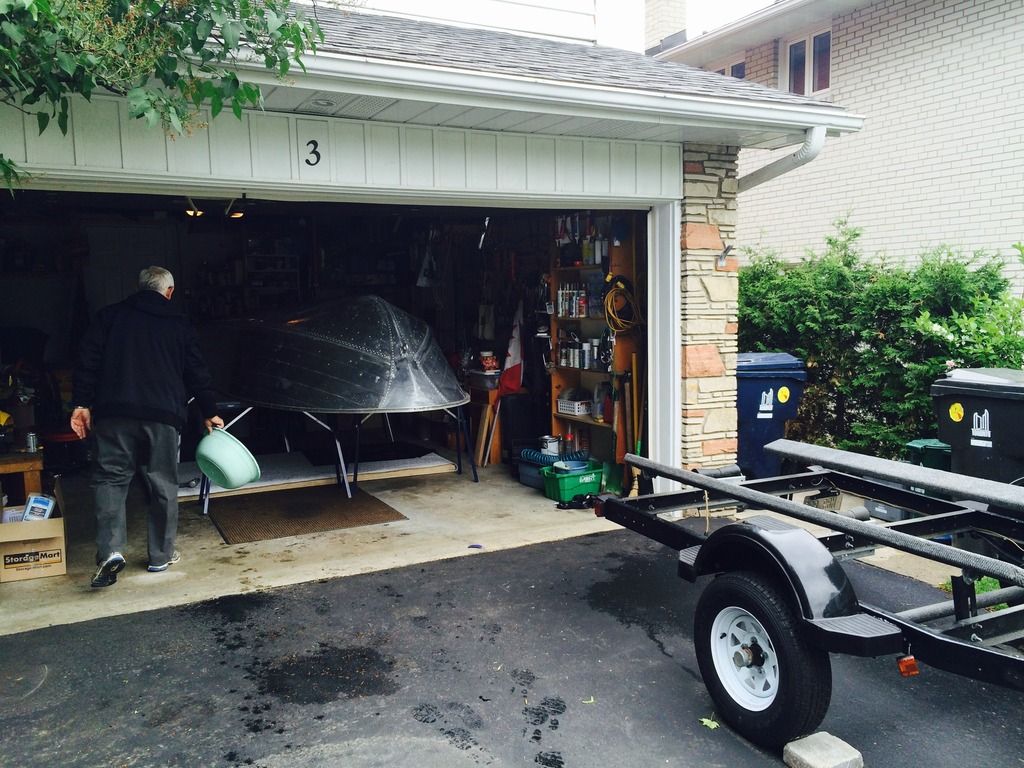
Well gents I'm still working on this boat and i currently have her in the garage getting her prepped for paint.


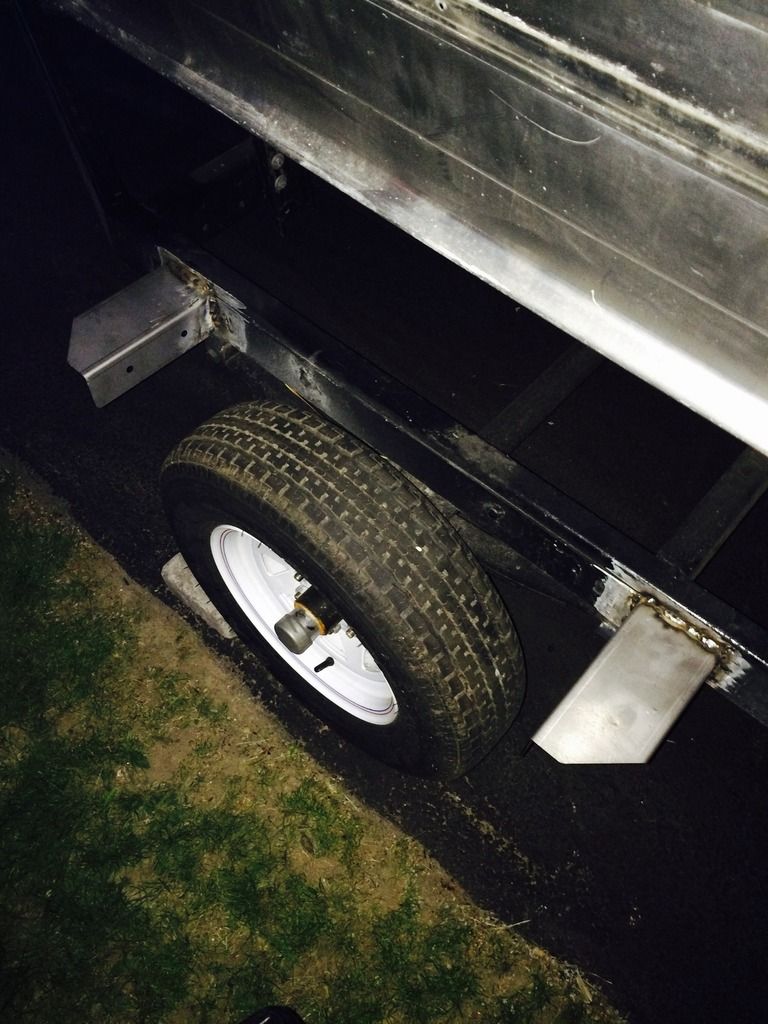
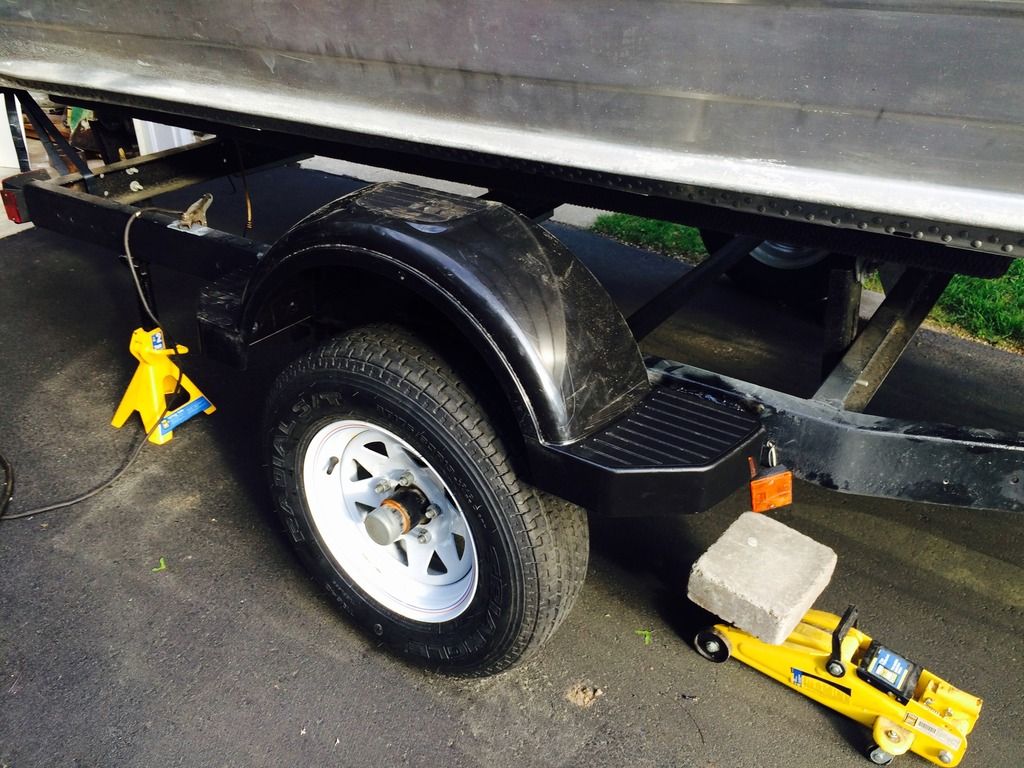
Not much has changed on the boat but my trailer got some sweet new fenders last weekend :)


But I'm at the point where I feel I need some guidance as im lost in terms of prepping this thing for paint. The hull has definitely seen better days and i have been sanding with a palm sanding at 220 grit to try and ease some of the rashes and gouge ends. Am i on track with this? My thought was to finish the light sanding, shoot with ZC or self etching primer. Follow up with a coat of a 2 part primer and finish with two coats of tremclad rust paint in high gloss. Possibly even shoot a clear after. My question is though, is the 220 grit sanding a suitable base to preform a wash and then etch before the primer? I need to get this boat done and on my list of accomplishments!. Its been eating away at me and work has eased a bit of time my way.
 

astor

2018's Starmada Splash Of The Year.
Joined
Jul 31, 2011
Messages
425
Great to see you are back at it. I certainly know how work and other items get in the way.

I don't know for sure or if Im doing it right, but whenever I do painting like this I usually sand to 320 grit, then blow it off, and do a wipe down with a tack cloth and I haven't really seen any thing wrong with the final paint job. Maybe 220 would work too without seeing any of the sanding scratches.
 

hayko1971

Starmada Splash of the Year 2015
Joined
May 24, 2013
Messages
448
Hello, your fenders look great! 220 sanding ought to be okay. I'd use a building/sandable primer then sand with 400, wet sand 800 then shoot your paint.
 

Watermann

Starmada Splash of the Year 2014
Joined
Jan 12, 2013
Messages
13,787
Welcome back Mikey, yeah I'm not a sander type in fact I hate it. I strip the paint to bare AL, shoot SE primer, regular primer and the 2 nice coats of color... walk away done. Something about putting new paint on top of 40 year old stuff that never appealed to me. I tried painting over it once and the new paint started falling off but I probably didn't sand enough who knows.

Be sure to blow all that nasty dust out of the garage with a leaf blower before even primering, let the neighbors wonder about it on their cars. :lol:
 
Status
Not open for further replies.
Top