1968 Starcraft Sprint V Rebuild

Status
Not open for further replies.

BigMikey86

Petty Officer 3rd Class
Joined
Apr 3, 2014
Messages
91
Well that sounds like a plan to me. I'm just trying to decide if I should spring for marine grade paint and a two part primer or just regular oil base. I'm at the point where I can't really afford a nice paint job and need to conserve some money. I'll check and see what primer we got up here in Canada at lowes or Home Depot. Any suggestions?..sorry for all the questions boys, if it were a car it would be painted already :)
 

g0nef1sshn

Lieutenant
Joined
Feb 24, 2015
Messages
1,291
Mine was bare and shiny just two weeks ago. I used about 6 or 7 spray bombs of self etching primer from napa and auto zone (or advanced auto parts?). I prefered the one from one of those auto stores because it sprayed out like an actual spray gun and was easy to do even layers. Napa's was your typical spray can pattern. Anyhow I coated the boat, sanded wiped and painted and so far its a good bond.

I prewashed with 50/50 cleaning vinegar and water before the primer also.
 
Last edited:

BigMikey86

Petty Officer 3rd Class
Joined
Apr 3, 2014
Messages
91
Wow! Thanks for all the info guys! That definitely helped me get grt pointed in the right direction. I'm planning to paint this weekend as I had to re skin the rear of my transom due to the PO's horrible butchering. Pics to come tonight after completion. Then onto the paint!
 

BigMikey86

Petty Officer 3rd Class
Joined
Apr 3, 2014
Messages
91
Hello everyone, well I'm still plugging away at this boat, just have not had as much time as I would have wanted to. I decided not to paint yet due to wanting to construct casting decks and what not so I figured I would make and install all the components the strip her down and paint. This is where I am at the moment.

Heres where i had to re skin the transom where the PO went happy happy with the cut off tool.


Then i cut a piece to fit into the cut away section and backed both pieces with 5200 and clamped. I also set the exterior skin with some screws around the edges.


I then prepped the boat for the Gluvit. I used a 3M rotary sanding pad in 150 grit and worked all the seams do give a nice surface for the Gluvit to adhere too.


It went on great as most people said it would. One quart was more than enough to do my boat, could have done a 16 footer and even stretched to a 17 depending on width. I had some left over at the end and already had a troublesome area in my bow so i made sure to take care of that!.


BigMikey86

Petty Officer 3rd Class
Joined
Apr 3, 2014
Messages
91
For safe measure i painted over the gluvit after it was set to protect it from the UV rays, i do work on it outsides sometimes and wanted to be safe rather than sorry.


I cut my floors out and managed to spar finish them although I'm positive it wont be the last coat after im done installing the seats and what not.


I also picked up this 40" metal brake to fabricate my splashwell and side console. I wont lie, the store i purchased it from has a very welcoming return policy and was going return it after the little use it would get. I'm so impressed with the quality for the price that ill keep it for sure. Great addition to any garage!


As well as this little guy. He's a 3 weeks old English x French Mastiff and I named him Oliver (Olly).

\

I hope to get the brackets and framing done this week for the castings decks and will post pictures as soon as i can!. Anyone have any suggestions of material to use as trim along the floor edges? I'm trying to avoid the 1/2 ply side walls in the interior. Wanted to use that area for a road holder idea.
 

BigMikey86

Petty Officer 3rd Class
Joined
Apr 3, 2014
Messages
91
Hahaha amen to that dozer..I returned an air gun last week and they looked at my purchase history to find the receipt. It stalled the computer, actually maybe it was my return history that did it in :lol:
 

GA_Boater

Honorary Moderator Emeritus
Joined
May 24, 2011
Messages
49,038
It looks like you've done a good job on fixing the butchered transom, Mikey. About the only other way was to weld in a plate, but massive welding on old aluminum is so iffy.

I gotta ask - What is the Yellow and Blue store? Princess Auto?
 

BigMikey86

Petty Officer 3rd Class
Joined
Apr 3, 2014
Messages
91
Thanks GA, i had plans to weld it but with everything on this boat being a crap shoot i didn't want to take any chances. You are correct though, the yellow and blue store we speak of is our beloved princess auto. Their return policy is next to none. I used to work there back in my teen years and I'm not kidding when i say i have seen guys return something only to end up in the cash line with 3-4 things in their hands. Its just one of those stores that carries a little bit of everything. Most of it's house brand is made in china but they also carry North American manufactures. Although that term is so loosely based these days. Either way its an addiction.
 

Watermann

Starmada Splash of the Year 2014
Joined
Jan 12, 2013
Messages
13,753
Lookin good Mikey, that messed up transom was a real challenge.

Sweet little pup you got there, too cute!
 

classiccat

"Captain" + Starmada Splash Of The Year 2020
Joined
Dec 20, 2010
Messages
3,405
Great progress BigM! She's really coming together!

Word of caution on not reinstalling that side panel; it's actually a pretty important structural component for the outer-chine & spray-rail...and they make a nice spot to stuff flotation foam.

You could always install the rod-holders on the outside of the side-board...or lower the upper shelf! :cool:
 

laurentide

Lieutenant Commander
Joined
Jul 24, 2011
Messages
1,869
Great progress BigM! She's really coming together!

Word of caution on not reinstalling that side panel; it's actually a pretty important structural component for the outer-chine & spray-rail...and they make a nice spot to stuff flotation foam.

You could always install the rod-holders on the outside of the side-board...or lower the upper shelf! :cool:


x2 on what classiccat said about the side panels^^. Even though they're only 1/2" ply they provide a tremendous amount of rigidity along the length of the hull. There would be a lot of flexing without them there, and then you'd run into the rib end crack issues.

Rod storage is definitely an issue on these boats unless you do a below deck storage area. With my 8-10' trolling rods, I either leave them on the deck when trailering and then use gunwale holders once launched, or break them down and use painter's tape to hold them together in the tow vehicle.

Or, like CC said, just put holders on the outside of the side panels. You wouldn't really lose that much space IMO. I'd do that but the long ones won't fit in the cockpit. I do have a net holder bolted to the side panel and I don't even notice it's there.

Really nice work on the boat, BTW!

...and that dog is insanely cute!
 
Last edited:

BigMikey86

Petty Officer 3rd Class
Joined
Apr 3, 2014
Messages
91
Ahhhhh poop..did the original side panels have brackets that secured them to the floor? I pretty much bought a shell so I'm just going off the seat of my pants. The structural rigidity of my build has definitely been going through my head, i guess i figured with having a front casting deck and a rear casting deck would have been enough to lock everything in. I'm loosely basing my build off this and similar boats.


Ive also been contemplating cutting open the center floorboard and making some under floor rod storage but it's already only a 15', finding it tough to fit everything. Either way I'll have to take your suggestions into consideration upon moving forward. Just trying to construct the decks now.
 

laurentide

Lieutenant Commander
Joined
Jul 24, 2011
Messages
1,869
Mikey, aluminum angle from a big box store worked well to join my side panels to the deck. I think I used 1" 90 degree angle. The actual angle won't be quite right...there's a tiny gap on the side panel attachment points...but it's been no problem for me.

Edit: but you have a metal brake...problem solved!
 
Last edited:

BigMikey86

Petty Officer 3rd Class
Joined
Apr 3, 2014
Messages
91
Hey guys,

I'm back from the dead. More pressing issues came up in my life that required more attention and unfortunately the boat fell to the wayside. I have started the project back up though. I took her down to my local boat launch for a float test. No floor installed so i could see all the ribs and rivets. Not a single drop of water came in. I even had my girlfriend carefully walk around the floor to exert stress on different points and it held up to her 130lbs no problem. I hope to have the floor installed next week and begin the framing for the front and rear casting decks. I do have a question though in regards to the side panels that we were discussing. Would you guys think that there would be sufficient structural support if i extended the brackets on both sides of the interior panels, the one which connect to the storage shelf and go up to the gunwales. I'm trying to make rod holders on each side. Similar to this but utilizing aluminum instead of wood, and creating a storage tray but running a piece of aluminum between the two brackets
 

Attachments

  • photo297803.jpg
    photo297803.jpg
    158.7 KB · Views: 2

BigMikey86

Petty Officer 3rd Class
Joined
Apr 3, 2014
Messages
91
Hey guys,

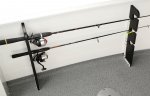
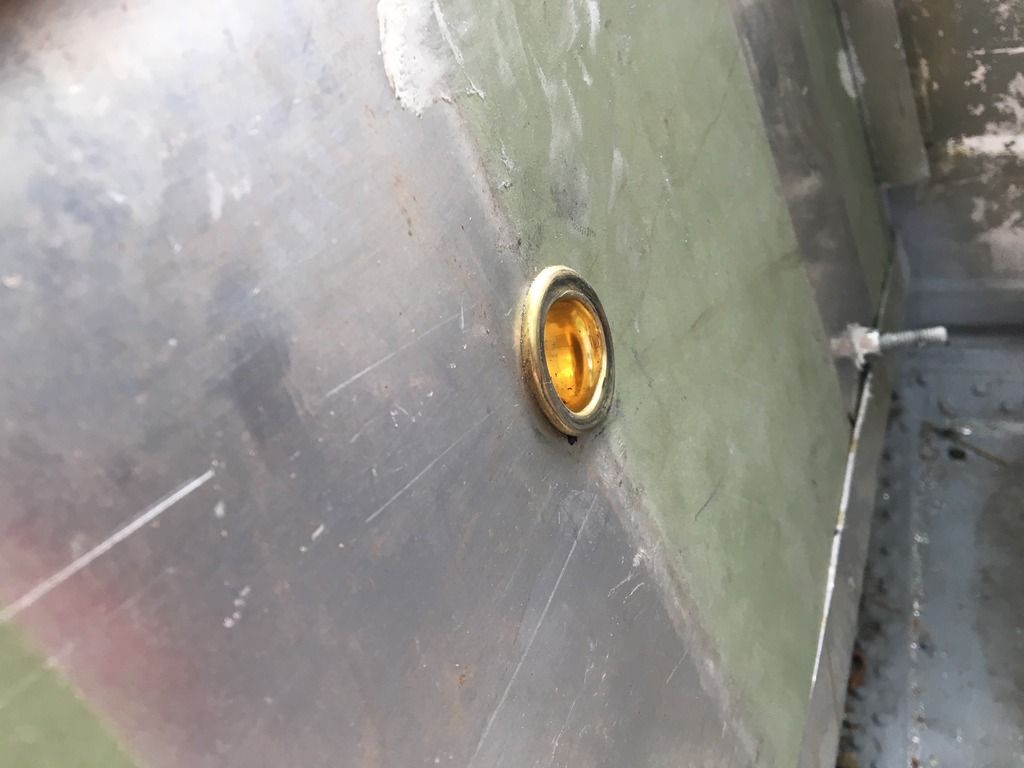
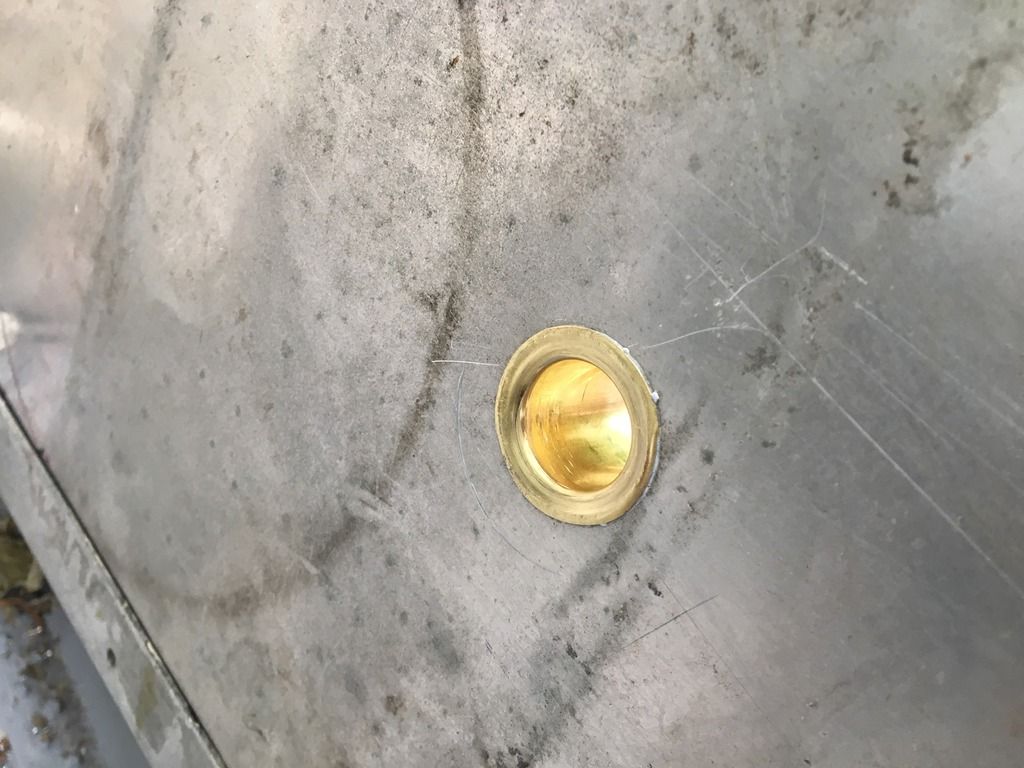
anyone have any thoughts on the side support brackets as I was describing above? I'm still fabricating the splash well and finally installed the transom drain tubes this morning. One went in very nicely, the other not so much. I believe I left the ends of the drain tubes prior to flanging and crushing. Here are some pics.

B503A502-9791-4995-9797-D4237F6B52C3_zpshljzjy6u.jpg


58ADCE54-7188-4784-98F5-485E1BDF5E4A_zpsot6w6elv.jpg


CE3DC5D6-C5B8-45EE-92FB-A749C6431CBC_zpsgpfmmt7f.jpg


Unfortunately i have to redo one of them to due the inteior or the tube collapsing slighting since my home made flanger was off centred a tad. I do plan to paint the boat next week as i have the time and cash to do so. This was my plan but would love any advice or guidelines as I'm not a big aluminum painting.

1. Sand at 320-400 prior to etch or primer

2.wipe down with acetone, then 50/50 vinegar/water

3. two light coats of ZC primer

4. One coat tremclad rust primer

5. wet sand with 400 and soapy water

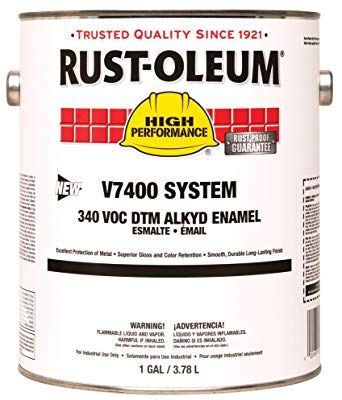
6. two coats Rustoleum high performance alkyd enamel V7400 series in gloss black with wet sanding at 600 between coats

850BCE6A-A6D8-46AA-AE2D-F2EF7A7F1B34_zps7mjigl4u.jpg


My mixture is to include 2 cups of Paint, 1/4-1/2 cup of acetone and 1oz of acrylic enamel hardener

Am I on the right track here? I will be doing the roll and tip method for painting as my living situation has changed and i have neighbouring cars parked close 24/7 beside my driveway, spraying isnt a viable option unfortunately. No garage avaliable. Any advice would be greatly appreciated as the warm weather will soon be gone
 

BigMikey86

Petty Officer 3rd Class
Joined
Apr 3, 2014
Messages
91
Also, i swear to god i wasn't drunk, just in a rush, when typing my last post. For some reason iboats wont allow me to edit my own content.
 

classiccat

"Captain" + Starmada Splash Of The Year 2020
Joined
Dec 20, 2010
Messages
3,405
Hey guys,

Would you guys think that there would be sufficient structural support if i extended the brackets on both sides of the interior panels, the one which connect to the storage shelf and go up to the gunwales. I'm trying to make rod holders on each side. Similar to this but utilizing aluminum instead of wood, and creating a storage tray but running a piece of aluminum between the two brackets

i'm so glad to see that you didn't give up on this hull BigM!

I'm in a similar "boat" as you regarding all of the outer-chine trauma... and would want as much support out there as possible; I wouldn't trust 2 dinky rod holder brackets to support the entire side skin.

Sorry, can't be of much help in the paint department as I'm polishing most of my tin; Isocyanates in most hardners give me the heebeegeebees.
 

BigMikey86

Petty Officer 3rd Class
Joined
Apr 3, 2014
Messages
91
Thanks classic, it's wild to think after 3 years that I'm still working on this boat! Health stuff came up and took me out of the game for a while but I'm not a quitter. I understand what you mean about the brackets not being strong enough to provide much structural support for the sides of the hull. I am constructing casting decks in the front and rear that will lock in the hull and to prevent much flexing. The previous legend i was trying to copy was too bulk and dated so I'm going with this design.


It's very ambitious I know, but I always aim as high as i can haha. I've seen one in person and i believe i can construct a similar style boat out of my good old starcraft.
 
Status
Not open for further replies.
Top