1968 Starcraft Jupiter - Rebuild

Status
Not open for further replies.

InMotion

Commander
Joined
Nov 3, 2011
Messages
2,080
Re: 1968 Starcraft Jupiter - Rebuild

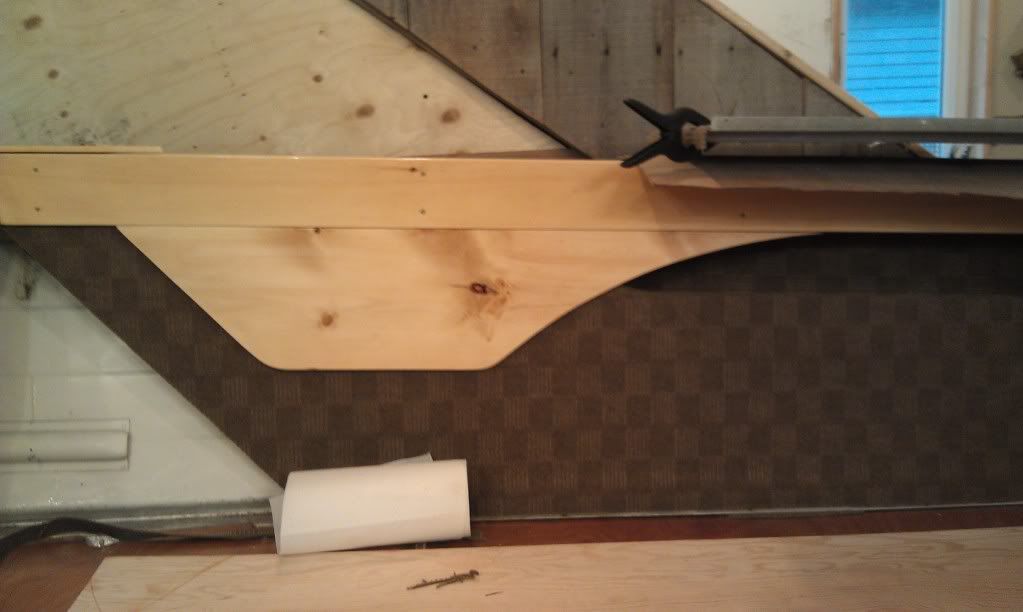
So no fake wood in this boat!!! Got some work done this am... cut all the carpet for the original side pieces, the extra side pieces at the front and the bulkhead. I also got one cut and glued with the extra swoopy piece of wood... carpet is what they termed as "light moca... ya I not so sure about that... but a dark beige/brown it is!
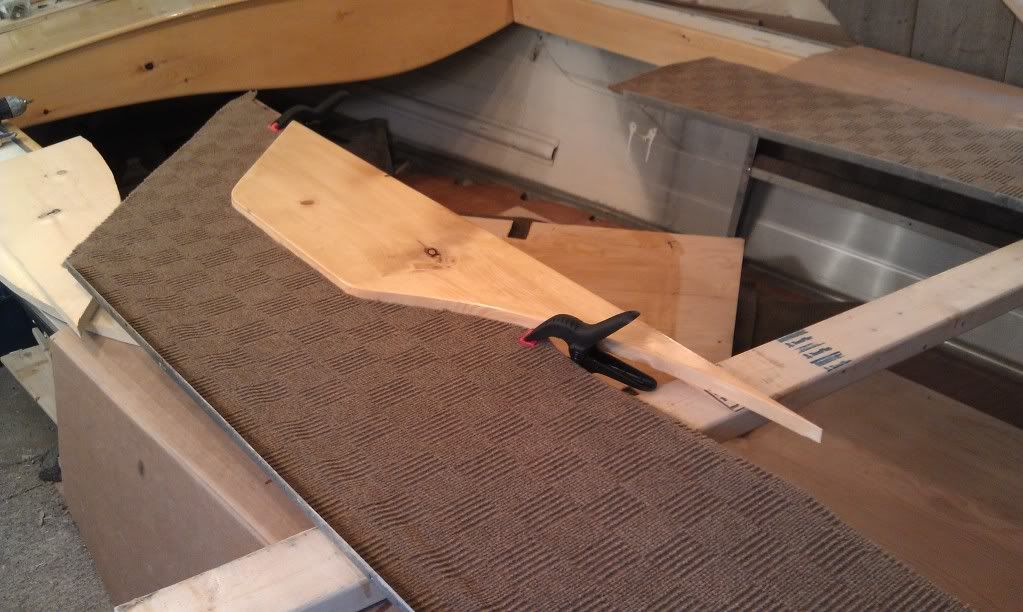
IMAG0296.jpg


Now that I have the process down a bit better... tomorrow I should be able to get the port side done and staple up the starboard side. And good news... when marking where the wood piece would go (I had to leave about a 1/2" at the top for insertion into the grove on the gunwale) , I remembered to account for the thickness of the dek master!

Have a great eve gents!!!
 

'57Lapline

Petty Officer 2nd Class
Joined
Mar 4, 2012
Messages
142
Re: 1968 Starcraft Jupiter - Rebuild

This is gonna be a nice lookin boat when it's all said and done. It's a learning experience too :)
 

dozerII

Admiral
Joined
Oct 25, 2009
Messages
6,527
Re: 1968 Starcraft Jupiter - Rebuild

Great job Jim, nice color choice, let me guess you went with the sand colored dek-master.
Glen
 

InMotion

Commander
Joined
Nov 3, 2011
Messages
2,080
Re: 1968 Starcraft Jupiter - Rebuild

This is gonna be a nice lookin boat when it's all said and done. It's a learning experience too :)

Thanks 57! Ya... true in life and in boats... if your not learning, your likely 6 feet under!:eek:
 

InMotion

Commander
Joined
Nov 3, 2011
Messages
2,080
Re: 1968 Starcraft Jupiter - Rebuild

Great job Jim, nice color choice, let me guess you went with the sand colored dek-master.
Glen

Ya man! Funny thing is, I have never owned a car or anything with a brown/beige or sand interior.... and here I go building a boat with a sand interior!!

Anyway, thanks Glen.
 

InMotion

Commander
Joined
Nov 3, 2011
Messages
2,080
Re: 1968 Starcraft Jupiter - Rebuild

Quicky progress update... it fits!

Got the edges stapled up this morn... and test fitted one side!!

IMAG0299.jpg


Good news there... also created a little alum brace for the transom knee brace as the top bolt piece was busted off. Also, patched some holes in the bow, so that I can now add jb weld from the top to finish it off.

Incidentally, I had accidentally busted one of the back cleats in the winter. I put an alum plate under it and jb welded the two piece of cleat plus the alum together... man is that stuff strong!! I forgot to snap a photo this morn... but I will. Saved me a good number of $$!!

Later.
 

GA_Boater

Honorary Moderator Emeritus
Joined
May 24, 2011
Messages
49,038
Re: 1968 Starcraft Jupiter - Rebuild

Thanks 57! Ya... true in life and in boats... if your not learning, your likely 6 feet under!:eek:

Sharp,IM!! Coming together real nice. Sand interior won't show footprints after you beach her.
 

InMotion

Commander
Joined
Nov 3, 2011
Messages
2,080
Re: 1968 Starcraft Jupiter - Rebuild

Sharp,IM!! Coming together real nice. Sand interior won't show footprints after you beach her.

Thanks man... ya those kiddies track alotttttttt of dirt in a boat.... but all good fun!!!!

I've been busy with a trying to deal with MCS.... multiple car syndrome....:D. All good.

I have been remiss in posting progress shots.... tomorrow... but I can say this, I am changing the plans for the dash gauge layout.... just didn't like what I was seeing. More on that tomorrow.

J.
 

InMotion

Commander
Joined
Nov 3, 2011
Messages
2,080
Re: 1968 Starcraft Jupiter - Rebuild

IMAG0302.jpg


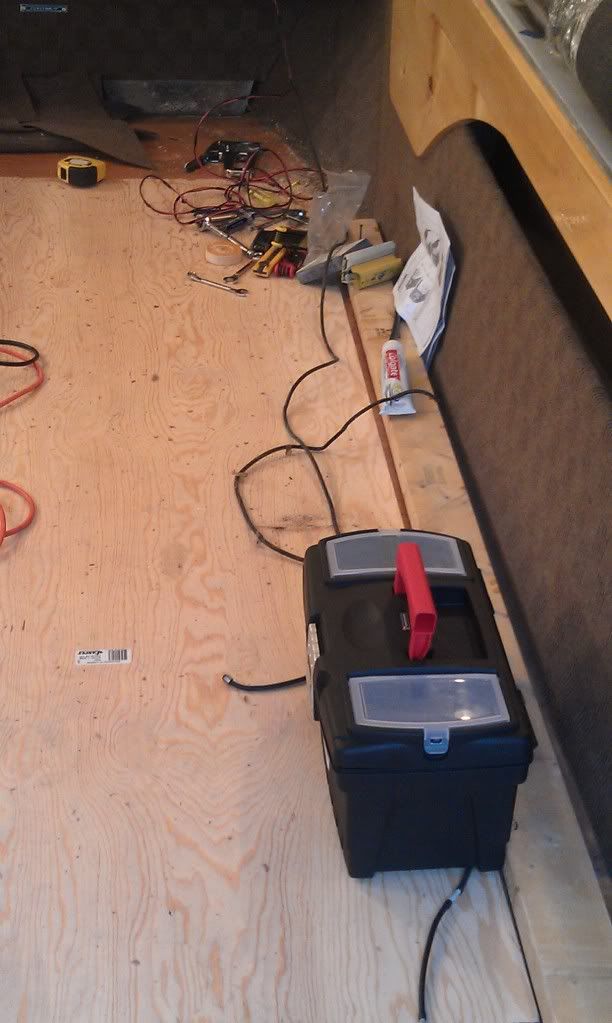
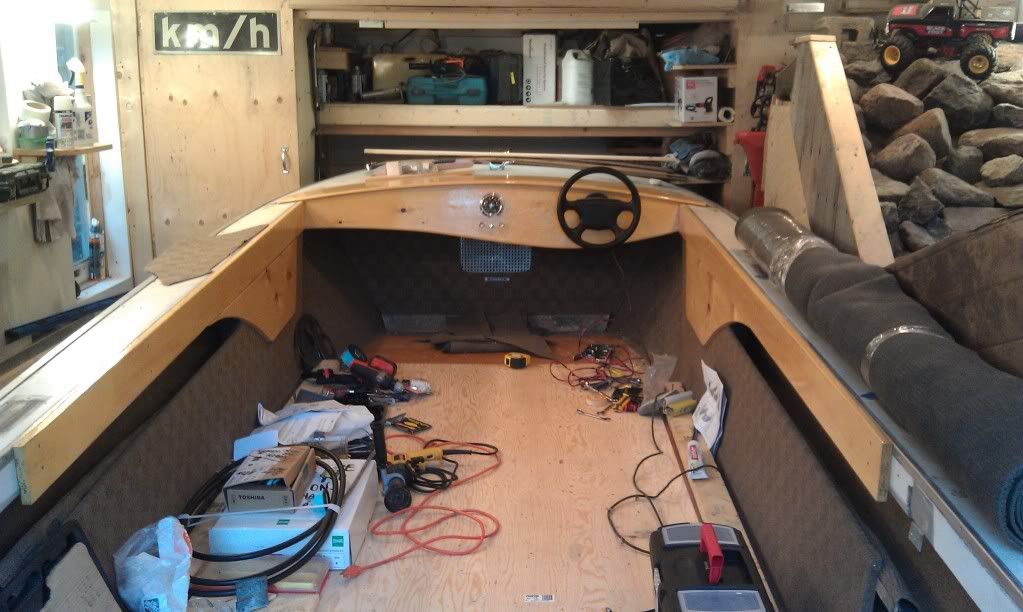
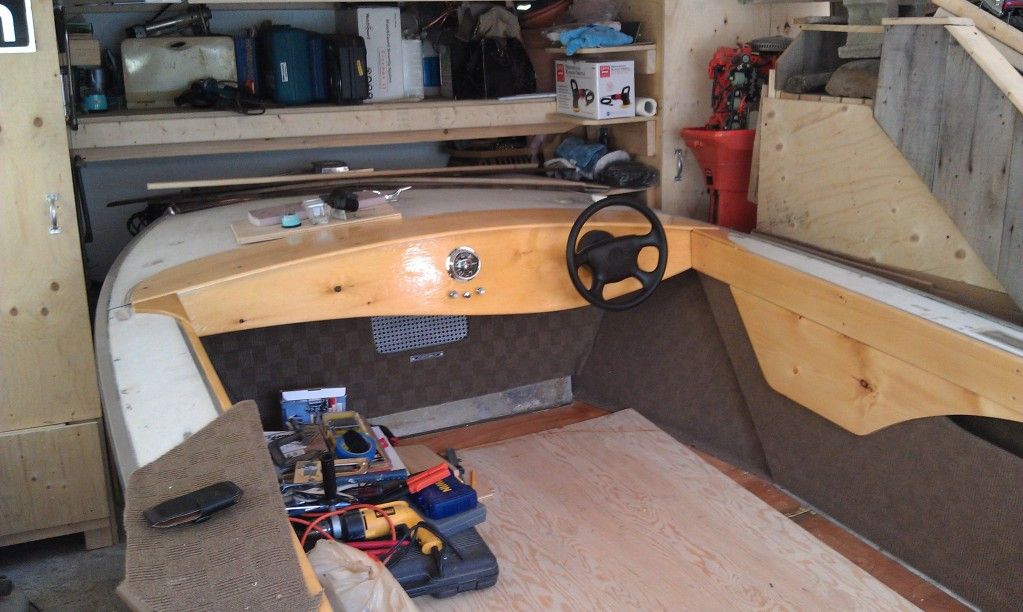
Notice in the picture a tube of toothpaste.... ya well, I made an executive decision yesterday to NOT put the stainless steel oval piece on the dash. Somehow, it just didn't look right/fit the way the style (if you will) of the boat is. Too many gauges... too much clutter... sometimes simplicity just works better.

So the tube of toothpaste... well ya see, I actually traced the circles of the of oval with the intent to drill out the dash --- that's how far I got. The problem was that I used a sharpie!!! So it wasn't exactly easy to remove the sharpie marks on the dash!!! --- 4 circles worth. So I used a combination of toothpaste, varsol and sandpaper followed up with a nice coat of spar varnish! Came out fine.

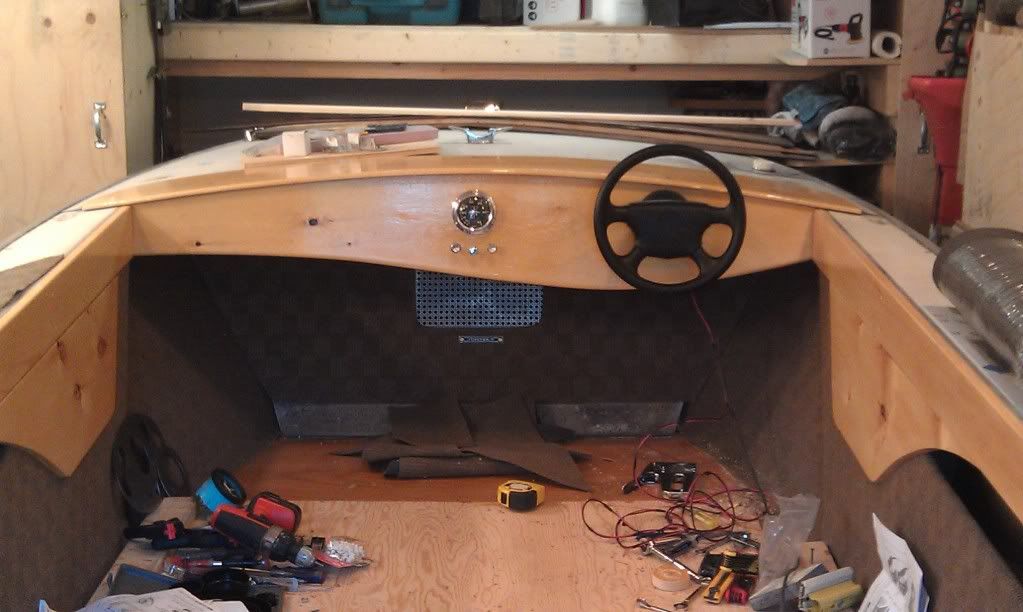
So the result now is that I just have the original speedo and original 3 swithes for lights, horn and bildge. Simple. No clutter. However.... the steering wheel.... it...... well it's like marrying someone because their punctual... a good trait no doubt... but really kinda misses the point. The steering wheel is functional, but it's not going to win any beauty contests!

IMAG0300-1.jpg


Closer look....

IMAG0301.jpg


So there you have it... Steering is in; Wiring is started; Gauge is in; Sides are done; Carpet is done; --- just need the dek master and get it installed so that I can do a final attach of everything else!!!

I think I am going to install the fuel gauge under the dash in such a way that I can read it... but hide it out of sight.

Jim
 

lakelover

Rear Admiral
Joined
Mar 26, 2003
Messages
4,386
Re: 1968 Starcraft Jupiter - Rebuild

Yeah, I agree the dash looks real classy the way you decided to go, fits the wood theme better IMO. Glad you were able to scrub off that sharpie, they can be a bear. The steering wheel looks identical to the one I got - it was the cheapest one I could find but serves the purpose.
 

GA_Boater

Honorary Moderator Emeritus
Joined
May 24, 2011
Messages
49,038
Re: 1968 Starcraft Jupiter - Rebuild

IM - simple dash looks great. The dropped bottom edge adds class. Good thing you had plenty of Spar coats on the dash or you might have had a permanent :eek:. LOL The dash will get a clean dental check-up next visit. So Colgate is now approved by the Starmada?
 

barato2

Commander
Joined
Dec 7, 2010
Messages
2,956
Re: 1968 Starcraft Jupiter - Rebuild

"kids, remember to floss between your transom and splashwell before dropping the new transom in"

looks great! but yer right, you now need a wood rim wheel to go with the rest of it.
 

InMotion

Commander
Joined
Nov 3, 2011
Messages
2,080
Re: 1968 Starcraft Jupiter - Rebuild

Thanks guys!!! Glad ya like it. It's feeling like were moving to the final stages here... I'm Bach'in it this weekend... so I put in a solid 14 hers yesterday and hope to get another 8 before the family gets back. Big things to accomplish... transom, back bench, fine wood work, wiring, bildge completed, splash well in, all carpeting completed, cleanup and read ling for desk master... which still isn't in!!!:( I'm about 60% done the list.... so here we go!!!!
Have a great day!
 

lakelover

Rear Admiral
Joined
Mar 26, 2003
Messages
4,386
Re: 1968 Starcraft Jupiter - Rebuild

Big things to accomplish... transom, back bench, fine wood work, wiring, bildge completed, splash well in, all carpeting completed, cleanup and read ling for desk master... which still isn't in!!!

Ya, you should be able to get that done in a couple hours. :D Doesn't it feel great when you can get in all those consecutive hours and really get some stuff done?

Good luck & enjoy!
 

dozerII

Admiral
Joined
Oct 25, 2009
Messages
6,527
Re: 1968 Starcraft Jupiter - Rebuild

Looking real nice Jim, I think that was a real good move on the dash it really suits the vintage wood look. Boy that Dek-master is really causing you trouble!!!
Glen
 

FishNmemories

Petty Officer 1st Class
Joined
Apr 24, 2012
Messages
272
Re: 1968 Starcraft Jupiter - Rebuild

I'm a big fan of wood finish on boats, having worked on a number of wooden vessels, and your wood detail is awesome!!!! Thanks for the pics!!!
 

InMotion

Commander
Joined
Nov 3, 2011
Messages
2,080
Re: 1968 Starcraft Jupiter - Rebuild

Really apprecicate the positve feedback guys! Thanks a bunch... really keeps a guy motivated if you know what I mean.

Ok... a long overdue picture update of the work done here this weekend. Kiddies are back and having an afternoon snack --- fuel for playing tag with Dad afterwards...

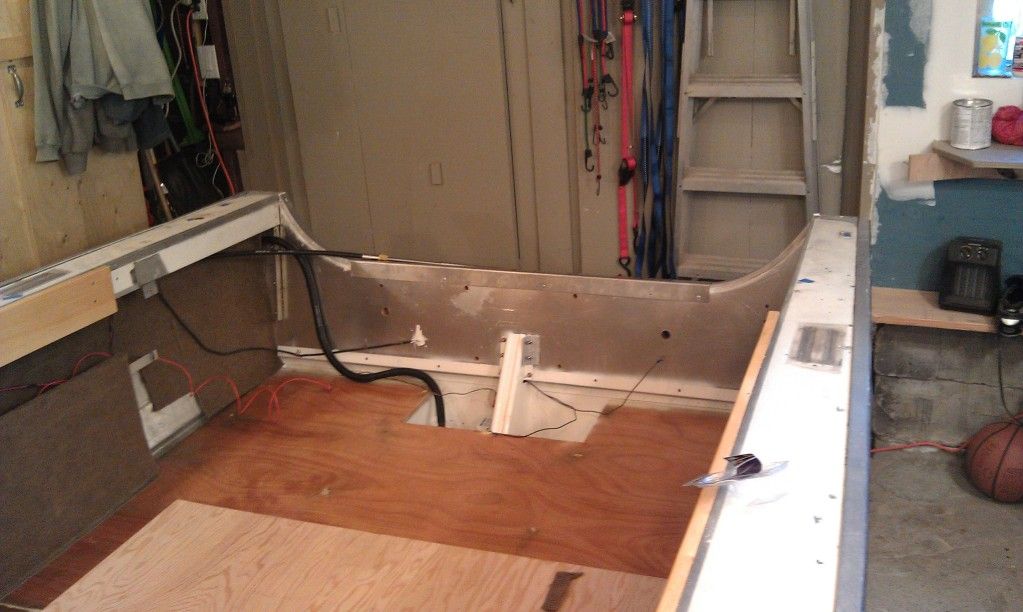
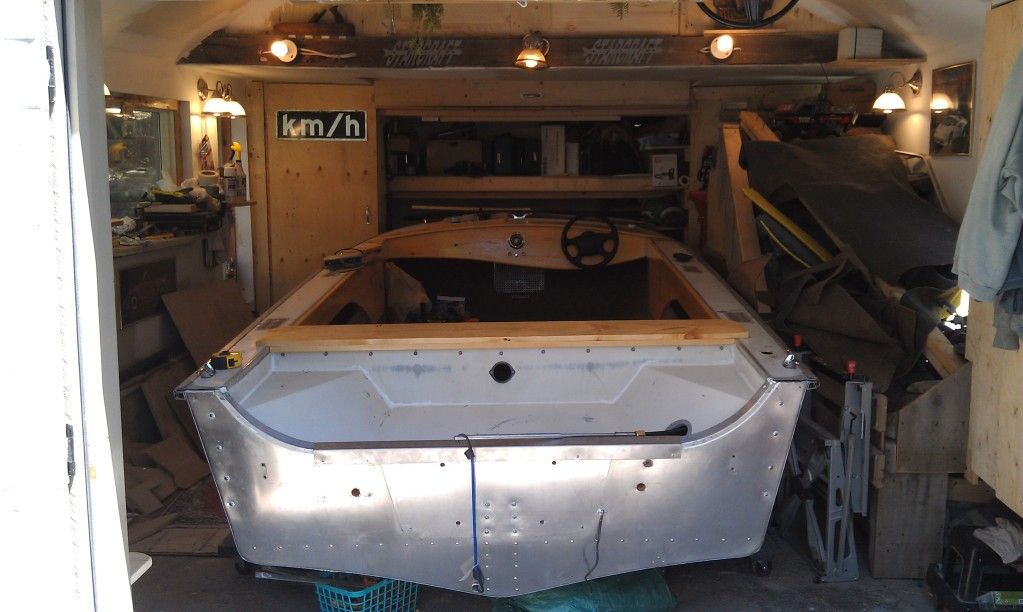
Transom is buttoned down, locked and loaded so to speak... Bolted, screwed, 4200'd to death. Also put the SS U channel on as well. I think this thing will hold the 90!!!

IMAG0310.jpg


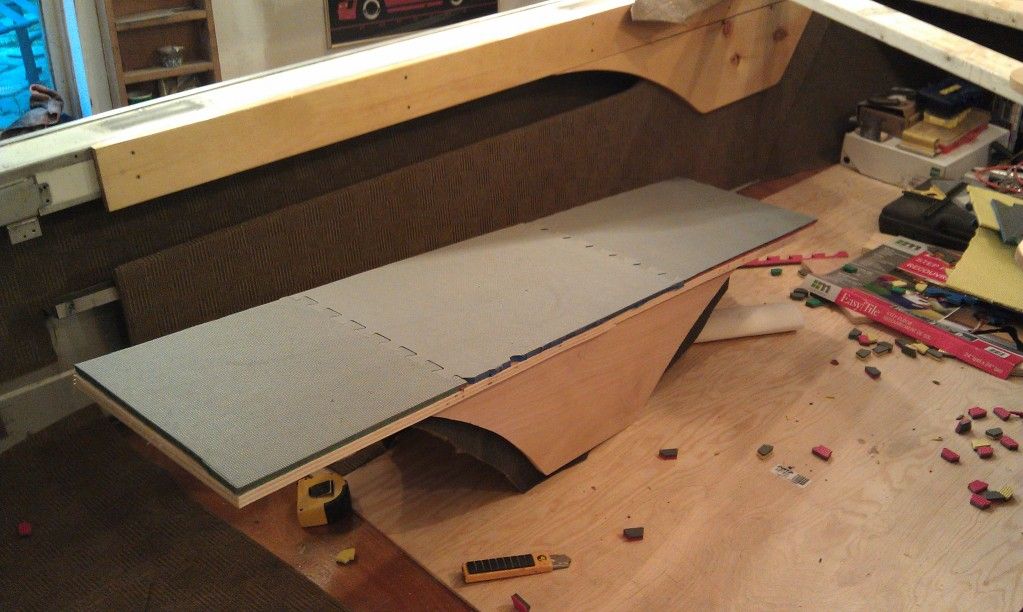
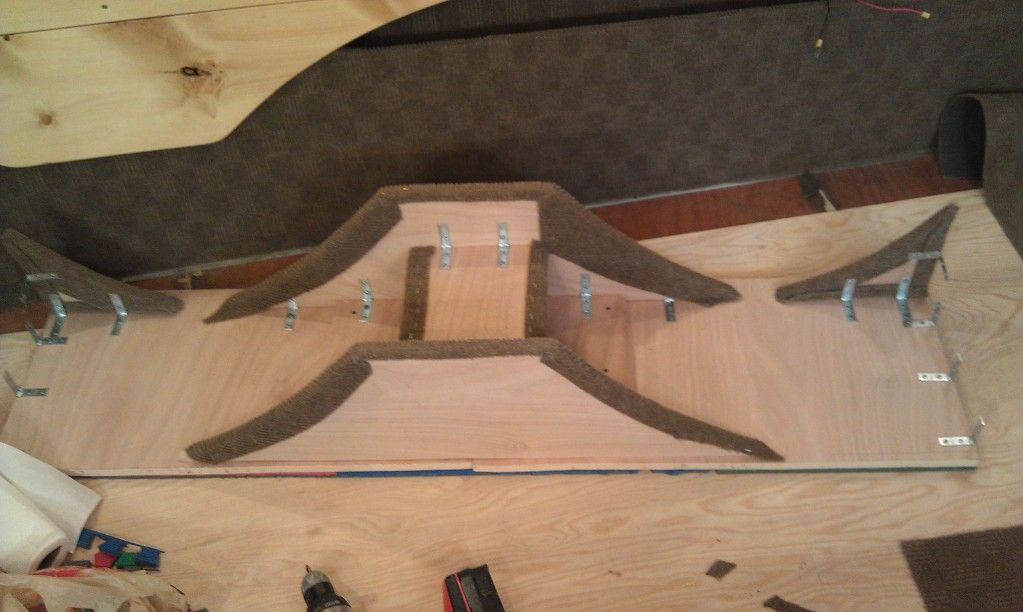
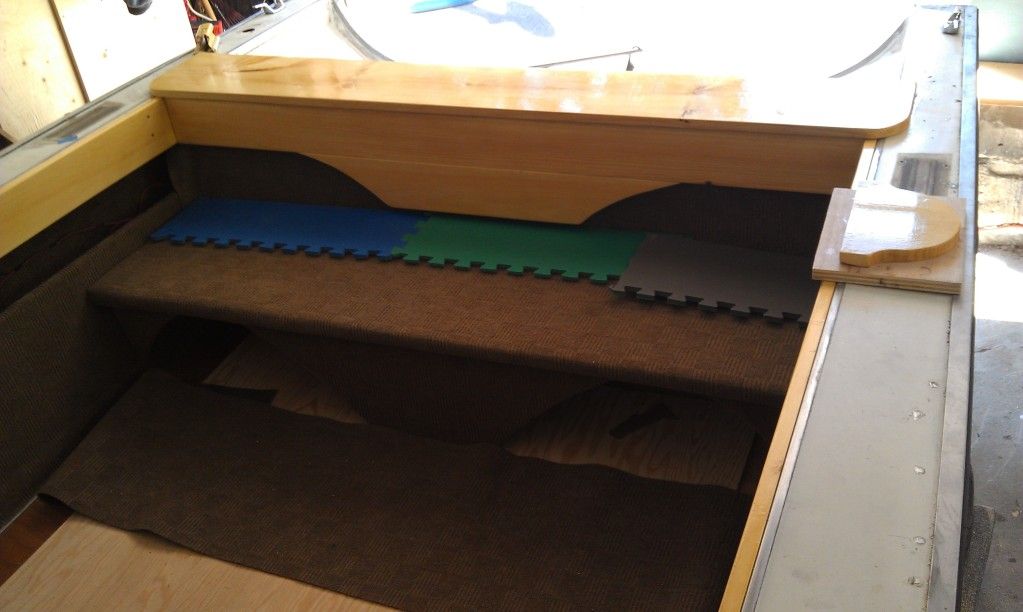
Next up.... Built a back bench mainly for the kiddies and also as a step into the boat. I also designed it so that the battery will slide under it and onwards to under the splashwell at the back. By minimizing the wood, it made it fairly light too... but mostly cause it is made out of scrap wood, 9000 brackets, scrap carpet, 20,000 staples, left over carpet glue and some foam squares that were no longer being used at home.

IMAG0307.jpg


IMAG0309.jpg


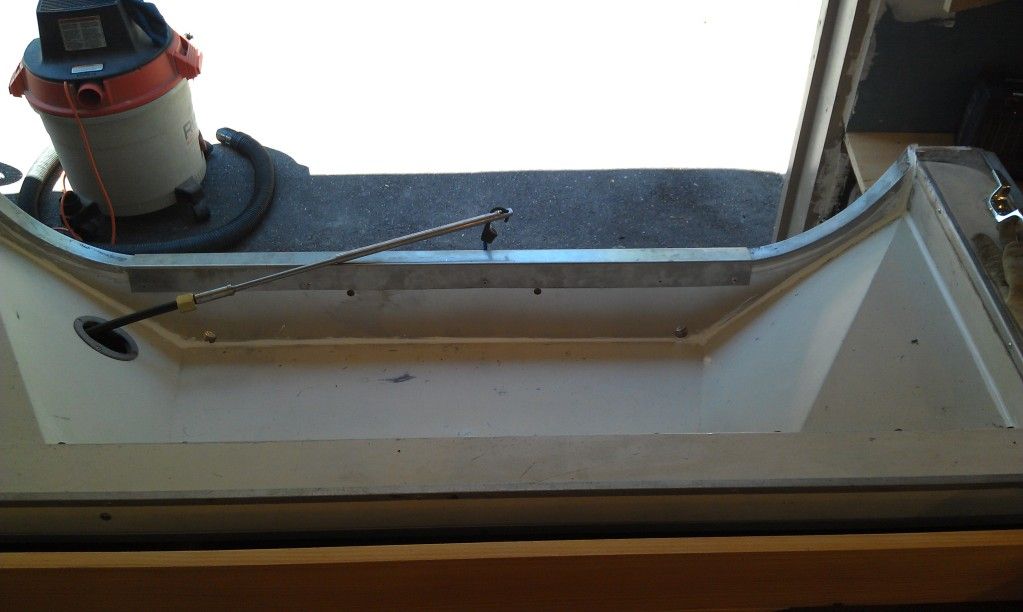
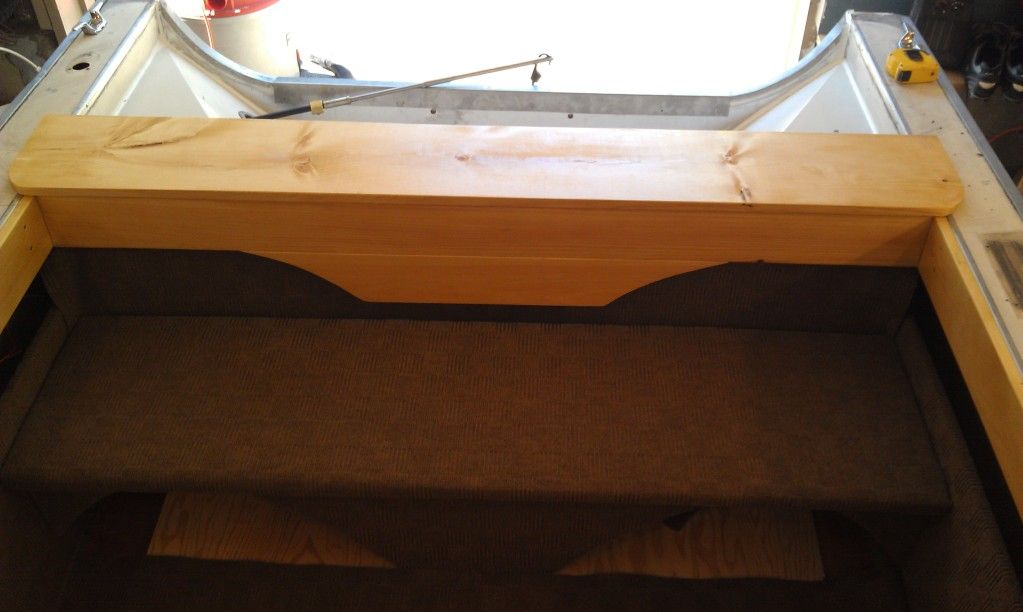
In the process of building the back bench, I also built the back "area". I new that the changes to pulling the side panels forward about 5" and the fact that the top gunwale wood pieces were short about as much necessitated me building something forward of the splashwell. I wanted the whole thing to be as light as possible. Soooooo,..... I have a 4.5" piece of pine the same as the side gunwales accross the back of the boat and I have a bunch of brackets holding the top piece to the cross piece. By leaving a space between the pine x piece and the splashwell I was able to screw everything together from underneath. I then put a piece of rug from back and behind which is screwed and stapled to the cross piece of pine. I added a vertical support in the middle to the floor behind the carpet curtain and added some velcro on the side for the curtain. Then the bench sits in front.... So here is how it turned out...

Splashwell with space...
IMAG0312.jpg


Final product...
IMAG0315.jpg


More in next thread...
 

InMotion

Commander
Joined
Nov 3, 2011
Messages
2,080
Re: 1968 Starcraft Jupiter - Rebuild

Continuing along...

More pics...

Looking a LOT more solid and "boat" like now...
IMAG0317.jpg


Don't mind the foam... just keeping any drips of Spar Varnish from getting on the carpet.
IMAG0319.jpg


I also added a couple of little schwooopy pieces on either side butting into the dashpad...

IMAG0321.jpg


So there you have it....a fairly productive day and a half. Still some stuff left to do... I ran out of wood so, I still need to finish off the splash well sides and at the back of the splashwell pad I just added and then that's it for wood.

Got some positve feedback from the fam when they got back...

Mrs Motion --- It actually looks like a boat!!!
My Daughter --- You know Dad... this is better than I thought it would be. I really, really like it... can I bring my best friend for a ride? Right there is the deal... that means she likes it!!
My Son --- What do you think Kristopher? "Great". "Can we go for a ride now?".... I think he liked it.

Have a great Sunday fellas.
 

lakelover

Rear Admiral
Joined
Mar 26, 2003
Messages
4,386
Re: 1968 Starcraft Jupiter - Rebuild

Looks great, very innovative design. If those aren't SS brackets, you'll probably be having some rust issues, but not for a while. Maybe you can paint or coat them with something? Or not worry about it. If you can't see it, it's not there!
 
Status
Not open for further replies.
Top