Re: 1963 Elgin Restoration
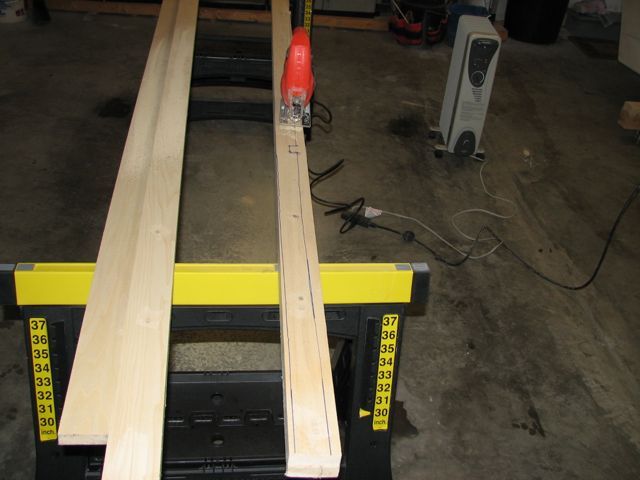
Been playing around with the stringers and such. Got the two longitudinals cut out and shaped - and miraculously, they fit perfectly level with the prior deck edges!! (I should have played the lottery!)
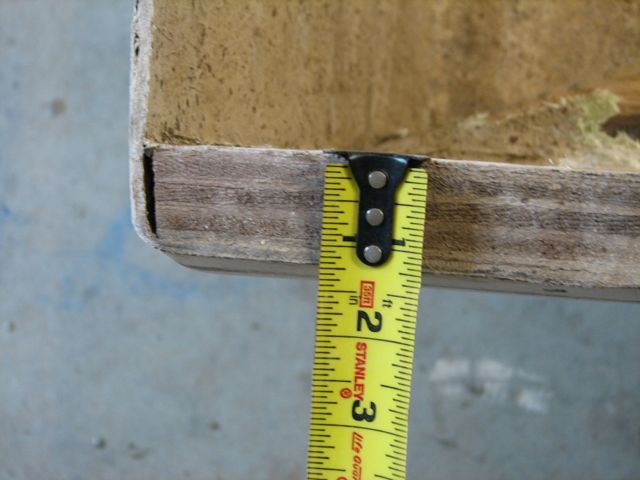
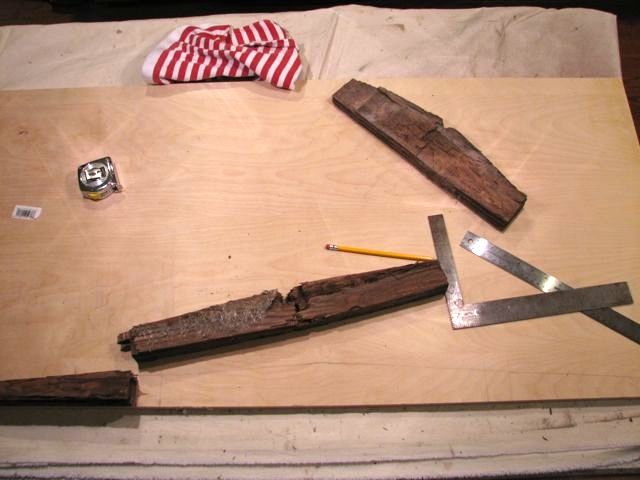
Have been drawing out the laterals. Everyting was pretty rotted, so it's a best guess. I'm cutting a pretty wide margin for everything and then belt-sanding to fit. A bit of a tedious process :cold:
Cuttin'...
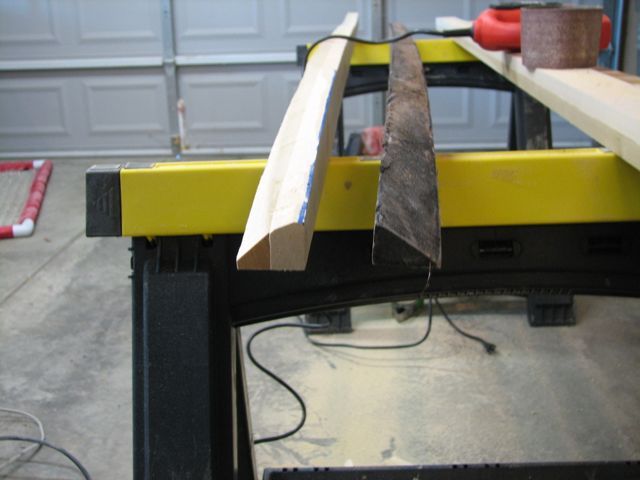
Shapin'...
Fittin'...
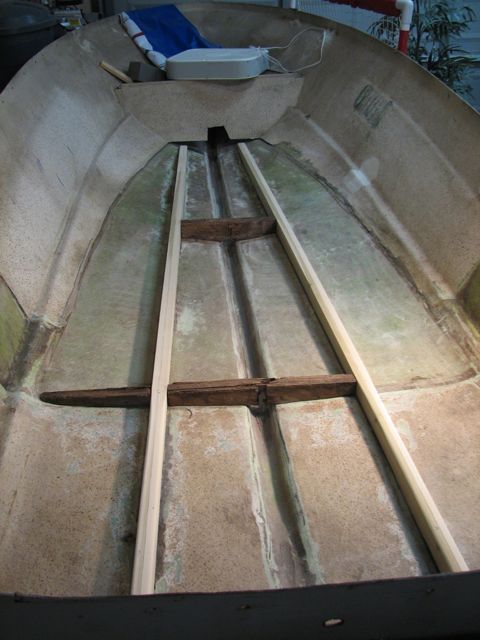
Tracin'...
Regarding the "fittin'" photo above you are seeing a combination of the new long's, and the old rotted lat's. The nearer lateral in the foreground is missing a piece on the starboard side - was too rotted to save. So, question: what you see (plus the missing piece mentioned) is all there was under the floor. Do you think there should be more laterals? Like on the far end for instance, near the bulkhead? Those ends just seem to be hanging out with no support, but that's the way they were - with very minimal fiberglass tabbing btw.
Oh, and FYI - that hole in the bulkhead -- I hd to cut that in order to get the grinder in there to cut out the keel. My plan is to re-cover the entire bulkhead face with some 1/8" luan plywood wrapped in galss. Sound right?
Thoughts, suggestions, criticisms... all welcomed!!!