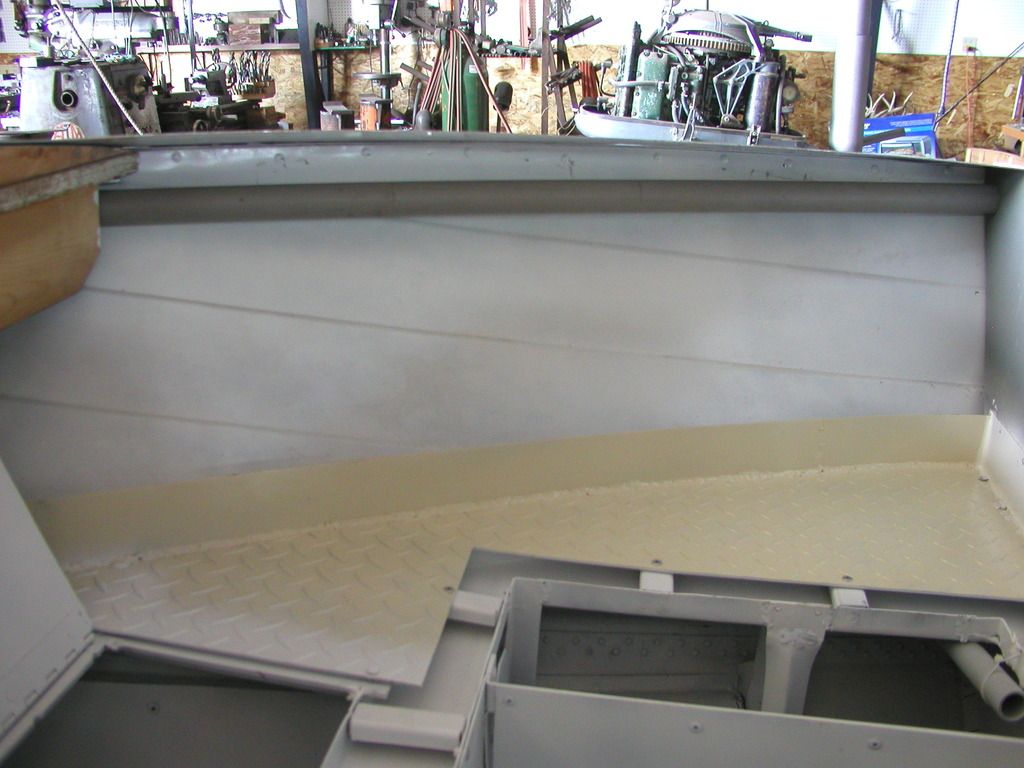
1963 16' Star Dust I believe

Watermann

Starmada Splash of the Year 2014
Joined
Jan 12, 2013
Messages
13,787
Super nice clean work Ted!

I'm not much for having a fuel tank on either end of the boat, the best place if possible is mid-ship IMO. If you're putting in that fancy 24v elec tm then you'll want the batteries as close to it as possible.

On the motor LU being a jet, it still has the water pipe that drops down the exhaust housing so you can leave the LU off when you do the water pump. After doing the repairs to test run you can fashion up a hose that will go over the water pipe to get water to the motor. Be sure to clamp it to where it doesn't pop off.
 

StarTed

Senior Chief Petty Officer
Joined
Jul 14, 2015
Messages
694
Thanks Watermann.

I haven't decided yet which way to go. A fuel tank in the bow would be the cleanest way to utilize that space but a custom built tank is another matter. I am leaning towards just using 2 6 gal. plastic portable tanks tucked in the back behind a curtain. That leaves a battery or two in the front for a TM. One battery would be easy, two will make the deck higher. I have to work around the drain tube that will drain any water from the small raised front deck.

I plan to mount an anchor system in the bow center and mount a trolling motor somewhere along side it. I'm still thinking about what I'll need to make the anchor holder and roller, stainless or aluminum. That makes it important to have room for the rode.

I haven't opened the motor yet so I don't know what to expect. The PO said that the engine lost power when fishing and he didn't want to take the time from his fishing to do any work on it. It had milky water in cylinder #2 when he pulled the plug.

I'm comfortable working on automotive engines all the way to boring them. Don't have a crankshaft grinder so that work has to be farmed out. I own a valve grinder and hard seat facer but they're not necessary for this outboard. A two stroke is another matter although it has less parts. I understand the operation principles but theory only goes so far.

More planning as the 5200 dries and the weather gets stormy.
 

StarTed

Senior Chief Petty Officer
Joined
Jul 14, 2015
Messages
694
Too much on the plate is making the boat work slow.

Now for the motor. Do I start a new thread to work on it? I was told it has a blown head gasket when I bought it.

I pulled the head and can't find any sign of a blown head gasket. The center plug shows a very little sign of moisture but there is almost no sign on the piston or in the cylinder. All cylinders had equal compression over 100 with a non starting deep cycle battery. Some hesitation while cranking. No thermostat was in it.

Now what?
 

Watermann

Starmada Splash of the Year 2014
Joined
Jan 12, 2013
Messages
13,787
If during the rebuild you have specific questions about the motor then you should start a repair thread. If the head gasket was blown then it should've had a low cylinder when you checked the compression.
 

Patfromny

Lieutenant Junior Grade
Joined
Dec 2, 2012
Messages
1,197
I go simple first and then get more complicated. The kiss method is my motto. Engines need three things to run; fuel, compression, and spark. If you have compression then check the next easiest thing which is spark at all plugs. If you have spark, change the plugs, they could be fouled. Champions and other spiral core plugs foul very easily. Make sure the plugs are gapped correctly. Then you can check for fuel. These engines aren't too complicated.
 

jbcurt00

Moderator
Staff member
Joined
Oct 25, 2011
Messages
25,034
Over in the correct motor forum, you'll get lots of help from engine gurus that have decades of experience working on motors. So yep, start a topic about the motor if you have questions or problems.
 

StarTed

Senior Chief Petty Officer
Joined
Jul 14, 2015
Messages
694
I've been doing a little more work on the boat. The bow needs a small deck with some storage underneath. I plan to put a battery in there to help with the weight distribution. I'll run 1/0 cables to the rear inside electrical PVC conduit down the port side.

I put in the conduit but missed taking a picture of it this time around.

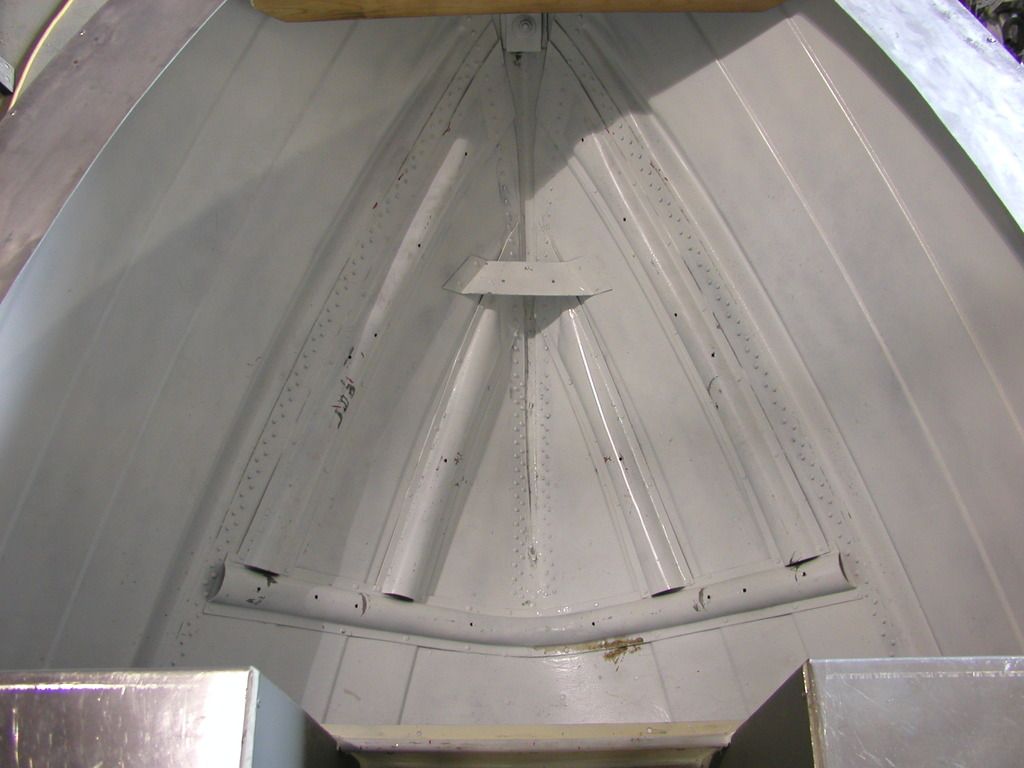
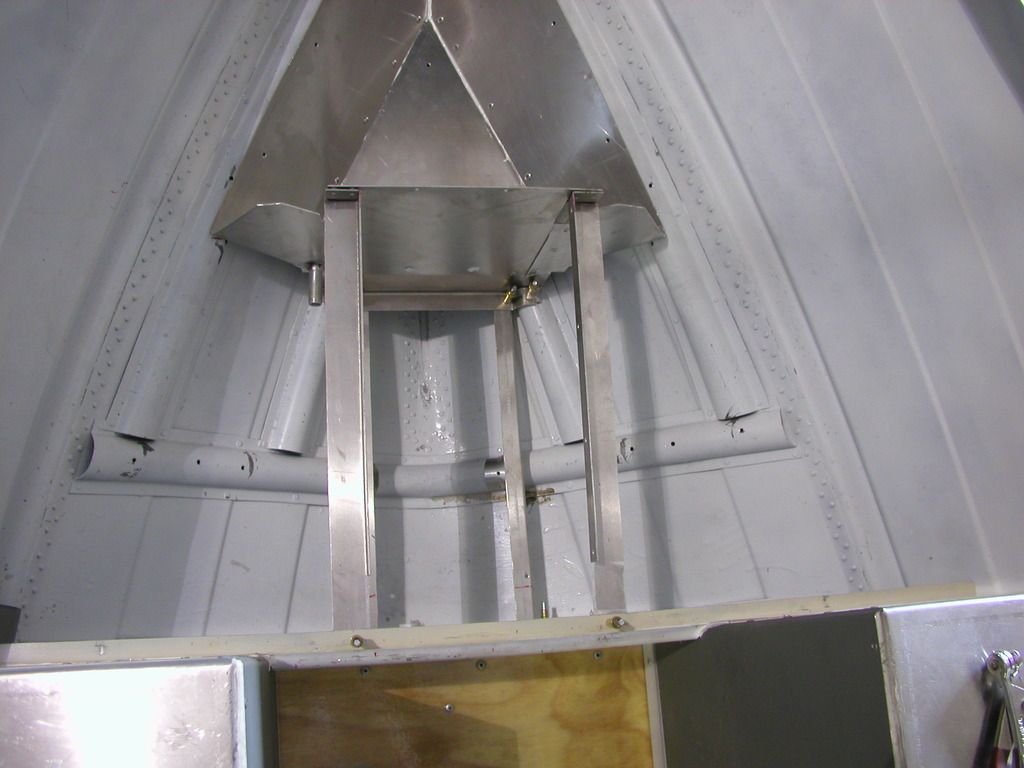
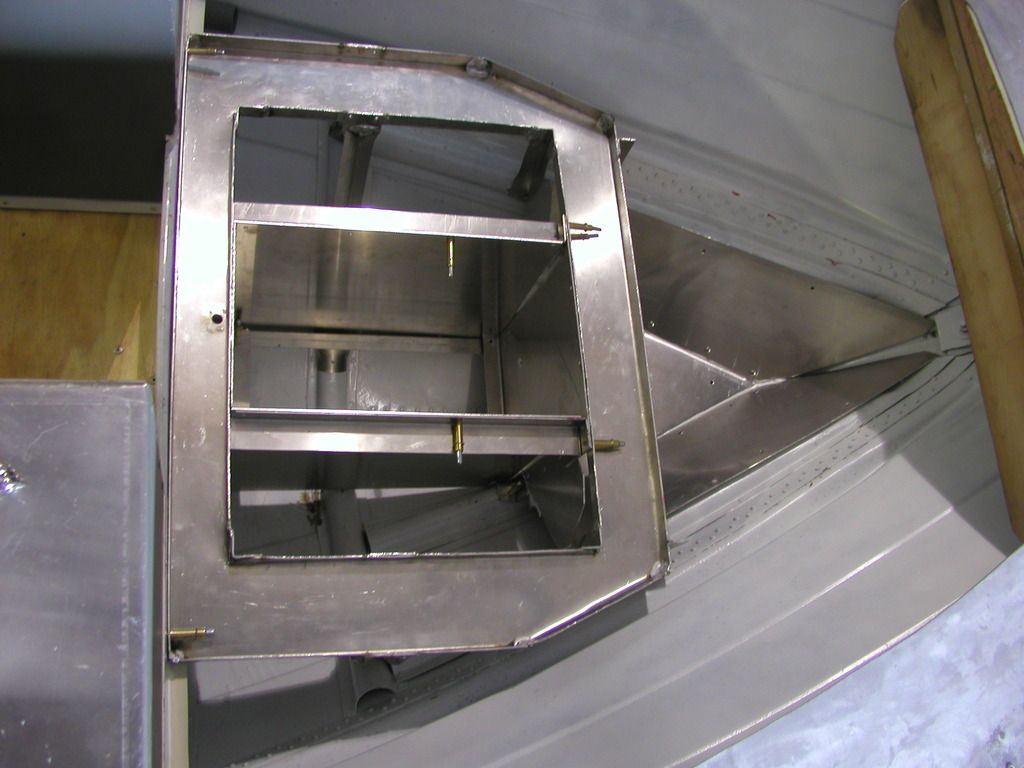
Here's the bow area where the aluminum structure will be installed.


Here's the bottom of the front piece that may be used to store the rode.


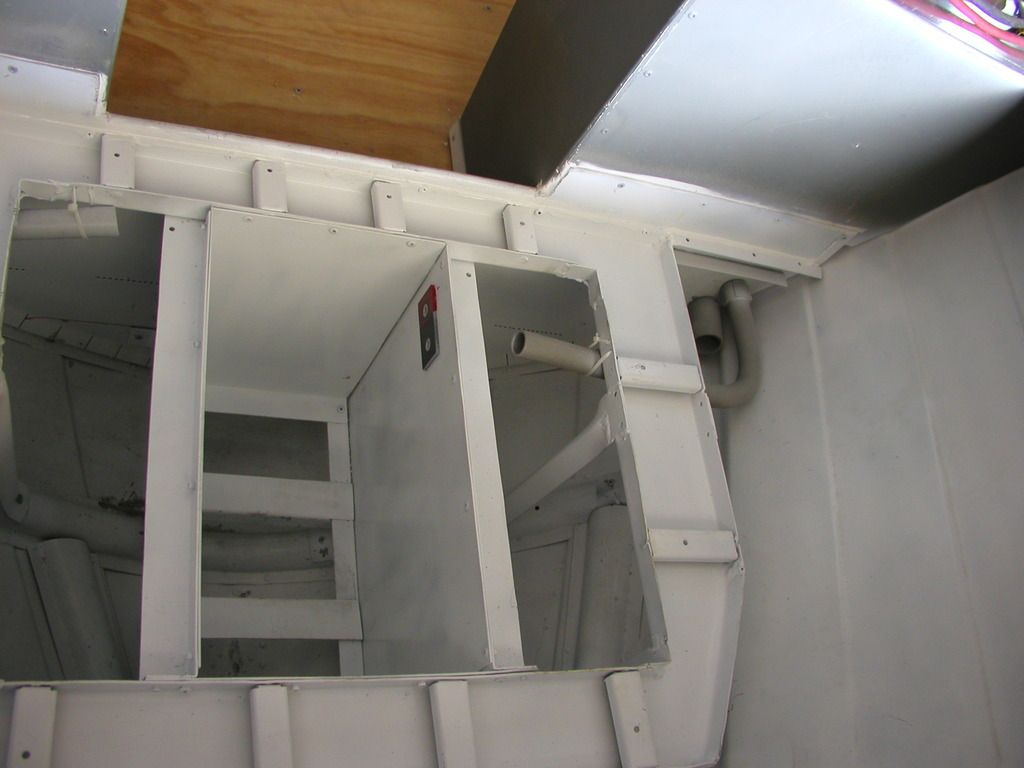
And the piece setting loosely in place. Note the drain tube that will be connected to the pipe that runs under the deck to the transom area.


These brackets will hold the battery box in shape.


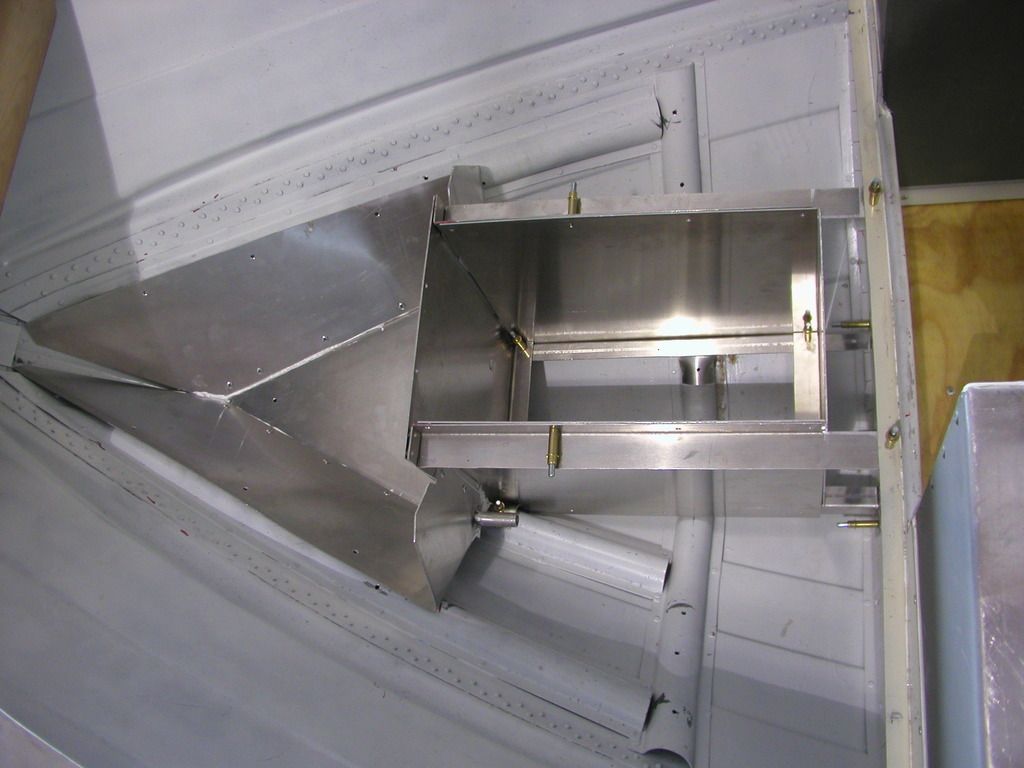
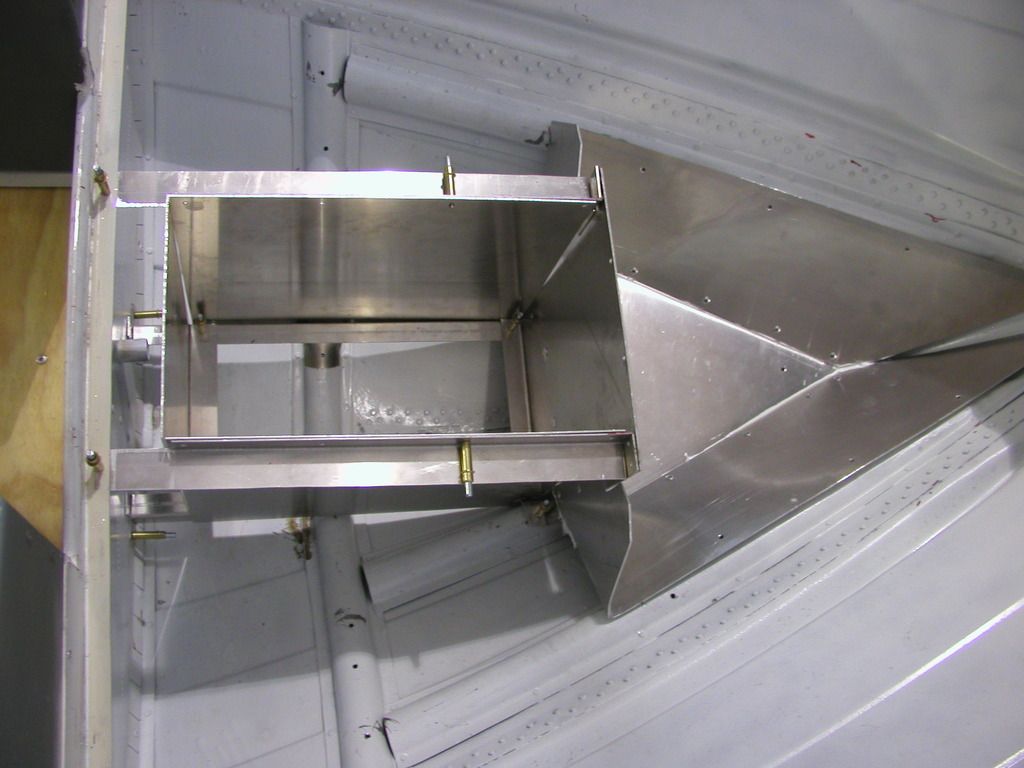
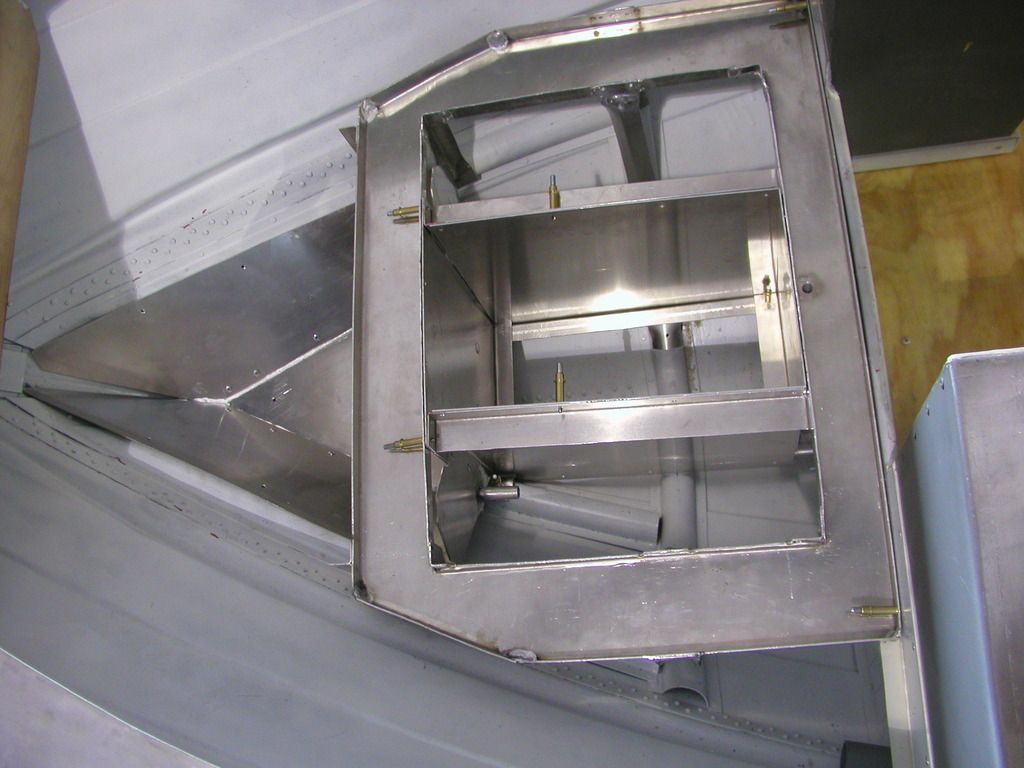
The battery box framework sitting roughly in place.


Here's a picture from the port side with the battery box sides in place.


And another from the starboard side.


Here's the framework that makes the upper drain works and supports the aluminum deck. Don't be too critical of the welds. They're my first TIG welds and in 14 gauge aluminum at that. Another drain tube will drain that area as well.


Sitting in place taken from the starboard side.


And another from the port side. At the bottom right corner you can see the end of the 1" electrical PVC sticking out.


The 5200 used to seal the seams is curing so now back to the engine.

By the way, the engine had a failed exhaust manifold gasket allowing water to get back into #2 cylinder. It's OK so now that's just needing cleaning and reassembly. I broke some bolts while dis assembling but managed to get them out through repeated soaking in penetrating oil, acetone and Marvel Mystery oil along with some heat from a small propane torch. One took a good week and a half while I did other things.

Next I plan to clean, prime and paint the parts before final installation.

The aluminum deck will be cut above the tray area to make covers for access to the battery and storage areas below.

I'm still on the fence about using hinges or just making the covers removable. Removable will probably win.

More to come.
 

Watermann

Starmada Splash of the Year 2014
Joined
Jan 12, 2013
Messages
13,787
Looking good Ted, you sure put a lot of thought, time and effort into your tin work. :thumb:
 

StarTed

Senior Chief Petty Officer
Joined
Jul 14, 2015
Messages
694
Thanks Watermann.

The TIG welding is new to me but I'm satisfied that the welds are strong enough. There's extra meat there just in case.

Between that welder and my new brake things are coming into shape. Not nearly as fast or nice as your boat work but still plugging along.

Cleared out a path in the shop so I could change the oil and rotate the tires on my pickup. Now that's done so I can move the boat back in the middle to work all around it.

Still need to make a cardboard template for the front deck so I can cut out the piece of 1/8" thick diamond plate I plan to use for that floor. Still more detail work in that area.

Some painting is coming up and that is my least favorite part of a project.

At least I got another computer to replace the failed XP machine that prevented me from downloading any pictures. Used but good enough.
 

Watermann

Starmada Splash of the Year 2014
Joined
Jan 12, 2013
Messages
13,787
You're a modest man Ted, she's going to be great. I love painting, it's so easy compared to everything else involved in the process and it has the most dramatic effect. You just have to get it through your head that you're not a pro and it's going to be what it is.
 

oldhaven

Chief Petty Officer
Joined
Aug 30, 2015
Messages
576
Wow! I'll say it again, you could go into business selling add on kits. I hope you are saving the drawings and templates.

Ron
 

StarTed

Senior Chief Petty Officer
Joined
Jul 14, 2015
Messages
694
Thanks Ron. I think I'll stay with getting paid to stay away from work. ;)

Now if I could only get the admiral to keep from looking at the lawns and running out with fertilizer and a hose. That's what I get for marrying a farm girl.

Now she wants me to haul a load of pea gravel and another of sand for the grandkid's area. I'm good at getting my dump trailer overloaded. I try to keep the trailer load under 10,000# Fortunately the road to the supplier is mostly level.

Somewhere in the mix there should be some time to get back to boat project.

By the way, what color is my outboard supposed to be? It's a 1976 Evinrude 75 hp model 75642D.
 

StarTed

Senior Chief Petty Officer
Joined
Jul 14, 2015
Messages
694
Thanks Watermann.

The motor appears to be a light blue or light blue/gray.

I ordered a couple of cans of light blue that probably best matches the original color although it's not listed for that year. The paint on it seems to still be in fairly good shape although not very shiny.

Whatever paint they used on their motors sure held up well. I used some Johnson dark green paint that I bought from the dealer in the '70s and it sure was some good and tough paint. Stuck to the aluminum alloy like it was made for it. ;) I don't recall using any primer or doing much preparation but it still looked good when I sold it years later.
 

StarTed

Senior Chief Petty Officer
Joined
Jul 14, 2015
Messages
694
It's been a while since I posted anything on this project so I guess it's time to give some updates.

Some fishing, some trail maintenance, visitors etc. took up some time.

Here are some pictures of the aluminum for the bow area.


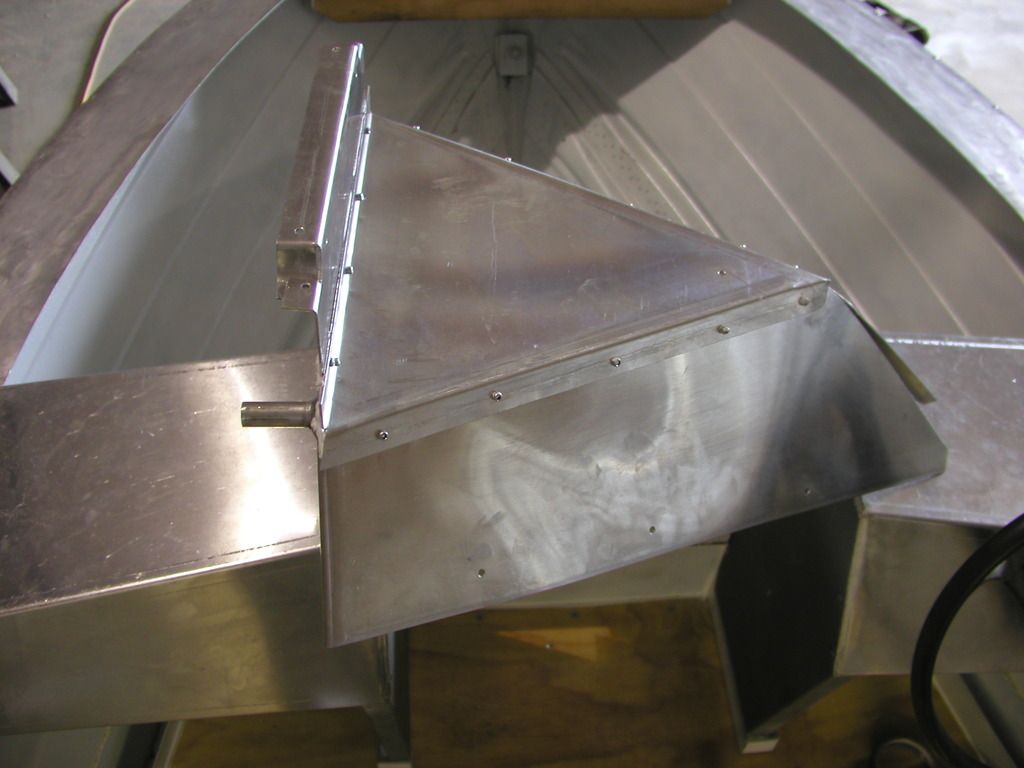
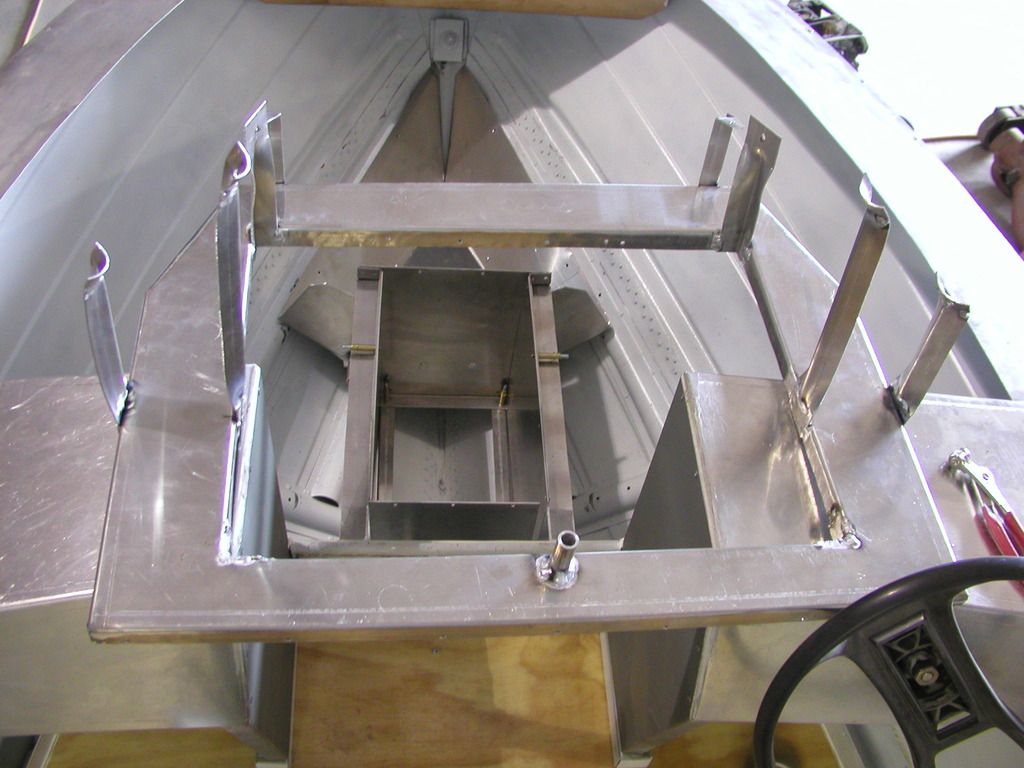
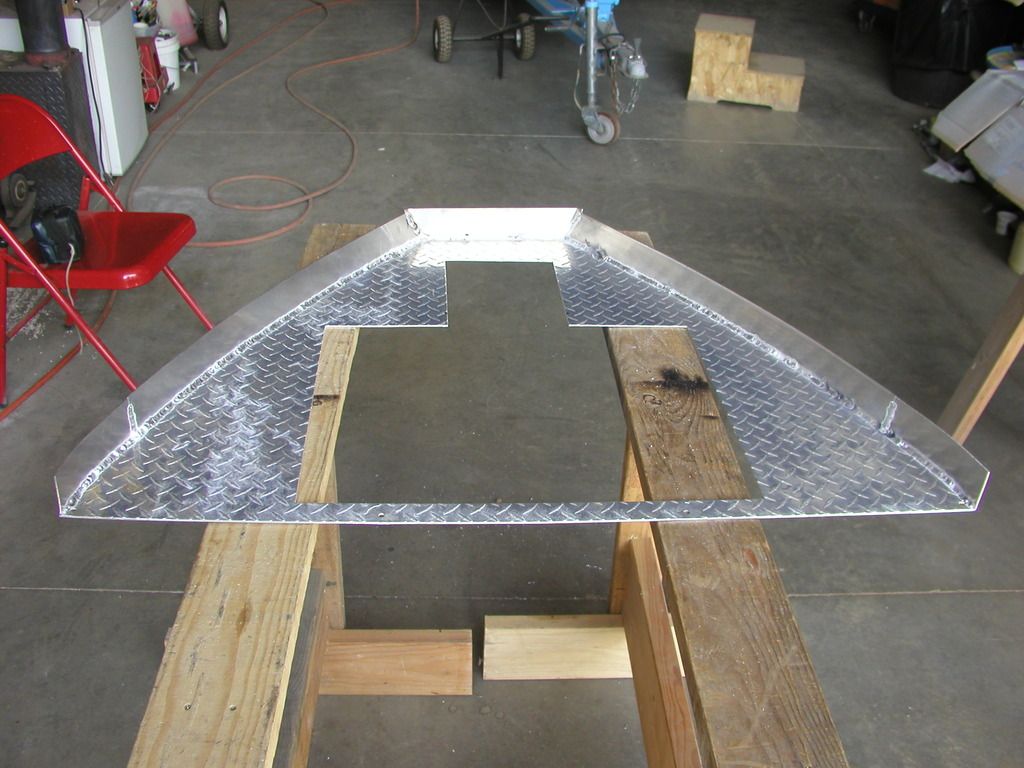
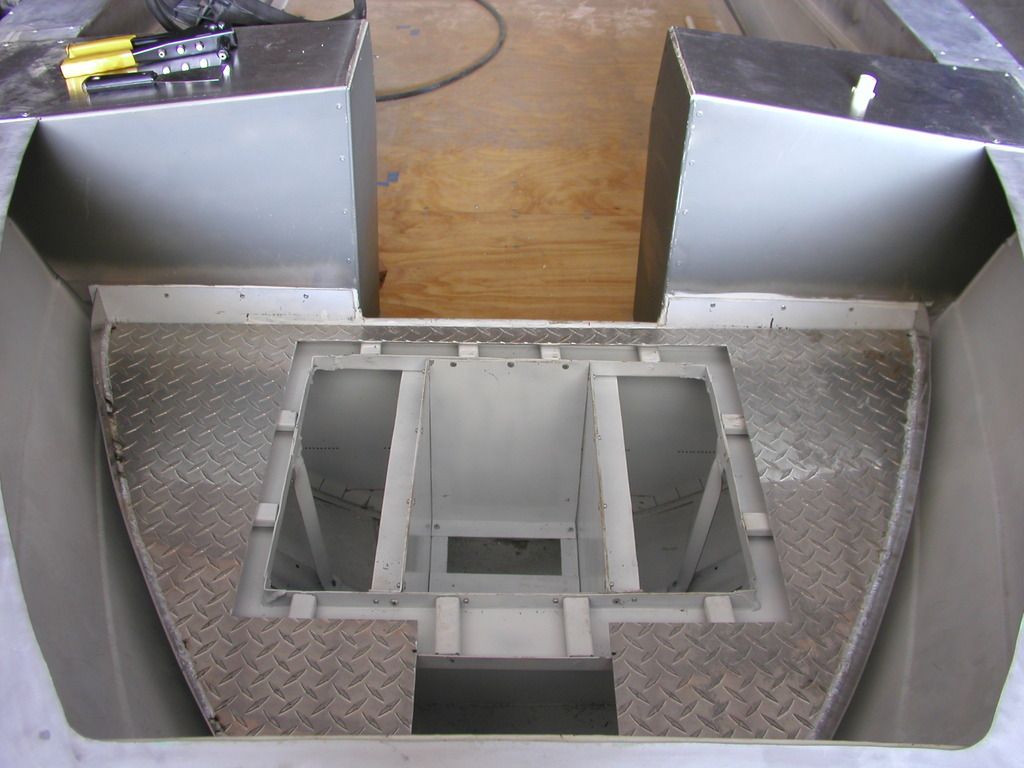
This is the diamond plate with sides welded on that will be used to attach side panels. Don't look too close at the welds since this boat is getting my first tig welding. I think it'll hold water from passing through however.


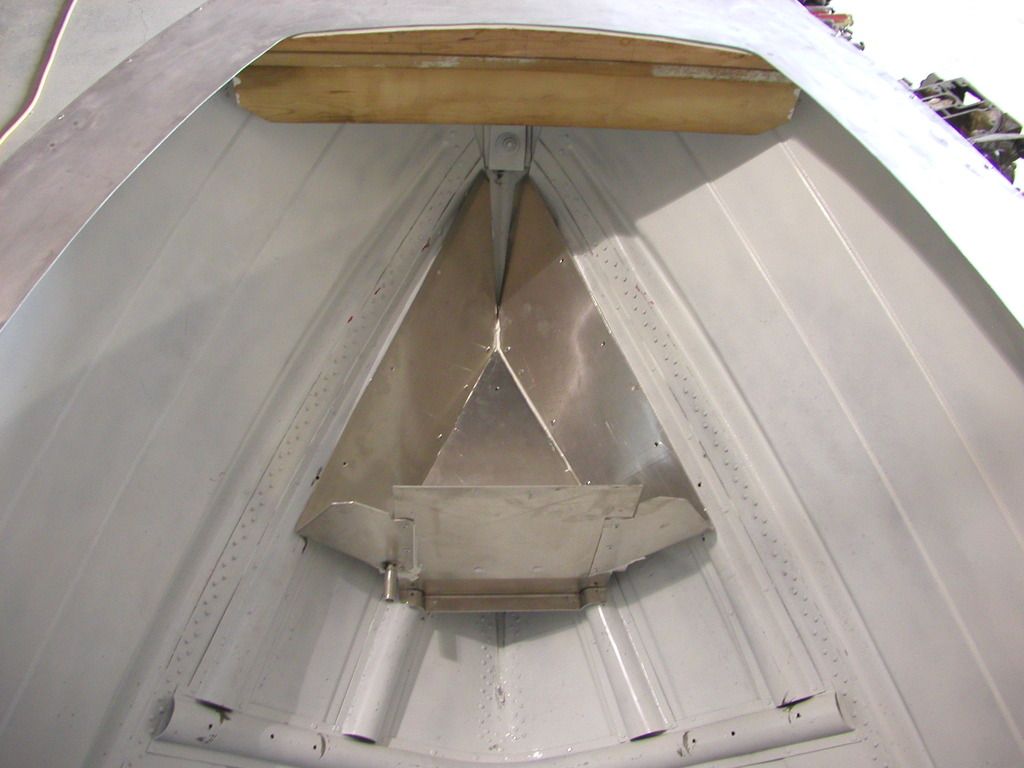
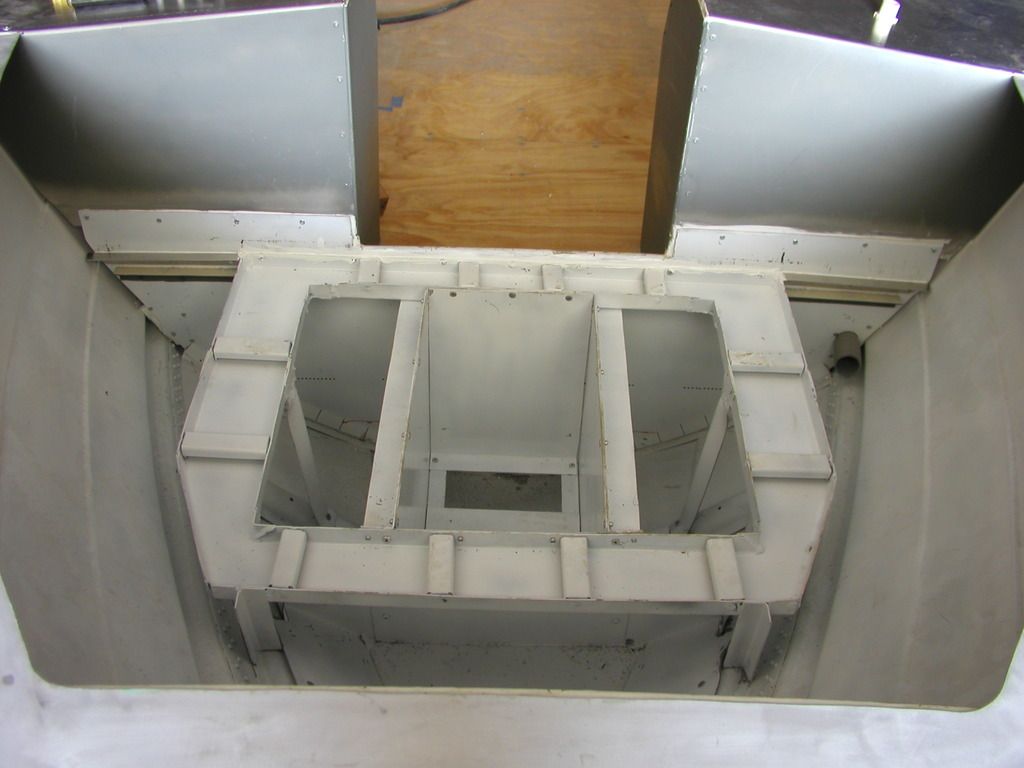
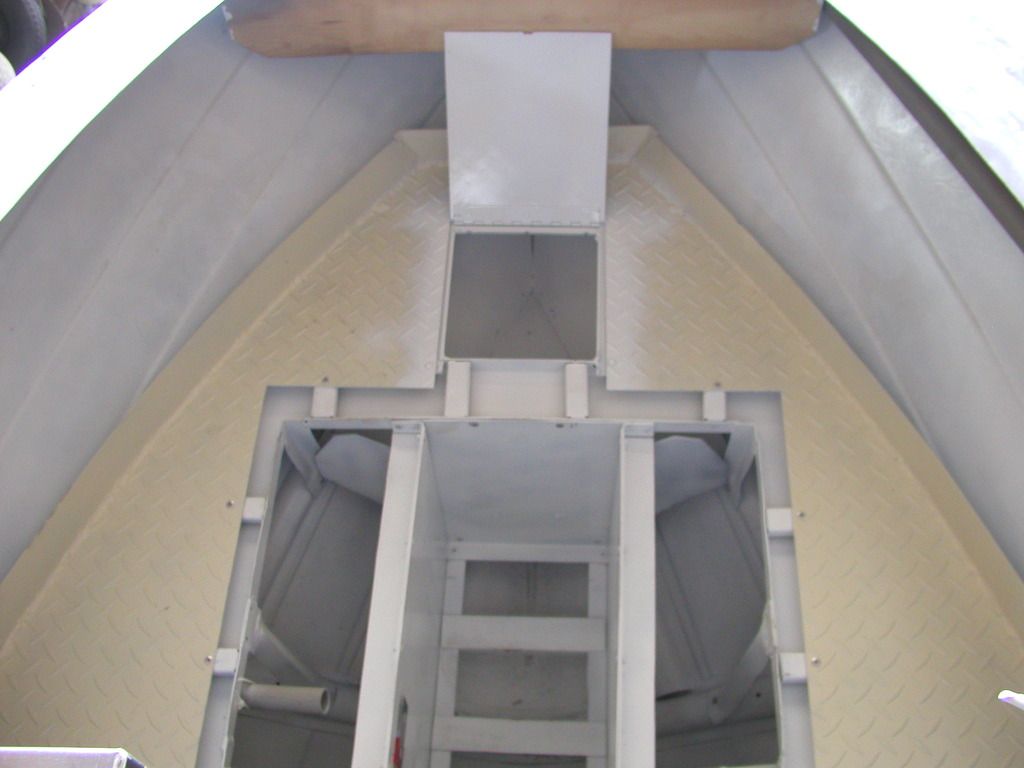
Here is the tray permanently mounted. It'll collect water from the diamond plate floor.


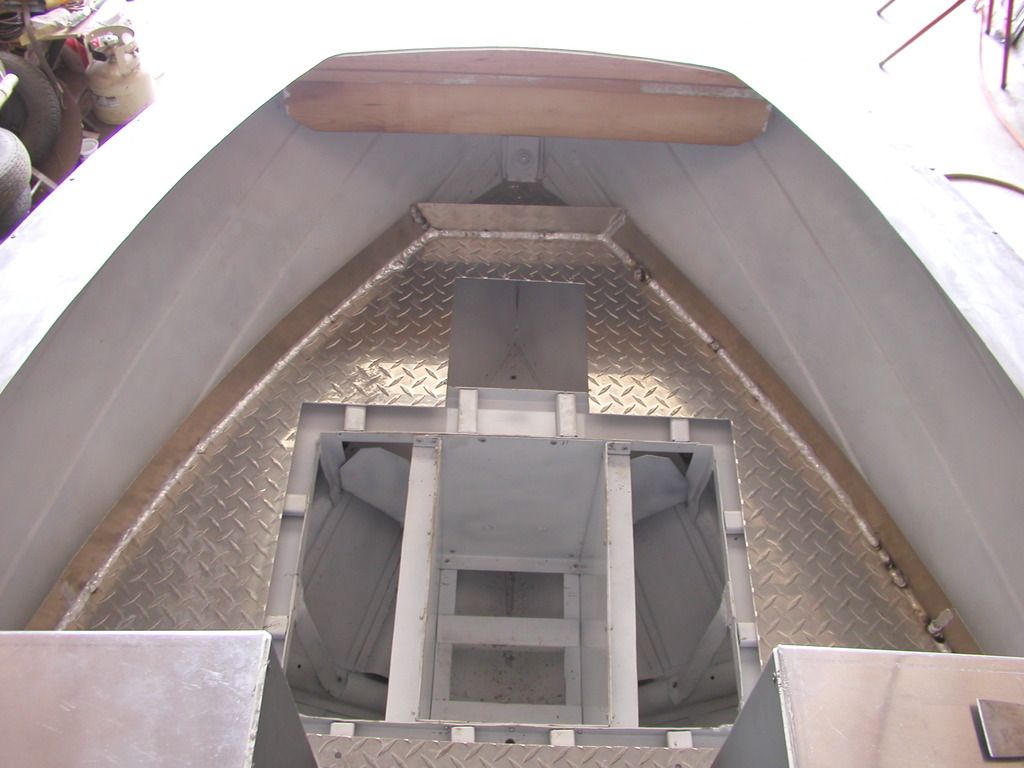
A view from the front with the floor temporarily in place. It'll get primed and a coat of paint before installation.


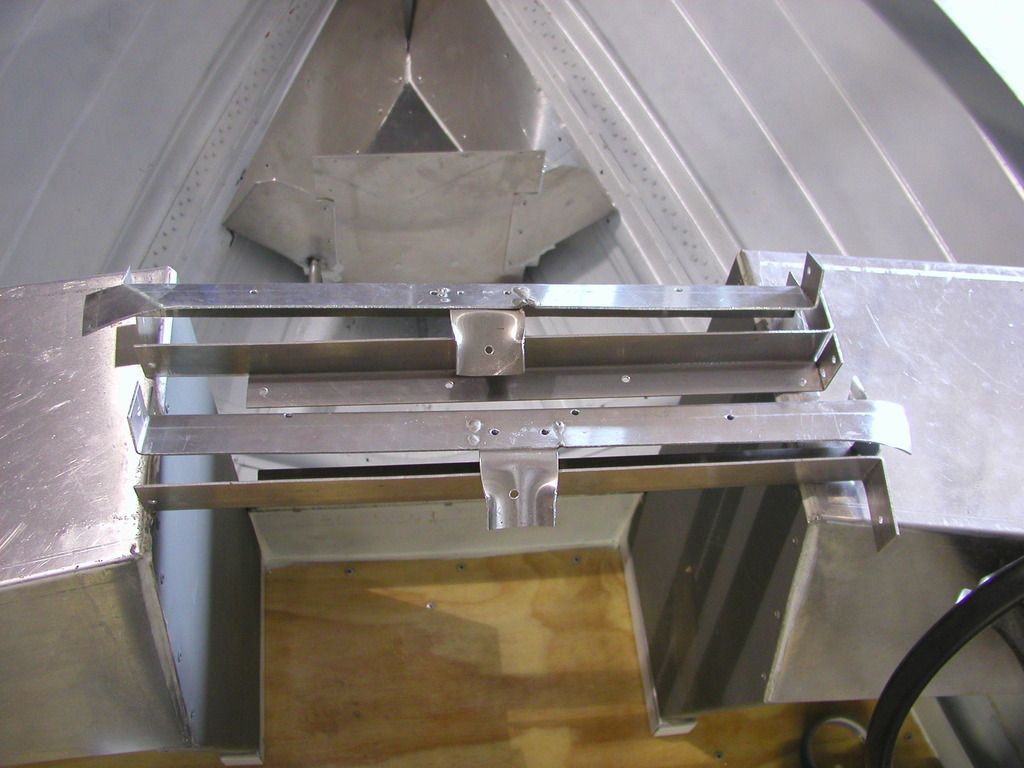
Another view from the rear this time.


This view shows the covers temporarily in place.

I have made a little more progress since these pictures were taken. The front (small cover) has been installed with a stainless piano hinge and a water collection trough has been installed underneath the cover.

O still have to do a little more fitting to make the floor fit in place. Then I'll seal the rear edge to make it water tight as I permanently install it.

I should probably do some electrical work below there before the floor gets put in place. There'll still be access but somewhat more limited.

Some aluminum panels around the sides should finish it off.
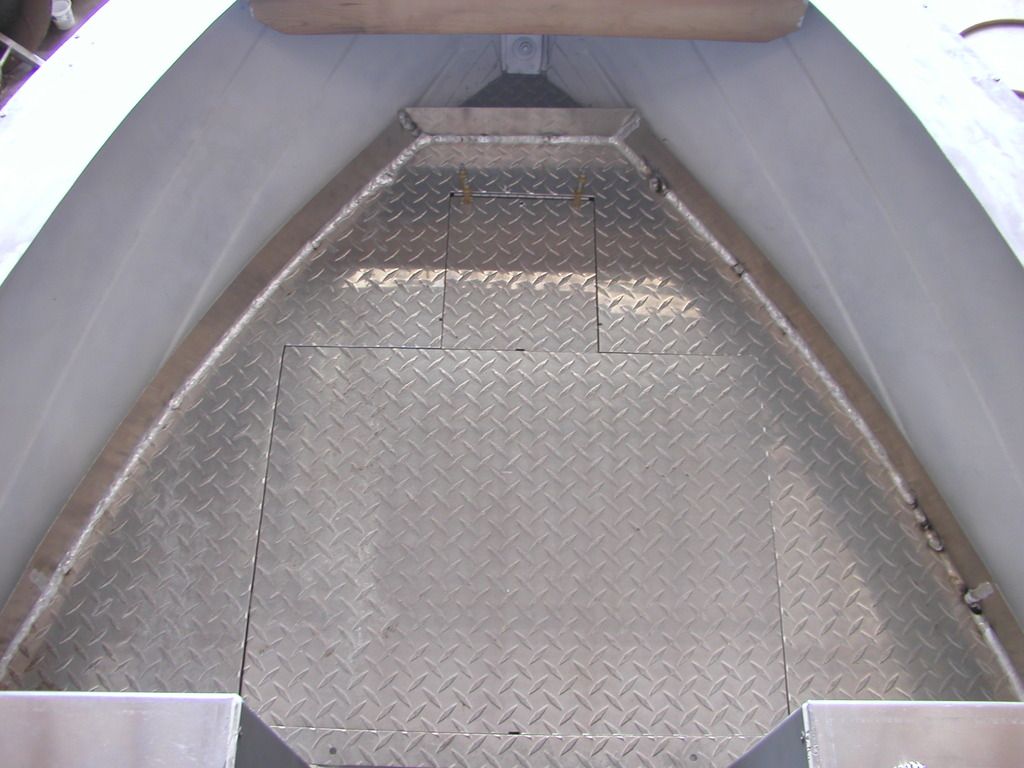
Do I make access doors or just remove the panels to run wiring up front? I think that'll be decided later depending upon my ambition.
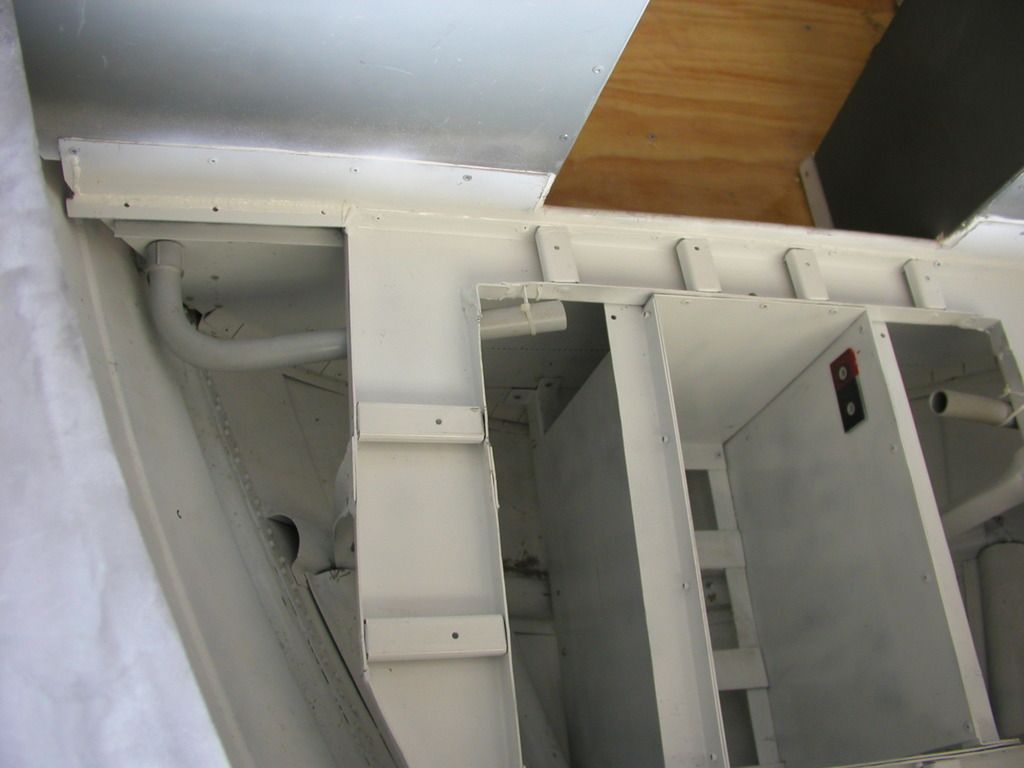
 

g0nef1sshn

Lieutenant
Joined
Feb 24, 2015
Messages
1,291
However you run the wires, maybe just run a couple extra runs for additional needs in the future or easier replacement/troubleshooting when needed without having to take too much apart?

That front deck with the water trough looks awsome btw.
 

Watermann

Starmada Splash of the Year 2014
Joined
Jan 12, 2013
Messages
13,787
Nice Ted it's looking like some solid work to me. How are you attaching the bow deck?

You could always put in some conduit that way you can run extra or replace wires without taking anything apart.
 

StarTed

Senior Chief Petty Officer
Joined
Jul 14, 2015
Messages
694
Thanks g0nef1fsshn and Watermann.

My main computer with XP died a while back and was replaced with Windows 10. Now my laptop died. A 2 year old with a 1T hard drive. The hard drive failed so I haven't retrieved my data yet. I'm told to put it in the freezer for a while to cool it down and dump the data fast. The repairman that installed a new smaller drive said that the 1T drives are bad for failing. Look for a number that is divisible by 80 such as 240, 320, 480 etc.

With the computer problems and Windows upgrades I've lost my use of Visio so my drawings are not readable. That said and the price and variety of newer Visio packages from Microsoft have me looking for another drawing package that I can use intuitively.

My plan is to run 1/0 welding cable from the battery in front down the port side to the starboard stern. I plan to terminate in lugs on both ends. The pass through the aluminum battery box in front will be through 2 holes bushed with insulator and slotted between to break eddy currents. 5/16 copper through bolts with 3 nuts on each should do the trick. In the battery box I plan to run cables from the copper bolts inside. That way I can easily replace the cables that will attach to the battery should they corrode. On the outside of the box I'll attach additional lugs for #10 wires that'll run up to terminal blocks in each console. At the stern end another couple of lugs in a terminal block to a couple of copper studs where I can connect the wires from the harness. Another possibility is a battery transfer switch should I decide to add another battery in the stern.

I like the PVC conduit idea. It should protect the wiring insulation from chafing. A problem area is where I pass through the aluminum and need 2 - 90 degree turns.

Today I hope to clean the aluminum diamond floor covers, prime and maybe throw on some paint. I'll probably hold off on permanently installing the floor until more of the wiring is done. Access is a little better right now.

Got to make the 2 through insulating bushings for the power bolt/studs. A little time on the lathe should make something.

Another project is I'm making a couple of folding aluminum tables to use in the boat or wherever. That'll take some time and TIG welding.
 

StarTed

Senior Chief Petty Officer
Joined
Jul 14, 2015
Messages
694
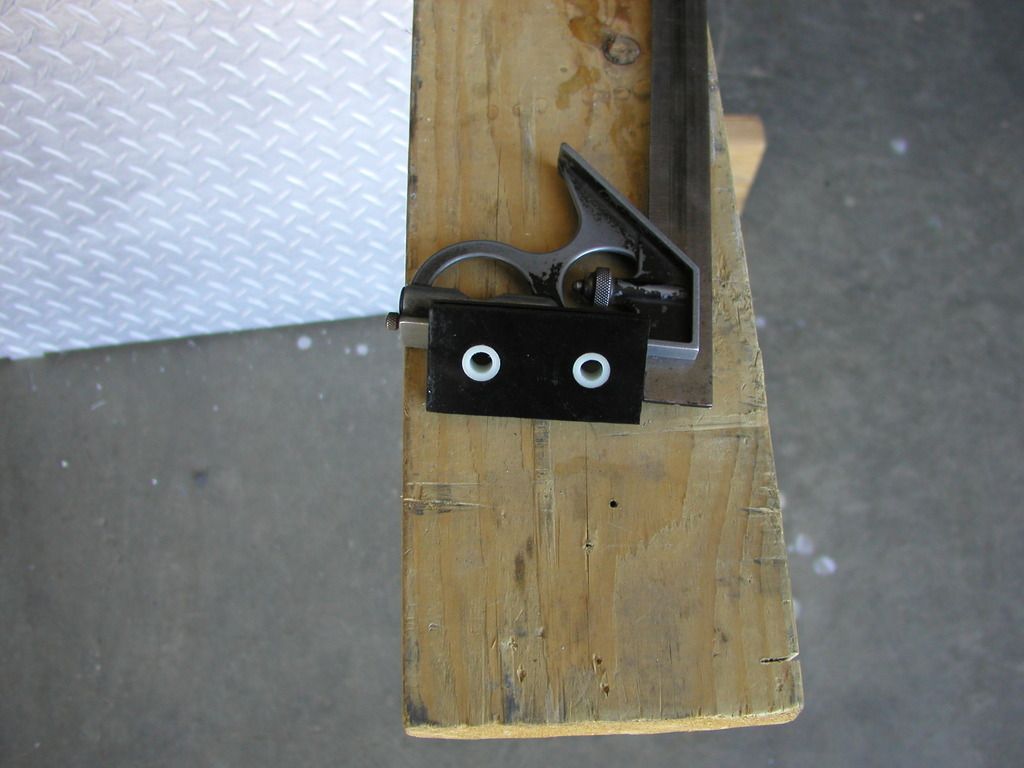
Made a through connector for the cables to the battery in the box.


The black is 1/8" thick acrylic and the white is nylon bushings. There are 2 black pieces, one for each side.


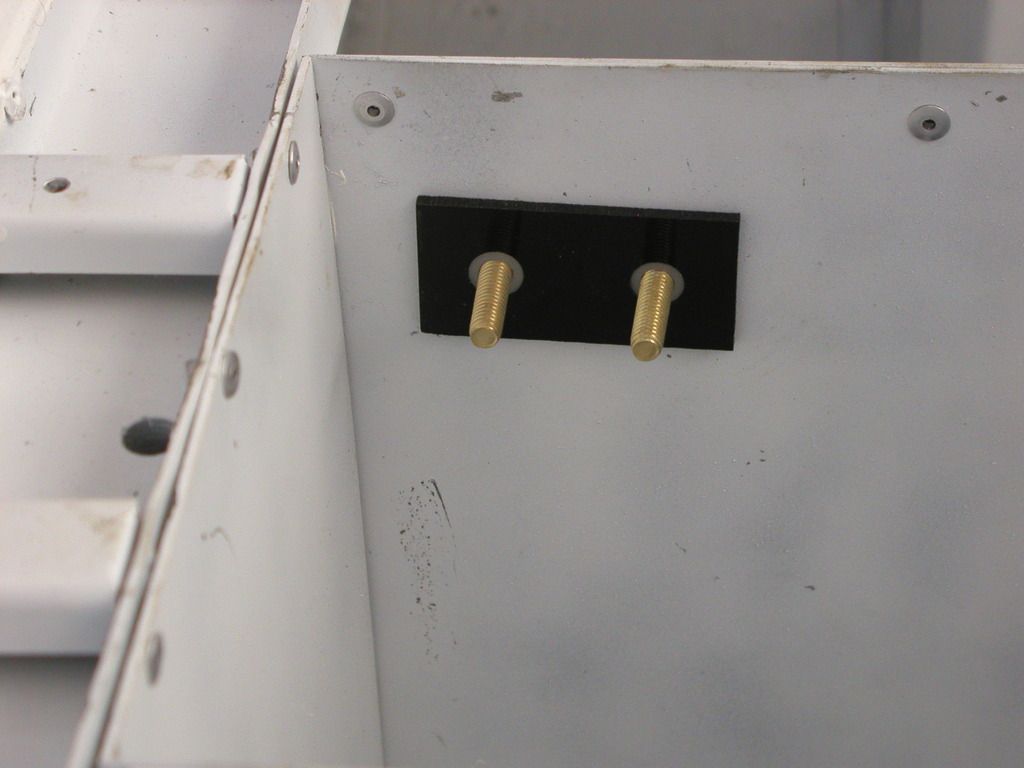
This is what it will look like when in place. I still have to saw the slot between the holes.

Next, off to a B-day party for a grandson.
 

StarTed

Senior Chief Petty Officer
Joined
Jul 14, 2015
Messages
694
Did a little more work on the boat.


3/4" conduit installed for port side console wiring.


This is the 3/4" conduit installed for the starboard side console wiring. I have a marine fuse block ordered for terminations.


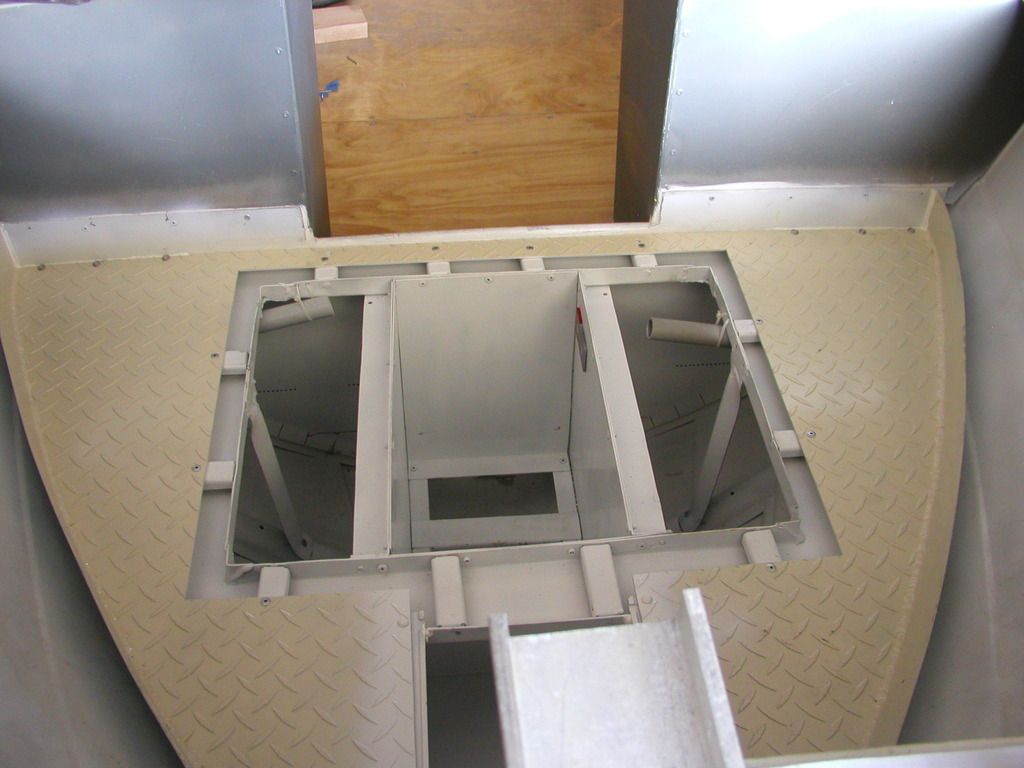
Here is the floor installed. The paint is an under coating for the final floor paint. I still have to decide what kind of paint to use that isn't slick and will hold up well to foot traffic.


The installed floor from the opposite direction.


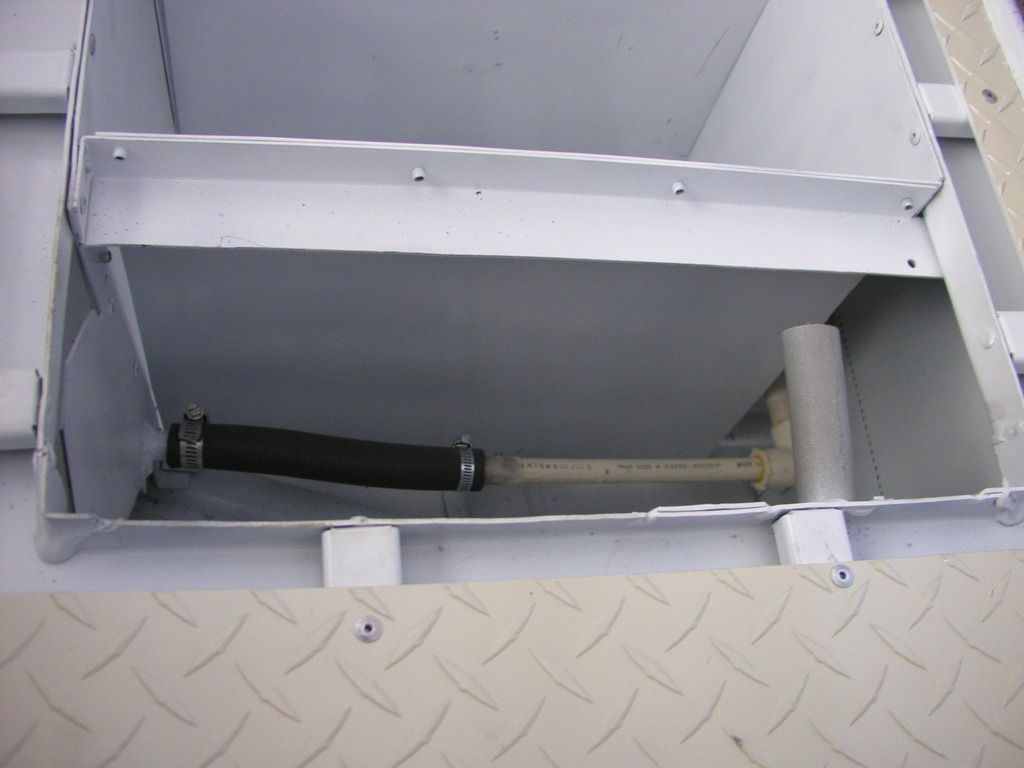
Here is how I connected the drain from the front storage. The black hose is heater hose.


This is how I ran the 1" PVC conduit from the starboard console to the front for navigation lights, etc. I know it is overkill but I didn't have any more 3/4" conduit on hand and I have plenty of this.

Now waiting for the 5200 to dry.

Have to make a run to town to pick up some battery cables so I can complete the wiring in the battery box. I also need something for a floor. Maybe some thick plastic would work such as a cutting board or ?

Next is to make some side covers out of aluminum sheets.
 
Top