1963 16' Star Dust I believe

StarTed

Senior Chief Petty Officer
Joined
Jul 14, 2015
Messages
694
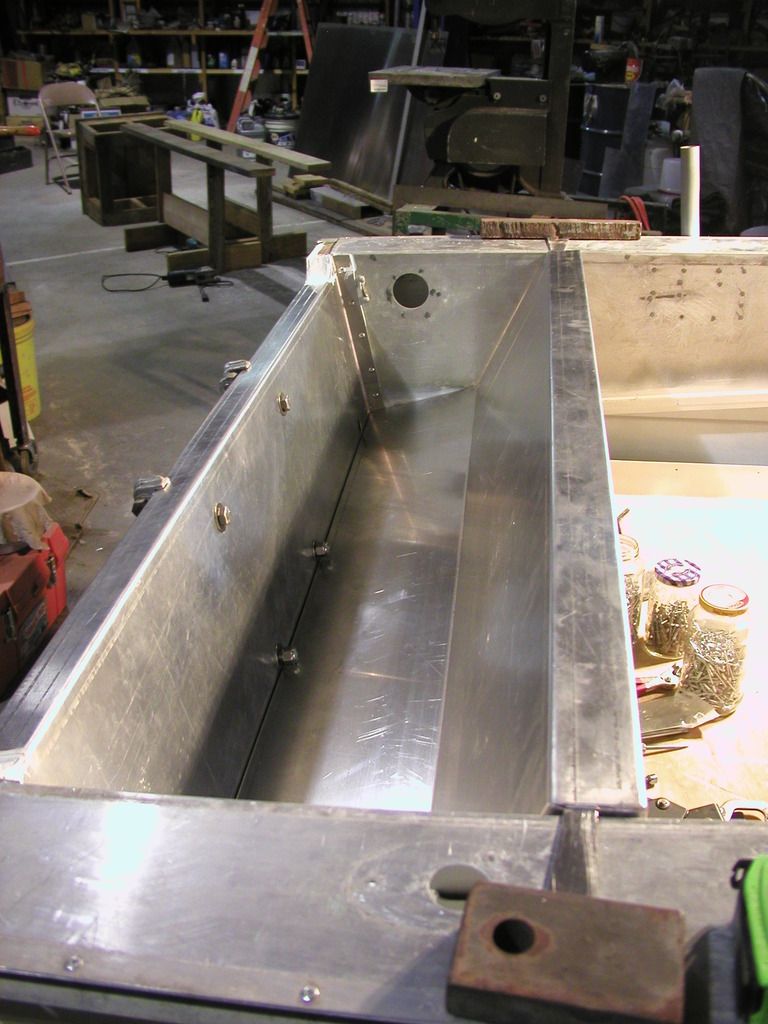
Today I spent most of my time fastening the gutters down the sides on the floor. They're sealed with 4000 and fastened with #10 SS 1/2" sheet metal screws.
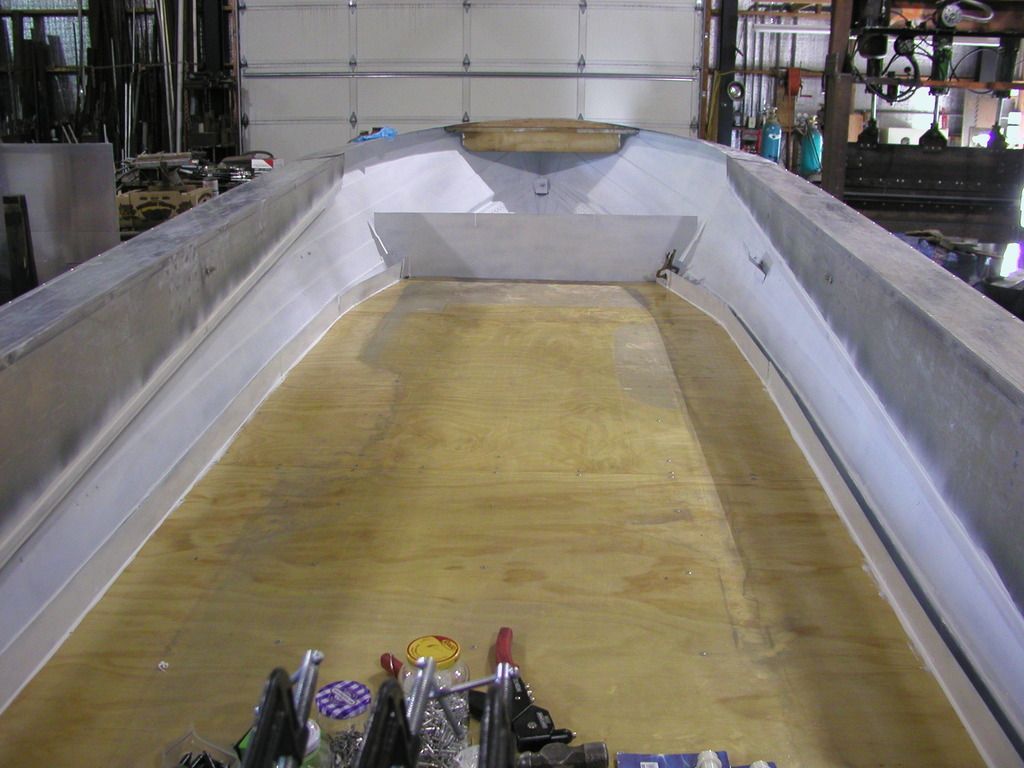


Looking at the boat from the transom.
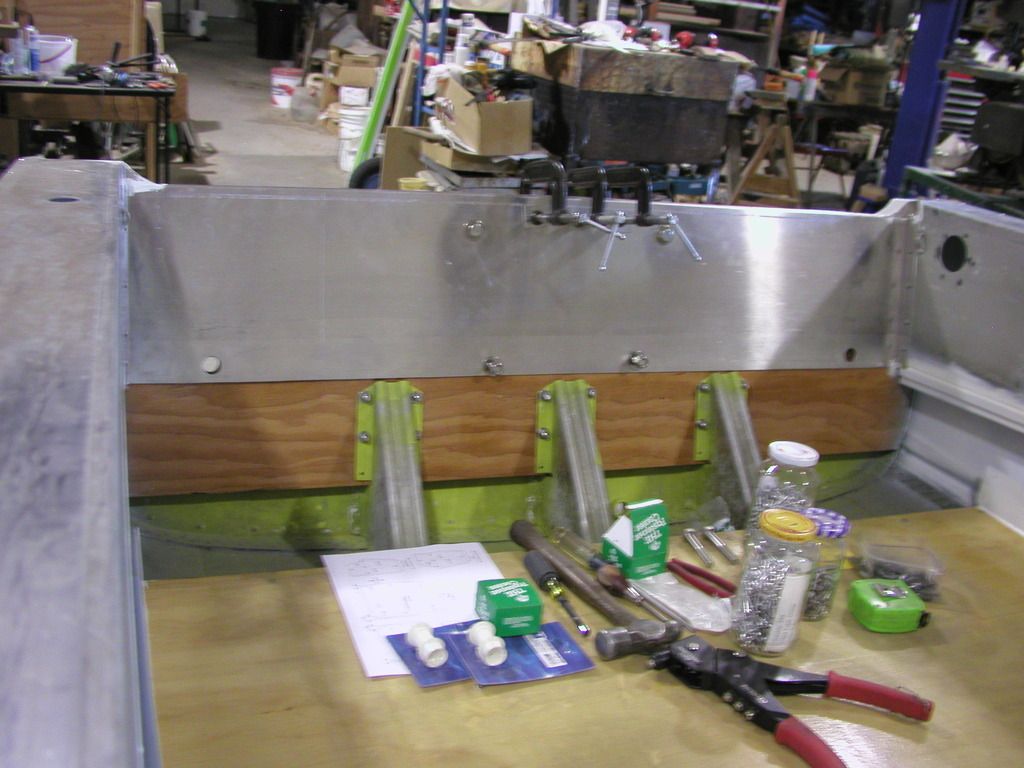


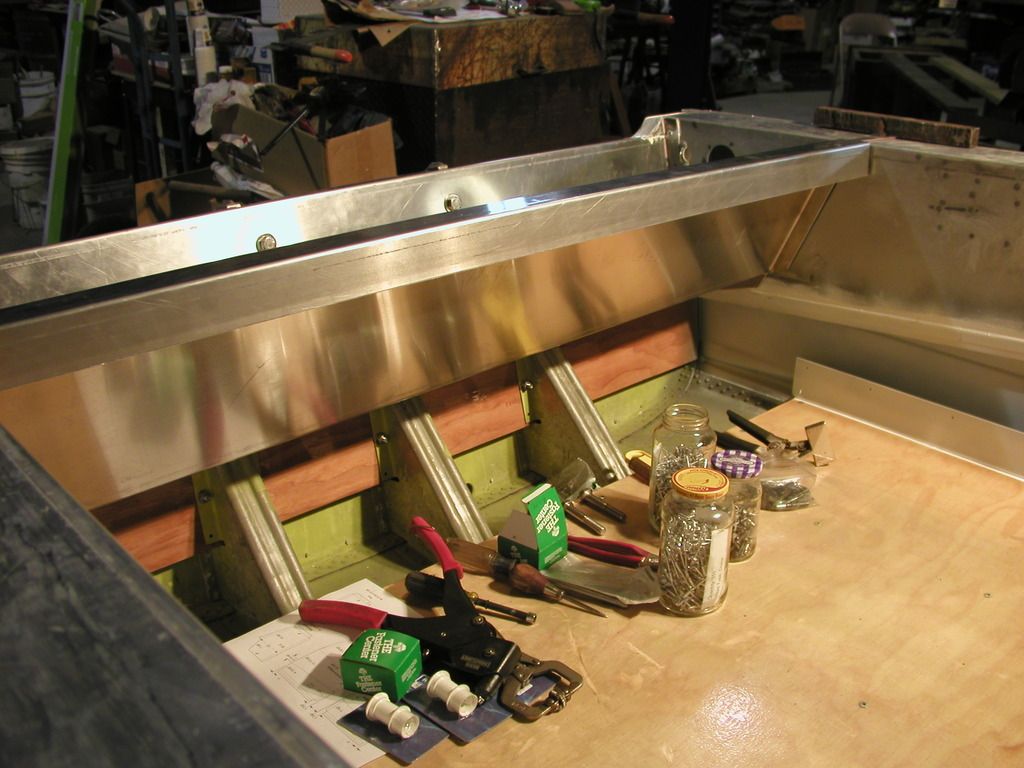
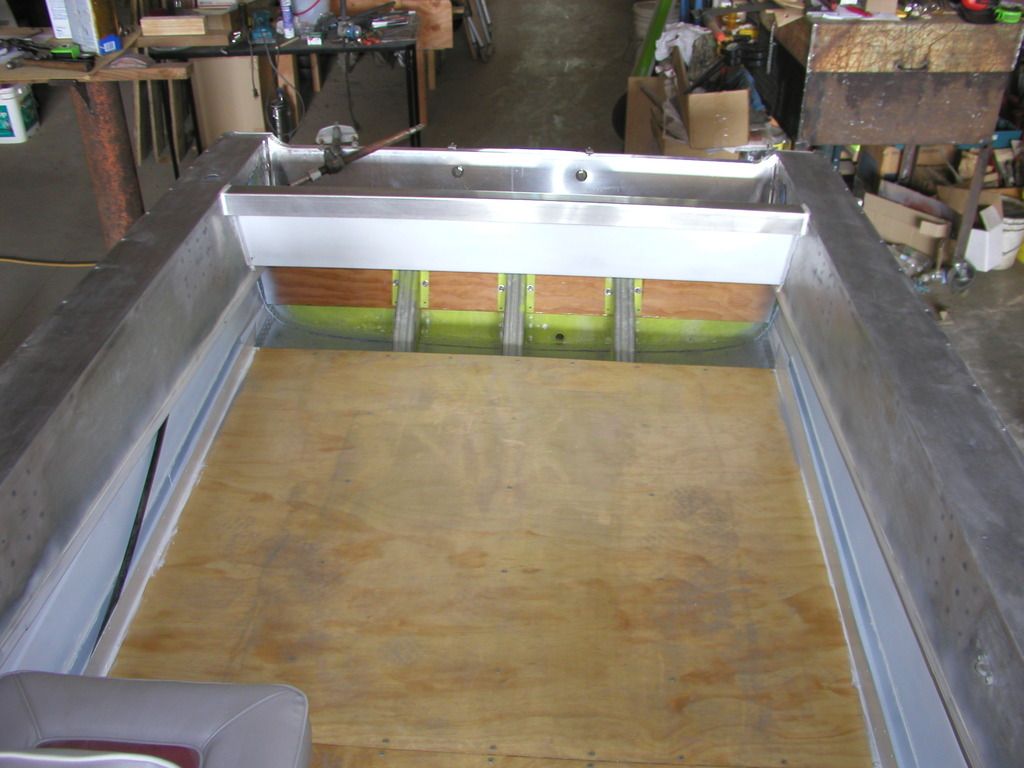
A view of the transom's 1/2 splashwell in place.
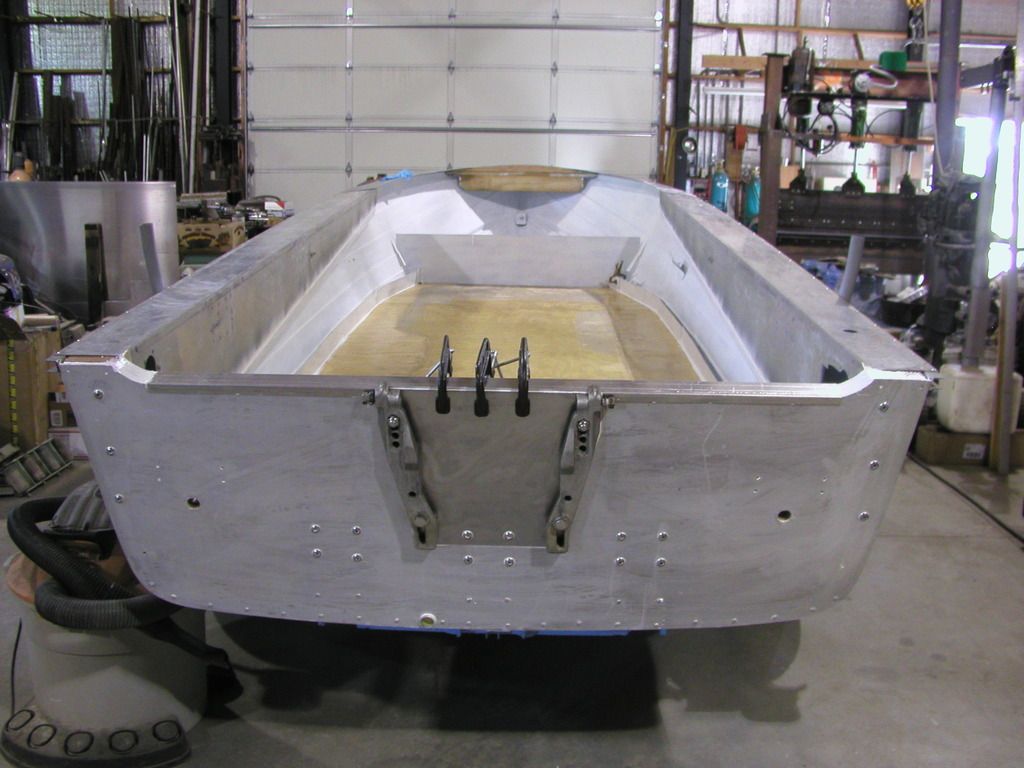


Looking at it from the rear. Clamps are in place because it is sealed with 5200 and curing above the SS motor mounting plate.

That's it for today.

Tomorrow is a day trip to Montana so maybe some more will get done on Thursday.

No luck on the grain bins and elevator leg but I have some more leads. It looks like I may have to part with some green stuff but so far I'm trying to at least break even. Getting down that elevator leg could be costly because it is so high and has lots of pipes coming down. Too high for me at this time of life.
 

StarTed

Senior Chief Petty Officer
Joined
Jul 14, 2015
Messages
694
Thanks JB.

I was able to tell that they are no longer made but not if they are SS or zinc plated or the diameter. There isn't enough space for anything greater than a #10.

Guess I'll keep looking and thinking about them.
 

jbcurt00

Moderator
Staff member
Joined
Oct 25, 2011
Messages
25,049
They are fairly small around. I think I used a 1/4in deep well socket to remove them. So probably a #10+/-

I dont have them sitting in front of me
 

oldhaven

Chief Petty Officer
Joined
Aug 30, 2015
Messages
576
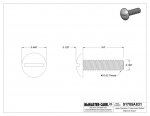
I am going to try to use this truss head machine screw by milling flats on the head so they have a approximately .375 to .390 width by .448 length. I was going to do this today anyway, since I am at that point myself by serendipity, and they arrived in UPS yesterday. They are stainless steel and I also got some SS knurled nuts to fit. I will let you know how it goes and if this works. I think another scheme that works was suggested by Watermann, using square nuts and threaded rod.

Ron
10-32 truss head.JPG
 

oldhaven

Chief Petty Officer
Joined
Aug 30, 2015
Messages
576
Well the 10-32 truss heads work if they are milled on opposite sides of the head to provide .390 across the flats. I found that the 10-32 thread major diameter of the threaded shank was just a bit big to slide easily in the slot, so a few strokes with a file on the threads just under the head at the same location as the flats on the head and they fit OK. The truss heads I got are not .448 diameter as the print shows, but .432, so there is not as much interference and resistance to turning as I would like, with only about .040 difference. I'll probably use this method on mine, but torqueing on the nut will have to be done carefully so the aluminum in the windshield extrusion is not distorted, causing turning. I don't plan to remove the windshield again anyway. I can't guarantee it will work on another boat's extrusion.

Another plan would be to cut some 1/2 inch long pieces of 3/8 x 1/8 alum bar and drill and tap the center 8-32. Then 8-32 truss head screws could be red Loctited into the bar, fit the slot better, and that would probably work great, but requires more effort.

Hope that is some help, as the mostly unavailable Taylormade T-bolts are pretty expensive if you can even find them.

Ron
 

Watermann

Starmada Splash of the Year 2014
Joined
Jan 12, 2013
Messages
13,795
Man those are some seriously awesome consoles you made. Unreal and crazy skills for sure :thumb:
 

Decker83

Commander
Joined
Apr 5, 2011
Messages
2,593
I agree with Watermann ^^^^
It does help to plan out the bends that need to go first.. I have found myself in the same predicament..:laugh:
 

StarTed

Senior Chief Petty Officer
Joined
Jul 14, 2015
Messages
694
Just got back from Missoula. 4 hours driving time each way through several rain showers. Things are improving so it was a good visit and trip.

Thanks oldhaven for the input and advise.

I'm wondering if a flat washer could be used by cutting the head off a screw and sticking it through a little then hit it with a TIG. Might have to use a thicker washer and countersink it a little to make it flat after the weld.

I find that using a piece of copper tubing that is flattened on one end and bent at a 90 works well to stick a bolt in for welding on the head. It protects the threads and makes a good conductor for the ground clamp when clamped on to my steel welding stand

Thanks Watermann and Decker83 for the kind comments. Like all of us, I see the imperfections but I'm learning.
 
Last edited:

oldhaven

Chief Petty Officer
Joined
Aug 30, 2015
Messages
576
I don't have a welder, so I am restricted to mechanical fastening. If you have a TIG you have better options and the washer with a screw welded in is a good one. You shouldn't need to cut the head off as there is a lot of room in the channel, at least on mine. Look at 8-32 so the screw fits more easily than 10-32, and if you get the length right you could use acorn nuts inside the boat so no sharp screw ends.
 

StarTed

Senior Chief Petty Officer
Joined
Jul 14, 2015
Messages
694
I may try your suggestion using a 8-32 SS screw with a fender washer welded on under the head. The sides could be bent up kind of like the original T bolts look. In fact, just bending them up could be enough without any welding.

Did a little more today.

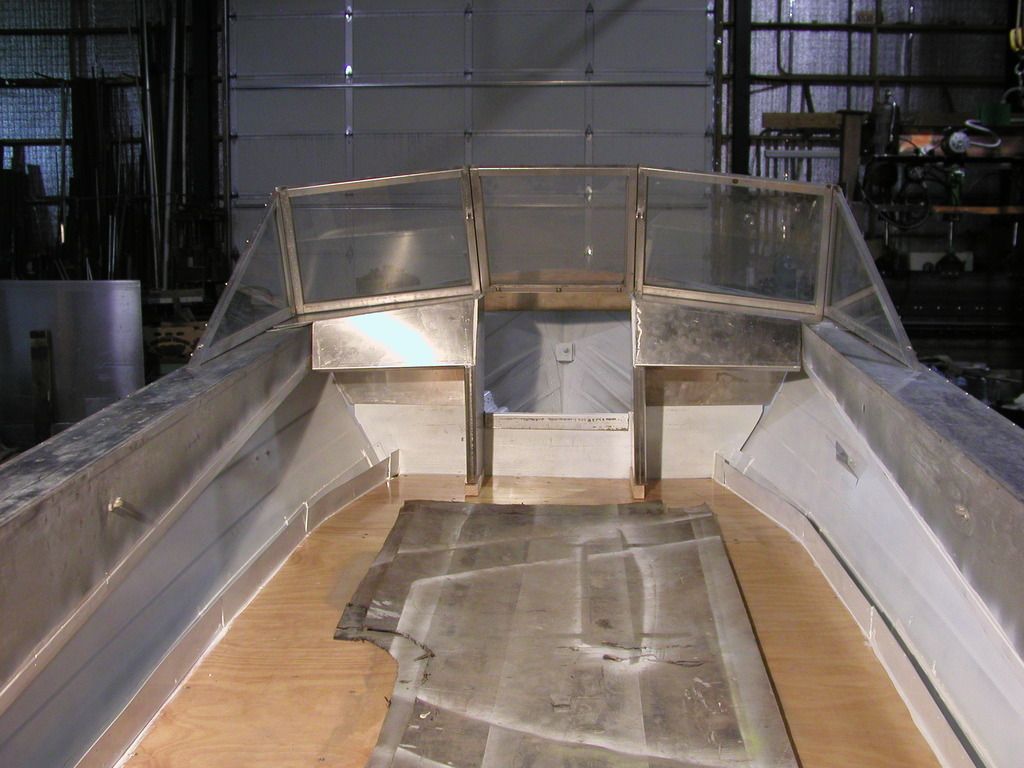
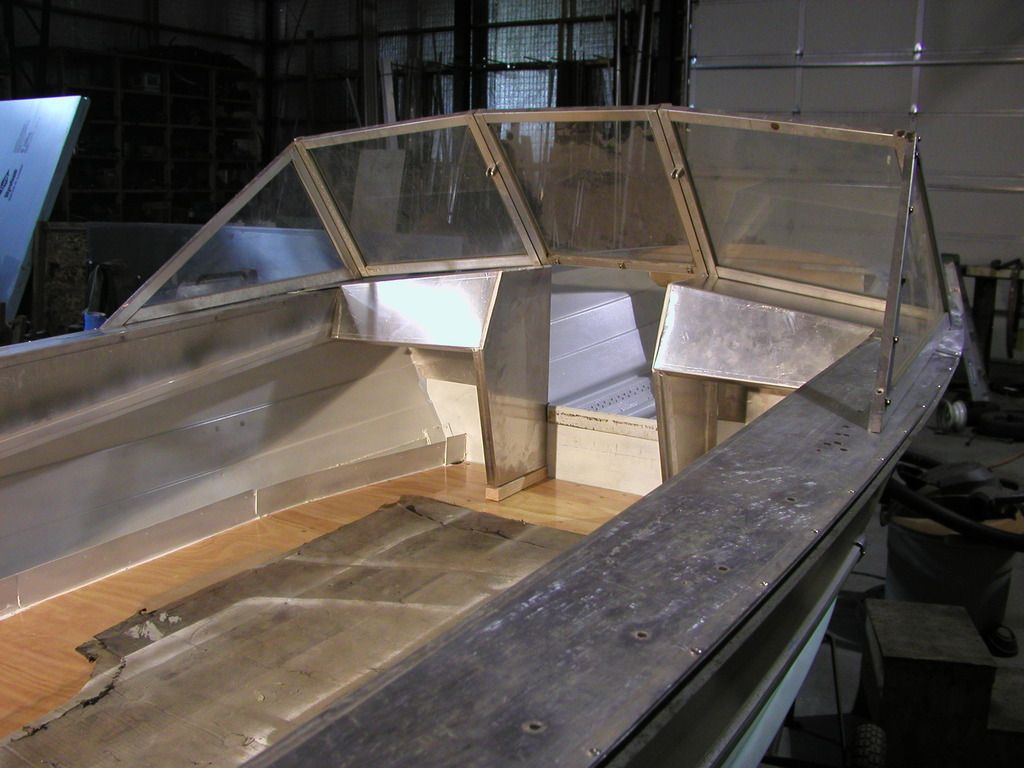
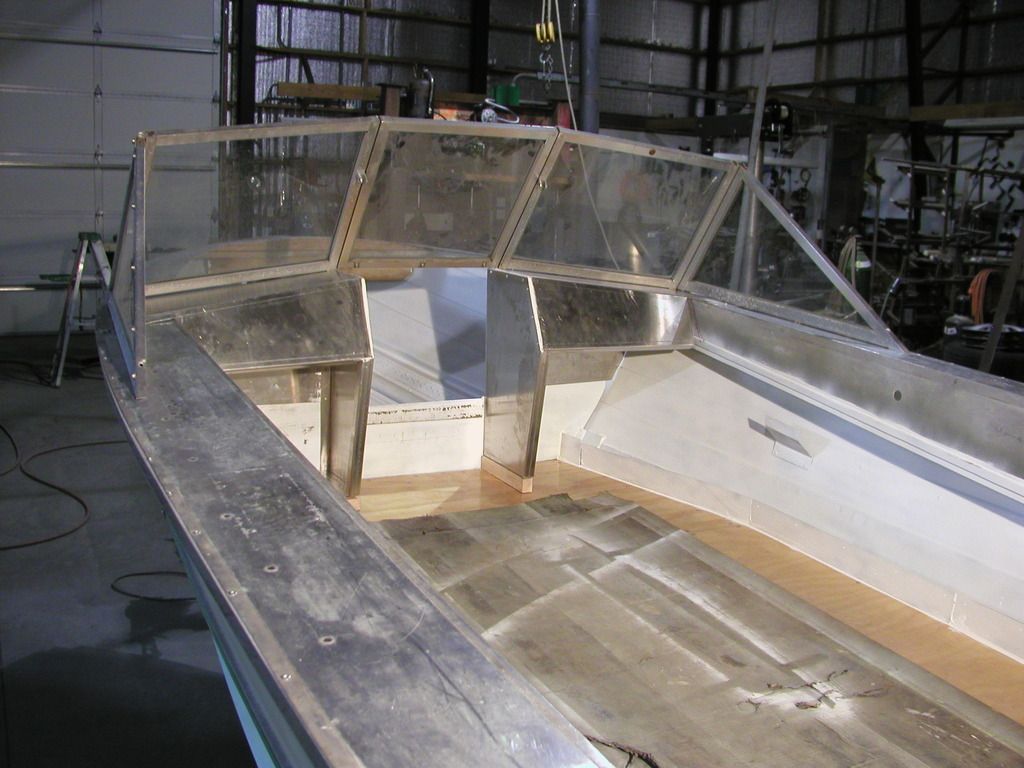
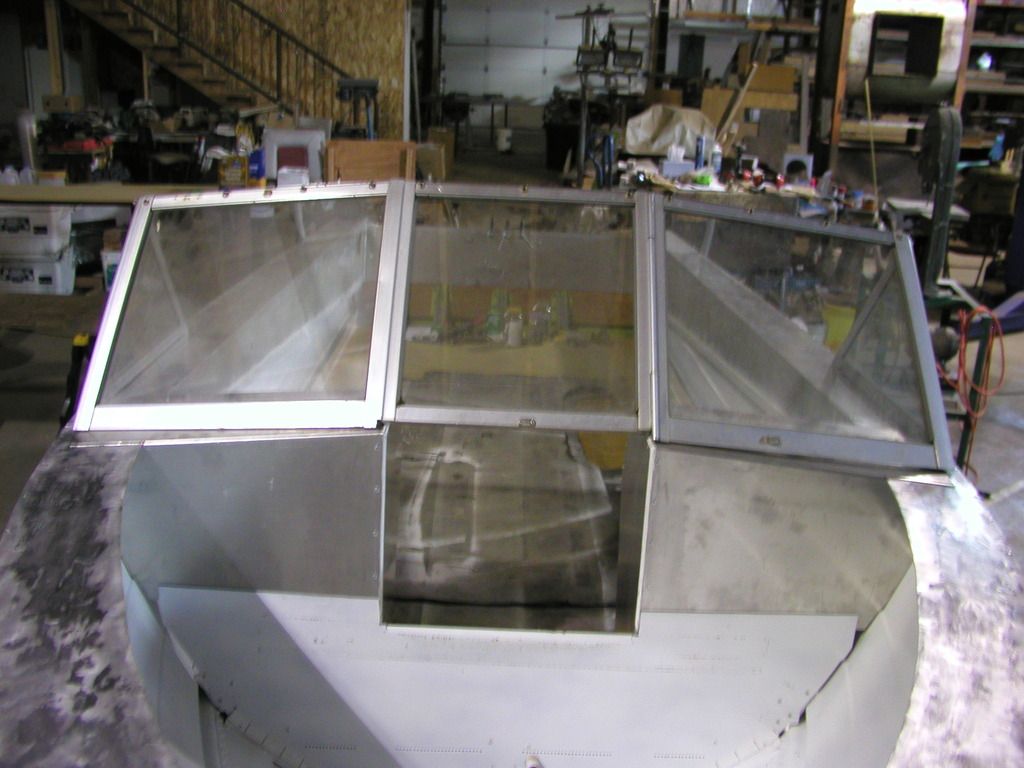
I just set in the consoles and laid on the windshields to see how it looks. Didn't even bother to clean up the windshields.

Think that setup should work OK.


It was a bear rolling that center piece of aluminum over. I clamped on several 1/2" thick steel angles and plates to hold the piece while bending. It worked but now I'll need to bring out some more primer and paint. The final color I hope to use will be a light gray inside with deep red on the tops.

Tomorrow should be a nicer day with less rain leading to some nice days following.
 

Watermann

Starmada Splash of the Year 2014
Joined
Jan 12, 2013
Messages
13,795
Nice fit on the consoles :encouragement:

It might have been easier to find a 16' SS :lol:
 

StarTed

Senior Chief Petty Officer
Joined
Jul 14, 2015
Messages
694
Nice fit on the consoles :encouragement:

It might have been easier to find a 16' SS :lol:


Thanks. I'm sure it would have been easier with something newer. The wife will shoot me if I bring home another boat at this time.

I cut out and bent up the second half of the splash well and set it in place to see how it looks.


I'm thinking about making a curtain to attach to the front of the splash well to hide everything behind it. I have some black belting material in a roll that is 2' wide. It could be cut in strips at the bottom to make it easier to get behind it when needed.

Then again maybe some kind of fabric might be better. Whatever I use it needs to be heavy enough so it doesn't flap while under way.

Does anyone have any suggestions?
 

Watermann

Starmada Splash of the Year 2014
Joined
Jan 12, 2013
Messages
13,795
You're really making some headway, talk about some fancy tin work :hail:
 

StarTed

Senior Chief Petty Officer
Joined
Jul 14, 2015
Messages
694
It sure helps to have that brake.

I'm still getting used to making the bends in the proper locations to make things fit between two rigid places.

This afternoon I leveled some dirt with my Kubota then changed the oil and filter.

After that I went back and finished locating the splash well and drilled holes for screws into the transom and also holes for 5/32 pop rivets into the sides. I have the pop rivets but not any SS screws long enough. I'm thinking 1" screws should be adequate to hold that piece of aluminum tight with 5200 in between everything.

I took it back out and will clean it with acetone before securing it in place with 5200 in between.

Now I'm waiting for the screws.
 

StarTed

Senior Chief Petty Officer
Joined
Jul 14, 2015
Messages
694
Got the splash well installed permanently and installed the consoles yesterday.

This morning was spent mowing grass.

This afternoon I mounted the steering control and temporarily set on the wheel. I debated about whether to straighten the steering wheel in line with the boat or leave the 3 degree offset. I left the offset figuring it wasn't worth the effort and could be kind of handy if standing in the center of the boat.


The splash well with steering control just sticking out on that end.

I plan to at least temporarily mount the motor before drilling and mounting that end of the control. I see it was originally installed with rusty bolts. I plan to get and use some 5/16 ss bolts.


The consoles installed along with the steering mechanism and the wheel setting on for the picture.

Set in a seat to see how it looks. Think it'll work OK.

Now it's time to watch 5200 dry and round up some more ss fasteners and a Woodruff key for the steering wheel.
 

classiccat

"Captain" + Starmada Splash Of The Year 2020
Joined
Dec 20, 2010
Messages
3,412
The tin-force is strong with this one!

Top-shelf work right there! :thumb:
 

StarTed

Senior Chief Petty Officer
Joined
Jul 14, 2015
Messages
694
Been thinking about what to do with the bow area. Should I custom build and install a gas tank or make room for batteries below a diamond plate aluminum raised floor?

Then there's the area behind the splash well lip that could be covered. I'm thinking of some kind of curtain.

I still need to cut out and install covers on the sides between the gunnels and gutters.

It's almost time to look into the motor. Should I start a new posting for its rebuild? I know that #2 cylinder had a water leak when I bought it. That means a gasket set at the least, water pump, thermostat, carbs cleaned and tune up. By the way, it's a '76 Evinrude 75 HP with a jet pump.

That brings up the problem with running it for testing. Can't use muffs or a barrel.
 
Top