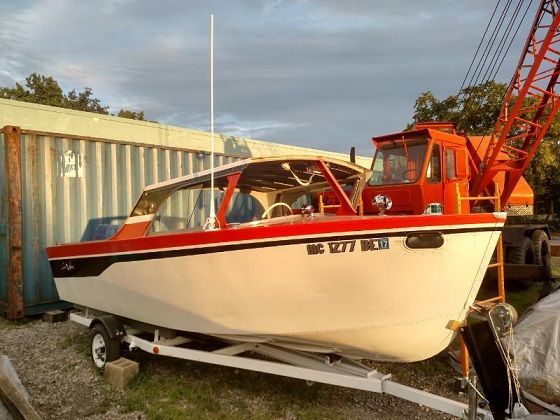
1959 Lone Star El Dorado "Project Texas Tornado" - Winner 2016 Resto SOTY Award

Watermann

Starmada Splash of the Year 2014
Joined
Jan 12, 2013
Messages
13,798
Looks super, I love the clean white and the smooth vinyl on the side panels. Won't be long now!
 

Woodonglass

Supreme Mariner
Joined
Dec 29, 2009
Messages
25,928
One note about the panels. In most cases but NOT all, upholsters will use 1/4" scrim foam glued to the panels prior to covering them in vinyl. It actually helps from damaging the vinyl and looks good to. It does increase the costs a bit. (usally about $10 bucks a yard 36" x 60" 2-3 yrds would prolly be all that you would need. I'm posting this for future iBoaters that see your restoration and can learn from it.
 

Luke000

Restoration Forum Splash of the Year 2016
Joined
Aug 19, 2013
Messages
346
One note about the panels. In most cases but NOT all, upholsters will use 1/4" scrim foam glued to the panels prior to covering them in vinyl. It actually helps from damaging the vinyl and looks good to. It does increase the costs a bit. (usally about $10 bucks a yard 36" x 60" 2-3 yrds would prolly be all that you would need. I'm posting this for future iBoaters that see your restoration and can learn from it.


Good tip! I think at some point in the future if I ever have the need (vinyl get damaged or pulls away from the board) Ill go back and do the 1/4 scrim foam , but for now it gets me one step closer to being out on the water :D
 

Frey0357

Petty Officer 1st Class
Joined
Mar 13, 2014
Messages
313
Looks good Luke! The flooring looks good and sealed, transom looks awesome!

Keep up the good work, cant wait to see the splash!

Frey
 

Luke000

Restoration Forum Splash of the Year 2016
Joined
Aug 19, 2013
Messages
346
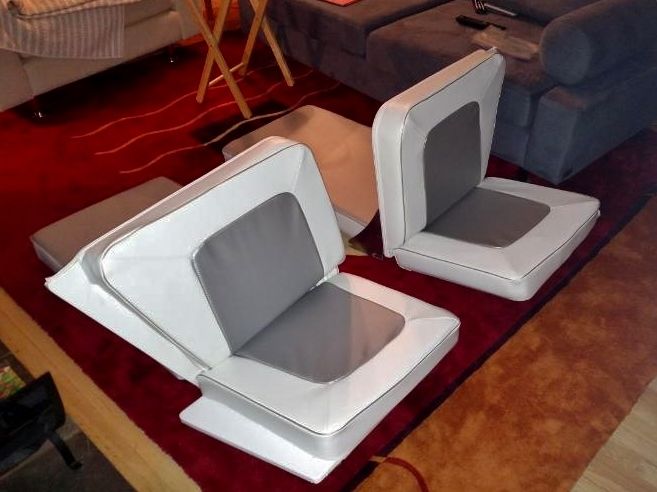
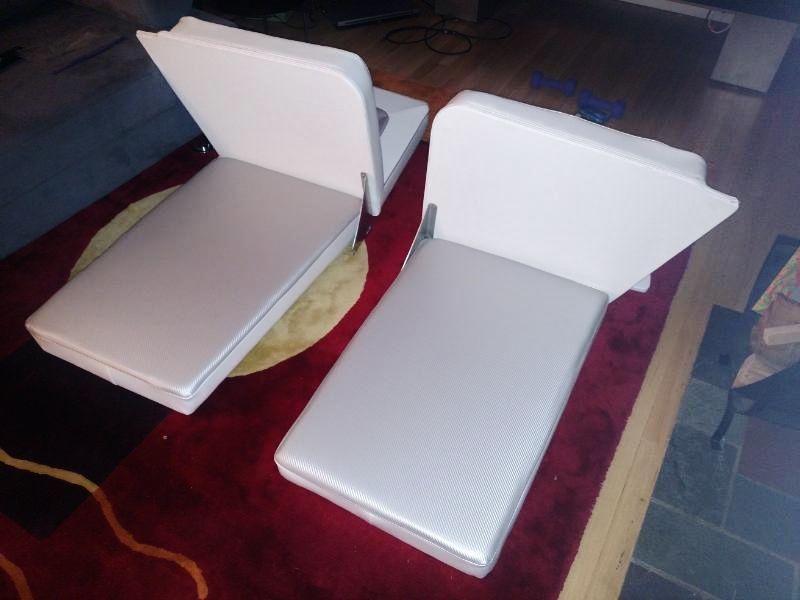
Guess who officially finished upholstery tonight!?!?! :D:D Turned out pretty good if I do say so myself, Mom and I worked pretty hard on these.

I was also at the boat today- installed the speedometer and started running some electrical wires.

It wont be long now... I have a goal finish date or at least a presentable date of August 27 for the GreatLakes Antique Outboard & Boat Show.

Me remaining list as of 7/31 - 8/1 2016, and if I am missing anything please let me know:

Electrical:
-Battery nstalled
-Navigation lights
-Interior lights
-Horn
-VHF

Floor:
-Carpet

Windows

Misc:
-Thru hull fittings
-Hand rail
-Gauges
-Misc painting
-Badges


And some pics of the seats:


Watermann

Starmada Splash of the Year 2014
Joined
Jan 12, 2013
Messages
13,798
Your list is getting shorter and the most fun are all the finishing touches that bring it all together. Nice work on the seats!
 

Luke000

Restoration Forum Splash of the Year 2016
Joined
Aug 19, 2013
Messages
346
Quick question for the knowledge base- what are those called that act as the drain for the splash well? My old ones got destroyed in the transom removal process. I beleive they are some sort of flair/compression/squeeze fitting that you need a special tool to to install and flair the one end once its through the transom. I think I know a shop up the road that does them and I want to know what to ask for.
 

Watermann

Starmada Splash of the Year 2014
Joined
Jan 12, 2013
Messages
13,798
Drain tubes, you can replace them with the aluminum one or go plastic. If you use the aluminum ones you'll need to flare them.
http://www.iboats.com/Drain-Tube/dm/cart_id.807561977--session_id.525418494--view_id.39188
http://www.iboats.com/Seachoice-Spl...07561977--session_id.525418494--view_id.20368

flaring_tool_240.gif
 

Luke000

Restoration Forum Splash of the Year 2016
Joined
Aug 19, 2013
Messages
346
No Title

Thanks for the info! Just what I was looking for.


I meant to post this last week but boat work took my attention...
 

Attachments

  • photo250086.jpg
    photo250086.jpg
    39.7 KB · Views: 0

Luke000

Restoration Forum Splash of the Year 2016
Joined
Aug 19, 2013
Messages
346
Quick update before I run off to work.

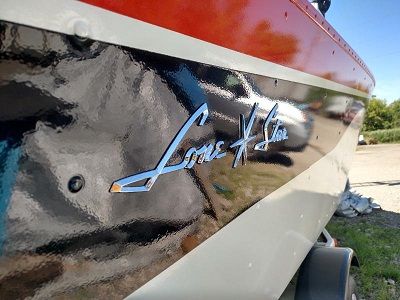
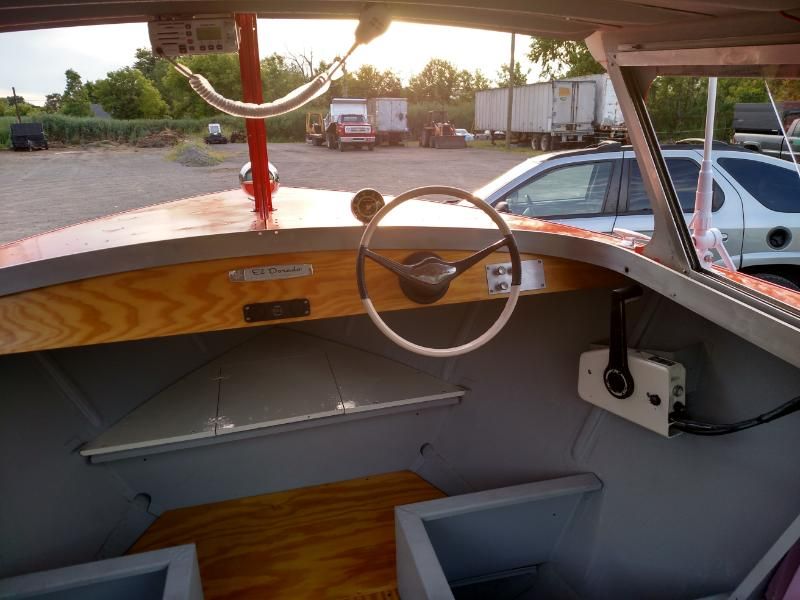
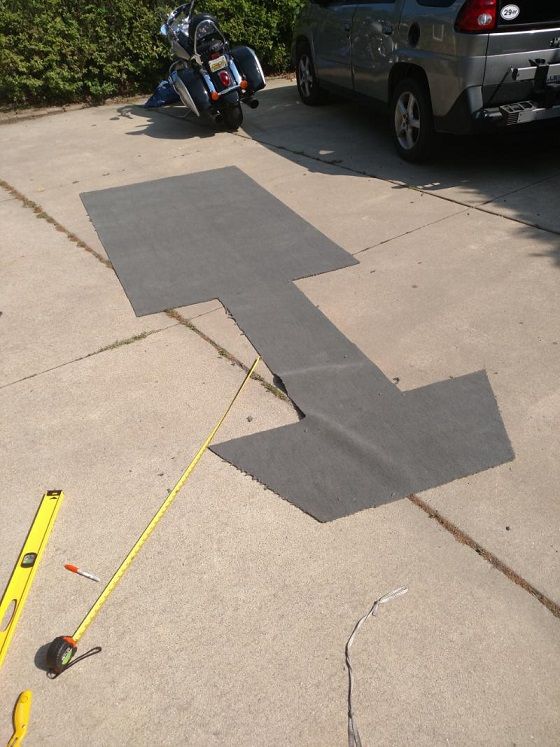
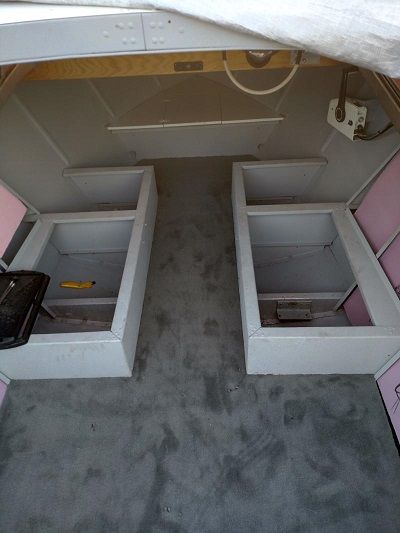
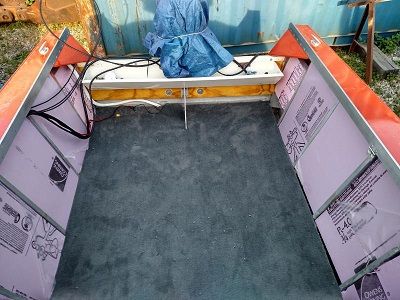
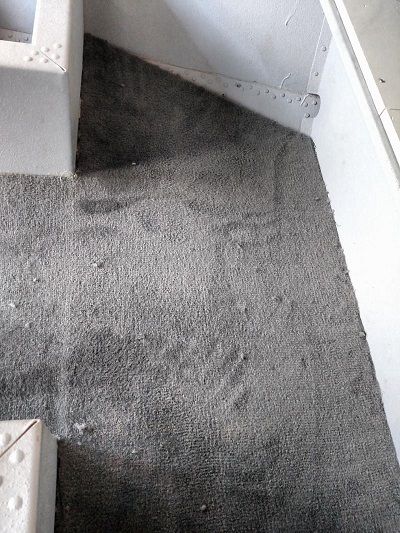
I got the side emblem on with new barrel nuts, installed VHF, nav lights, horn and all other (for now) wiring in and finished. Eventually I want to put in some interior lights but was unable to make my mind up what lights I wanted. The two side windows cleaned up and in yesterday along with the registration numbers and carpet. I used some 20oz marine carpet I got on eBay, and some Roberts 6700 carpet glue.

She is getting close now! I can taste it, only a few more days of work left I think.


Watermann

Starmada Splash of the Year 2014
Joined
Jan 12, 2013
Messages
13,798
Getting down to a pretty short to do list, it won't be long now!
 

Frey0357

Petty Officer 1st Class
Joined
Mar 13, 2014
Messages
313
Wow! Really close now. Looks really good...the end is in sight, it has to be! :D

Frey
 

Luke000

Restoration Forum Splash of the Year 2016
Joined
Aug 19, 2013
Messages
346
Well I think this might be the last update on the project before the boat is done and at the show on Saturday! The boat is pretty much done minus a few little small things, a cleaning and engine tuning. I dont have any pictures of the project as a whole but I do have some of little things I did.

I went to clean up the hand rails for the roof and the OE aluminum thin wall tubes were very corroded to the point where I could not properly clean them up so I went to buy new 7/8" tubes. At the metal shop I found that solid 7/8" diameter 6061 extruded bars were 1/3 of the price of drawn tubes! The finish on the extruded bars was not the great compared to the drawn tubes. So.... I bought the solid bar, checked it up to the lathe and did a sanding and scotch-brite buffing then cut it to length. I ended up with a great satin finish and the solid bar gives a nice feel mounted to the roof.

The raw extruded finish...
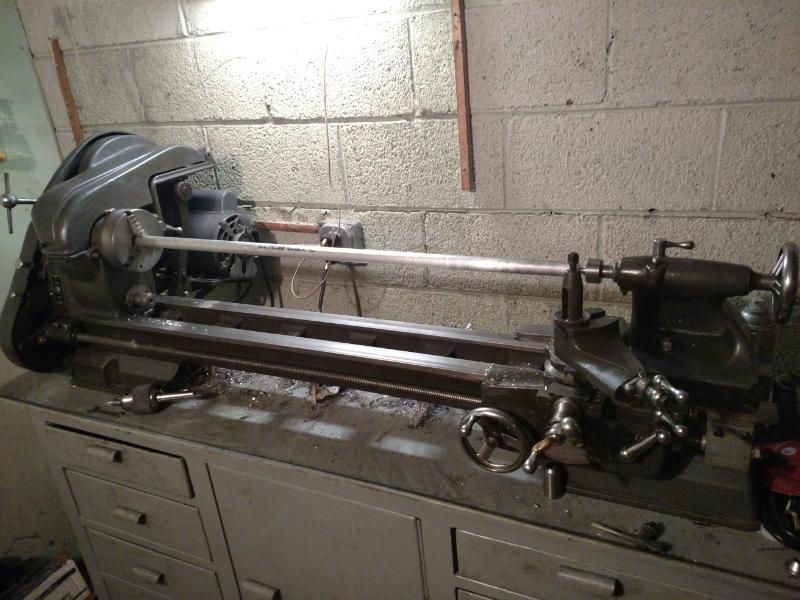


The final finish...
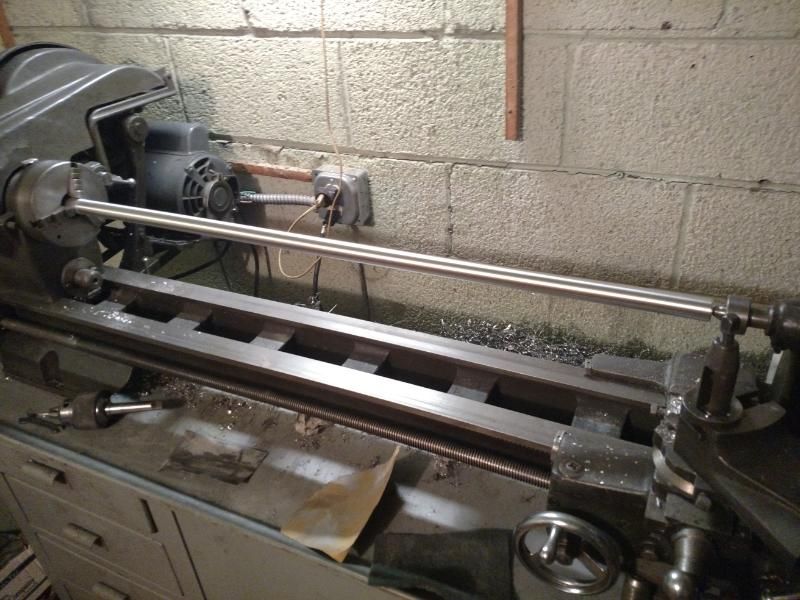


Up close..
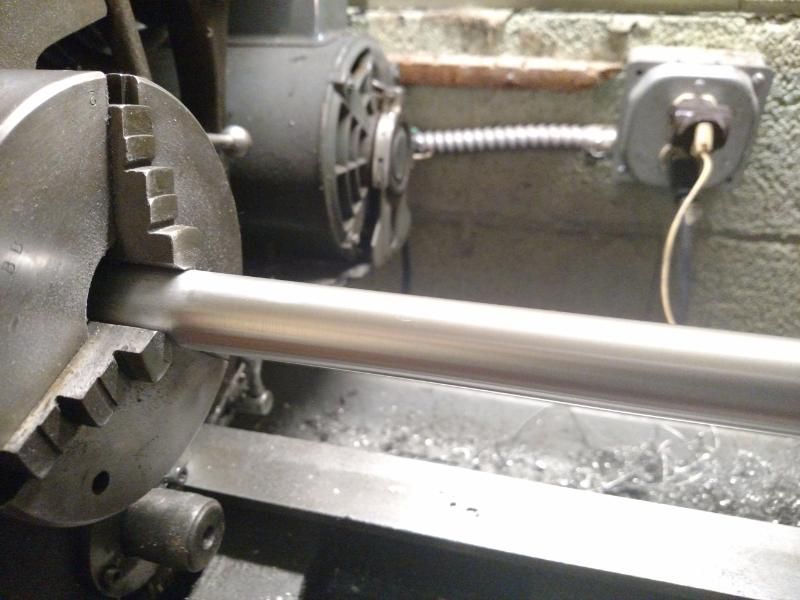


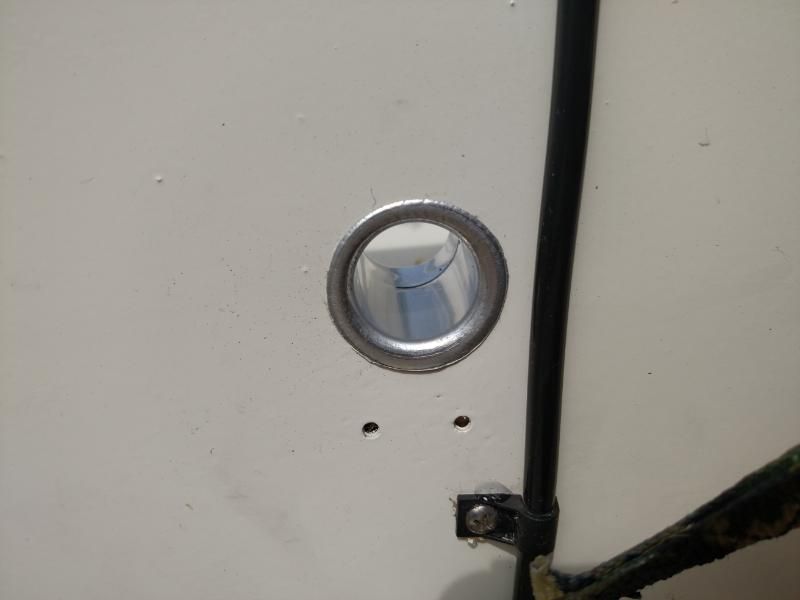
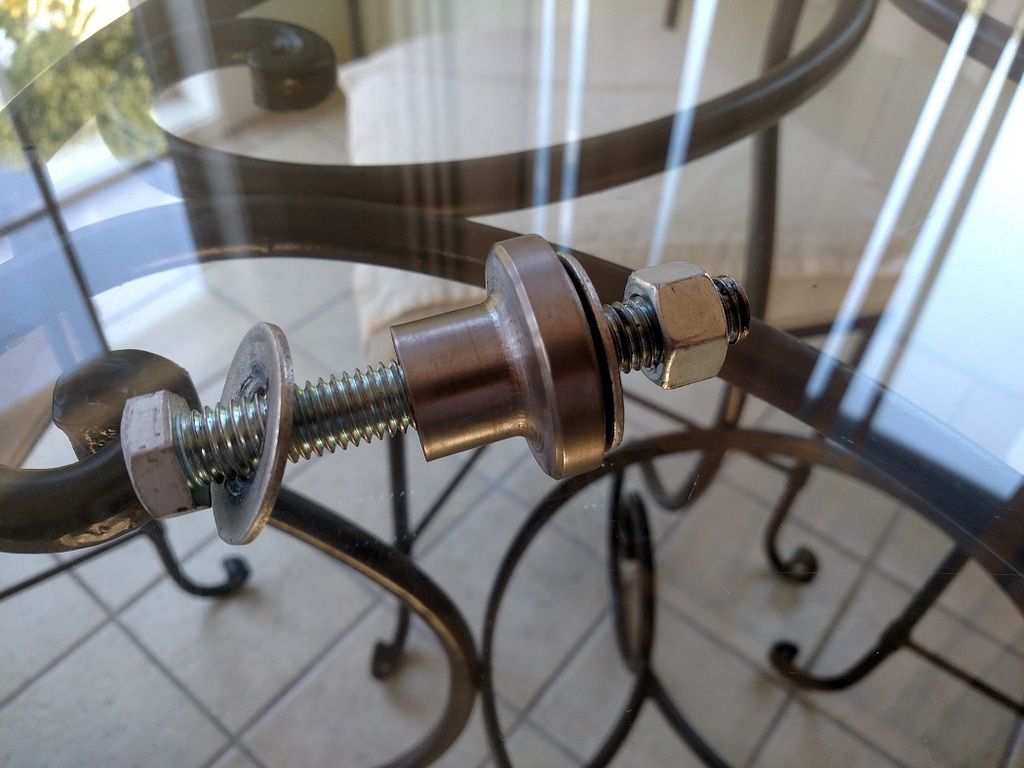
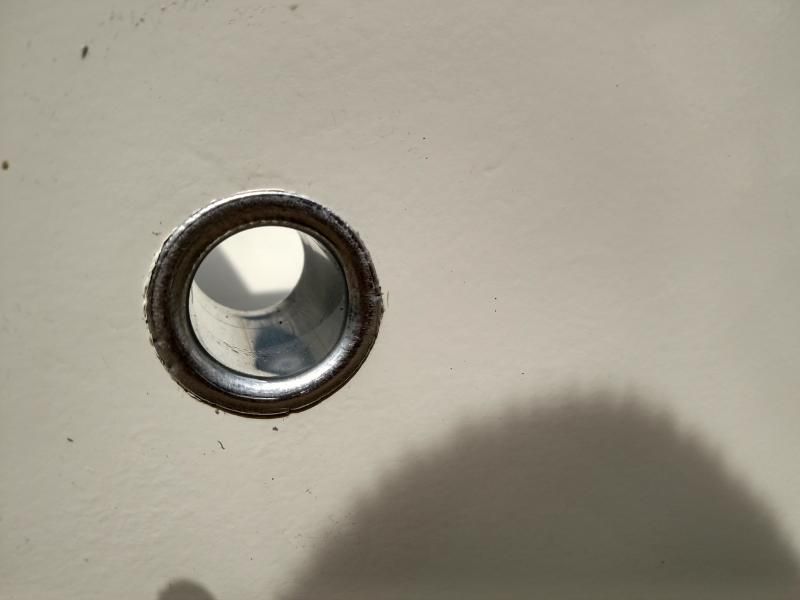
Next was the drain tubes for the splash well. After looking at the plans for the flairing tool and the local outboard shop wanting $25 a day to rent theirs I decided to make my own, again cue lathe. I used a 1/2" nut bolt, 2 fender washers, and then turned the flairing portion out of some scrap 1018 steel (not stainless :cold:) I put the tubes in and cut them to length put some 5200 in the holes, put the tool in and hit it once with the air ratchet- result was pretty professional looking IMO. ANd now I have a tool for the next project!


The flaired ends:


Top