18' 84 Sylvan rebuild

REdington

Petty Officer 3rd Class
Joined
Apr 22, 2014
Messages
97
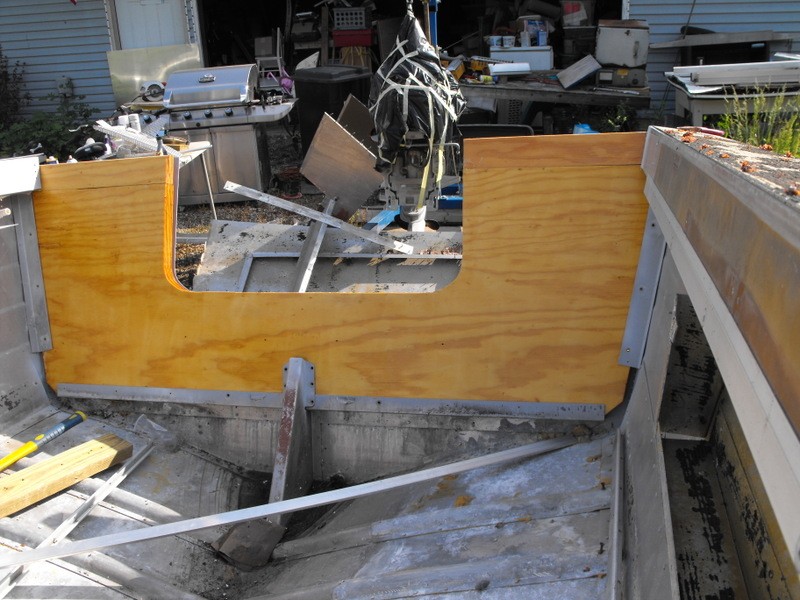
Got the JB on the inside of the transom, the wood cut, dry fitted and some holes drilled (ones that are used to bolt the transom in) and sealed (waiting for it to dry). I'll drill all the others after it is mounted and seal them well at that time.


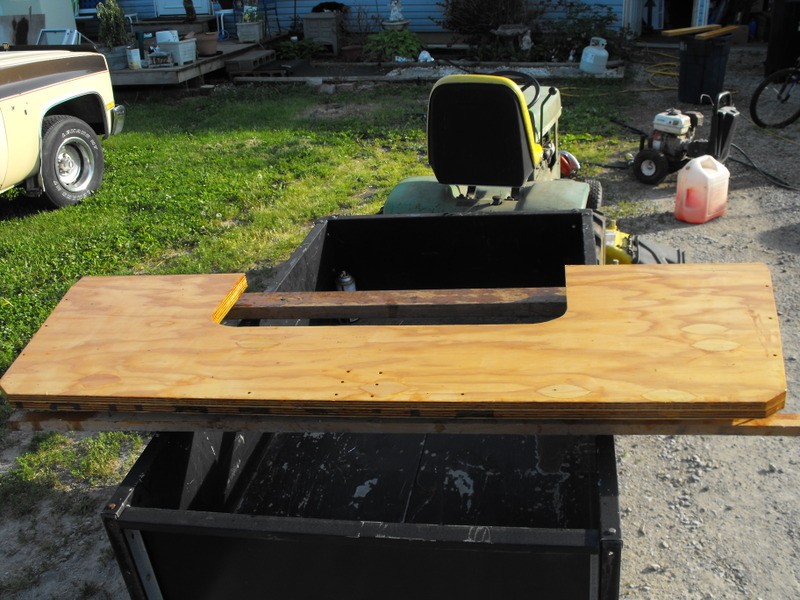


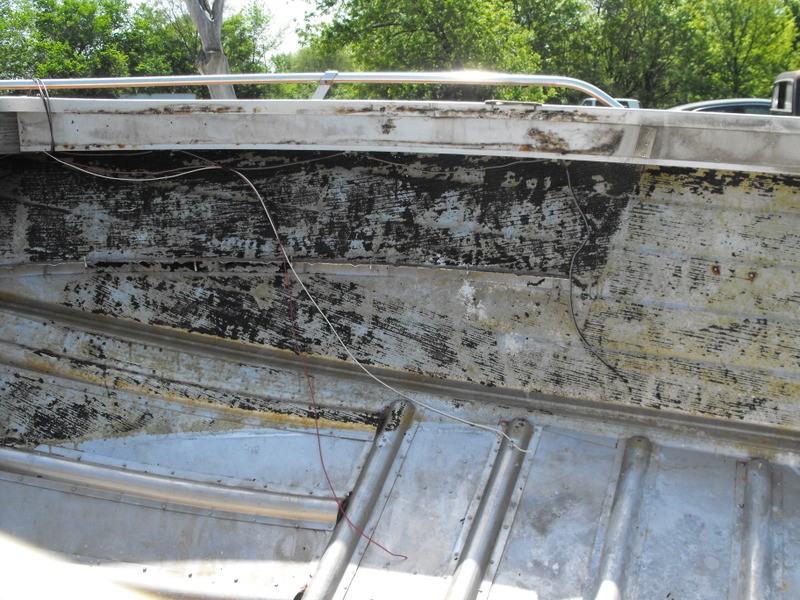
Pressured washed the old carpet backing off the best I could.


Rodney
 

REdington

Petty Officer 3rd Class
Joined
Apr 22, 2014
Messages
97
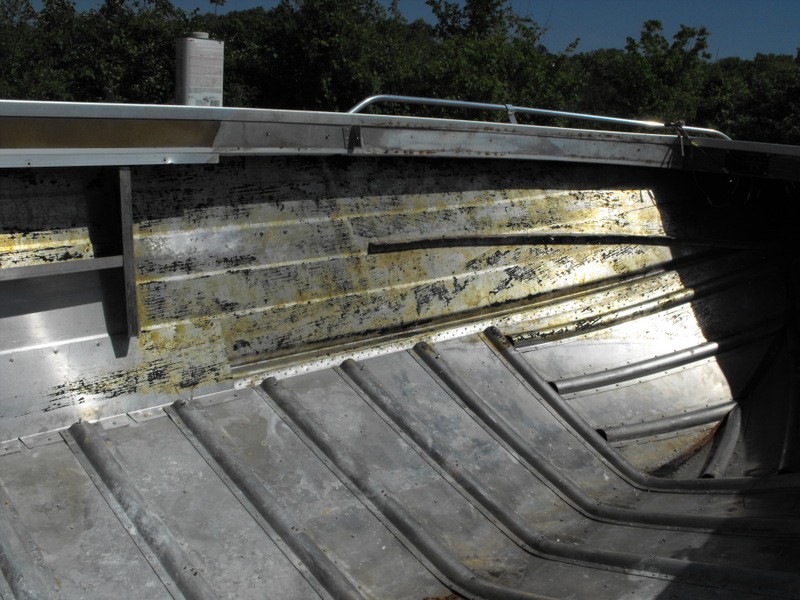
One side done cleaning with wire wheel.


When I get back in next week, I'll put 2 or 3 coats of plain spar varnish on the wood and when dry, I'll start putting it all back together.

Rodney
 

REdington

Petty Officer 3rd Class
Joined
Apr 22, 2014
Messages
97
Well I hope that they get the site back to normal soooooon.

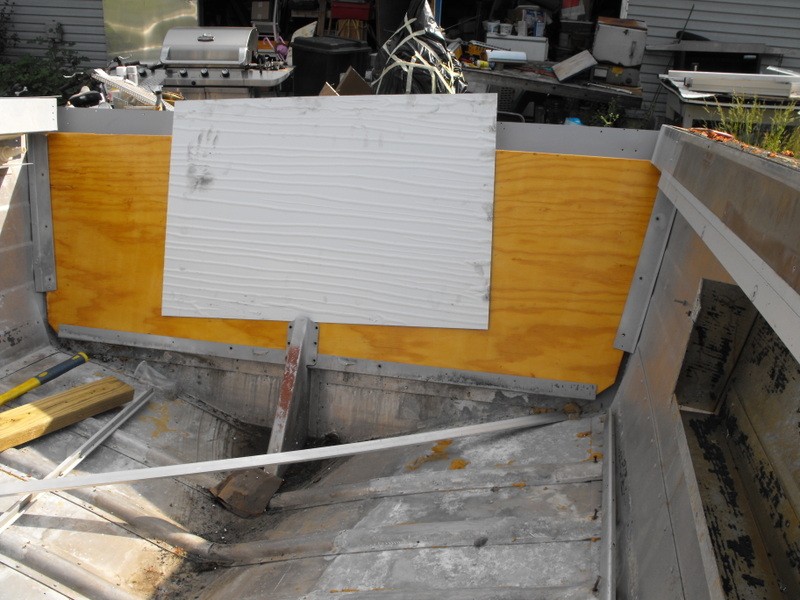
I did get the transom wood in.


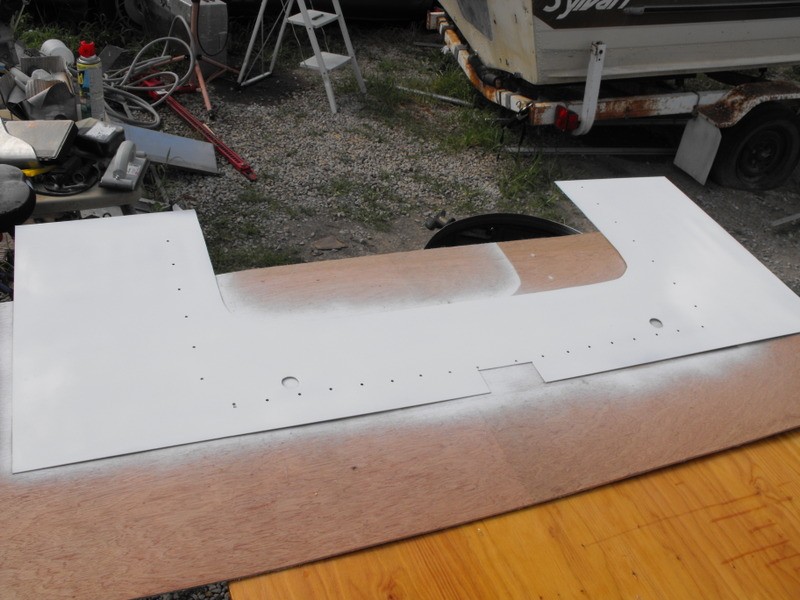
One of the up grades will be adding a sheet of alum to the inside of the splash well rather than the raw wood as from the factory.


REdington

Petty Officer 3rd Class
Joined
Apr 22, 2014
Messages
97
Thing ain't going as I wanted. We are planing on being at the lake for a week and a half the middle of July and have a lot to get done by then.
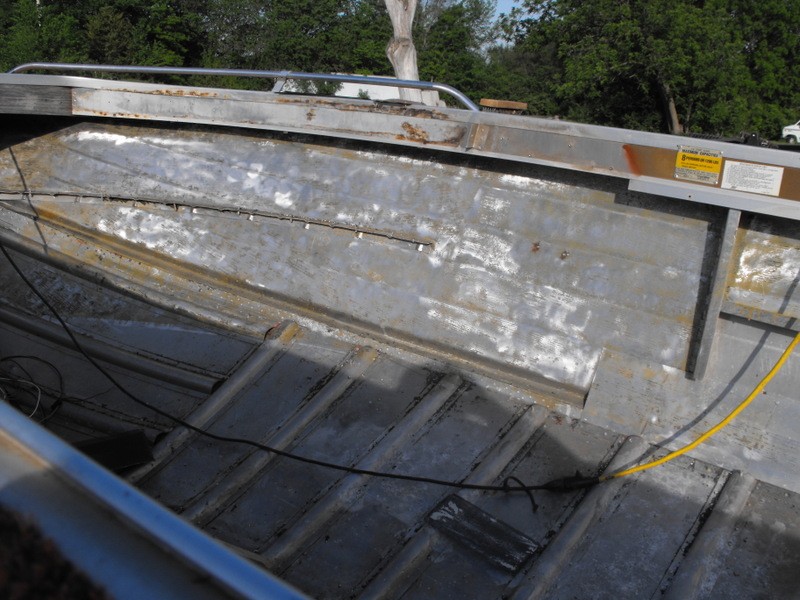
We had 3 of the grand daughters here for a week each the last 3 weeks and didn't get much done on the boat. Did have some fun with them though. So today I got JB Weld on all the pit holes on the hull before heading for work. When I get back home, I'm going to paint the inside of the hull so hopefully it will not oxidize again. I'm going to make work a short week and get back home Saturday and should get it most the way back together before I go back out next Wednesday.
Here is the hull with the JB


Rodney
 

REdington

Petty Officer 3rd Class
Joined
Apr 22, 2014
Messages
97
We use the boat to fish with about 75% of the time and the other 25% to swim, tube and ski with the kids and grandkids (well I'm the only one who skis and I still slalom at 58 years old). One of my main goals is to make the splash well smaller and to move the consoles forward some to gain some more room. We mostly troll when we fish and trying to land fish is hard with the room we had.

Here is what the old splash well looked like and it had a 20 gal fuel tank under it.


I bought a 20 gal under deck Moller tank and after setting it in and measuring, all I gained was about 6". So back to the drawing board.


Rodney
 

REdington

Petty Officer 3rd Class
Joined
Apr 22, 2014
Messages
97
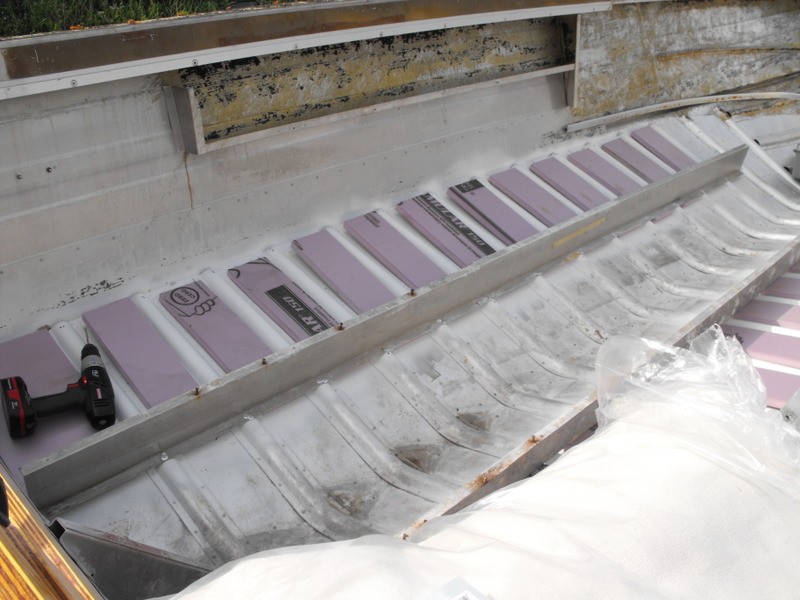
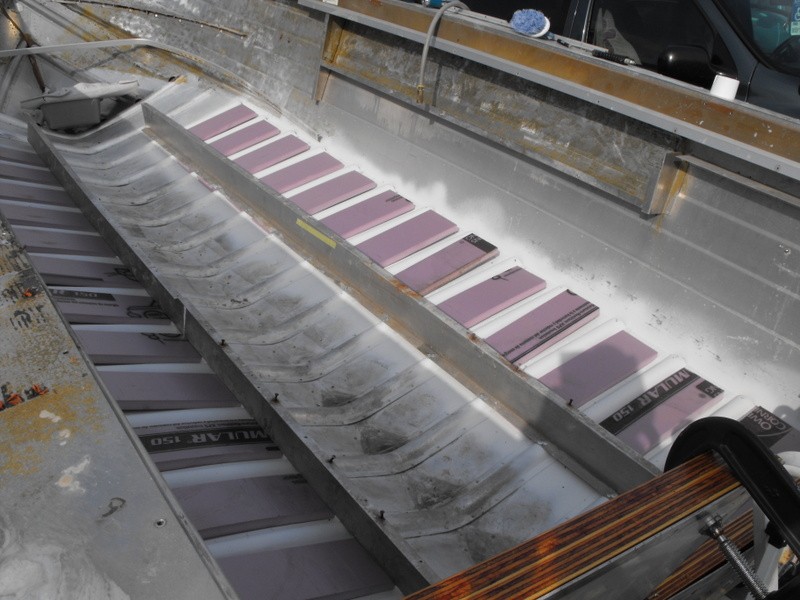
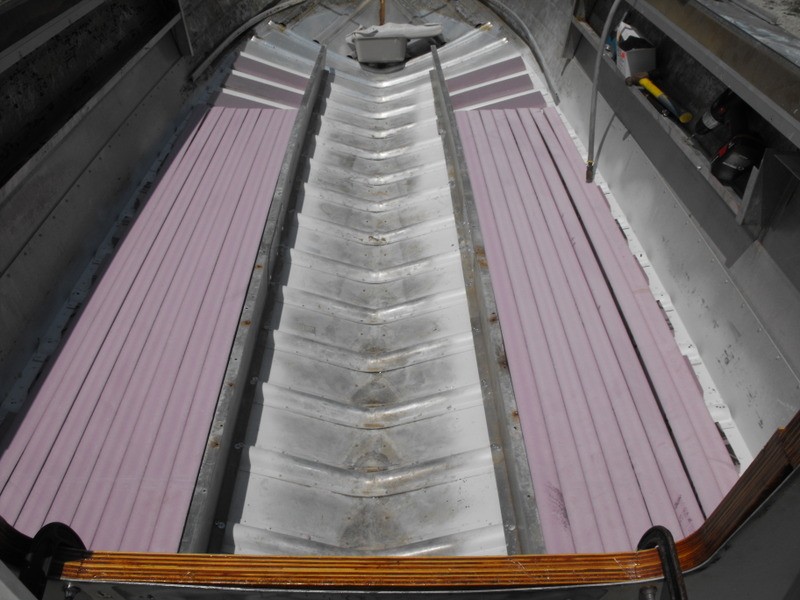
I was going to use the pour in foam but with all the pitting I had from the original foam, I decided against. Besides I have a bunch of blue foam (2", 4"and 8" thick) from my other hobby (model railroading) that I'm not going to use. The hull is painted and the stringers are back in place. Need to add a patch in each one of the stringers where I cut them trying to use the below floor tank.


Rodney
 

Woodonglass

Supreme Mariner
Joined
Dec 29, 2009
Messages
25,927
I'd spray 2 Coats of Rustoleum or Tractor Paint AntiRust Primer on the inside and use the Slab foam stacked on edge. She'll be good for another 50 Years!!!
 

REdington

Petty Officer 3rd Class
Joined
Apr 22, 2014
Messages
97
Thanks WOG. I did spray 2 heavy coats of the Alum primer on it.

Well I wanted to use 4" foam till I found out that the saw wouldn't cut it all the way through.


Going trough my stash of foam, all the 2" was 6' long and less, and I needed some 1" thick to go between the ribs, so off to HD to get some.


I spent several hours trying to get the rest of the foam to fit right and was about to give up on it and go with pour in. I gave Mike (WOG) a call and he help me make the decision to keep at it till it worked. (Thanks Mike)


I was using a piece of 3/8" X 2" alum to make sure I was getting it just the right height.


Just a few more pieces cut and it'll be done.

Rodney
 

REdington

Petty Officer 3rd Class
Joined
Apr 22, 2014
Messages
97
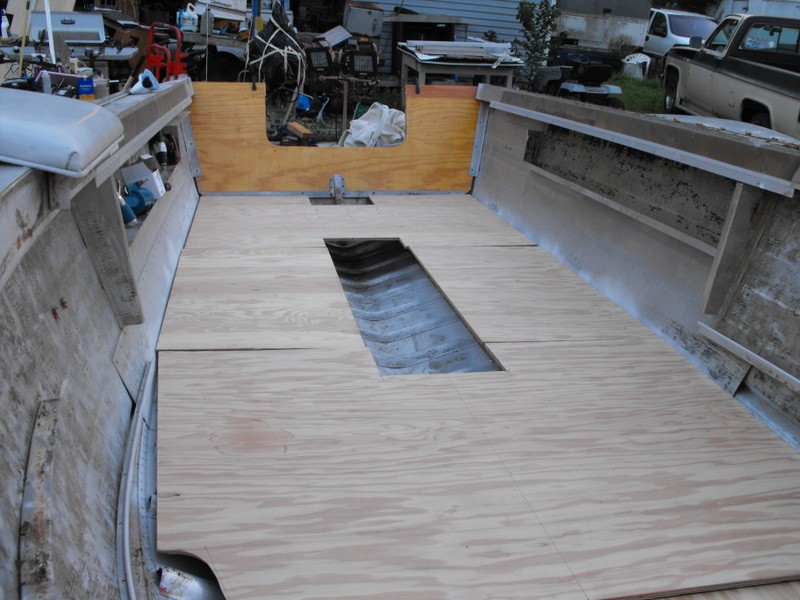
I got all the floor cut and will coat them before I leave to go back out on the road.
Since we fish mostly, I enlarged the ski locker and will be for rod storage now.


The 1/2" plywood felt a little bouncy between the 2 stringers so I glued some more plywood between the stringers and help a lot.


Rodney
 

REdington

Petty Officer 3rd Class
Joined
Apr 22, 2014
Messages
97
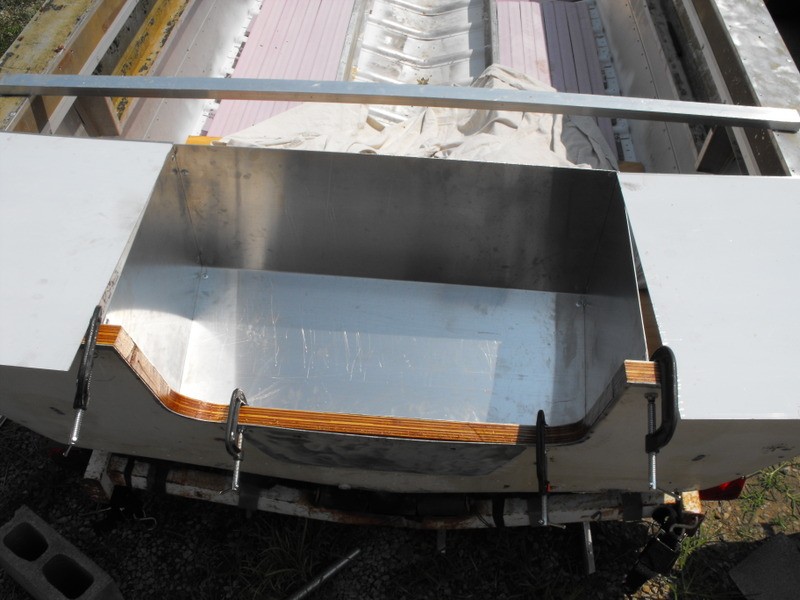
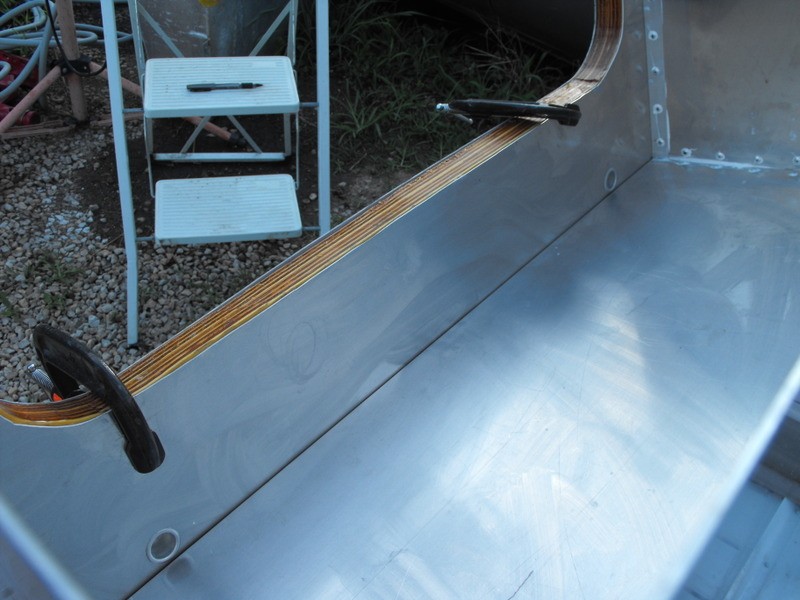
The splash well took a lot longer to make than I thought to make. Messed up some tin (alum) but this is what I have now. I have just enough rivets to hold it together and when I get back off the road next week, I'll take it all apart and seal all the seams and rivets with some 5200. The piece of 1"x2" alum tube will be cut to fit in the front of the splash well for support and I want to make a set of sliding doors like our old Holiday had.


Found these 2 12 gal tanks at a marine dealer that I use. They will fit mostly under the splash well on each side.


We also decided to move the lake vacation back to the first week of August so I have the extra time to get it finished up enough to use it.

Rodney
 

Woodonglass

Supreme Mariner
Joined
Dec 29, 2009
Messages
25,927
Rodney, you're imagination and skills are Showing!!!! Nice Work!!! She's gunna be a Fishing Machine when you're all done!!! I like those Tanks. Does he have any more and what did they cost??
 

REdington

Petty Officer 3rd Class
Joined
Apr 22, 2014
Messages
97
Mike,
Thanks
You know in my head, it went together a lot easier than it did doing it.
I gave $125 for the pair and these were all he had.

Rodney
 

REdington

Petty Officer 3rd Class
Joined
Apr 22, 2014
Messages
97
Mike, I do have the old alum 12 gal that was under the splash well. I can get a pic for you if you want.

Got the drain tubes and I ordered the shortest ones that iboats had. I will need to use a tubing cutter and shorten them.
The question is "how much" do I need to leave exposed for the flange???


Rodney
 

REdington

Petty Officer 3rd Class
Joined
Apr 22, 2014
Messages
97
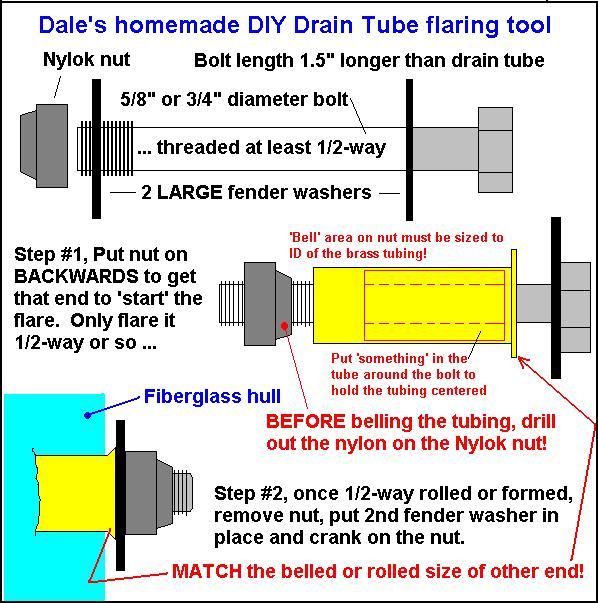
I needed to make a die for the tubes. I didn't have any 1 1/4" or 1 1/2" 12L14 (the "L" is lead and is great for machining) cold roll laying around but did have a short piece of 1 1/4" 6061 alum.
6061 is a lot harder than the tube so it will work.


Went through my turning tools and found a radius tool that was spot on for the preformed end of the tube.
I angled it a little to form a slight cup.
This will be the forming end. I made the OD just .004 smaller than the tube ID. It also had a 3/8" through hole in it.


The other end has threads. Here is 10 minutes of work.


I bought 2 extra tubes so if I screwed up, I would have a spares.

Rodney
 

Woodonglass

Supreme Mariner
Joined
Dec 29, 2009
Messages
25,927
This should help.Measure the finished lip and make the stick out about the same as that... Send me pics of that old tank.

Got a spare piece of steel bar to make one of these. It's an alignment tool for a Merc Inboard. You're quite the machinist!!!!
fetch
..
 
Last edited:

REdington

Petty Officer 3rd Class
Joined
Apr 22, 2014
Messages
97
Measuring about .150" so that is what I'll add to it.
I'll pickup a piece of 12L14 next week when I'm at the metal gittin place and make one for ya and I'll send you some pics of the tank tomorrow.

Rodney
 

Woodonglass

Supreme Mariner
Joined
Dec 29, 2009
Messages
25,927
In total it's about 2 ft long. Do NOT buy anything!!!! Only if you have some Scrap!!!! This is NOT a High Priority!!!!! Just something for you to mess with In your SPARE Messing around time!!!! I ain't kiddin!!!!:cold:
 
Last edited:

REdington

Petty Officer 3rd Class
Joined
Apr 22, 2014
Messages
97
Primed the inner transom skin with 2 coats. With the 5 coats of varnish on the transom and the primer, it will out last me.


The tube tool worked super. First one I did, flare side


Factory flare side


The 2nd tube I tighten just a little too much and didn't get the roll I did in the first one.
Flare side


Factory side


I got the splash well almost done and will put it on tonight or in the morning.

Rodney
 
Top