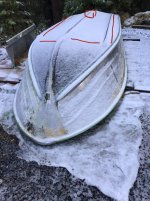
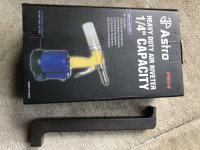
What a long day! Ordered 500 rivets and bought an air compressor. Solid rivet gun is coming next once I narrow down the one I want tomorrow. After 5 hours on the phone for work and ordering parts for the boat, finally had a few minutes to flip the boat back over and put it back on the trailer on the old bunks. Why? Cause the new brackets for the big new bunks need to be welded in place and I dont want to guess or measure lol. Boat is wider than the trailer so only way they will fit is to weld the brackets to the outside. No problem.
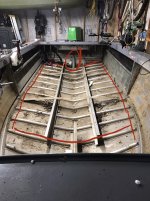
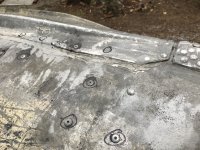
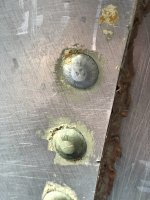
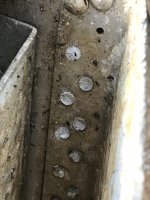
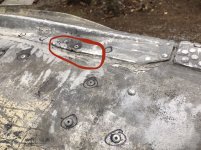
Also found other curious issues. I need to clean up the remaining paint along the rails and inside, as well as nylox wheel the inside. Since I was looking at the inside, I noticed rivets that looked deteriorated - kinda dusty? Touched the tail and it disintegrated... I assume all the corroded ones like that need to come out. Also found a bunch that had different colored heads. How do you tell what could be steel vs aluminum?? They are both solids but one has a shinier silver look and the other more of a brass coloration. Hoping they are all aluminum or Ill be looking at a s&$! ton of riveting.
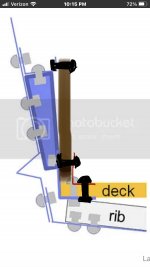
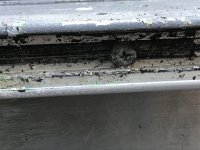
Last when looking at my rub rail area, noticed that it was held together with long screws all the way around, and someone cut my corners in the transom under the caps, which I guess is common. Id assume the screws need to be replaced with aluminum rivets. Fun stuff. At least with a compressor in house I can get more done and not be dependent on dragging my boat down the street to the in laws during winter to use their air compressor. Beer tab would have been higher than a hippie on a tuesday!


 . Is that overkill though for a little 16’er??