Building a '93 Caravelle 1750 Classic Bowrider

steve_h7

Chief Petty Officer
Joined
Sep 16, 2018
Messages
401
Lookin' good :thumb:

But try and not measure success on the amount of resin used... My 18 ft. rebuild has taken 19 gallons so far... Just use all that it needs to do it right and you won't go wrong.
Keep up the good work!
 

emoney

Commander
Joined
Jul 19, 2010
Messages
2,551
I don't know why I can't see the pics (maybe a work computer thing) but keep up the good work anyway!
 

madsonp

Seaman Apprentice
Joined
May 1, 2018
Messages
38
Man, that's quite the project, not something I'd ever attempt, it'll be interesting to see how everything turns out.
 

Reserector_

Chief Petty Officer" & 2021 Splash of the Year Win
Joined
Oct 15, 2019
Messages
592
But try and not measure success on the amount of resin used...
I only listed that for my benefit. So I can look back and get an idea of the incremental usage for the main steps; transom, stringers, and floor. I may document top and bottom of floor separately.

I'm one of those hard roller guys. I like to work the layers down as tightly as possible to get maximum strength. It has a side benefit of minimizing resin usage.

For areas like the face of the transom, I had to go a bit heavy to get a good wet-out. As you said, you use what you have to.
 

Reserector_

Chief Petty Officer" & 2021 Splash of the Year Win
Joined
Oct 15, 2019
Messages
592
Man, that's quite the project, not something I'd ever attempt, it'll be interesting to see how everything turns out.

I saw one on YouTube that makes this project look like a walk in the park. The boat was called The Grateful Tuna. It was built from only the bottom and bits of the sides of the hull that were all that remained after the boat was beached and burned. They towed the bottom to a nearby boat yard and proceeded to construct the entire boat.
I went back and tried to find the video, but never found it. :(
 

Reserector_

Chief Petty Officer" & 2021 Splash of the Year Win
Joined
Oct 15, 2019
Messages
592
I spent hours removing the flotation boxes, and grinding out the remaining tabbing. I also ground the areas where the new tabbing will go.
It was a ton of nasty work, but a productive Saturday. After vacuuming and washing, I took the after pics, and you can hardly tell I did anything at all.
Next step is to make stringers, baffles, engine mount, yada yada yada.

Some pics from today.
20191102_120636e41d58f9fae4d68a.jpg

20191102_164907b9db79d9bdb807cf.jpg

20191102_120625ea172001251526e6.jpg

20191102_12063276de5e3dd3018215.jpg

20191102_164849.jpg


I plan to put the flotation boxes back in after the new floor goes in.
 

chevymaher

Commander
Joined
Mar 29, 2017
Messages
2,915
Lookin good. I would on the floatation boxes. More foam surrounding you. The less vibration and noise in the boat. It makes them so much nicer riding in rough water.
 

Reserector_

Chief Petty Officer" & 2021 Splash of the Year Win
Joined
Oct 15, 2019
Messages
592
I need some informational help regarding the construction of the front engine mount support. I have little to go on. I am ready to start on my stringers and such, but there was nothing left of the original wooden support for the single front engine mount.

I have the aluminum mount itself, including the portion that bolts to the engine. The triangle that bolts to the boat has bolts and nuts that were never undone. I guess they just pulled out of the rotten wood. The nuts are set at approximately 4" down from the base of the mount, and from that distance there is an additional 2" of bolt.

So here is what I know:
Whatever it bolted through was about 4" thick with a couple inches or more underneath.
I found a photo of the same model boat, and could see that the mount was on top of the floor.
Original floor was 3/4 ply
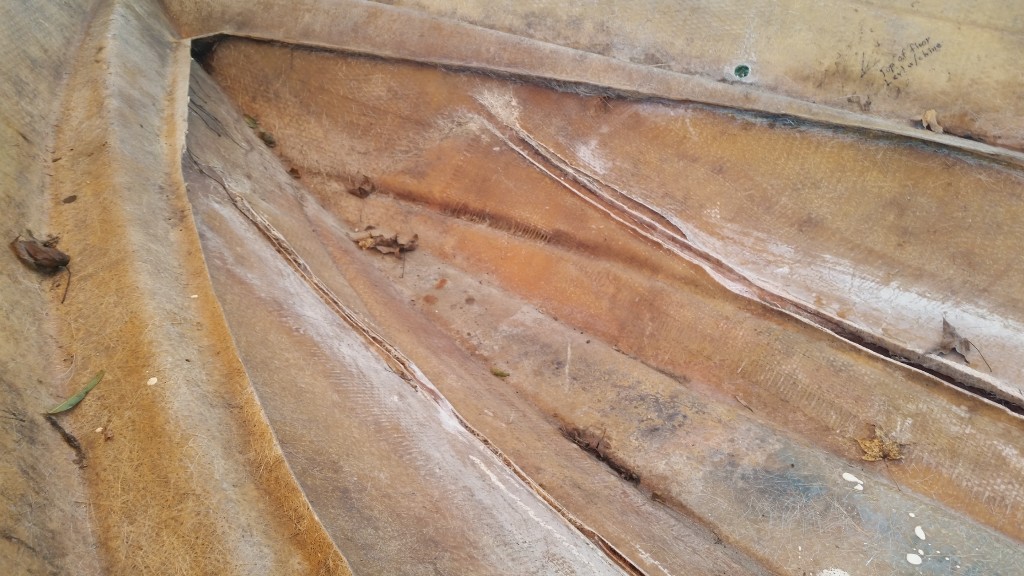
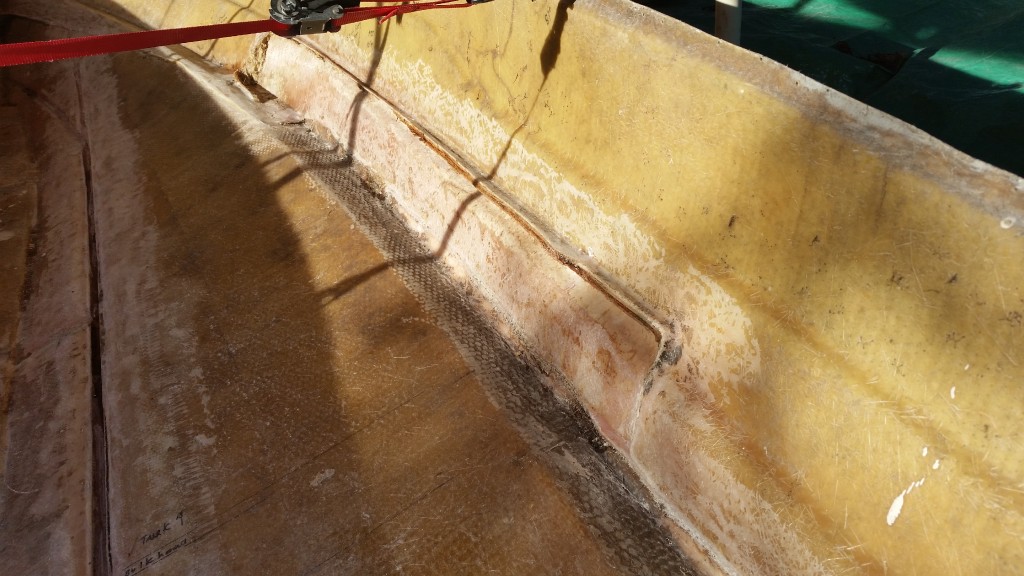
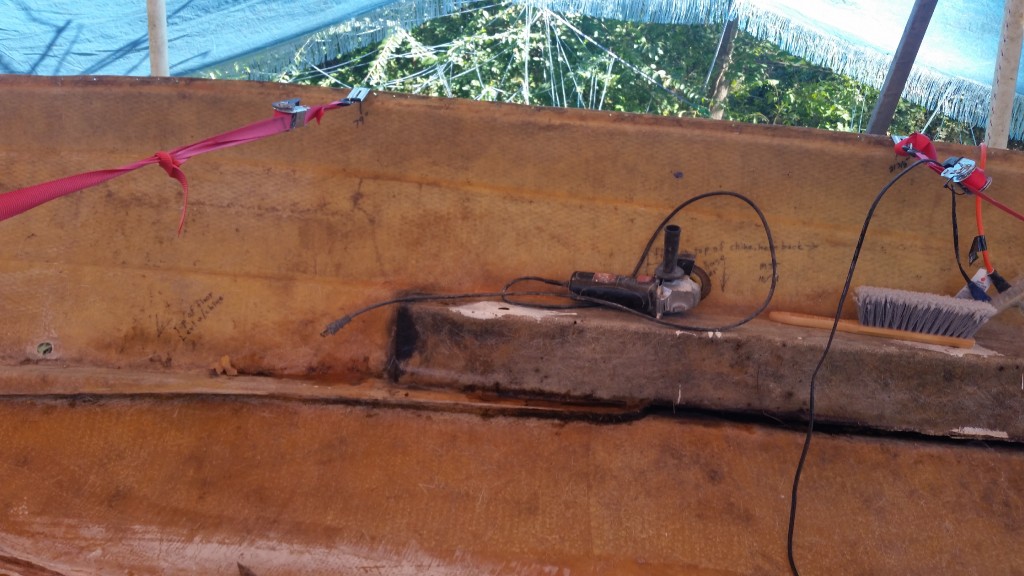
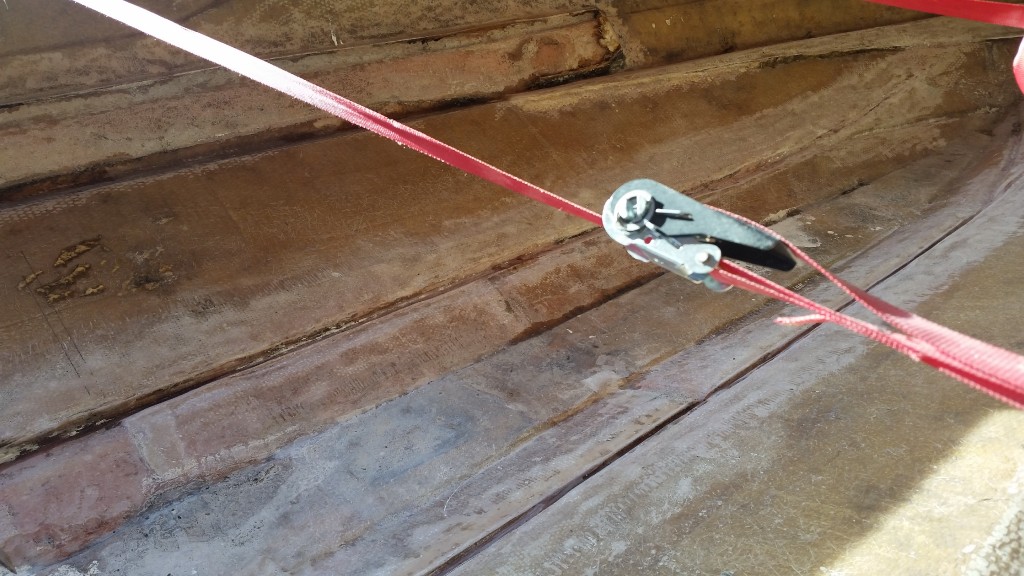
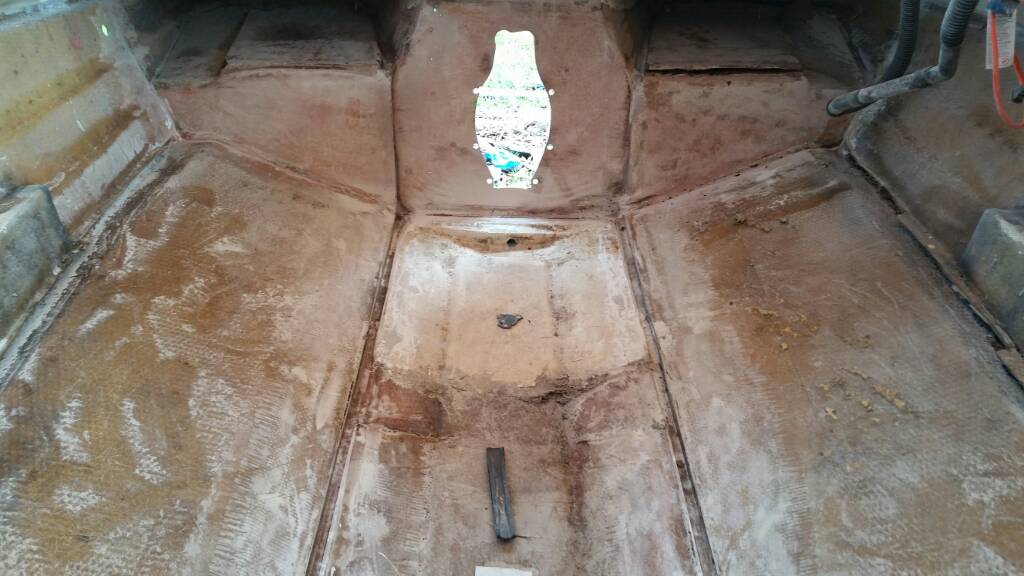
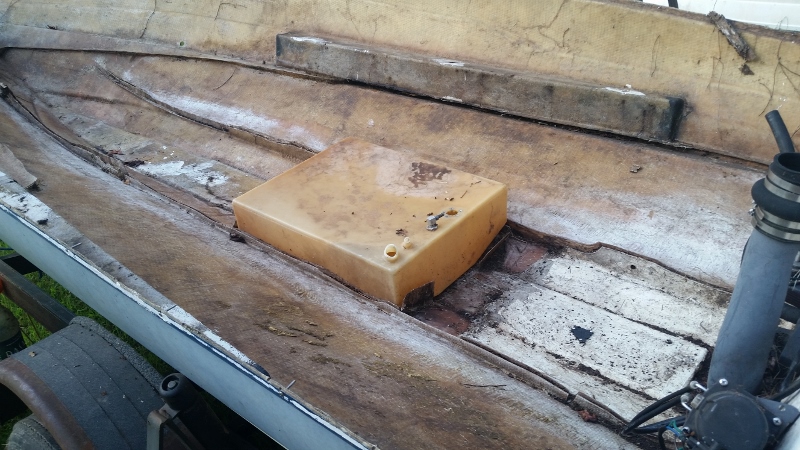
I can see where the original mount was torn from the floor during demo. (attached photos)

What I don't know is what sort of wood it was made from. Solid or layers of ply?
How it was tied into the stringers and hull,
How much of a drainage opening was in it, and can I make that much more open? Could I bridge across between the stringers only, or must it bear against the bottom of the hull as well?

In the pictures you can see where the white gelcoat stopped at the front of the bilge. I believe that was the back of the mount. Looks like the mount was 6" front to rear.
The thin tabs sticking up were at the front and rear of the gas tank


d97a01eedac5e6a24c0dd4f175232991.jpg

20190810_091208-800x450.jpg

20190810_091051-800x450.jpg
 

Reserector_

Chief Petty Officer" & 2021 Splash of the Year Win
Joined
Oct 15, 2019
Messages
592
I can measure out where to put it from what I have. My question is more about materials and how to build up the wooden part.
 

Scott Danforth

Grumpy Vintage Moderator still playing with boats
Staff member
Joined
Jul 23, 2011
Messages
47,556
motor mounts are a sandwich of ply glued together.

get the transom and stringers in first, then test-fit the motor to determine where the mounts need to go. then build up the mounts.
 

Reserector_

Chief Petty Officer" & 2021 Splash of the Year Win
Joined
Oct 15, 2019
Messages
592
Let me try asking my question a different way, because I am failing at communicating. So please bear with me.

Here is what I started with. I also have the engine and single front mount. It is a 4 cyl, so that's all it gets is the single front mount in the center. I know that the front mount bolts on top of the floor surface in this model Caravelle. But looking at these pics you can see that there was something substantial attached to the hull where the white gel coat stops. (All of this was demoed before I got the boat.)

20190816_191247-800x450.jpg

20190810_091051-800x450.jpg


My new transom is completed, and I am ready to make my stringers and this engine mount support, but I can't find any examples of how others have built this part.

So my question is: What should I build between the stringers that will support the floor and the front engine mount?
Stacked plywood? OK, but how?
Horizontally? How would that tie into the hull?
Vertically, and cut to a profile that meets the bottom of the hull on the sides while leaving the middle open for the bolts and nuts to come through? Shaped sort of like a 70's porn actor's mustache?
Has anyone here refurbished a boat with a 4 cyl engine, and do you have photos you can share? Please?
 
Last edited:

Chris51280

Ensign
Joined
Jan 24, 2018
Messages
911
the cross pieces you are referring to are called bulkheads. you probably have 2. one between the tank and bilge and another after the tank. This will be a ski locker with a hatch on top. sometimes the bottom is a false bottom which increases strength and is also filled with foam. look at my rebuild.
 

Reserector_

Chief Petty Officer" & 2021 Splash of the Year Win
Joined
Oct 15, 2019
Messages
592
go thru link 14 in its entirety, watch every video

frisco covers everything

https://forums.iboats.com/forum/boat...at-information

I've seen the vids he did for the mounts on the Carlson, and have watched almost all of the vids on the Sea Ray. Both of those were v8 engines with two front mounts; one per side
I have a four cylinder 3.0 which uses a single front mount that is centered.
I've also watched Michael Romer and jmink. Great videos, but again, v engines with two front mounts.
 

Reserector_

Chief Petty Officer" & 2021 Splash of the Year Win
Joined
Oct 15, 2019
Messages
592
the cross pieces you are referring to are called bulkheads. you probably have 2. one between the tank and bilge and another after the tank. This will be a ski locker with a hatch on top. sometimes the bottom is a false bottom which increases strength and is also filled with foam. look at my rebuild.

You are exactly right. I thanks for the link to chevymaher. I will look back through his build.
I started looking through your build and am still in the replacement v6 phase. But I'll keep going. I learn something from everyone's project.
 
Top