Building a '93 Caravelle 1750 Classic Bowrider

kcassells

Fleet Admiral
Joined
Oct 16, 2012
Messages
8,732
Yup...looking good. So don't forget do not place the woods directly onto the hull.
Make a gap.
 

Reserector_

Chief Petty Officer" & 2021 Splash of the Year Win
Joined
Oct 15, 2019
Messages
609
I'm glad you jumped on board. I have a lot of upholstery in my future, and I will need an ally such as yourself.
My greatest work to date is reupholstering my truck seats using the original panels as patterns. Not great, but I was limited by my lack of experience, and by the sewing machine.
I used a cheap Brother machine like you would buy at Walmart for $99. I still can't get the clutch to free up. LOL Poor thing. I made seat belts with it, also. Was not easy, because they have to be stitched a specific way with a specific (heavy) thread.

That's what got me interested in your setup.

510bea70f13d27fc4367f257b5278864.jpg


I will start a separate thread when I start the boat upholstery. I will be redoing the bucket seats, plus making the rest of the interior from scratch. It will be an American flag theme. Nothing crazy, but not simple, either.
I want people to assume that I didn't do it myself. That way they won't ask me to do upholstery work for them. Know what I mean?
 

kcassells

Fleet Admiral
Joined
Oct 16, 2012
Messages
8,732
Nah.. keep it all in this thread. One ding at a time.
I bought a awesome singer for just the same purpose 4 years ago and of yet to start my sewing. Suspect this is the winter of my discontent to do such. :rolleyes:
A lot to do. 1 thread is great.
 

Reserector_

Chief Petty Officer" & 2021 Splash of the Year Win
Joined
Oct 15, 2019
Messages
609
I just ordered a pair of seat pedestal bases to replace the ones that I didn't get with the boat. I won't need them for a couple weeks at best, but i got 10% eBay bucks by ordering them now. Besides, they were used, cheap, and ideal. Figured I had better get them before someone beats me to it.

I have the upper parts. One is a slider. All of it is Springfield brand. All I am missing now is a plastic sleeve from one of the upper parts. I feel like I can make that from a piece of ABS pipe, or turn one from a coupling. Who knows, maybe Springfield sells replacements? It's for a Ø2 7/8" O.D. tube.
 

Reserector_

Chief Petty Officer" & 2021 Splash of the Year Win
Joined
Oct 15, 2019
Messages
609
I rigged up a much nicer temporary enclosure including LED lighting last weekend. That enabled me to get out there and do a little work this evening. It wasn't very cold, and only a slight drizzle.
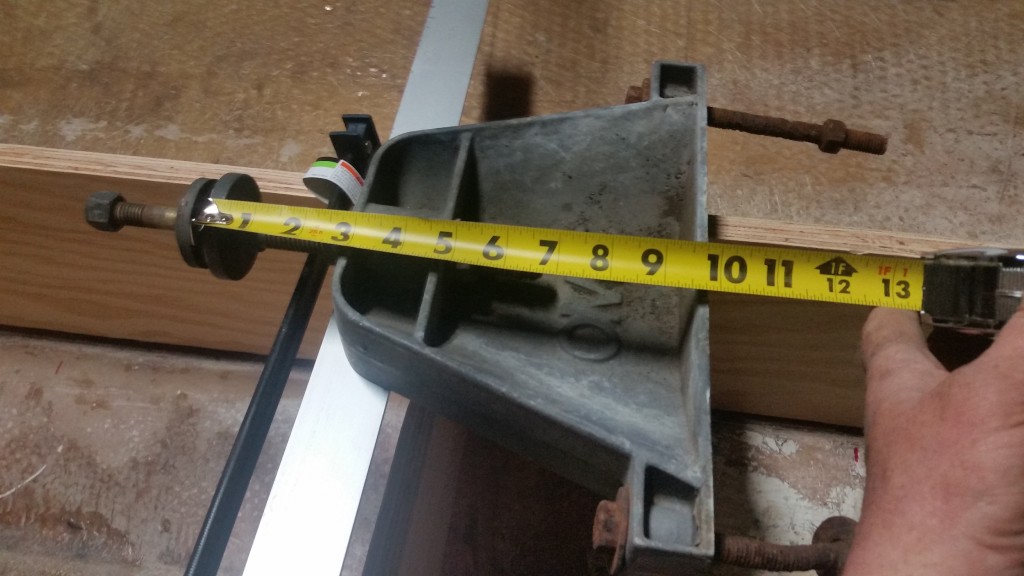
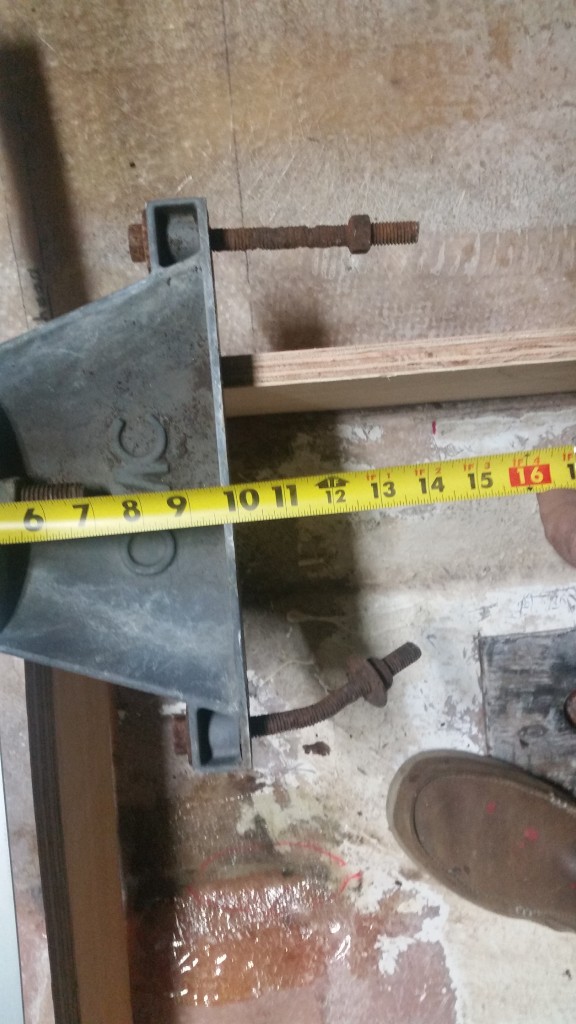
I had to solve the mystery of the front engine mount because it has been driving me nuts. I've been able to find Mercruiser drawings, but no OMC drawings. Since they all seem to be fairly interchangeable, I'm going by the Mercruiser drawings for dimensional help.
the thing that has been really throwing me off is the fact that the bolts that are still in the engine mount seemed way too long. I always thought that the front and rear engine mounts on this engine should be level, but there was no way that this mount was set level. It would have had to have been a good bit higher in the front just to clear the bolts above the hull.
so tonight I temporarily reinstalled the gimbal mount and the inner mount through the transom. I needed to do this anyway, in order to determine how much clearance I needed for the exhaust tube. I remembered seeing that the original stringer and floor had been notched for that reason.
After a lot of measuring, remeasuring
​​ and head-scratching, I remembered the 13 degree transom angle on the drawings and wondered if mine was actually 13 degrees. I downloaded a smart protractor app on my phone, zeroed it on the top of the Stringer, and then checked the transom to find that it was 17.4 degrees. Armed with this new knowledge, I set a straight edge on the rear mount, and angled it up 4.4 degrees to make up the difference and what do you know? The front engine mount with the long bolts suddenly made sense. I was finally able to make sense of it all and to write down dimensions that I could use to build a front mount from. Mystery solved!

20191114_211630.jpg

20191114_212131.jpg

20191114_21052551ed4ce09ebfc6b6.jpg

20191114_210616.jpg


Next thing to size up is the gas tank. I need to pressure test it, and then figure out what I need for bulkheads, and how to mount it. I worked my butt off to get enough clearance between stringers to allow for layers of fiberglass and some plastic strips. More on that later...

20191114_211825.jpg

20191114_211831.jpg
 

archbuilder

Vice Admiral
Joined
Sep 12, 2009
Messages
5,697
Yep, looks a lot like the Mercruiser mount. Glad you sorted that out, stuff like that drives me crazy lol!
 

Reserector_

Chief Petty Officer" & 2021 Splash of the Year Win
Joined
Oct 15, 2019
Messages
609
Yep, looks a lot like the Mercruiser mount. Glad you sorted that out, stuff like that drives me crazy lol!

So it turns out that the front engine support will be extremely close to the dimensions and location of the original mount in Fugly. I thought it was going to be higher, but it will be pretty much on the surface of the hull. Thanks for sharing that link.
 

Reserector_

Chief Petty Officer" & 2021 Splash of the Year Win
Joined
Oct 15, 2019
Messages
609
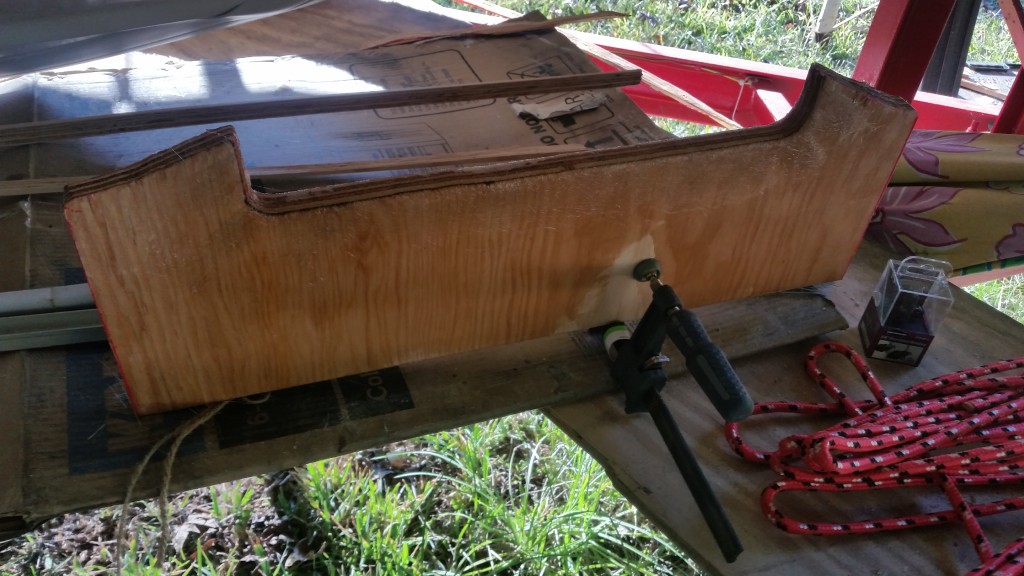
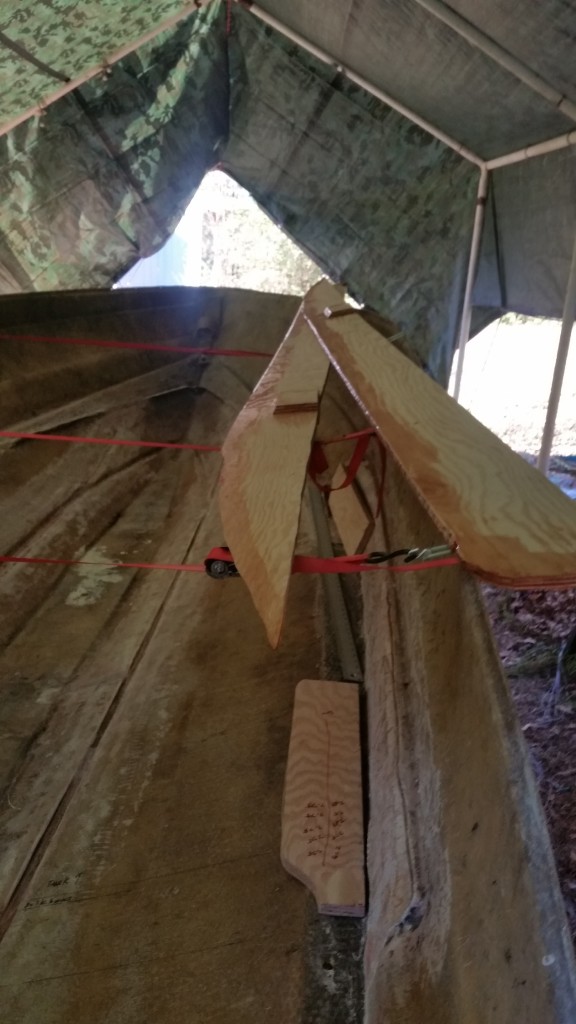
Today I got the bulkheads built, fiberglassed, and tacked in place with PB and a couple of tabs. Once that is set up I'll be able to bed in the stringers one at a time and have something to clamp them against.

the bottoms of the stringers are sealed with resin and ready to set in place once the bulkheads have set up. I'm still waiting for materials, so that may not happen this weekend.

here are a few photos from today including a picture of my hot rod belt sander. I connected a vacuum hose where the bag normally goes and it blows the dust out on its own. Just drape it over the edge of the boat and get after it. The dust that doesn't go through the hose is heavy enough that it just lays there, unlike grinder dust which is super light. I highly recommend this over the grinder for anything that it is capable of doing.

20191116_171135.jpg

20191116_171112.jpg

20191116_152956.jpg

20191116_152939.jpg

20191116_124006.jpg

20191116_152930.jpg
 

Reserector_

Chief Petty Officer" & 2021 Splash of the Year Win
Joined
Oct 15, 2019
Messages
609
Looks like you are making good progress!

Only to the trained eye. I don't get many Facebook likes on stuff like this compared to when I mocked it all up and took a picture and it looked like a boat.
That is why I am grateful for this peer group. I get encouragement, advice, and accountability. We all strive harder when we know that others are watching.
 

tpenfield

Moderator
Staff member
Joined
Jul 18, 2011
Messages
18,068
You won't get much out of Facebook, even in some of the topic specific groups. JMO
 

Reserector_

Chief Petty Officer" & 2021 Splash of the Year Win
Joined
Oct 15, 2019
Messages
609
I started to round up what I would need for pressure-testing the gas tank, and it came together so well that I went ahead with the test.
I plugged the two small fittings, and used my cooling system pressure tester to bring it up to about 2 psi.
I used leak detecting fluid on all fittings and all weld seams.
It passed all tests.
Next I need to test the sending unit.

20191117_175641.jpg
 

Reserector_

Chief Petty Officer" & 2021 Splash of the Year Win
Joined
Oct 15, 2019
Messages
609
Temps here get into the low 60s in the afternoon. I mix at 1.5% and make sure I am in my temperature window when I start mixing. Until then,I prepare my parts and materials.

On Facebook I post for my friends to see. I have a large following on my projects. They all see the boring stuff, but I don't get as many likes is all I'm saying.
I don't waste my time with fb groups. I'm a hardcore forum guy.
 
Top