Water Wasp Mini Boat

Status
Not open for further replies.

Bakeys

Seaman
Joined
Jun 14, 2012
Messages
63
Re: Water Wasp Mini Boat

Old Scout, you are a true craftsman. I am admittedly envious of your talents. Keep up the exceptional work and keep us posted on your progress. I can only speak for myself but your work motivates and inspires me. My hat's off to you, Sir. I don't wear hats normally, but if I did, it'd be off. ;)
 

Old Scout

Seaman
Joined
Dec 1, 2010
Messages
68
Re: Water Wasp Mini Boat

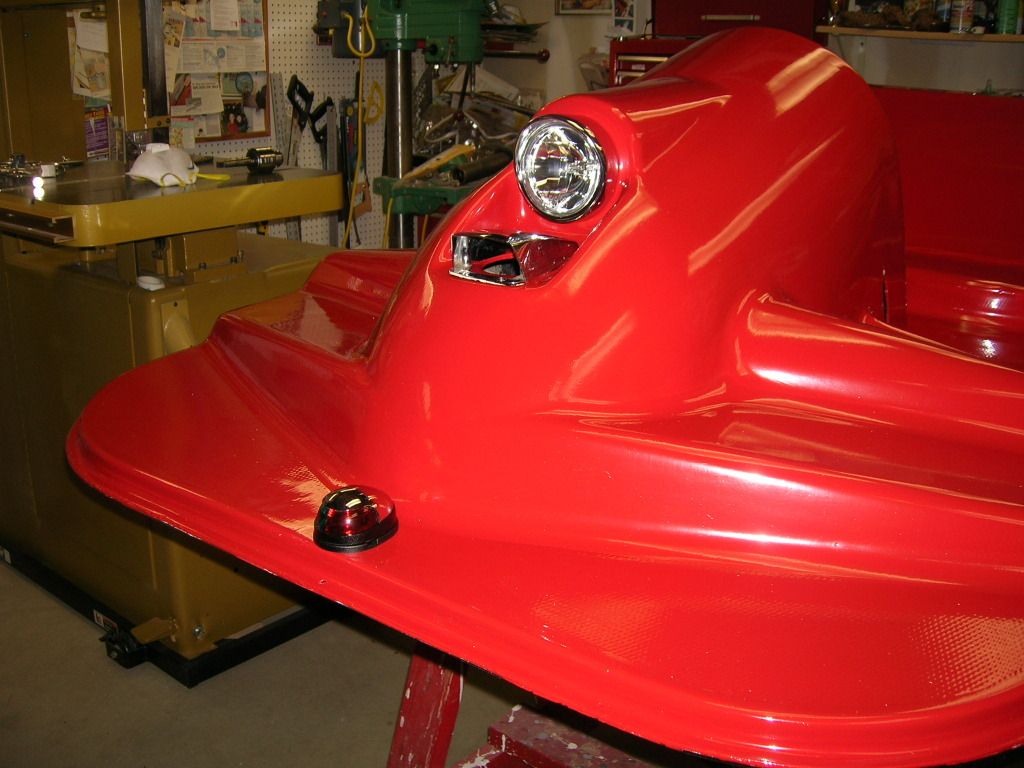
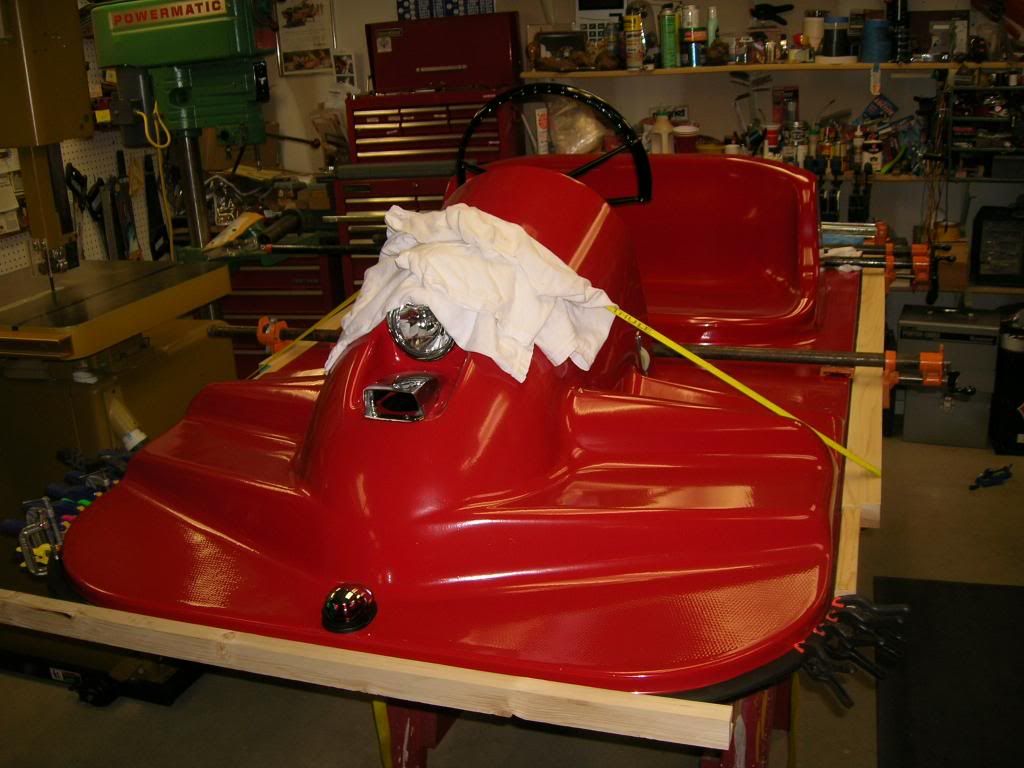
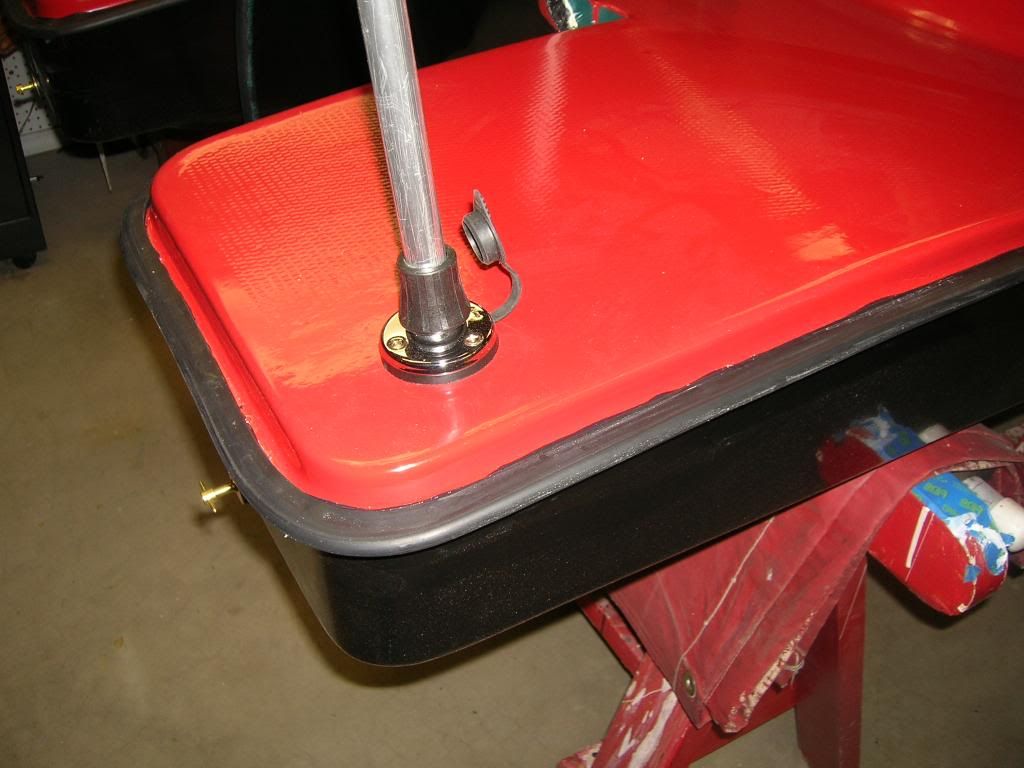
Thanks for your vote of confidence Bakey. To be honest I am out of my comfort zone with a fiberglass boat. What really helps is you gotta love the boat restore products available today, caulk, epoxy filler, paints, etc. Enclosed is a pic I took today of the Water Wasp with the first coat of paint on the top half, using Pettit Easypoxy Bright Red, I did the lower half in black. Also in regard to the steering cap you are lookig for I had a question, did the gentleman in Minnesota who had the Water Wasp split apart and for sale, ($50.00) do you know if he saved any parts? He might have your cap. If you still have his contact # ask him, (or forward it to me) if he saved the front bow handle as that is what I am missing.
http://i1180.photobucket.com/albums/x404/sammyparrot/DSCN5777_zpsb7f45a16.jpg
 

Old Scout

Seaman
Joined
Dec 1, 2010
Messages
68
Re: Water Wasp Mini Boat

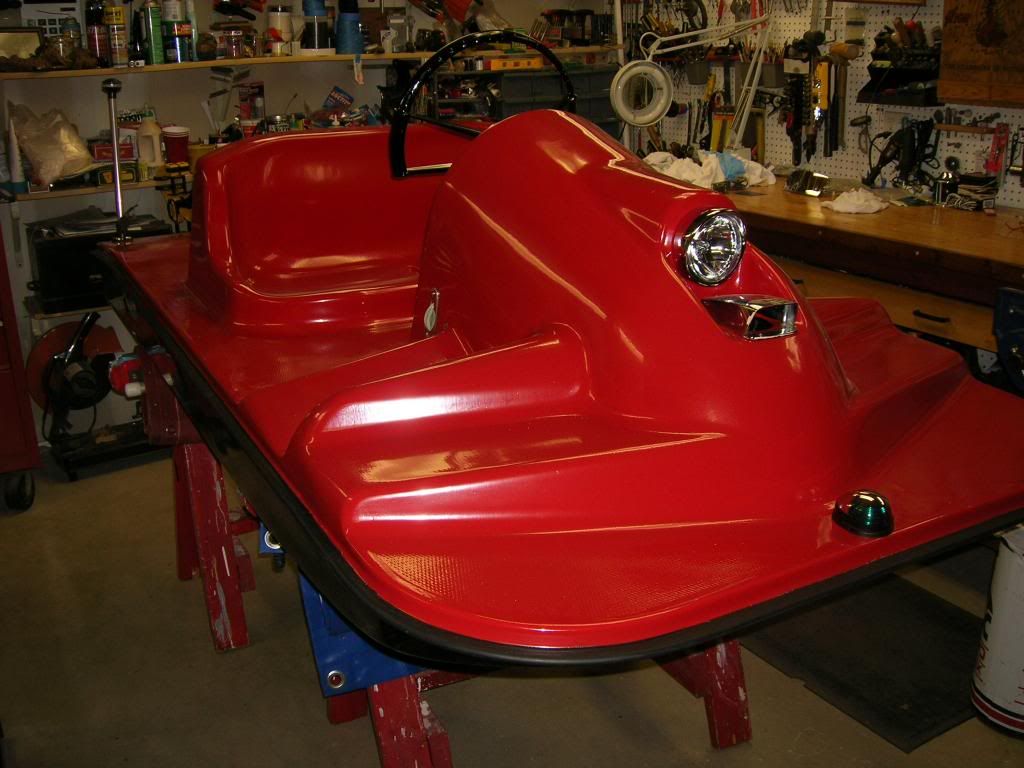
Updated photo taken today showing hardware installed on WW. Headlight in place of original bowlight, vent cowl, and new bowlight installed on front of deck.
DSCN5779_zps0283aee8.jpg
 

ScubaSteve78

Recruit
Joined
Mar 11, 2013
Messages
1
Re: Water Wasp Mini Boat

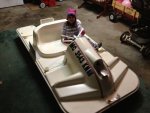
Hello All, I just wanted to chime in here and add my name to the list of owning one of these little beauties. It was originally in a barn at Houghton Lake, Michigan. The owner sold the property and gave the boat to my father. It was last registered back in 77 and had probably sat in the barn since then. I just recently acquired it and it will reside in Gladwin, Michigan. The body is in excellent shape. It has all the steering cables and mounts. I plan on hooking up a throttle and kill switch to it shortly. I'll post some photos but I think what this thread needs is a couple videos :D. Maybe in a couple months, there is still several inches of ice on the water.

IMG_1040.JPG
IMG_1039.JPG
IMG_1041.JPG
IMG_1042.JPG
IMG_1044.JPG
 

Waterwasp

Cadet
Joined
Sep 26, 2012
Messages
12
Re: Water Wasp Mini Boat

Welcome to the ever growing list of WaterWaspers. I've updated the list and put you in at #3. They are listed in order of Serial Number.

1. Scamp Deluxe, Yellow over White, Possibly the earliest made (St Paul), No SN, No light or vent scoop. (with stabilizers on bottom)------Cambridge, MN

2. Old Scout, Green, SN. W7-0159 (Savage), Light and vent scoop, Stabilizers on bottom.------Aurora, Illinois.

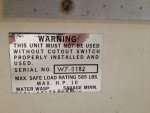
3. ScubaSteve78, White, SN. W7-0182 (Savage), Light and vent scoop, Stabilizers on bottom.------ Gladwin, Michigan

4. Waterwasp, White, SN. W7-0253 (Savage), Light and vent scoop, Stabilizers on bottom.------Lakeville, Minnesota

5. Bakeys, White over Black, SN. W7-0307 (Savage), Light and vent scoop, No stabilizers on bottom. ------ New York
[/COLOR]
 

Bakeys

Seaman
Joined
Jun 14, 2012
Messages
63
Re: Water Wasp Mini Boat

Old Scout, I thought I replied to your post.
The guy in Minn. was all about talking the Wasp up and then he sort of dropped off the radar. I sent him a couple of emails that he never replied to and I have no number for him. That number disappeared with the CL ad.
Spring is springin' in NY. May be time to start the "resurrection". Time, however, is a very precious commodity.
Keep well, Fellas.
 

Old Scout

Seaman
Joined
Dec 1, 2010
Messages
68
Re: Water Wasp Mini Boat

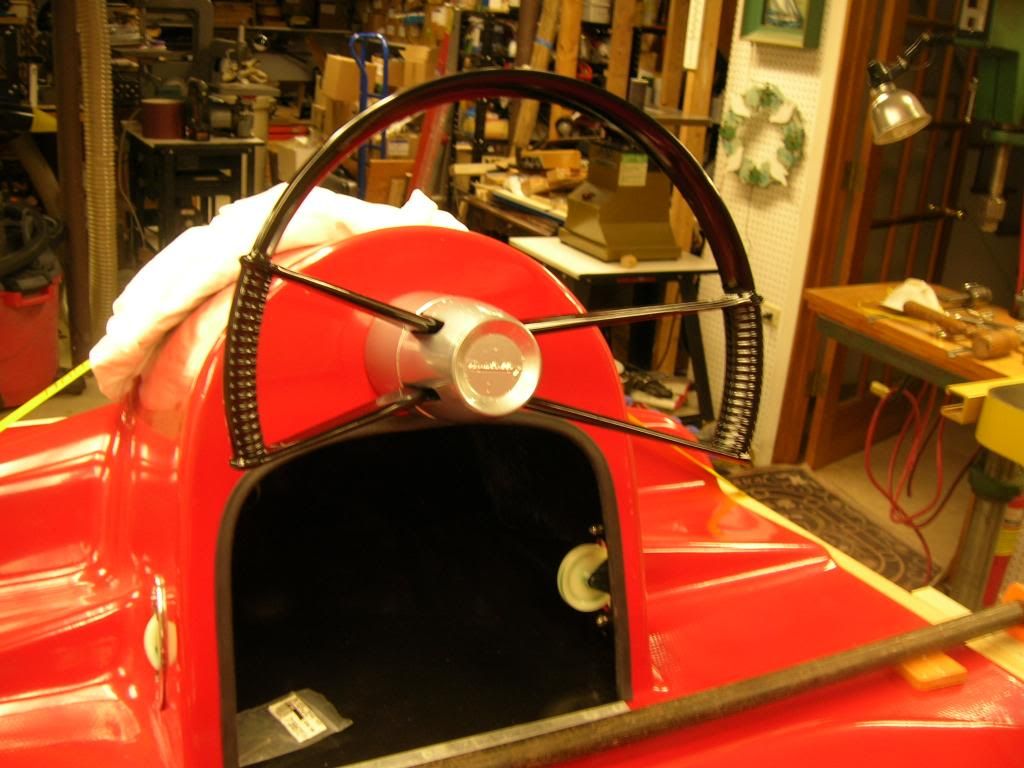
Welcome ScubaSteve. Thanks Bakeys for looking into that, it was worth a shot. I am also missing the rubrail, ordered from a company what I believe will work as a good substitute for original rubrail, should recieve it this week, I'll post pics. Also having the steering wheel hub and that wheel cap powdercoated this week, both chrome pieces were severely pitted due to outdoor exposure. Rechroming is very expensive so excited to see what a "stainless steel" powder coat will look like at a much lower cost. Stern transom handles were also severely pitted, these were sanded down and being powder coated in black to match the "new" color of the hull. Installing the cable steering system this week. Looking at ScubaSteve's pictures of his WW it appears that on the starboard side at the stern they installed bracket/tie-downs for the gas tank, thus keeping the fuel line in the back of the boat.
 

Bakeys

Seaman
Joined
Jun 14, 2012
Messages
63
Re: Water Wasp Mini Boat

Good call on the fuel tank location Old Scout. I was under the impression it was under the forward cowling. I managed to justify that assumption due to the weight & balance conundrum with this little nautical devil.:mad2: Hang an engine off the back and then add another 24# of fuel, just seems to make the balance even worse. :nono: But I don't know for sure. I've yet to see one floating.:wink:
 

Old Scout

Seaman
Joined
Dec 1, 2010
Messages
68
Re: Water Wasp Mini Boat

My guess is that those fuel tank bracket/tie-downs were added by the owner, not the manufacturer. Your right Bakeys on the weight issue, also you would have to consider the tank bouncing around, and the possibility of the fuel tank falling overboard. It would however keep the fuel line out of the operators area.
 

Old Scout

Seaman
Joined
Dec 1, 2010
Messages
68
Re: Water Wasp Mini Boat

Here's how I approached the fuel tank/fuel line positioning. This allows you to keep the fuel tank in the front, under the cowling, AND will also have the fuel line out of the way of the boat operator, (and gives a cleaner look). As Bakeys mentioned having the fuel tank up front keeps the weight of the fuel tank, around 24 lbs when full for a 3 gallon tank, at the front of the boat, which will allow for more stability, i.e., planing when powering up. Also I believe this is safer location, fuel tank is in an enclosed location, not subject to coming loose and flying around. As you know I had the hull/deck apart which made this approach easier but it could be done without much effort w/o having to split the boat apart. I drilled a hole slightly larger then the diameter of the fuel line under the cowling for the fuel line and drilled another hole on the back of the seat towards the base, see pics. One approach you could take to accomplish the task of running the fuel line through these holes would be to pre-drill your holes, then stand your WW on its stern against a building, fence, etc., then I would take a string with magnet attached at the end and run it through the hole in the cowling. As you know in the previous pics I posted there is nothing but empty space between the stringers inside the boat, run the line through and downward, and with the assistance of a second person holding another small magnet or something metal like a screwdriver in the 2nd hole you drilled behind the seat capture the line magnet as it nears the second hole behind the seat. Then attach 10 feet of 5/16 fuel line, (I purchased mine at NAPA) to your string in the cowling, again with assistance run the line through the cowling, through the inside of the boat and out the hole you drilled in the back with fuel line attached. Once you attach your fuel fitting and position the fuel line where you like it, use a sealing caulk where the fuel line/boat meet to seal off the gap. Food for thought, oldscout.
DSCN5826_zps275dbadc.jpg

DSCN5825_zps82dabf97.jpg
 

Bakeys

Seaman
Joined
Jun 14, 2012
Messages
63
Re: Water Wasp Mini Boat

In addition to what Old Scout is saying, the scoop vent in front creates a more than positively ventilated atmosphere for the fuel tank. For what it's worth, I don't recall where I got this idea / info, but my understanding is that the access hole under the nav light was for a fuel filler neck. Somehow that just made sense to me although I didn't know how it worked. Wish these Wasps came with a manual!

Old Scout, what's the black box for? Looks like a 220 outlet. are you installing a clothes dryer on your WW?:lol:
 

Old Scout

Seaman
Joined
Dec 1, 2010
Messages
68
Re: Water Wasp Mini Boat

You are correct, the black box is a 220 volt plug outlet. It is a 6 foot range cord, consisting of two #6 wires and two #8 wires that run inside the WW hull side by side with the fuel line. I know it looks a little goofy but it serves a great purpose, it allows me to utilize several different outboards of different makes, all 1950's vintage, Gale, Johnson, that have electric start and electric choke. You need a very heavy wire to run the 12 volt current from the battery, (under the cowling) to the outboard starter, the # 6 wire on this cord is perfect for this. The plan is to build a small portable battery box that will slide into the WW cowling, inside the box is a small 12 volt garden tractor battery, your starter solenoid, and plug hook-ups, starter, electric choke , nav lights, etc. Then build a flip down instrument panel that will have all the control push buttons on it. If all goes as planned, once finished you should be able to launch the WW, push the starter button and be on your way.
 

Old Scout

Seaman
Joined
Dec 1, 2010
Messages
68
Re: Water Wasp Mini Boat

Bakeys, I have the original Water Wasp bowlight, see pic. You're welcome to it, its my way of saying thanks for getting this Water Wasp thread started, its been a great help to me in this restoration. PM me at DELETED
DSCN5841_zpsf4b22613.jpg
 
Last edited by a moderator:

Old Scout

Seaman
Joined
Dec 1, 2010
Messages
68
Re: Water Wasp Mini Boat

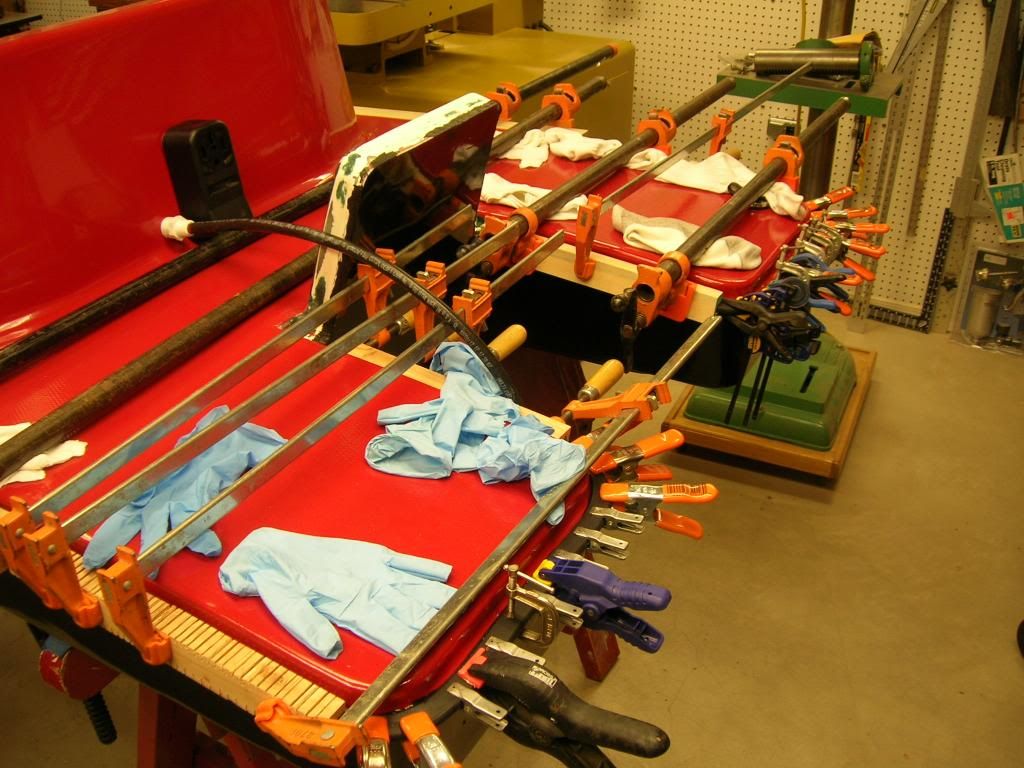
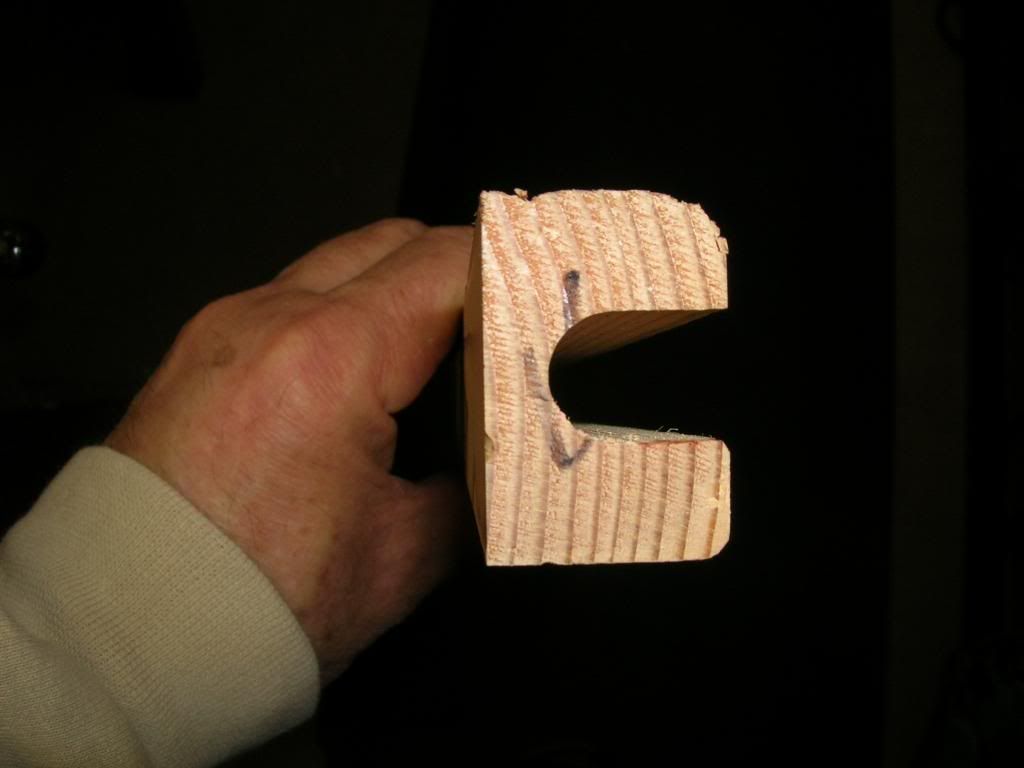
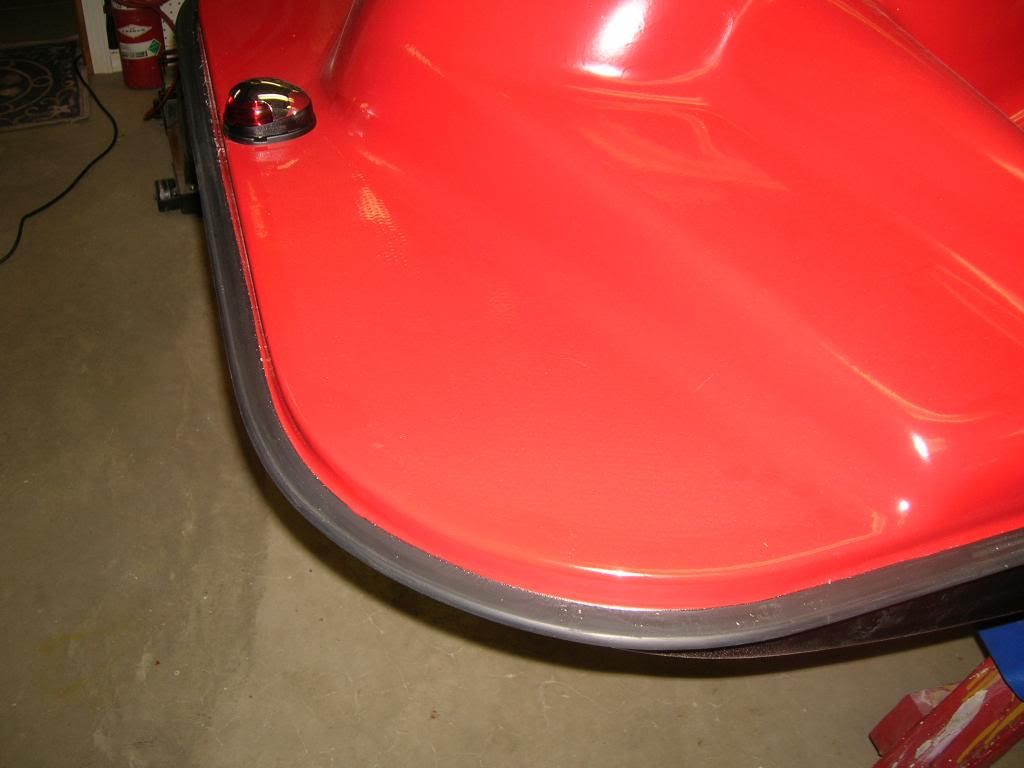
Update on WW restoration. A little history. When I first picked-up this boat it was obvious it was really beat up, just about ready for the scrap yard. Just one of the many issues was that it was missing the rubber rub rail, worse yet on the port side where the deck and hull meet, there were two places were portions of the boat were missing/broken up, probably due in part to the lack of protection from being used and/or moved around w/o the rubber rub rail. I found a good substitute for the original rub rail and installed it Sunday using 3M 5200 caulk adhesive and some wood 2x2's with a routed slot to hold it in place. Also installed steering wheel assembly after powercoating. Beginning to believe She might be ready for a launch in the Spring.
DSCN5846_zpsfc36c943.jpg

DSCN5844_zps10c2b8bb.jpg

DSCN5842_zps719edae0.jpg

DSCN5847_zps8350bc46.jpg
 

Bakeys

Seaman
Joined
Jun 14, 2012
Messages
63
Re: Water Wasp Mini Boat

Perfect timing, Old Scout. I wonder what it's going to cost me to ship mine out to you for a resto? I mean, lets me be real here, no sense in me reinventing the wheel if you've already done it with your WW!
As my WW has sat in a friend's barn all winter, I have to say that I'm inspired and envious of your time available and your craftsmanship. I'd take a small percentage of either. I also have clamp envy. It's just not right that one man should own so many clamps. :joyous:
I'm anticipating a different approach to WW resurrection. I'm going to use a bore scope of sorts to see whats going on inside the hull as opposed to dis-assembly. I may also take your methods and try to get some of the mechanicals inside the hull to offer some protection. Throttle operation is still up in the air a bit. At first I had visions of a hot-shoe type setup with a foot control but I suspect this little demon may have a tendency to bounce a bit while on anything but smooth water, so perhaps a trigger style (PWC type) mounted to the steering wheel would be effective. Range of motion will have a big part in that decision. Other than that, my focus may be mostly on the cosmetics of the craft. At this point my goal is to make it look nice, function to an acceptable level, find a trailer for it, then find a good home. I have no room for it, and I'm pretty sure Mama will have little tolerance for it dominating my time. :rolleyes: Time will tell, I suppose.
In response to your offer of a bow light, Oldscout, I am truly humbled. DELETED and I thank you so much for your consideration.
I also have to thank you for all your time, effort, and detailed documentation on your WW resurrection. To me, a very valuable gem.
Keep well.
 
Last edited by a moderator:

Old Scout

Seaman
Joined
Dec 1, 2010
Messages
68
Re: Water Wasp Mini Boat

Update on WW restoration, clamps came off today, its nice when it works out, thanks to all, the pics of your WW's really helped, oldscout.
DSCN5877_zpsbfa4396b.jpg

DSCN5876_zps17641f40.jpg

DSCN5875_zps889968d5.jpg
 

Bakeys

Seaman
Joined
Jun 14, 2012
Messages
63
Re: Water Wasp Mini Boat

That looks great! Looking forward to seeing it with an engine and buzzing across the water!

Bow light arrived. Thank you. Thank you. Thank you.


Old Scout

Seaman
Joined
Dec 1, 2010
Messages
68
Re: Water Wasp Mini Boat

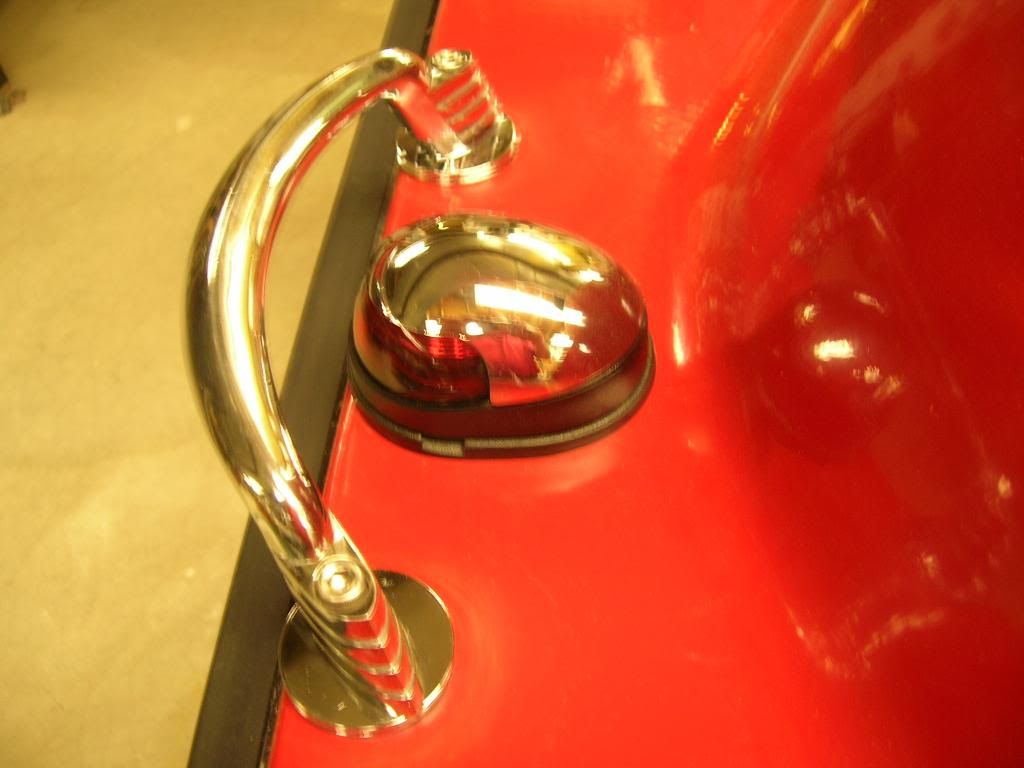
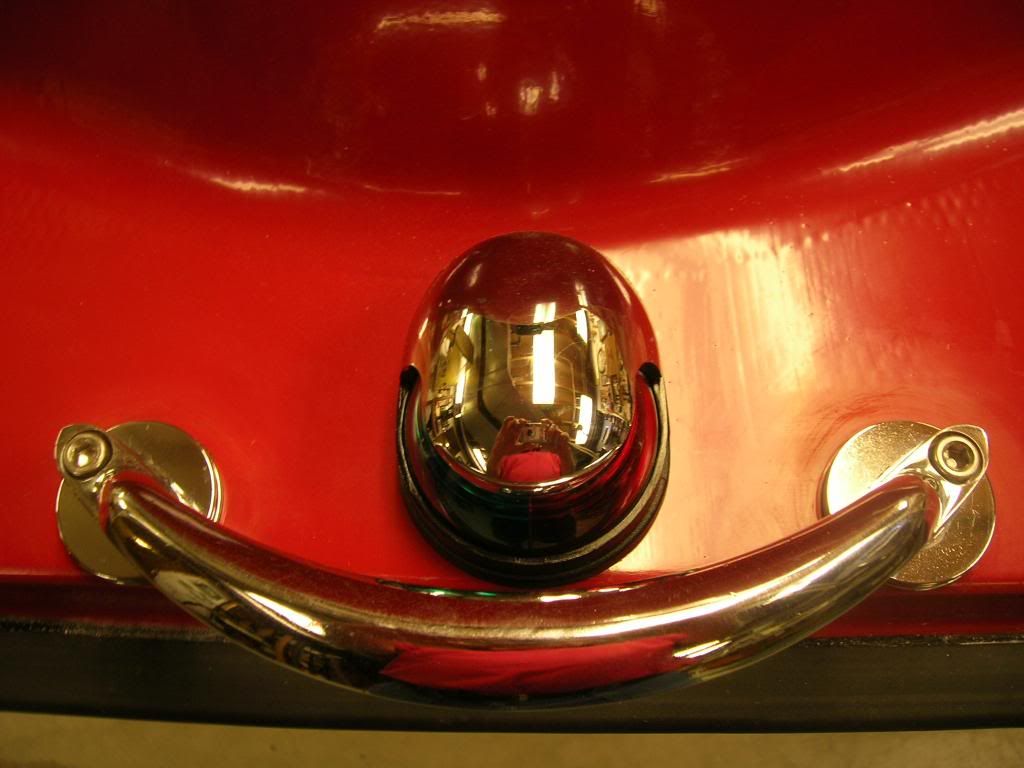
Here's an April update. Missing the original bow handle on the WW, chances of finding one are probably slim to none. Located on e-Bay a handle used on a 1953 Chrysler car, it has that forward angle much like the original. You gotta love the art deco look of the 1950's. She's ready to moved out of the shop, (basement) and into the garage.
 

Willyclay

Captain
Joined
Sep 8, 2006
Messages
3,260
Re: Water Wasp Mini Boat

Located on e-Bay a handle used on a 1953 Chrysler car, it has that forward angle much like the original.

You have exceeded our expectations after the electric range connector adaptation. Is there a splash in the immediate future??
 

Old Scout

Seaman
Joined
Dec 1, 2010
Messages
68
Re: Water Wasp Mini Boat

I hope so Willyclay. Still have some details to work out, wiring mostly. Its going to get kinda busy underneath that cowling, gas tank, battery box, steering cables. Got lucky with the improvised bow handle, I through bolted it with a brace underneath for safety, here's a view of it from above.
 
Status
Not open for further replies.
Top