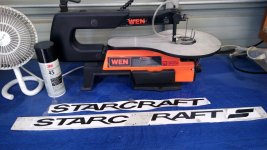
I know eye candy is the most important part of a build so here we go.
I am still ripping the boat down to bare hull. While I wait for rivets in the mail.
View attachment 337192
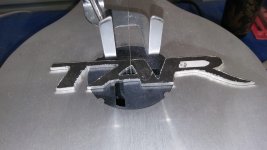
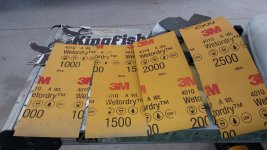
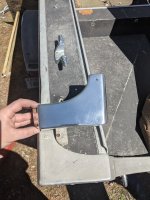
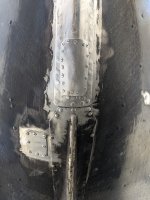
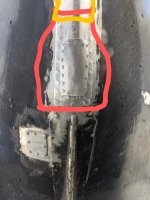
Casually working on the aluminum trim while I am waiting. Corners and nose will be polished to mirrors. I have been having difficulty getting a smooth finish on these pieces though....I sanded it down hard with 120 to get passed corrosion. Then 320, then 800 (sanding this stage extra long and making sure the 320 swirls are gone. Waiting for 600 grit paper lol). Then 1000 wet sand and a bench buffer. But the finish almost reminds me of orange peel in automotive paint finish? It's shiny...but you can see the surface bumpiness....
View attachment 337190
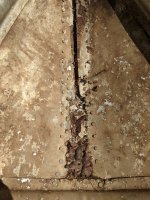
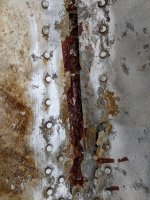
The corrosion is DEEP and has required random orbital 120 grit for extended time to get it smooth. I then hit with random orbital 320 grit. Finished off with direction maroon scuff pad. This has given me good results but is exceptionally time consuming compared to the pieces I've shined on antique motorcycles.
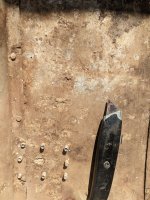
I have finally found acceptable results for the rest of the trim in the boat. 120 for ever, 340, straight to maroon pad, taking care to lay the scratches straight to give a brushed look.
View attachment 337191
Thank you! Another product to go buy. Bwahahaha......marine body techniques have been interesting to learn...A lot of mixed advice on the hull leak test. That being said maybe I can help add some more confusion.
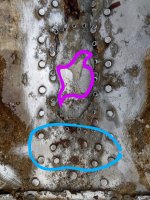
Preferred method as suggested by many: Take to a body of water and launch. Make sure to take enough weight to help get the hull down as it will ride high being empty. Circle each area where there is a leak and buck when you get home.
Secondary method (I did this method as we aren't near any body of water. Its a an hour and 15 minutes both ways so it wasn't an option). Fill the hull with water. That being said, don't over fill. We had it on our driveway so it slanted to one side. That allowed us to move the hull around to cover different areas with water. Circle the exterior rivets that leak. You will have some issues with the rivets that are hidden by the bunks, so keep that in mind when you are looking for leaks if you go with this method.
In the end, you have to figure out what will work best for you and your situation.
As for the 5200 debate, if you are replacing a rivet use 5200. If you are just rebucking a loose rivet, don't bother and use Gluvit and such to coat the tail when you do the rest.
Again, just my 2 cents... so take it for what its worth
SHSU
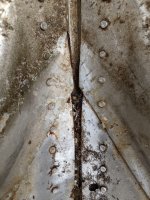
The exterior of the transom skin appears to have some black hard as nails (wire wheel was hard pressed to fight with it..) product painted all over it with a brush. I was thinking I would just sand it flat and then pretend it's just part of the hull. Thoughts??


