Rotten 1982 Beachcraft

todhunter

Canoeist
Joined
Sep 15, 2020
Messages
1,308
Looks good. Biscuit cutter's a handy tool that I've never had the pleasure of owning. I did scarf joints to stretch my 8 ft plywood to 12 ft to make stringers.
 

Beachcraft170E

Seaman Apprentice
Joined
Jul 8, 2021
Messages
37
Looks good. Biscuit cutter's a handy tool that I've never had the pleasure of owning. I did scarf joints to stretch my 8 ft plywood to 12 ft to make stringers.
Your boat has turned out amazing! It was one of the resto threads I really dug into. It is truly a labor of love to bring them back from death's doorstep. The biscuit joiner is handy when you need it. I definitely adds strength to the joint, but really helps keeping things aligned.
 

Beachcraft170E

Seaman Apprentice
Joined
Jul 8, 2021
Messages
37
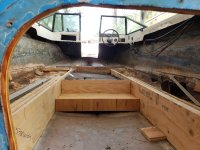
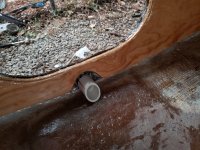
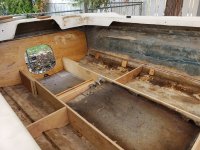
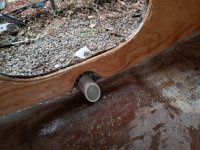
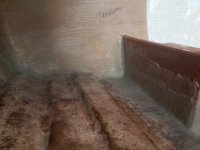
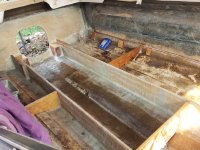
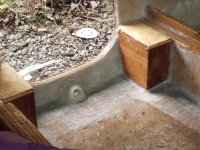
Once the stringers were pretty much fabbed up I could start mocking up the bulkhead positions. I added two bulkheads mainly as reinforcement under the floor, right about the place where ppl would be stepping into the boat, and where I had a seam in the deck plywood. I also worked out the drain and got the transom all PB'd with epoxy and cabosil
 

Attachments

  • 20210801_114105.jpg
    20210801_114105.jpg
    4.1 MB · Views: 17
  • 20210805_200908.jpg
    20210805_200908.jpg
    1.9 MB · Views: 17
  • 20210801_131241.jpg
    20210801_131241.jpg
    2.4 MB · Views: 16
  • 20210805_200908.jpg
    20210805_200908.jpg
    1.9 MB · Views: 16
  • 20210807_171953.jpg
    20210807_171953.jpg
    2 MB · Views: 17

Beachcraft170E

Seaman Apprentice
Joined
Jul 8, 2021
Messages
37
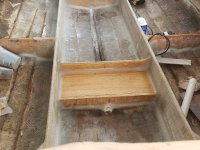
Fiberglassing will never become one of my favorite things. It's too finicky and I'm far too persnickety. I'm glad epoxy is strong. I'm glad I overbuilt this boat. I'm glad there are far more layers of stronger fiberglass, over structurally stronger pieces of wood, using a stronger resin, with far more attention paid to water resistance, because my fiberglassing skills are suspect. Ultimately the stringers were tabbed with a big fat wide strip of 17 oz biaxial and another narrower strip, and then another over the top and overlapping down onto the hull tabbing. Some of it isn't awesome, some of it is. There is soooo much more than was ever there from the factory, I'm not sweating my sucky fiberglassing "skills."
 

Attachments

  • 20210812_195241.jpg
    20210812_195241.jpg
    7.8 MB · Views: 18
  • 20210815_182705.jpg
    20210815_182705.jpg
    8.3 MB · Views: 18
  • 20210822_163147.jpg
    20210822_163147.jpg
    8.9 MB · Views: 18

todhunter

Canoeist
Joined
Sep 15, 2020
Messages
1,308
Your boat has turned out amazing! It was one of the resto threads I really dug into. It is truly a labor of love to bring them back from death's doorstep. The biscuit joiner is handy when you need it. I definitely adds strength to the joint, but really helps keeping things aligned.
Thanks! Yes it was a labor of love, and it was all worth it in the end. Your project is looking great, keep up the good work.
 

JASinIL2006

Vice Admiral
Joined
Feb 10, 2012
Messages
5,673
Nice work! It IS pretty amazing how shoddily some of these boats were built originally. When finished, yours truly is going to be better than new.
 

Beachcraft170E

Seaman Apprentice
Joined
Jul 8, 2021
Messages
37
Nice work! It IS pretty amazing how shoddily some of these boats were built originally. When finished, yours truly is going to be better than new.
It blew me away. The holes where the flotation foam was poured in were left open. The foam was cut flush back to the deck and carpet layer over it.

I think this boat should certainly outlast my interest in it, if any care whatsoever is taken to protect and maintain it.
 

Beachcraft170E

Seaman Apprentice
Joined
Jul 8, 2021
Messages
37
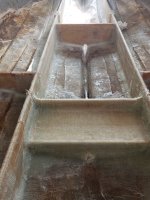
Next up were the motor mounts and bulkhead between the ski locker and fuel tank. Again everything got liberally epoxied before being epoxy PBd into place and fiberglassing. All the drain areas are also capped with pvc
 

Attachments

  • 20210821_074829.jpg
    20210821_074829.jpg
    7.9 MB · Views: 12
  • 20210826_192042.jpg
    20210826_192042.jpg
    7.8 MB · Views: 11
  • 20210828_102712.jpg
    20210828_102712.jpg
    8.7 MB · Views: 12
  • 20210829_152716.jpg
    20210829_152716.jpg
    2.3 MB · Views: 12

Beachcraft170E

Seaman Apprentice
Joined
Jul 8, 2021
Messages
37
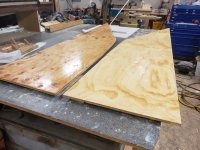
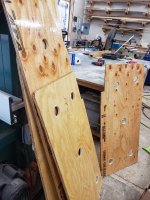
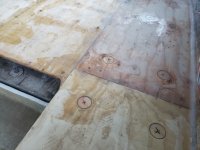
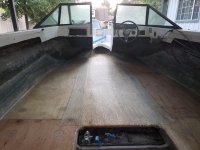
Once all the under deck stuff was done, it was on to the deck and flotation foam. I went with what is supposed to be 5/8" ACX. It was all dry-fitted and then predrilled for the foam pour holes. I used PL glue and screws to hold it down. All the seams were filled with epoxy PB

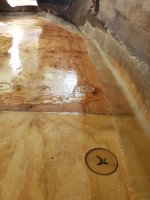
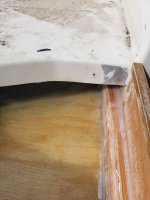
After all the foam pours, the holes were stopped up with epoxy/cabosil PB and the pieces that were hole-sawed out. The whole deck got tabbed in with 17 oz biaxial and then the whole deck coated in more epoxy and 17oz which was also ran up the sides of the hull
 

Attachments

  • 20210903_202831.jpg
    20210903_202831.jpg
    8.4 MB · Views: 14
  • 20210906_165849.jpg
    20210906_165849.jpg
    1.9 MB · Views: 12
  • 20210919_184825.jpg
    20210919_184825.jpg
    7.8 MB · Views: 14
  • 20210921_165738.jpg
    20210921_165738.jpg
    2.1 MB · Views: 15
  • 20210926_184516.jpg
    20210926_184516.jpg
    9.9 MB · Views: 15

Beachcraft170E

Seaman Apprentice
Joined
Jul 8, 2021
Messages
37
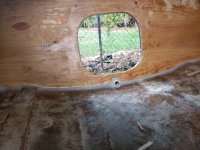
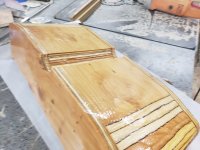
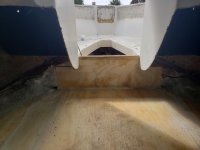
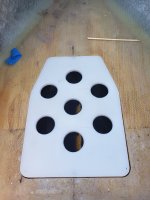
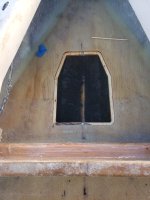
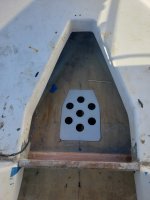
I also enclosed the footwell of the open bow. I wanted to have a larger flat area and some enclosed storage.

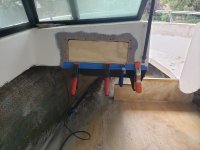
The monstrous hole where the radio had been installed using a chain saw also got repaired. The backside was supported with plywood epoxied into place. Then polyester resin was used to glass it all in, so that I could gel coat it later.
 

Attachments

  • 20211005_124433.jpg
    20211005_124433.jpg
    7.6 MB · Views: 12
  • 20211005_124438.jpg
    20211005_124438.jpg
    2.5 MB · Views: 13
  • 20211005_125217.jpg
    20211005_125217.jpg
    7.6 MB · Views: 13
  • 20211005_185741.jpg
    20211005_185741.jpg
    7.4 MB · Views: 14

Beachcraft170E

Seaman Apprentice
Joined
Jul 8, 2021
Messages
37
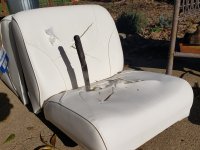
I went ahead and ordered the back to back lounges and a jump seat for the rear. Unfortunately the base was cracked. Unfortunately when they sent a new one, it was the wrong color. Unfortunately when they sent a new, new one, it also had a broken base. I was able to use pieces from different ones to make it work. Hilariously after all that, test fitting it...even the 8" base made me look like a sasquatch in a go cart, and made it tough to get your legs under the steering wheel. I ended up having to build my own. šŸ¤£

On a side note, the seat company wanted me to destroy the seat and send them a picture. I really wish I had access to a bull dozer or dynamite...something fun. In the end I went a bit "slash and gore."
 

Attachments

  • 20211116_135628.jpg
    20211116_135628.jpg
    6.5 MB · Views: 7
  • 20211116_140125.jpg
    20211116_140125.jpg
    7.8 MB · Views: 7
  • 20220221_183213.jpg
    20220221_183213.jpg
    7.9 MB · Views: 7

Beachcraft170E

Seaman Apprentice
Joined
Jul 8, 2021
Messages
37
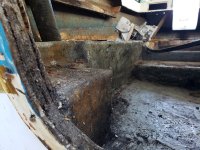
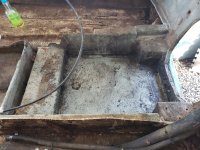
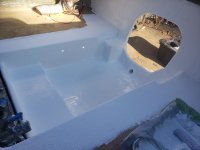
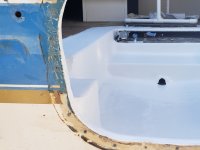
I had some white epoxy primer from a car restoration project, so after the bilge got faired out a bit with epoxy/cabosil, it got a healthy coating of the primer, as did the transom. Both then got 3 coats of epoxy bilge paint. I really love the before/after pics on this area.
 

Attachments

  • 20210718_102653.jpg
    20210718_102653.jpg
    3.9 MB · Views: 11
  • 20210718_102533.jpg
    20210718_102533.jpg
    5.6 MB · Views: 10
  • 20211128_102623.jpg
    20211128_102623.jpg
    8.6 MB · Views: 11
  • 20211129_202615.jpg
    20211129_202615.jpg
    756.4 KB · Views: 11

Beachcraft170E

Seaman Apprentice
Joined
Jul 8, 2021
Messages
37
In one of those, "why didn't I do that before?" moments, I suddenly felt like maybe I should have addressed an issue that I hadn't been too concerned with before. There had been some keel rub, through the gelcoat. I figured I would just repair the gelcoat later. Well, insomnia and anxiety being the kinky lovers they are, had me up all night worrying that my hull was paper thin. So to be able to sleep again, I cut a hole in the brand new deck, cussed myself a dozen times, made peace with myself, did the "repair", and was able to sleep again. And I (don't tell the admiral) "repurposed" a cutting board from the kitchen in making the access hatch.
 

Attachments

  • 20220208_092748.jpg
    20220208_092748.jpg
    1.8 MB · Views: 5
  • 20220208_092800.jpg
    20220208_092800.jpg
    2.1 MB · Views: 5
  • 20220208_092743.jpg
    20220208_092743.jpg
    1.2 MB · Views: 5
Top