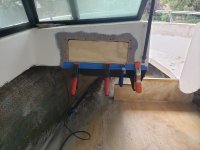
Your boat has turned out amazing! It was one of the resto threads I really dug into. It is truly a labor of love to bring them back from death's doorstep. The biscuit joiner is handy when you need it. I definitely adds strength to the joint, but really helps keeping things aligned.Looks good. Biscuit cutter's a handy tool that I've never had the pleasure of owning. I did scarf joints to stretch my 8 ft plywood to 12 ft to make stringers.
Thanks! Yes it was a labor of love, and it was all worth it in the end. Your project is looking great, keep up the good work.Your boat has turned out amazing! It was one of the resto threads I really dug into. It is truly a labor of love to bring them back from death's doorstep. The biscuit joiner is handy when you need it. I definitely adds strength to the joint, but really helps keeping things aligned.
True. We spend a great deal of time in the summer on the Chaparral I restored. The memories are worth the rebuild pain. Ha ha.Thanks! Yes it was a labor of love, and it was all worth it in the end. Your project is looking great, keep up the good work.
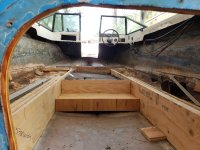
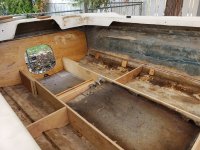
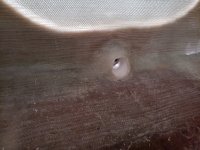
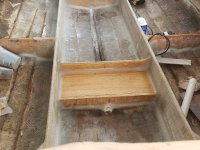
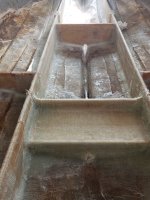
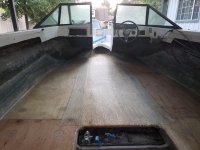
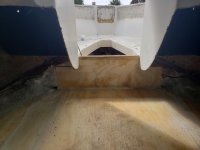
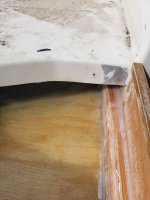
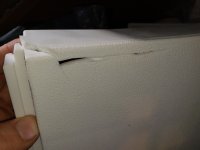
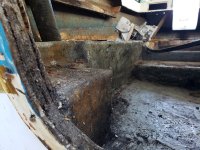
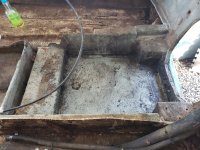
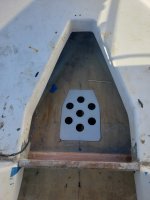
It blew me away. The holes where the flotation foam was poured in were left open. The foam was cut flush back to the deck and carpet layer over it.Nice work! It IS pretty amazing how shoddily some of these boats were built originally. When finished, yours truly is going to be better than new.
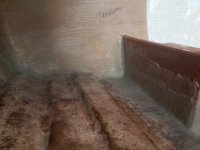
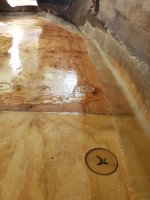
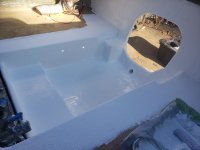
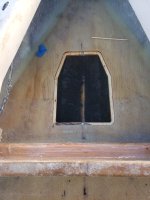
Thank you! It's gonna be like doing drywall, you do it so infrequently, by the time you get half-fast decent at it, you don't do it again for 10 yrs.Really nice glassing there.