Piece715
Senior Chief Petty Officer
- Joined
- Jan 26, 2009
- Messages
- 757
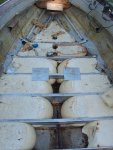
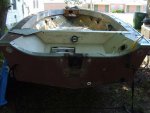
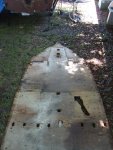
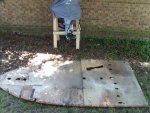
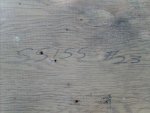
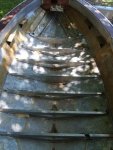
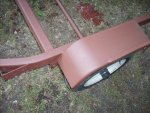
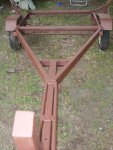
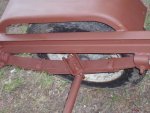
Re: Restoring 1986 Sea Nymph SS155 (pics)
The owner of the windshield said that it was saved from a 18ft. 1985 Sea Arrow and that it polishes great
My Maxum windsheild looks something like yours, mine has solid side panels and a angle at the back end of the panel. When I had it on the boat I was happy with it. Well made and solid.
The owner of the windshield said that it was saved from a 18ft. 1985 Sea Arrow and that it polishes great
 . So when it comes time that area is covered.