PROJECT SEA RAY

Mr.Stickney

Petty Officer 3rd Class
Joined
Oct 1, 2014
Messages
94
IMG_0373.JPG IMG_0374.JPG IMG_0375.JPG IMG_0376.JPG


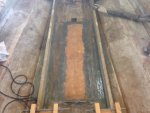
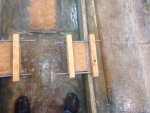
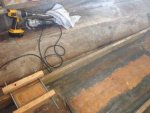
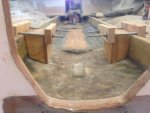
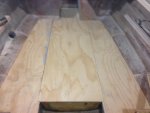
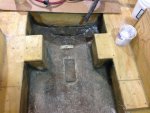
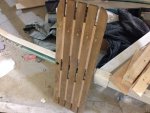
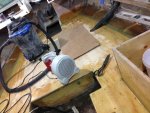
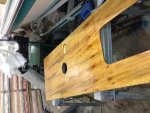
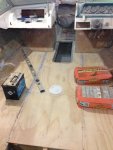
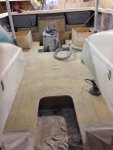
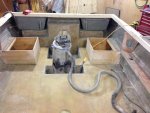
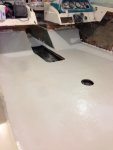
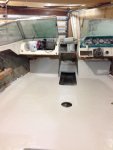
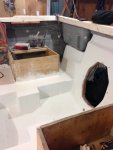
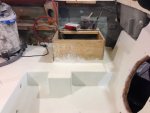
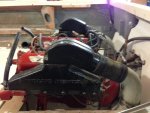
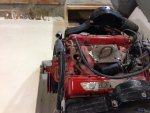
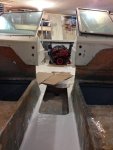
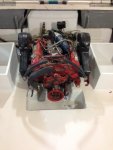
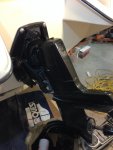
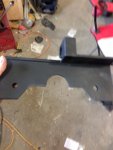
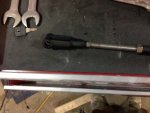
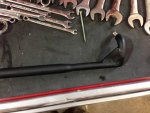
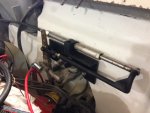
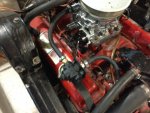
Few more picture updates!! Motor mounts built and test fitted. Excuse the grey mess, had some free filler to use up , it the nicest stuff to work with. Finished the last layer on the stringers with a fully length layer of 1708 with an increased overlap.

Few spots to touch up in the CSM over the top. I did that first and then did the false floor where the gas tank goes and put my hands in my freshly laid glass to keep myself from falling over. *FACE PALM*
 
Last edited:

DeepBlue2010

Lieutenant
Joined
Aug 19, 2010
Messages
1,305
I am under the impression that the weight of the CSM layer in the 1708 fabric is 0.08oz not 8oz.

Sorry, i replied to an old post on page one. This might not be relevant now but since i cant delete my post, i will just leave it there just in case instead of writing over it.
 
Last edited:

Mr.Stickney

Petty Officer 3rd Class
Joined
Oct 1, 2014
Messages
94
Not a problem DeepBlue! Glad to see someone else in here but me lol

I'm pretty sure that it is 0.8oz (3/4oz mat backing rounded up) I think a few of us may have forgot the decimal!
 

DeepBlue2010

Lieutenant
Joined
Aug 19, 2010
Messages
1,305
You are doing some nice progress there. Are you planning to continue through the winter?
 
Last edited:

Mr.Stickney

Petty Officer 3rd Class
Joined
Oct 1, 2014
Messages
94
Thanks Deep Blue. I will be continuing through the winter. The goal is to splash it in the spring. The engine mounts are now in and ready for glass (pictures to follow). Going to try and get a good evenings worth of work in every night this week and for the foreseeable future. With Christmas fast approaching, my weekends are going to start disappearing in a hurry.
 

Mr.Stickney

Petty Officer 3rd Class
Joined
Oct 1, 2014
Messages
94
Thinking about doing the motor mounts in the 1208 as it is just so much nicer to work with. Probably 3 layers is my thought.

Tab it in on all three exposed sides, about half way up the mount couple inches on the hull. Then proceed up and out with the second layer going full height. Then one cap sheet that goes from the hull in the bilge all the way over the top onto the back of the stringer, and then the same thing horizontally from the stringer over the mount and then back to the stringer on the other side.

Should seal up the corners on the tabbing.

For anyone who's wondering , I have worked the project out to basically 1ml resin per square inch +5% on the batch. Just makes it easy on the brain, I find. Although I always have an emergency batch on standby.

Based on the 1/2 gallon resin per 36 x 50" piece of 1708.

1890ml (1/2 gal) / 1800 in^2 = 1.05

So far I have been able to avoid cooking a lot of resin in the mixing cups, also helps to have some extra pieces cut out of carrying size for various little side projects so that if you have some left over you can just seal up some wood, or put down some small CSM repairs/patches where needed.
 

Mr.Stickney

Petty Officer 3rd Class
Joined
Oct 1, 2014
Messages
94
No Title

Hey guys , sorry for the lack of updates

Floor is 90% in , on the ipad so update will be short try and get some more pics and info up on a desktop tomorrow at work. Let me know what ya the!!!
 

Attachments

  • photo238110.jpg
    photo238110.jpg
    73.7 KB · Views: 4
  • photo238111.jpg
    photo238111.jpg
    69.8 KB · Views: 3
  • photo238112.jpg
    photo238112.jpg
    86.8 KB · Views: 3

Mr.Stickney

Petty Officer 3rd Class
Joined
Oct 1, 2014
Messages
94
No Title

null
 

Attachments

  • photo238113.jpg
    photo238113.jpg
    82.7 KB · Views: 3
Last edited:

Mr.Stickney

Petty Officer 3rd Class
Joined
Oct 1, 2014
Messages
94
Something's funky and I cant edit so well just start again I guess.


Bottom of the floor got slow coated and then a layer of 1.5oz csm and then a final test fit. The light coloured spot is a little relief sanding I did just to ensure that the fuel filler hose didn't rub on the bottom of the floor. Turned out to be an effort in futility as it cleared without a problem. Not sure why the initial test fit said otherwise. Must have been something under the tank.

IMG_0514.JPG

IMG_0517.JPG

Floor is glued and screwed. Fitment on the STBD side was beauty as I figured a way to "square" the sheet after not making the nicest cut on the port side. Live and learn I guess.
 

Mr.Stickney

Petty Officer 3rd Class
Joined
Oct 1, 2014
Messages
94
No Title

Got two layers of chop on the floor, unfortunately it did not play very nice. Started balling up on me at the edges so there was lots and lots of sanding to do.

6oz is going on tonight and Gel Coat just arrived - any tips on rolling floor gel would be much appreciated!
 

Attachments

  • photo238989.jpg
    photo238989.jpg
    178.3 KB · Views: 3
  • photo238990.jpg
    photo238990.jpg
    96.3 KB · Views: 3
  • photo238991.jpg
    photo238991.jpg
    82.6 KB · Views: 3
  • photo238992.jpg
    photo238992.jpg
    93 KB · Views: 4
Last edited:

Mr.Stickney

Petty Officer 3rd Class
Joined
Oct 1, 2014
Messages
94
Gelcoat is down!

Definitely interesting rolling it and a steep learning curve. Typically not one to leave well enough alone so I had to leave the room before I screwed something up!

All the vertical surfaces will be getting carpet so don't worry about the shoddy edges.


IMG_0614.JPGimg_0612.2.jpg
 
Last edited:

Mr.Stickney

Petty Officer 3rd Class
Joined
Oct 1, 2014
Messages
94
Didn't have enough Gel to finish the Bilge and Transom but had some Sherwin Williams protective and marine coating - alkyd enamel in white. Colour doesn't match too bad and the price sure was right.

IMG_0618.JPG IMG_0619.JPG
 

Mr.Stickney

Petty Officer 3rd Class
Joined
Oct 1, 2014
Messages
94
And then the moment of truth, how good were my measurements.

Reminder, this boat came with a 4.3 Merc as the largest offering from the factory and here we are at Volvo Penta and a 305 SBC.

IMG_0624.JPG IMG_0625.JPG image_239644.jpg
 
Last edited:

Mr.Stickney

Petty Officer 3rd Class
Joined
Oct 1, 2014
Messages
94
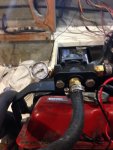
Got some paint on the seat boxes and got the drive hooked up. Had to do some fabricating to get the original steering to work on the Volvo. And a couple custom brackets to mount various things like the water separator. Been wiring like a maniac installed two batteries with a dual battery switch.

Currently working on figuring out how to get the Merc tilt trim function on the throttle to interface with the Volvo tilt motor. Looks pretty simple on the surface but will require some testing.


IMG_0635.JPGIMG_0656.JPG
 

Mr.Stickney

Petty Officer 3rd Class
Joined
Oct 1, 2014
Messages
94
Had to get a little creative with some of the old merc parts. There was a bronze looking (plated) on the transom plate that I cut and bent to get the double 90 at the opposite end of the clevis.

Then slid a piece of gas main over that and welded it, and welded a nut to the other end. Gives some adjustability with the threaded rod and then added the jam nut.

The bracket that holds it on the transom is just a piece of angle that I notched out and then welded the original steering tube bracket from the mercruiser power steering set up.


IMG_0646.JPG IMG_0649.JPG IMG_0651.JPG IMG_0653.JPG
 
Last edited:

Mr.Stickney

Petty Officer 3rd Class
Joined
Oct 1, 2014
Messages
94
Few updates!

It lives! Almost a year to the day, fired up and ran like a champ. Had a hot start issue, so I put in a fuel pressure regulator. Stock mechanical pump was putting out well over 10 PSI!!! Anyone with hot starts on an Edelbrock I would highly suggest this be your starting point. Fuel just blows right past the needle and seat.

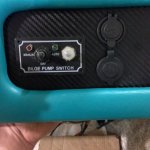
Also getting the wiring finished up and dressing up some of the dash panels. The panel with the new trim pump switch is where the hour meter used to sit. Wiring should be done this weekend

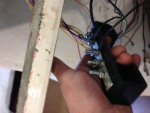
Made my own ground bus bars out of aluminum and some computer monitor risers that I had lying around. So much better than having 14 wires soldered together.

Overall I'm still about two weeks out from splash time. Trying to find a shift cable that will go from Merc controls to my Volvo outdrive. Pretty sure CC21012 is the cable I need but need to do a little more research.


IMG_0665.JPG IMG_0684.JPG IMG_0700.JPG IMG_0697.JPG
 

Mr.Stickney

Petty Officer 3rd Class
Joined
Oct 1, 2014
Messages
94
Well....here is a learned lesson that I thought I would post to hopefully avoid someone else from making the same error.

I bought a scrap boat and pulled the engine and drive and other accessories in hopes of finding a boat to put it in. The donor boat was a 22' cuddy with a 305 and mated to the Volvo 270 which both are now firmly planted in my Searay. What I never even thought to check was the drive ratio...Its mated to a V8 right?. I'm sure you can see where this is going.

I was working on running the new shift cable and I caught a glimpse of the serial number and saw the D at the end. 2.15:1 - 4 cylinder ratio. Slightly deflating with all the time I put in to refinishing and installing the drive that it all has to come back off again. But thanks to my good buddy T-Mac who refuses to throw out anything, there is a 280 drive sitting in his shed.

So a little more elbow grease and some paint it will be delayed but still wet in the next few weeks. Sucks a little bit when its this close to splash time.

Moral of the story folks: Don't assume that the original owner knew what they were doing. Maybe the original owner was trying to pull one over on a potential buyer, maybe he just didn't know any better, either way I hope this can help someone else avoid a potentially costly error.

Anyone in Canada need a Black 270 - 4 cyl drive? ;)
 
Top