Oh no. Here I go again.......

GA_Boater

Honorary Moderator Emeritus
Joined
May 24, 2011
Messages
49,038
Re: Oh no. Here I go again.......

Too bad the trailer is rated so low. It looks like it's built like the old brick outdoor facility. Hope you get good $$$ for it.
 

tgp***

Senior Chief Petty Officer
Joined
Oct 18, 2009
Messages
768
Re: Oh no. Here I go again.......

I got deal on some flotation for the boat on craigslist today. 20"x64"x 1.75" white (instead of pink) Styrofoam. $1.50 each. I bought 28 of them. I think they came out of building. I'm off next to check out a craigslist ad where someone has 100's of rolls of vinyl upholstery. The ad mentioned "Boltaflex" which makes a marine grade vinyl. I'll go check it out to see if there any marine grade material in there I can get on the cheap.

That could be the path of this boat "The Low Cost Rebuild". Now I just need to score on some plywood (that could be tough).
I was bummed the other day there was an ad for 3 free boats (all galssers w/ trailers no motors) They were all gone in a day. Why do I have to work for living??
 
Last edited:

InMotion

Commander
Joined
Nov 3, 2011
Messages
2,080
Re: Oh no. Here I go again.......

I got deal on some flotation for the boat on craigslist today. 20"x64"x 1.75" white (instead of pink) Styrofoam. $1.50 each. I bought 28 of them. I think they came out of building. I'm off next to check out a craigslist ad where someone has 100's of rolls of vinyl upholstery. The ad mentioned "Boltaflex" which makes a marine grade vinyl. I'll go check it out to see if there any marine grade material in there I can get on the cheap.

That could be the path of this boat "The Low Cost Rebuild". Now I just need to score on some plywood (that could be tough).
I was bummed the other day there was an ad for 3 free boats (all galssers w/ trailers no motors) They were all gone in a day. Why do I have to work for living??

Boat cost tally
$220 Boat
$43 Flotation

Nice work tgp! It's nice to shake it up a bit and see what can be done to get it rebuilt uber cheap... for some it can be in some ways, over whelming to try and source all of the bits for the rebuild --- cheap or otherwise. Funny thing is, you learn as you go... so by the time the 2nd, 3rd 4th! one is rebuilt, with some effort, the rebuild get's cheaper and cheaper. I'll be following along as you re-build your's --- really interested to read about new ideas to perfect "The Low Cost Build"! :)

In fact after some thought (I am editing this as an after thought...) perhaps you (and anyone else who might be interested) might be up for a friendly challange --- see who can re-build for the lost price. Now since your boat is 18' and mine is 14'... we could use cost per foot as a benchmark. Right now I am at the following total cost... but what I am planning on doing to it is going to be a challenge to keep the cost low:

Boat: $80
Motor: Free
Trailer: Free
Tear Down and disposal: Free
Running Total Per Foot: 80/14 = $5.71 per foot

Might be interesting to share the techniques in one spot that would help new re-builders keep costs low and still do a good job! Just a thought... :D

PS - I agree the Rat Race stinks.... but rebuilding starcrafts helps make the weeks pass alot easier! Enjoy!

Jim
 

tgp***

Senior Chief Petty Officer
Joined
Oct 18, 2009
Messages
768
Re: Oh no. Here I go again.......

I did consider dumpster diving at demolition sites for flotation, but I couldn't find the time.
 

GA_Boater

Honorary Moderator Emeritus
Joined
May 24, 2011
Messages
49,038
Re: Oh no. Here I go again.......

You two guys are lowering the bar for SC restos cost-wise. I'm gonna kick back and keep an eye open. :popcorn:
 

dozerII

Admiral
Joined
Oct 25, 2009
Messages
6,527
Re: Oh no. Here I go again.......

This should be interesting, there is no way I can compete in a contest like this, out in the middle of no where.
 

InMotion

Commander
Joined
Nov 3, 2011
Messages
2,080
Re: Oh no. Here I go again.......

I did consider dumpster diving at demolition sites for flotation, but I couldn't find the time.

New home construction sites work as well! Just gotta speak with the site super first!!!
 

tgp***

Senior Chief Petty Officer
Joined
Oct 18, 2009
Messages
768
Re: Oh no. Here I go again.......

Measuring up my plywood today. I'm short (no pun intended, because I am vertically challenged), one piece of 3/4 inch marine plywood for the transom, 72 inches x 16 inches. Anyone have a piece that they are not using, in or around the Milwaukee area, that could help a brother out?? I'd hate to buy a full sheet of plywood for such a small piece.

Has anyone used Titebond III for laminating up there transom??
 

InMotion

Commander
Joined
Nov 3, 2011
Messages
2,080
Re: Oh no. Here I go again.......

Measuring up my plywood today. I'm short (no pun intended, because I am vertically challenged), one piece of 3/4 inch marine plywood for the transom, 72 inches x 16 inches. Anyone have a piece that they are not using, in or around the Milwaukee area, that could help a brother out?? I'd hate to buy a full sheet of plywood for such a small piece.

Has anyone used Titebond III for laminating up there transom??

Sorry I can't help you with the ply... but gorrilla glue and PL are the glue's I have used... Do you spread it like peanut butter?
 

jbcurt00

Moderator
Staff member
Joined
Oct 25, 2011
Messages
25,047
Re: Oh no. Here I go again.......

Any glue used to laminate the transom, needs to be fully applied to the entire plywood face, possibly both glue surfaces. TB3 requires a thin full coverage layer of glue on both surfaces, allowed to slightly tack off, then the 2 pieces stuck together & secured w/ clamps, screws, weight and allowed to cure. TB3 doesn't have much grab, so if weight alone is not the best 'clamping' method.

TB3 is often used to lam glasser transoms, is easy to work w/, water cleanup, and waterproof when dry.

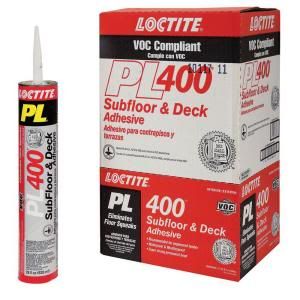
PL is similar to Liquid Nails:
PL400.jpg
 

tgp***

Senior Chief Petty Officer
Joined
Oct 18, 2009
Messages
768
Re: Oh no. Here I go again.......

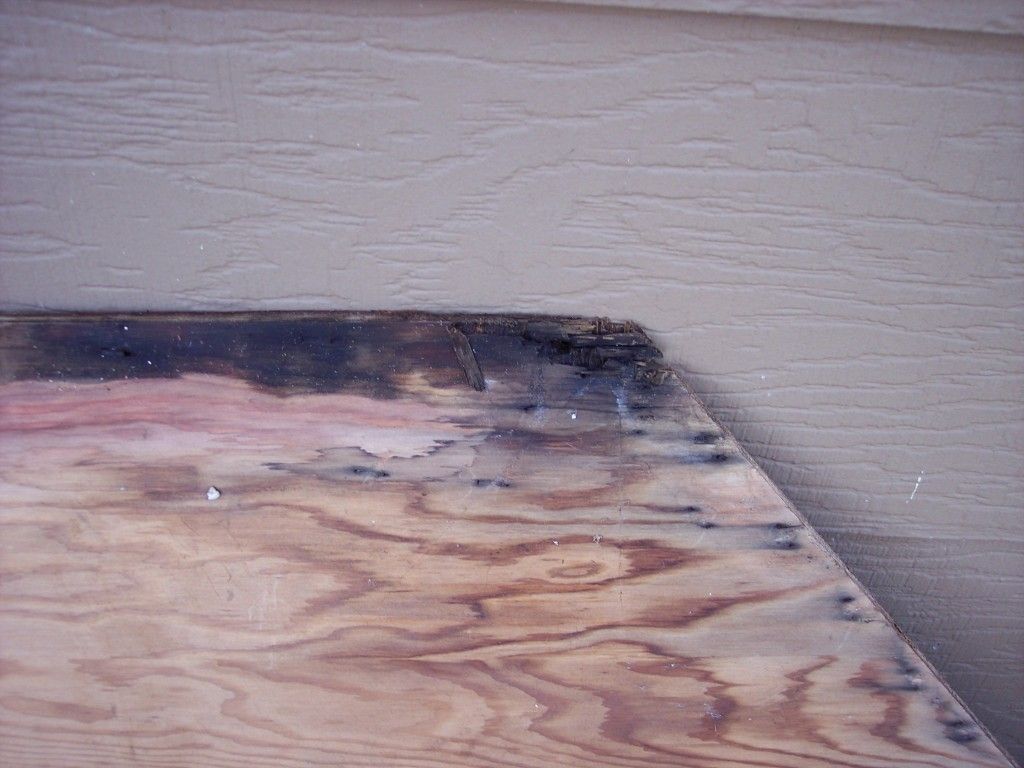
Thanks, guys. That may come in handy. Now I just need to find that piece of 3/4" and I can be underway w/ the transom. Today I'm working on pulling staples from all the console and side panels vinyl covering, All the wood will need replacing for the console and dash. The side panels I'm going to try to salvage. The bottom corners are the only rotted portion. I might try to trim and laminate new corners on them. the rest seems solid.

100_2405.jpg


Materials used by Starcraft
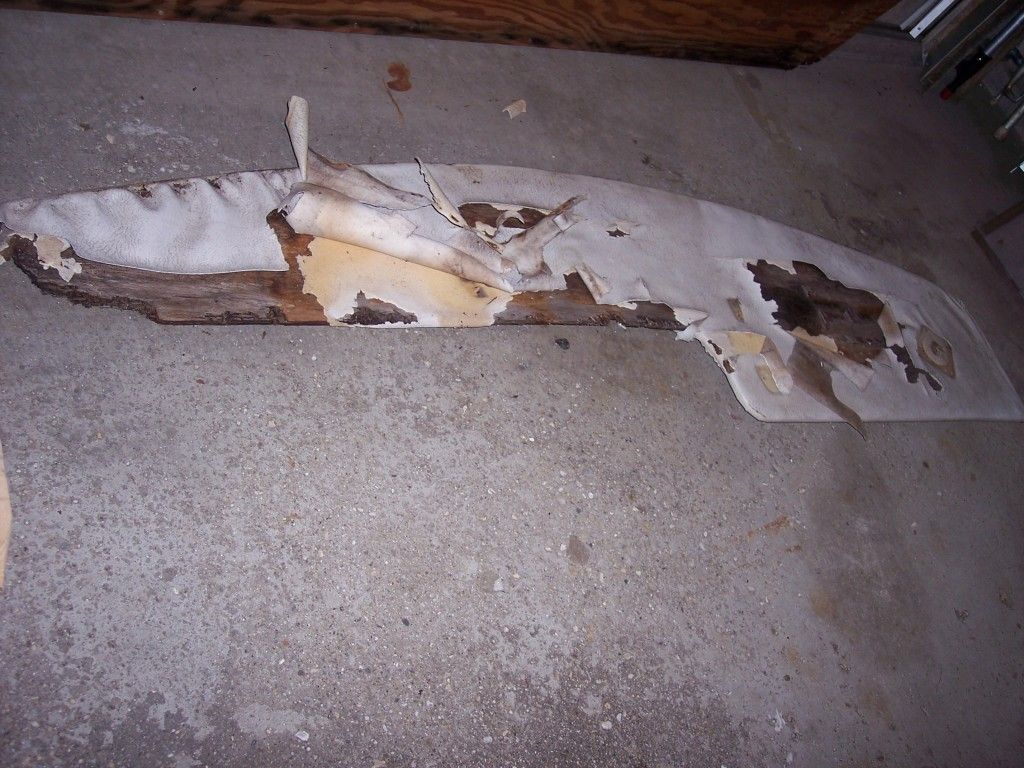
100_2403.jpg


The old dash top is really bad. I'll need to figure out what I need to do to put the bend in it. Or it may have just been bent when installed, but would have stretched the fabric too much so I figure it was pre bent, w/ steam.

Thanks again for the PL tip.
 

GA_Boater

Honorary Moderator Emeritus
Joined
May 24, 2011
Messages
49,038
Re: Oh no. Here I go again.......

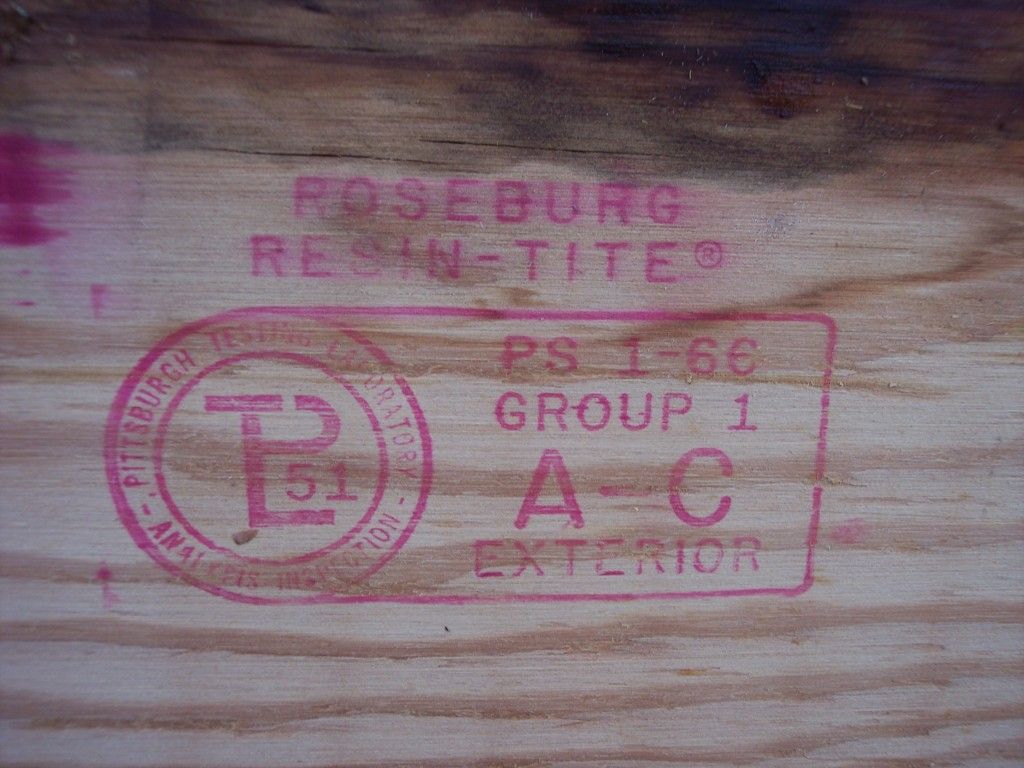
Well it's not marine plywood, but it has a seal of approval from the Pittsburgh Testing Laboratory. I guess that makes it OK. :rolleyes:
 

tgp***

Senior Chief Petty Officer
Joined
Oct 18, 2009
Messages
768
Re: Oh no. Here I go again.......

How do I get the 1/2" plywood to bend for a new dash? From what I've been able to determine there's steam bending (not sure you can even steam bend 1/2 plywood), Kerfing, or lay up of 2 pieces of 1/4' plywood.

100_2408a.jpg
 

GA_Boater

Honorary Moderator Emeritus
Joined
May 24, 2011
Messages
49,038
Re: Oh no. Here I go again.......

you might be able to wet/soak 1/2' ply and support the center with weight on the outer edge. A lot of weight!. 1/4' might be a better choice.
 

InMotion

Commander
Joined
Nov 3, 2011
Messages
2,080
Re: Oh no. Here I go again.......

How do I get the 1/2" plywood to bend for a new dash? From what I've been able to determine there's steam bending (not sure you can even steam bend 1/2 plywood), Kerfing, or lay up of 2 pieces of 1/4' plywood.

100_2408a.jpg

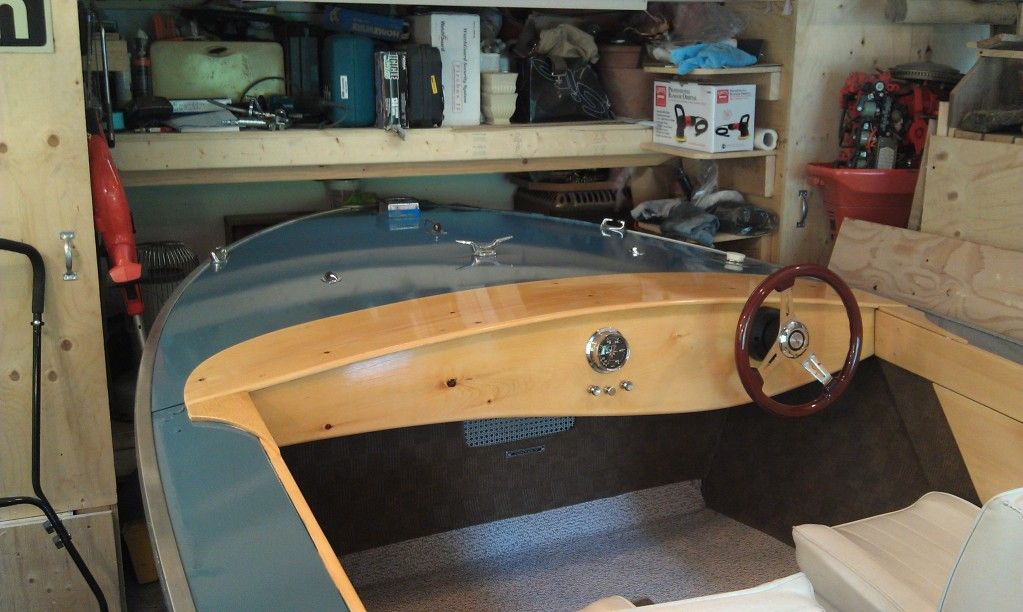
Hey TGP!

I had no problem at all bending 3/8 solid pine as a dash pad for my Jupiter. Couple of tricks... I released the tension in the wood by spanning the dash pad first using two concrete blocks under either ends of the board and then a smaller pc of concrete and a rock in the center. I wet the wood down a couple of times with a spray bottle over a couple of hours and let it sit over night. Then the next day I screwed the board down through the metal of the bow at one side an using rocks and concrete blocks slowly work my way across the boat to the other side screwing it down. Worked fine. Clear as mud??? :)

Hope that helps. With that methodology, 3/8 or 1/2 ply would work... although I would favor 3/8 as 1/2 would be simply put, more work.

Edit: Went looking for a photo of the bending and install and I quess I never took photo's of the process.... but here is a photo of the installed dashpad without the windscreen etc...

IMAG0360.jpg


Jim
 

GA_Boater

Honorary Moderator Emeritus
Joined
May 24, 2011
Messages
49,038
Re: Oh no. Here I go again.......

Of course you photo-documented the dash forming/


Post #315 had a couple of pics.
 

matt167

Rear Admiral
Joined
Sep 27, 2012
Messages
4,159
Re: Oh no. Here I go again.......

You can also use rags soaked in boiling water, and wrap them around the wood and slowly compress it to the curve. It will speed up the same process basically. That is common practice bending the chines plywood boats
 

tgp***

Senior Chief Petty Officer
Joined
Oct 18, 2009
Messages
768
Re: Oh no. Here I go again.......

You can also use rags soaked in boiling water, and wrap them around the wood and slowly compress it to the curve. It will speed up the same process basically. That is common practice bending the chines plywood boats

That sounds easy enough, I just need to make a some sort of crude form to bend it to. On the web I also came across a thing on how to make a steam box out of Styrofoam panels, but then you need a steamer. A big pot, stove, water, and old towels,..... I dig low tech:cool:......
 
Top