i_build
Petty Officer 2nd Class
- Joined
- Apr 24, 2005
- Messages
- 164
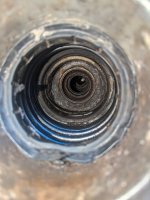
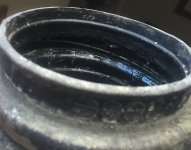
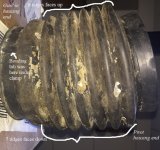
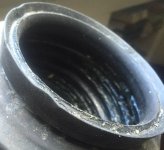
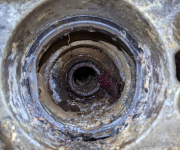
Was in storage 2 years and when I cranked her first time sounded like Gimbal and U-Joints were bad.... and as shown... they were... gear lube not milky at all and smells like regular stinky gear lube so I am assuming seals would be good. Seems to shift fine PO said shift cable new and it looked like it. Outside of Bellows, Gimbal Bearing, Water Pump, U-joints, o-rings for shaft, o-rings for water pump hose and water pump mating surface... plus lube... is there anything else that I should do when stuff looks like this?
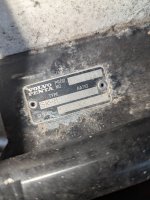
It's a 2003 with 400Hrs on the clock. Engine wise... I will do all the standard stuff (5.0GL) / plugs / fuel and oil filter / Dizzy Cap / Wires / Oil / PVC valve.
Thanks
It's a 2003 with 400Hrs on the clock. Engine wise... I will do all the standard stuff (5.0GL) / plugs / fuel and oil filter / Dizzy Cap / Wires / Oil / PVC valve.
Thanks
Attachments
Last edited: