redfury
Commander
- Joined
- Jul 16, 2006
- Messages
- 2,659
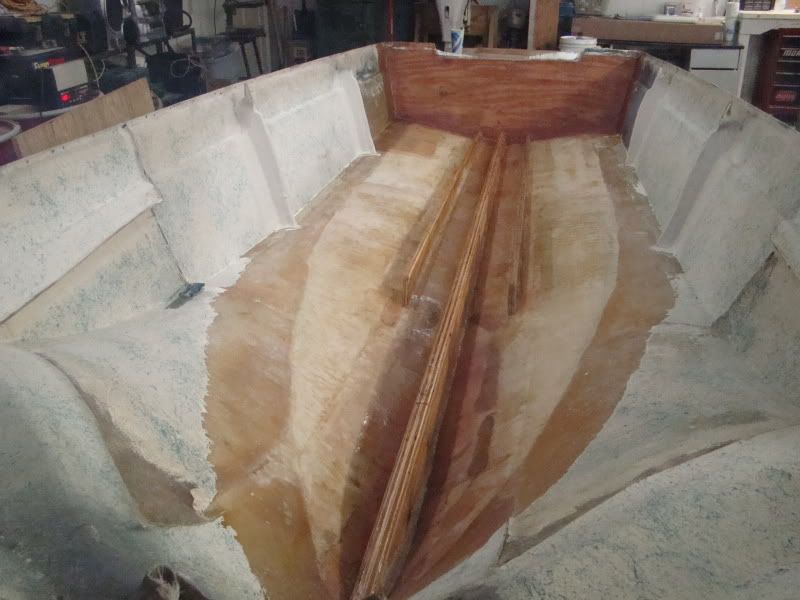
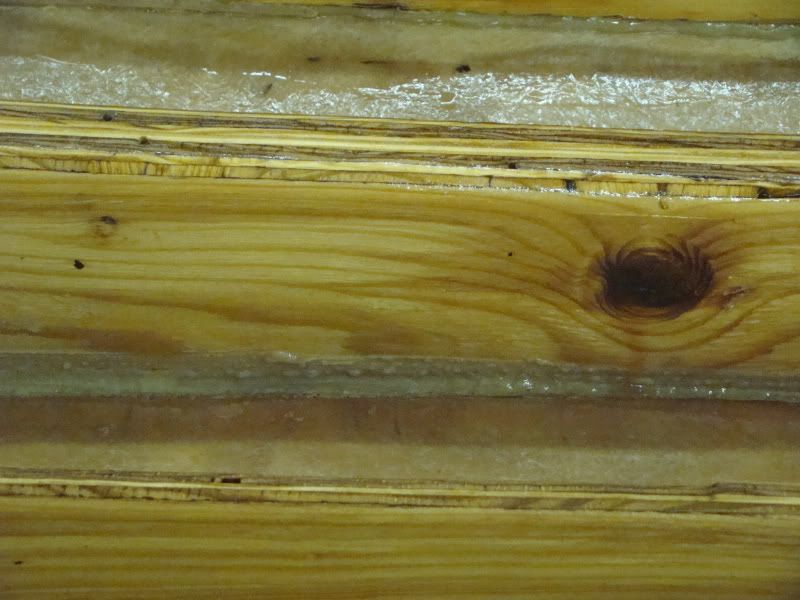
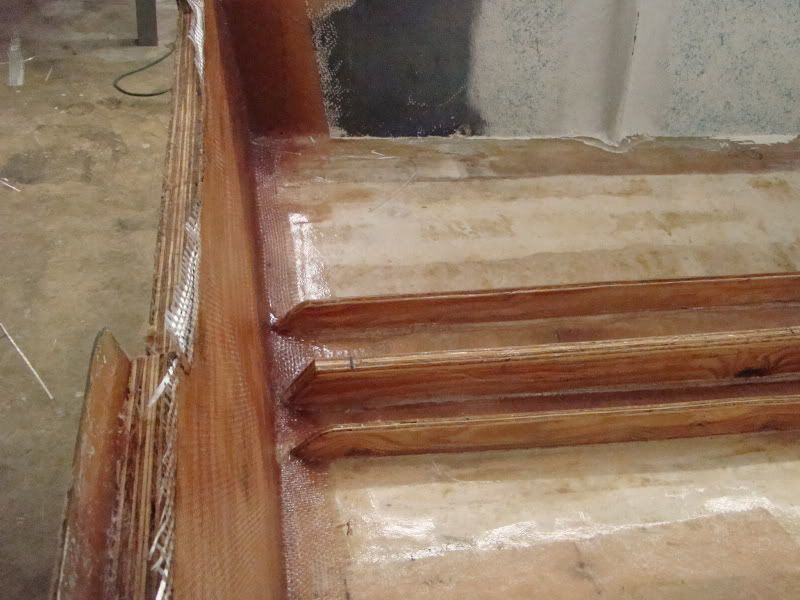
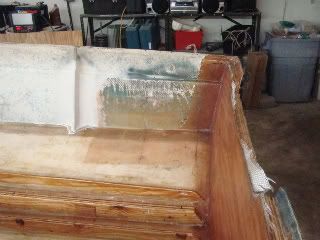
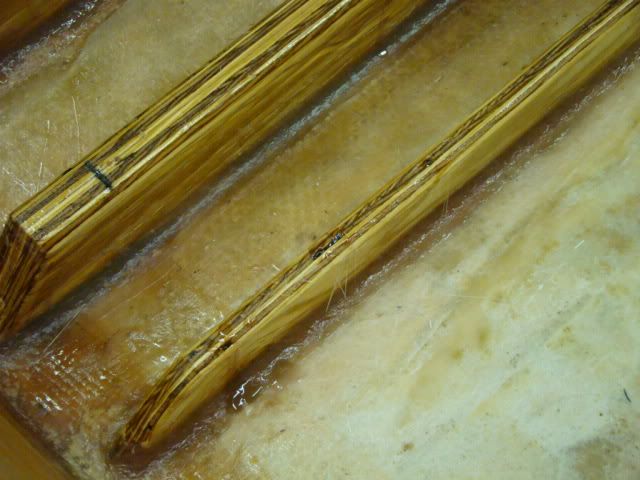
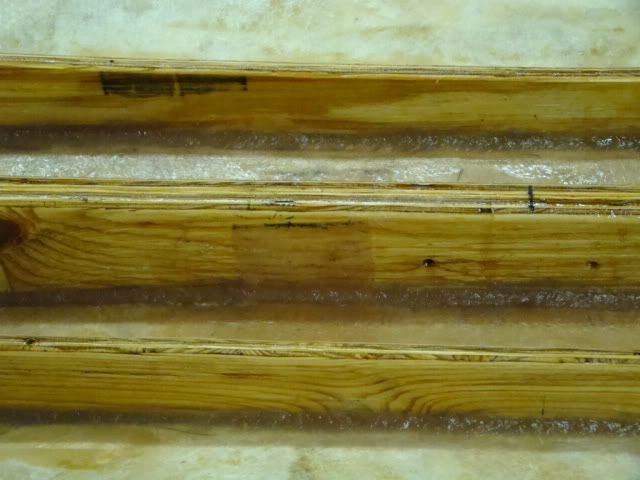
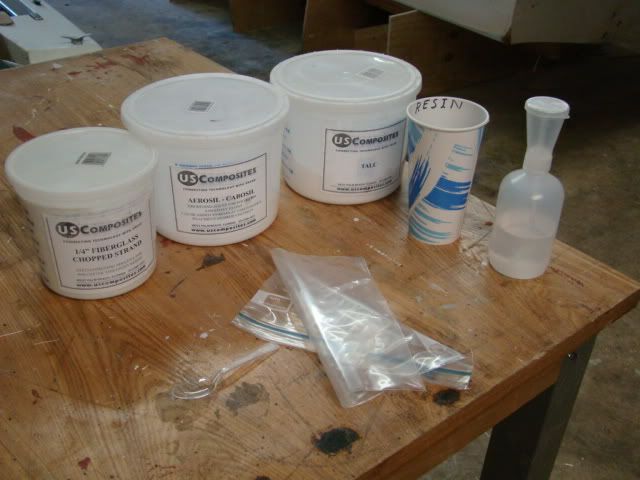
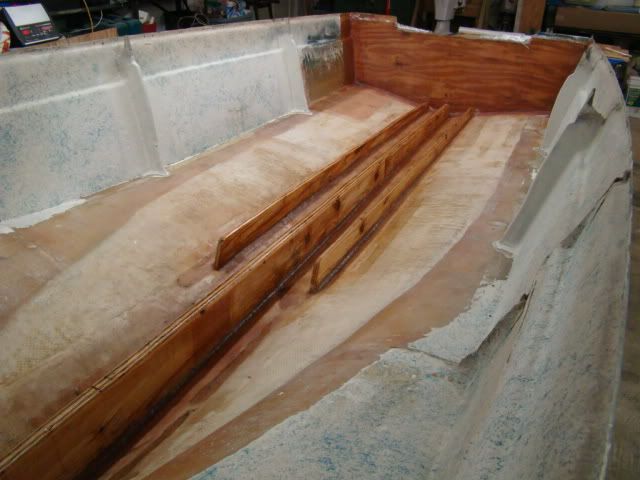
Re: My tri-hull transom replacement w/ pics
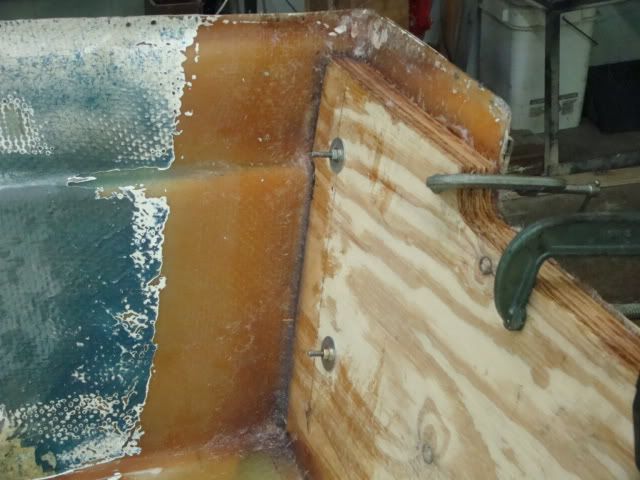
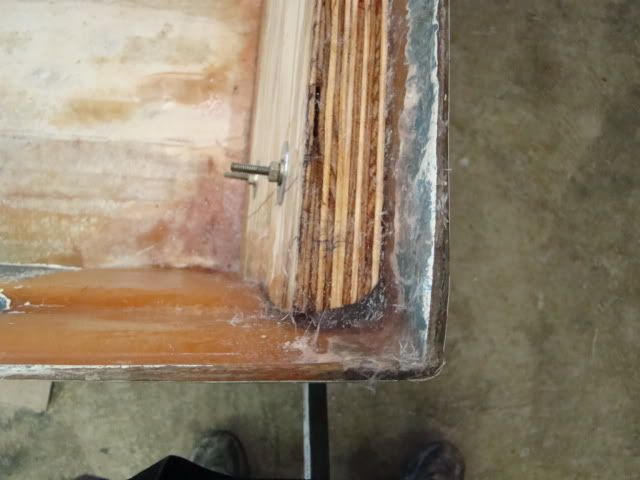
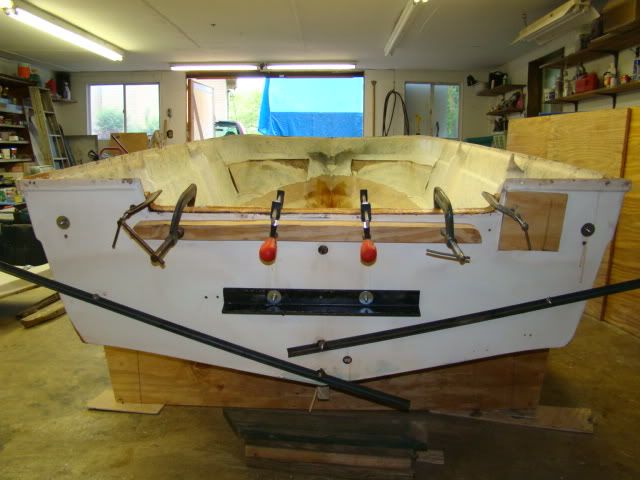
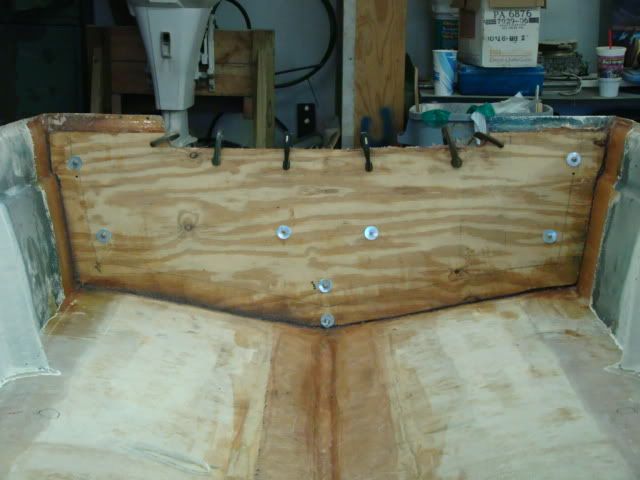
You can certainly feel welcome to come help me filet the corners in my boat when I get ready to tackle that job...excellent looking work...definitely looks like you put effort into it and turned out how you had hoped.
You can certainly feel welcome to come help me filet the corners in my boat when I get ready to tackle that job...excellent looking work...definitely looks like you put effort into it and turned out how you had hoped.