My 1968 Glastron GT160 rebuild......

Corjen1

Lieutenant Junior Grade
Joined
Aug 24, 2013
Messages
1,237
Thanks All for the comments.....yes my cagina is all healed up!!

So the practice chair is done sans the base which is PVC tubing.......this has been a definite learning experience. and dammit I wish I had listened to what I read and had been told experience!!!

So here is the back and bottom pads...What Ive learned here :

Piping: Not necessary to sew right up next to the welting in the initial fabrication, run a seam so it holds the welting in. When you sew the piping to the plate, then sew right up next to the piping.....it will prevent the thread showing when the cover is stretched over the base.

Plates/Boxing: When sewing the boxing to the plate, use alignment marks to keep them aligned properly to each other. My boxing seams are not even/centered left to right and front to back.

Cover installation: This was pretty straight forward.....except when cutting your foam, in my opinion, cut it at least 3/4 inch bigger than your base. This will give you a "fuller" look As you can see on mine, the corners look deflated. I also had to turn down the air pressure on my harbor freight stapler to where it would bearly drive the staples, on the normal pressure (100 psi) it was driving the staple completely through the vinyl.


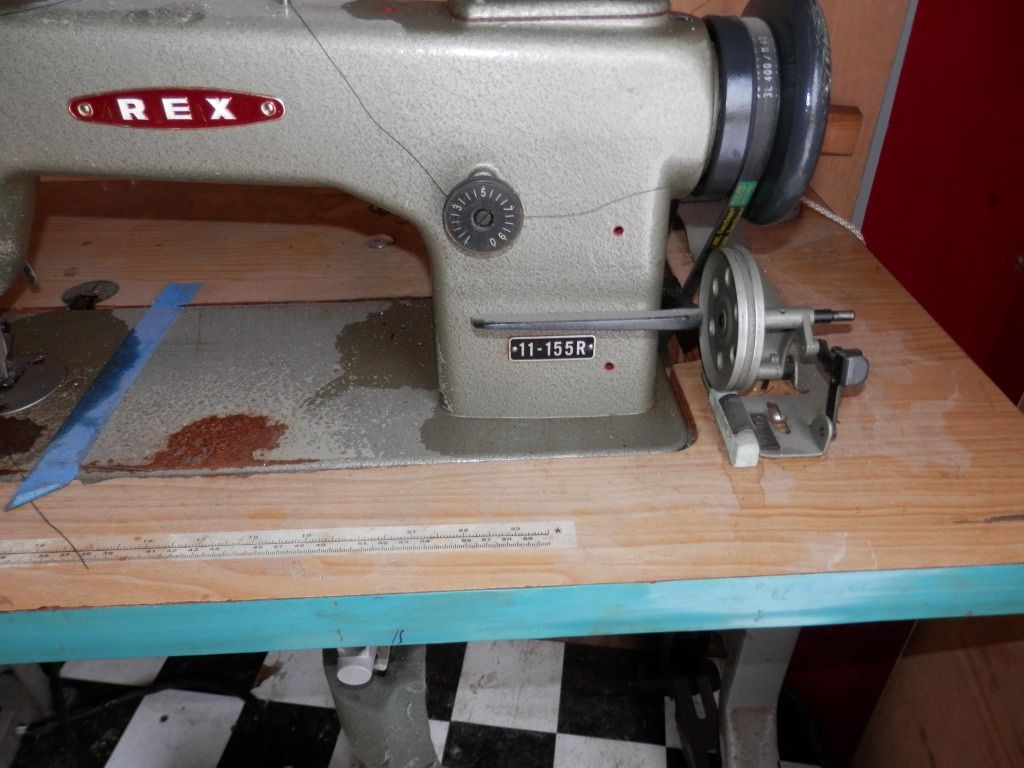
I made one of these, I found out that thest type of thread spools are made to unwind from the top, not the side as a normal spool...


More on the next post....
 
Last edited:

Corjen1

Lieutenant Junior Grade
Joined
Aug 24, 2013
Messages
1,237
OK, these dang arm rest completely kicked my ***.....as you can see in the earlier post. Today I had a bit of a AHHH HAAAA!!! moment..... wrapping the ends around the curves edged proved to be a worth opponent!!! I ended up grinding reliefs in the base to accept the thickness if the plate/piping....( i dont know if this is recommended, but it worked for me) I also sewed a 2 inch box to the top plate, in order to give me additional material to pull and wrap with....


Here is the left one.....the radius looks 1000 time better.


So the admiral wanted a cup holder....this also proved to be difficult.... I pretty much cut a star pattern from the center of the hole to 1/2 inch of the outer diameter of the hole. I cut away the piping skirt to 1/8th inch of the seam and pulled the flaps to the underside and stapled.


If I were to do arm res again, I would not have such a tight radius on the ends....there is too much material to stretch and fold over on itself to make a nice corner. I would also make them wider, in order to give more space from the outside diameter of the cup hole to the edge of the arm rest for the same reason, too much material to stretch and fold over on itself to make a nice corner.

Hope this helps....

Have a great rest of your weekend!!!
 
Last edited:

Tnstratofam

Commander
Joined
Aug 18, 2013
Messages
2,679
Your work looks real good. I like the way the arm rests turned out. Can't wait to see the new fabric.
 

sphelps

Supreme Mariner
Joined
Nov 16, 2011
Messages
11,468
Could you have done the arm rest slip cover style ? Big hole for the cup holder and thin arm rest . Looks like it would be difficult ..
Looking good !
 

Corjen1

Lieutenant Junior Grade
Joined
Aug 24, 2013
Messages
1,237
Could you have done the arm rest slip cover style ? Big hole for the cup holder and thin arm rest . Looks like it would be difficult ..
Looking good !

Carp...didnt even think of that!!! Big hole is for a big beverage and/or a Koozie covered adult beverage!! :eek:
 

Woodonglass

Supreme Mariner
Joined
Dec 29, 2009
Messages
25,928
For a Transplanted Wyoming Cowboy, that turned into a Jayhawker Boomer Sooner, you sure do learn Quick!!!:D
 

Corjen1

Lieutenant Junior Grade
Joined
Aug 24, 2013
Messages
1,237
Thanks, WoG, yea....I am kind of a heinz 57 mutt, always have had wander lust....left home early and have lived in 9 states, been to the other side of the ocean, both the left and right one...and I landed in Kansas....married a local, now a Kansan by marrige....and I fear I may never get out of here!!!
 

sphelps

Supreme Mariner
Joined
Nov 16, 2011
Messages
11,468
Very good step by step on the pleats .. Makes me want to go try some now !
 

Woodonglass

Supreme Mariner
Joined
Dec 29, 2009
Messages
25,928
Here's the only thing about pleats and Home Sewing Machines. It's Hard!!!! Sewing the foam onto the vinyl and getting it to feed and rolling the vinyl under the narrow throat of the machine and the short stitch length of the machine. All of these factors is what led me to take the trip to Arkansas 2 years ago and Hook up with Judge when he had his Upholstery shop and have him do the pleats on my Sons VW Bus. It sure made things a LOT easier. Sooo Cordell, I make this offer, If you want to come to Tulsa and bring your Vinyl one weekend, we can use my Walking Foot and we'll sew us up some Pleats Real Quick and easy!!! Kinda Pay it Forward from when Judge helped me back in the day!!!!


Corjen1

Lieutenant Junior Grade
Joined
Aug 24, 2013
Messages
1,237
Here's the only thing about pleats and Home Sewing Machines. It's Hard!!!! Sewing the foam onto the vinyl and getting it to feed and rolling the vinyl under the narrow throat of the machine and the short stitch length of the machine. All of these factors is what led me to take the trip to Arkansas 2 years ago and Hook up with Judge when he had his Upholstery shop and have him do the pleats on my Sons VW Bus. It sure made things a LOT easier. Sooo Cordell, I make this offer, If you want to come to Tulsa and bring your Vinyl one weekend, we can use my Walking Foot and we'll sew us up some Pleats Real Quick and easy!!! Kinda Pay it Forward from when Judge helped me back in the day!!!!


Thank You Mike!! I would love too, we will need to figure out a good time...!!!
 

Corjen1

Lieutenant Junior Grade
Joined
Aug 24, 2013
Messages
1,237
OK, here is a glimpse of things to come....bare in mind that this is a practice piece, not the pleats I will be using. It is however the real "blue" material.


I am really getting excited about this upholstery stuff!!! Give me a light at the end of the tunnel kinda of feeling....

Have a good night!!
 

sphelps

Supreme Mariner
Joined
Nov 16, 2011
Messages
11,468
Wow ! Looks awesome ! Did you allow the extra material like in the link ? 1/2" foam ? As Woody would say "details man details " !
You could install that just the way it is ! :cool:
 

Corjen1

Lieutenant Junior Grade
Joined
Aug 24, 2013
Messages
1,237
Wow ! Looks awesome ! Did you allow the extra material like in the link ? 1/2" foam ? As Woody would say "details man details " !
You could install that just the way it is ! :cool:

Thanks for the nod!!. So this was a practice piece.....the pleats are from a yard of heat formed stuff I got to play with..... I dont know if its all this way, but this stuff is kinda "plasticy/hard" doesnt feel like the other vinyl I have seen or have. soft/supple. I wouldnt use the stuff I got for the real seats. Maybe more expensive stuff is like regular vinyl.


I can say, from an assembly perspective, if you follow the earlier link it is very easy and spot on. I didnt cut the notches where the piping is and you can see the lumps.. definitely need the notch reliefs to hide the thickness. I need to get some of the scrim foam to actually try the fabrication of real pleats. But the plan is to take Mike up on his offer.....
 

zool

Captain
Joined
Aug 19, 2012
Messages
3,432
Sweet!..that metallic blue material looks great with the white pleat!....
 

Tnstratofam

Commander
Joined
Aug 18, 2013
Messages
2,679
Very nice. I think that is going to look real good, and I think the blue is a really good match.
 

Woodonglass

Supreme Mariner
Joined
Dec 29, 2009
Messages
25,928
This is another good link for sewing Top Stitched Pleats. http://www.jalopyjournal.com/forum/t...covers.168060/
Again, I want to emphasize that due to the fact that the Scrim Foam is 1/2" thick and most Home Machines only sew 6 stitches per inch and the feed dogs don't feed all that well it's not optimum to do pleats on a home machine. Not to say it can't be done it's just not gunna be as good as on a walking foot. You really need the V92 Heavier Thread and the 4 Stitches per inch spacing. It makes a BIG difference. I've learned that since I got the Walking Foot. You can do some Great upholstery work on a Home machine but...There's no substitute for the Walking Foot!!! I was Lucky to find one at a really good price or I would still be on the Home Machine:eek:
 
Last edited:
Top