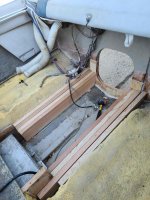
method of joining new wood to existing stringer

froggy1150

Master Chief Petty Officer
Joined
Nov 3, 2017
Messages
849
I think when i glassed the underside of my deck it bowed in that direction a bit. When i glued my deck down with pb i did use a few stainless flat screws and plenty of weight
 
Joined
May 9, 2021
Messages
29
So today I started the transom patch. I read how to do it for over a week and kept bouncing back in forth with methods...I decided I just need to do it !! I am a little lucky as my stringer drive doesn't contact the transom at all, so the risk is a bit lower if I suck and did it all wrong...but here's what I did

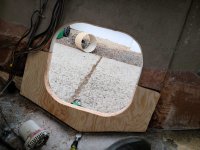
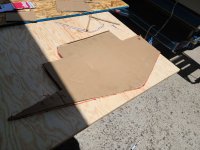
Template cut out

Plywood fit (went through 3 plugs before I got it right....

Thought about laminating two sheets first then placing but decided against it. This method should let me take my time and hopefully do it correctly.

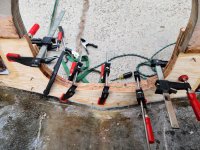
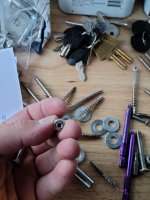
Went with clamps and stainless deck screws to fasten the patch to the skin. Used pilot holes to prevent cracking. Didn't coat the screws and people have said you don't want to contaminate if you plan to fill with epoxy, and if they get stuck a little soldering iron heat should loosen em up.

I used colliding silica 406 after wetting the skin side of plywood with clear/virgin resin. Once I had a mayonnaise type consistency that would stick but spread smooth I buttered up the transom skin and the wood with a small plastic floor adhesive trowel. I was liberal with the filler as I really wanted to make sure there were no airgaps if at all possible.

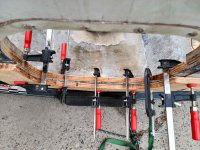
I used clamps and deck screws spaced
evenly and an extra transom patch to brace the skin and spread out the load.

I tightened only until the filler adhesive started to ooze out and then backed out a half turn. I did this with all clamps and then re adjusted to get even ooze out of joints...hopefully this will confirm all spots were filled.

The pressure to clamp it was fairly minimal so I didn't use another brace to spead the load on the inside. If I knock on it after curing and it sounds like an empty walnut I guess I learned my lesson.

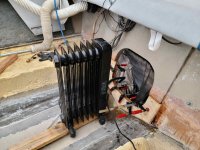
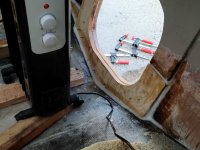
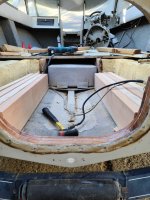
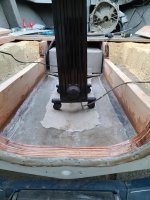
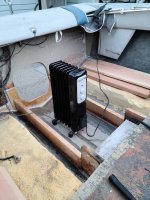
The temperature is closer to 50 degrees tonight so im using a radiator heater in the boat with a cover to keep the Temps warmish for curing.

I used a slow hardener 206 with west systems epoxy 105 for the resin. I did not use fiberglass matting between ply and skin because I was assured through a lot of research that it is unnecessary, and the boat didn't have it from the factory.

Here's the pics. Il have a beer now and hopefully won't come back to someone telling me my boats going to blow up because I missed a HUGE IMPORTANT CRUCIAL STEP!!
20210522_131211_compress40.jpg20210522_152713_compress52.jpg20210522_181612_compress10.jpg20210522_181615_compress79.jpg20210522_181640_compress34.jpg20210522_184901_compress54.jpg
 
Last edited:
Joined
May 9, 2021
Messages
29
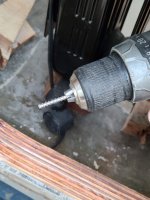
Alright second lamination is done. Just need to glass it in place then it's on to the stringers . The screws worked really well, but I let it cure a bit to long before removing. Luckily the impact pulled em out without too much trouble with the exception of 2. One broke in half and the other stripped out. I drilled out the middle of the one that stripped and then went from behind utilizing my drill to screw it out. I saw this trick online just this year and it was an awesome solution!!20210523_193042_compress8.jpg20210523_200557_compress42.jpg20210523_200635_compress10.jpg
 
Last edited:
Joined
May 9, 2021
Messages
29
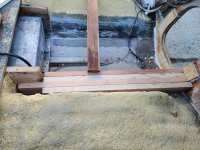
Got back to work after a few days off. I went back and forth with how to do the stringers but settled on this method. .

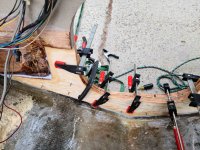
Bedded the stringers to the hull with a thickened epoxy (I'm aware of the hard point issue that needs to be avoided). After cutting the kiln dried 2x6 to fit. I used a 40 degree angle on the skil saw the make it conform to the hull. I then cut each individual stringer to make sure they all sit within 1/16th of an inch in height.

I used a structural epoxy filler to bond the transom to the stringer and the new stringer to the old.

I will let this cure overnight and then I will add fillet as needed to tab the individual stringer.

After that is tabbed, I'm going to start assembling the secondary stringers and epoxy/screw in place.

Once they're all expoxied and bedded il let it cure once again before adding the final tabbing and glassing. I will use several layers of 1700 to achieve ~1/4 inch thickness around the whole structure.

The sister joint stringer will be going in next and that's where the real strength will be.

All of the wood is cut, just waiting for me to slowly piece it together.

20210526_173155_compress95.jpg20210526_181915_compress73.jpg20210526_201035_compress53.jpg20210526_201045_compress70.jpg20210526_181906_compress8.jpg
 
Top