


Gluvit is on the way... I see most strip paint before sealing with Gluvit. Is there a reason for this? or is it just the order things happen?Great job on the glue that looked real easy. Almost time for gluvit.
Gluvit is on the way... I see most strip paint before sealing with Gluvit. Is there a reason for this? or is it just the order things happen?
I've never used Gluvit or epoxy before and I wonder if I apply it before the strip job if the stripper wont seep into the seams and react with it.
I'm going to wait until the hull is stripped I think before I apply... plus it'll be warmer!
Looking good. How and what are you going to paint the outside hull with?


Rivet looks good, I would check those two spots on the hull real close, they don't look like dents, more like pretty deep rubs, poke then with a sharp awle. You mat want to make a couple small patches held on with a two rivets and some 3M 5200. Your trailer looks to be a Calkins, they are real heavy duty, but on that one with only 8 rollers your entire boat approximately 1600 pounds is being supported on about 16 sq inches 100 lbs per roller. Does your hull show any signs of deforming or dents were it sits on the rollers? You could convert it to bunks but it would involve some design and a bit of welding.
Yes, it is a Caulkins trailer, there are minor indentations where the rollers contact. That's why I wondered about going to bunks. The gouges aren't dents and are certainly from rubbing, but I have no idea what they could be from. My best guess is a strap that a previous owner used to use... They are solid though, and I'm toying with the idea of filling them in with jb weld then sanding to conform to the edge.
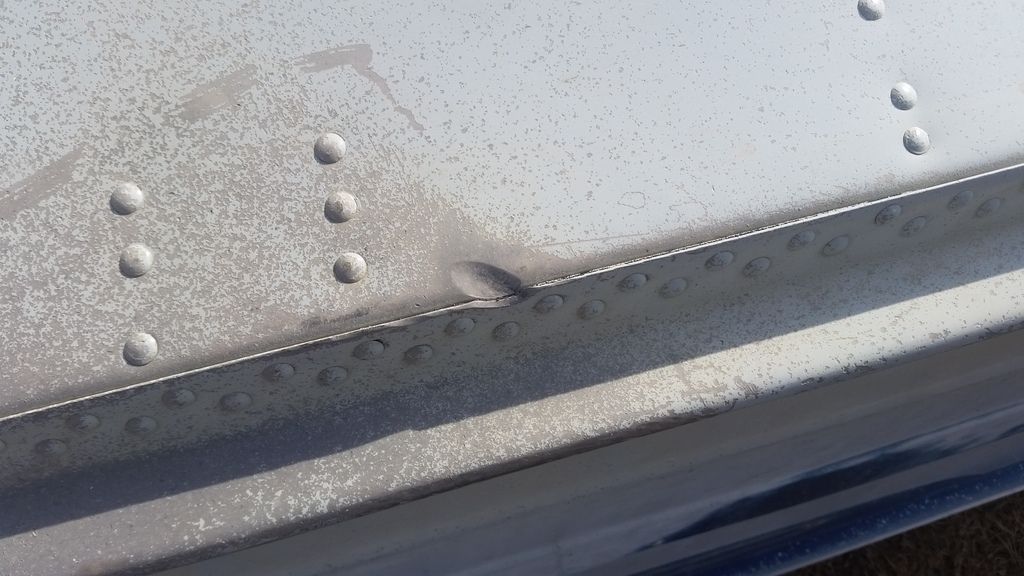
The JB would be a good idea, the spots are small enough if you are going to polish they won't been seen by anyone other than you.
Does your boat fit between the fenders on the trailer, or is it slightly wider? Post up a couple more pictures of your trailer from straight on from the back at roller height and from the side, I kinda have an idea on a simple bunk system,I think.
Personally anything damaged below the waterline I would not just patch up with JB for cosmetics sakes, The rubs are substantial and an impact on that sort of repair could be a big problem on the water if it breaks through. I would for sure fill the damage with JB but then patch over the top with .080 sheet AL back buttered in 5200 and riveted in place. It may be tricky to bend the patch but it isn't impossible that's for sure.
I'm thinking you didn't see the damage until you turtled the boat and it's on the bottom so nobody else will ever see it unless of course your run over a swimmer :lol:. It's all about making the boat safe not a parade show piece.


