I'm back with a 1994 Islander 221V!

Gibbles

Commander
Joined
Nov 14, 2009
Messages
2,027
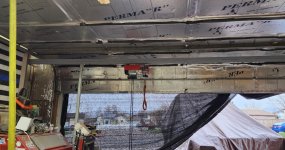
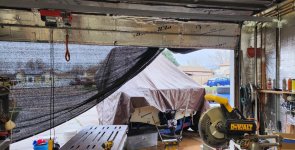
And here is a picture of the hoist setup with the extra support.
It's on a slider that can be tightened down, that way I can move it where I want.
It also has a nice wide foot that's also adjustable.

hoist.jpg
hoist2.jpg
 

Gibbles

Commander
Joined
Nov 14, 2009
Messages
2,027
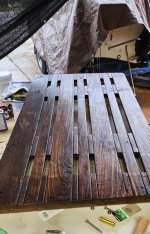
And today I spent a little time working on my swim platform.

If i knew someone with a plainer, I would probably talk to them about running the planks through it.

Last night I loosened every single screw and soaked the bottom side with teak oil and let it sit over night, it took a few coats until it looked ok.

Last fall I used several coats on the top side, it was very thirsty.
I used a sander and smoothed it out a little more, then more teak oil.

I also added the teak strip on the bottom side using fresh stainless hardware.

Teak is such a weird wood, almost like plastic.

I also added my new swim ladder on the underside.
where the old one was on the top side, I'll get a picture of that later, for now the top is soaking in oil.

Teak.jpg


Some areas really don't want to take any oil, when sanding it's almost like there is some sort of coating on the wood.
Maybe later I'll get aggressive with it, but for now it's good enough.
 

Gibbles

Commander
Joined
Nov 14, 2009
Messages
2,027
Most likely it was varnished at some point.

Kind of what I'm thinking.
Only odd part is that it is sucking in lots of oil, but drilling holes through the wood for the new swim ladder showed some extreme dryness of the wood.

Some chipping and re-oiling brought back the plastic like consistency of the wood.

When I first got this thing, the wood looked like aged cedar fencing, very grey.

First thing i did was to give it several coats, nearly an entire quart sucked in!

Looking back, i wish i had taken my palm sander to it first.

I'm sort of thinking maybe my palm sander with some of that checkered drywall sanding paper, then work my way back down... lol

But whatever, it looks decent.
And with the ladder on the underside i should be able to strap a big cooler back there!
 

Gibbles

Commander
Joined
Nov 14, 2009
Messages
2,027
doing some more work on the wood, it looks like a thick coating of a wax like substance especially thick on the rear most plank (left side on the image).

I'm wondering if the teak oil helped loosen it up a little or something.
I see some teak wood stripper that I might try before I reinstall.
 

Gibbles

Commander
Joined
Nov 14, 2009
Messages
2,027
Stole this from another thread since it has the plans for the handy outdrive stand/hoist plans and I don't want to search too hard for it.

Yeah and I still have the plans for it too.

A = 24"
B = 24"
C = 21"
D = 4 1/4"

A & B are 2"x2" thin wall box tubing.

B should have a straight cut on one end and a slight angle cut on the other. I think that angle is somewhere in the 15-17 degree range. The exact location for the forward legs isn't critical. What I did, was, put the angle ends of the legs out far enough from the center so the far end is just a little wider than the back tube.

C is 1"x1 1/2" rectangle tube, thin wall. two pieces 21" long and one piece 4 1/4" long. Weld the 21" pieces to the short piece. These are the lift arms and are located no less than 19 1/2" from the flor. This measurement is to keep the skeg from hitting the ground when the jack is in it's lowest position.
D needs to be 4 1/4" apart so the drive will fit between.
I used 3" h-d casters. 275lb. capacity each. Put swivel casters on all 4 corners.
I also put cork gasket material on the lift arms to keep from scratching the drive.
The jack is a 3000lb weld on tongue jack (square body).
View attachment 392378


Just lightly messing around with my islander, I found I can't get the outdrive to sit level when on the trailer.
As it is, the trailer has the boat sitting super low.

Over the winter I couldn't get the outdrive to sit level for storage, so I had to find the lowest position and ran with that.
I'll probably have to play with jacks and stands later on, but I do like this idea.

Probably require some edits to make use of it since my stuff sit's so freaking low.

for now, I'm planning to remove the outdrive using my cherry picker.
I found that a hook from one of those light duty ratcheting straps fit's perfectly in the hook hole at the top of the outdrive.

So, I'll probably end up using that, maybe after adding a little tack weld or two.
 

Gibbles

Commander
Joined
Nov 14, 2009
Messages
2,027
The other day I started looking at trailer brakes.
It looks like the surge brake controller I have us a UFP A70 (or something like that).
I think my brakes might be sticking, it's very hard to even budge the trailer w/o a vehicle.
When I moved the boat to the other side of the driveway, I also tried to push the hitch end to the side, it felt like the axles were binding on me due to non-movement of the wheels.

So doing some research, I found that the emergency brake cable looks to have been pulled, and the little metal clip was on the wrong side of the hole!

I was able to reset the cable w/o replacing the metal clip.
And I sucked out the old brake fluid and replace with some fresh dot 3 using a vacuum tool I have for brakes.

With fresh clear fluid I can now see the position of the piston.
the piston looks slightly pushed in, but not really engaged.

On the bottom of the hitch there is also a release button for that emergency brake.
Pressing on it does nothing.

So more digging I found some instructions talking about resetting the brake by pushing a screwdriver through the hole in the release button and using it as a pry bar.
Pressing the button and using the screwdriver as a prybar I felt it slide back a little.

I did a quick test to see if i could push the trailer end to the side, and the issue continues.

So, either I have some brake issues, or it's because I'm a weakling and have never dealt with a dual axle trailer before.

Either way, future Me problem.
I might need to disassemble the brake controller to clean and inspect, but that would be after pull the wheels off and inspect the brakes themselves.

It probably wouldn't hurt to do a brake fluid flush anyways.
 

Gibbles

Commander
Joined
Nov 14, 2009
Messages
2,027
Also lowering the front of the trailer down to as low as the jack allows, I can pretty much get the out drive to sit level now.
but the skeg is pretty much on the ground.

I need to go pick up some lumber to make a temporary stand and lifting adapter for my motorcycle jack.

Supposed to rain this weekend as well, we have two nice days scheduled this week.
Today and tomorrow, after that it gets cold and starts raining and snowing again.

Ugg! :poop:

The sooner I can get the boat uncovered and the engine out, the sooner I'll have it ready for the lake. (y)
 

Gibbles

Commander
Joined
Nov 14, 2009
Messages
2,027
And one more thing,
The boat came with two of those hi-five props.
The one installed, the seller said it's for general use, and the second prop in the bin was for high altitude use.

I removed the prop to inspect seals and to see what pitch it has.
I found it's a surprisingly low pitch at 17

The other one is a 23 pitch.
I don't have the rest of the numbers yet, all I have done so far is to clean up the 17 pitch prop.

Where this comes into play is that I want to try a 3 bladed prop.
Plus, I wouldn't mind something a little more flexible since I plan on doing some beaching this summer.

I'm just not sure what prop to get.
and now I'm even more confused!
 

Gibbles

Commander
Joined
Nov 14, 2009
Messages
2,027
Also, I found this interesting.
The support struts for the swim platform that screw into the lower part of the transom.
If you notice on one of the pictures above, the struts are still on there, one of them is upside down due to being loose.

I was expecting the worst, like water intrusion.

I was also expecting those to be through holes with a bolt going through, and a nut on the other side.

I figured I would need a second hand to hold one side, or I would just grind the heads off and knock them through.

Surprisingly they were just screwed into the transom!
Nice and tight fitting with some sealant on the threads, so I'm not expecting much damage in there.
👍

I'm pretty much expecting the rest of the hardware to be just screwed into the transom, including the trolling motor mount. 🥜
 

jbcurt00

Moderator
Staff member
Joined
Oct 25, 2011
Messages
25,034
Making plans & headway, nice....

Been raining like mad here all week...
 

Gibbles

Commander
Joined
Nov 14, 2009
Messages
2,027
Making plans & headway, nice....

Been raining like mad here all week...

yeah, we finally got a little break here.
It has been a little too cold for my tastes, and windy!

today it's supposed to be in the mid 60's and nearly 70 tomorrow.
Then the wind will wipe that out and bring it back into the 40's and more rain.

Oh well, more work on the garage is needed anyways.
Loosing shelves has made a mess in there.

Only thing really keeping me from starting the removal of the outdrive is the fact I need to keep it off for some time.
I'm not sure how well the bearings in there will like being open.

I could tape some plastic over the hole, but still the wind will probably shred it quickly. :unsure:
 

Gibbles

Commander
Joined
Nov 14, 2009
Messages
2,027
Well chatting with some family, it seems we have both sides making plans for the new boat.

It was a nice day yesterday, so i jumped in the boat to pull the block casting number.

For the sake of saving time vs going with the easy jb weld solution.
It seems safer for the family's kids and us if we just pick up a new block vs patching this one up.

Then the whole, convert a car engine to a marine engine means I'm rebuilding to get the proper (looser) bearing clearances.

So i have a fresh 4.3 marine spec engine on order.

I'm thinking this will save me a solid month or more.

Work continues slowly!

Last night i was able to scrap off a majority of the sloppy sealant from the transom.
The paint still looks like ass, but it's much better than it was!
 

Gibbles

Commander
Joined
Nov 14, 2009
Messages
2,027
Now the fun part, figuring out gaskets, camshaft, timing set/chain, lifters, etc.

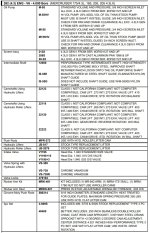
I located the Melling catalog that has marine parts listed,
Here is a nice little snippet of the 4.3 parts.

MellingPartNumbers.jpg
 

Gibbles

Commander
Joined
Nov 14, 2009
Messages
2,027
Per that chart, it looks like I had the wrong camshaft selected!
This one looks correct:
Melling PN: 22222

Lifters look identical to the ones that the LS uses.

I'm hoping I don't need to replace the oilpump, but it might be a good idea depending on how much rust I find in the crankcase area.
 

Gibbles

Commander
Joined
Nov 14, 2009
Messages
2,027
Well over the weekend I finished the little stand for the outdrive.
It started as a stand to use on a motorcyle jack, but then when doing some testing, the outdrive still can't fully sit level when on the trailer.
And the skeg is too low to the ground for the motorcycle jack to get under it.

So, my little motorcycle adapter/outdrive stand turned into just a stand!

I looked at this video showing how he does it using an engine crane.

He used a hook from a light duty tie down strap and adapted it to it.

He didn't show how it was "Adapted" but I just took a strap hook from one of those light duty tie down straps, the kind w/o the ratchet so It was mostly useless to me anyways. :ROFLMAO:

Under the rubber coating, it looks like it has a little tack weld, and it fit perfectly in the spot that's just for lifting it off.

The outdrive was nicely lubricated, I think the PO might have gone a little overboard with the grease, but it did slide out very nicely!

I'll get some pictures a little later on.

Hopefully we get the engine pulled this weekend.
From there I need to start taking inventory of the things I need to order.
 

Gibbles

Commander
Joined
Nov 14, 2009
Messages
2,027
Well, I'm lazy on pictures for now, also iboats won't let me do a direct copy paste from clipboard/snipping tool so it looses some of my motivation.

With the swim platform off and the outdrive removed, I have a better view of the inlet and outlet for the livewell, they look much better.
but I still need to investigate more.

I have the hull anode loosened so I can clean off the sealant from it, like it won't work if it's completly covered with fkn sealant!!! :ROFLMAO:
it won't come off any further than that, bolts on the inside!! (n)


I still at a minimum want to seal every piece of hardware with a little 5200, so I'm hoping to accomplish that while my father-in-law is helping me with the engine.

I still don't know what I want to do with the interior.
I pealed back some of the carpet that's covering everything, I found the original vinyl underneath.
I also found some glue on that vinyl to attach the carpet, so I might end up stripping everything as originally planned anyways.

I'm going back and forth for using the faux teak on the floors or using vinyl flooring covering.

I think much of it will depend on how the floors are attatched and how it feels/looks to me.

I'm expecting the flooring to be several sheets, and I"m expecting that I'll want to leave some easy access to areas like the fuel tank and livewell fittings.

I'm expecting to see the lattice structure under the deck as well.
I might end up using some 1/4in stainless rivnuts I have on hand to secure the flooring.
I have had this addiction to air tools ever since I put that 60 gallon Quincy 2 stage air compressor in my backyard (QT54). 🤓
Years ago, I ran across a slightly used air powered astro pneumatic rivnut setting tool.
the PO had converted it for me so it could use off the shelf rivnut setting bolts.
If I see a need, that thing is coming out and getting to work!

All depending on what I find...

love plans that are pretty much biased on imagination at this point? :alien::coffee::cool:
 

Gibbles

Commander
Joined
Nov 14, 2009
Messages
2,027
And i went ahead and ordered the complete valve train and a full felpro marine gasket set for this pig.
Assuming I guessed right, the felpro gaskets are as follows.

Intake, head gasket, exhaust, valve covers, and valve seals.
https://www.summitracing.com/parts/FEL-17211

Timing cover, oil pan, and rear main.
https://www.summitracing.com/parts/FEL-17116
Melling camshaft, Melling's part list said it's for roller lifters with the balance shaft.
https://www.summitracing.com/parts/MEL-22222

I about had a heart attack; Summit lists it as flat tappet.. 😕
I'll know when I have it in hand, the cam lobe profiles will be obvious...
nearly $500 for this camshaft?!

The timing chain set.
Lists it as for engines with balance shafts, and it's from Melling's Marine listing.
https://www.summitracing.com/parts/MEL-3-509S

I actually like Cloyeds chains better, they seem better machined and super smooth.
But my last Melling chain was a beefy mofo, however in my gen4 ls, it has a chain tensioner that was getting damaged by the rough finished chain, so I swapped it out.

lifters.
I have a set that should work, but I'm saving them for the tahoe and I have 16 of them.

Seems to make more sense to me to just buy a set of 12 vs having some left overs.

So, 12 of these babies.
https://www.summitracing.com/parts/MEL-JB-2079


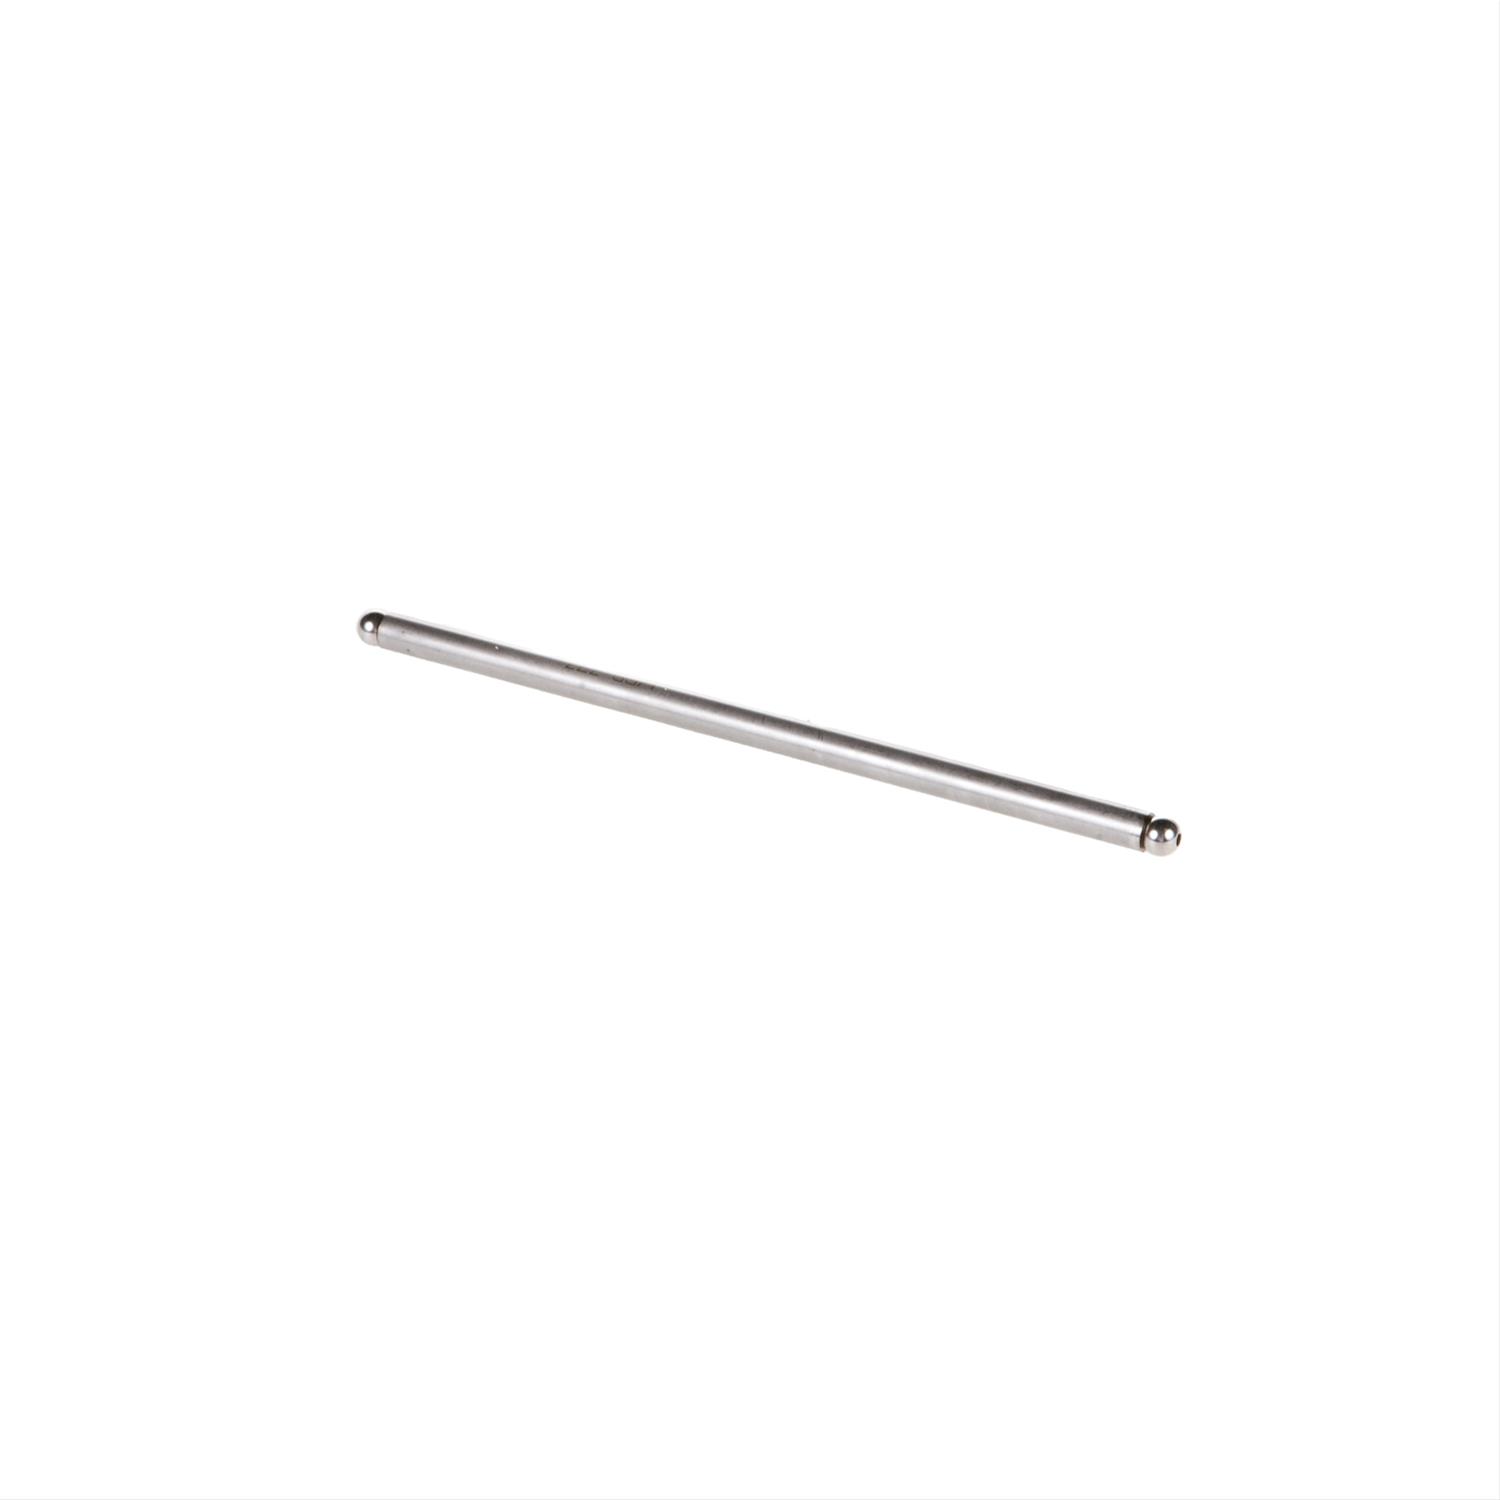
Then since i'm doing lifters, I'm supposed to replace the pushrods.
Plus, the whole water in the oil thing, who knows what I'm going to find.

12 of these,

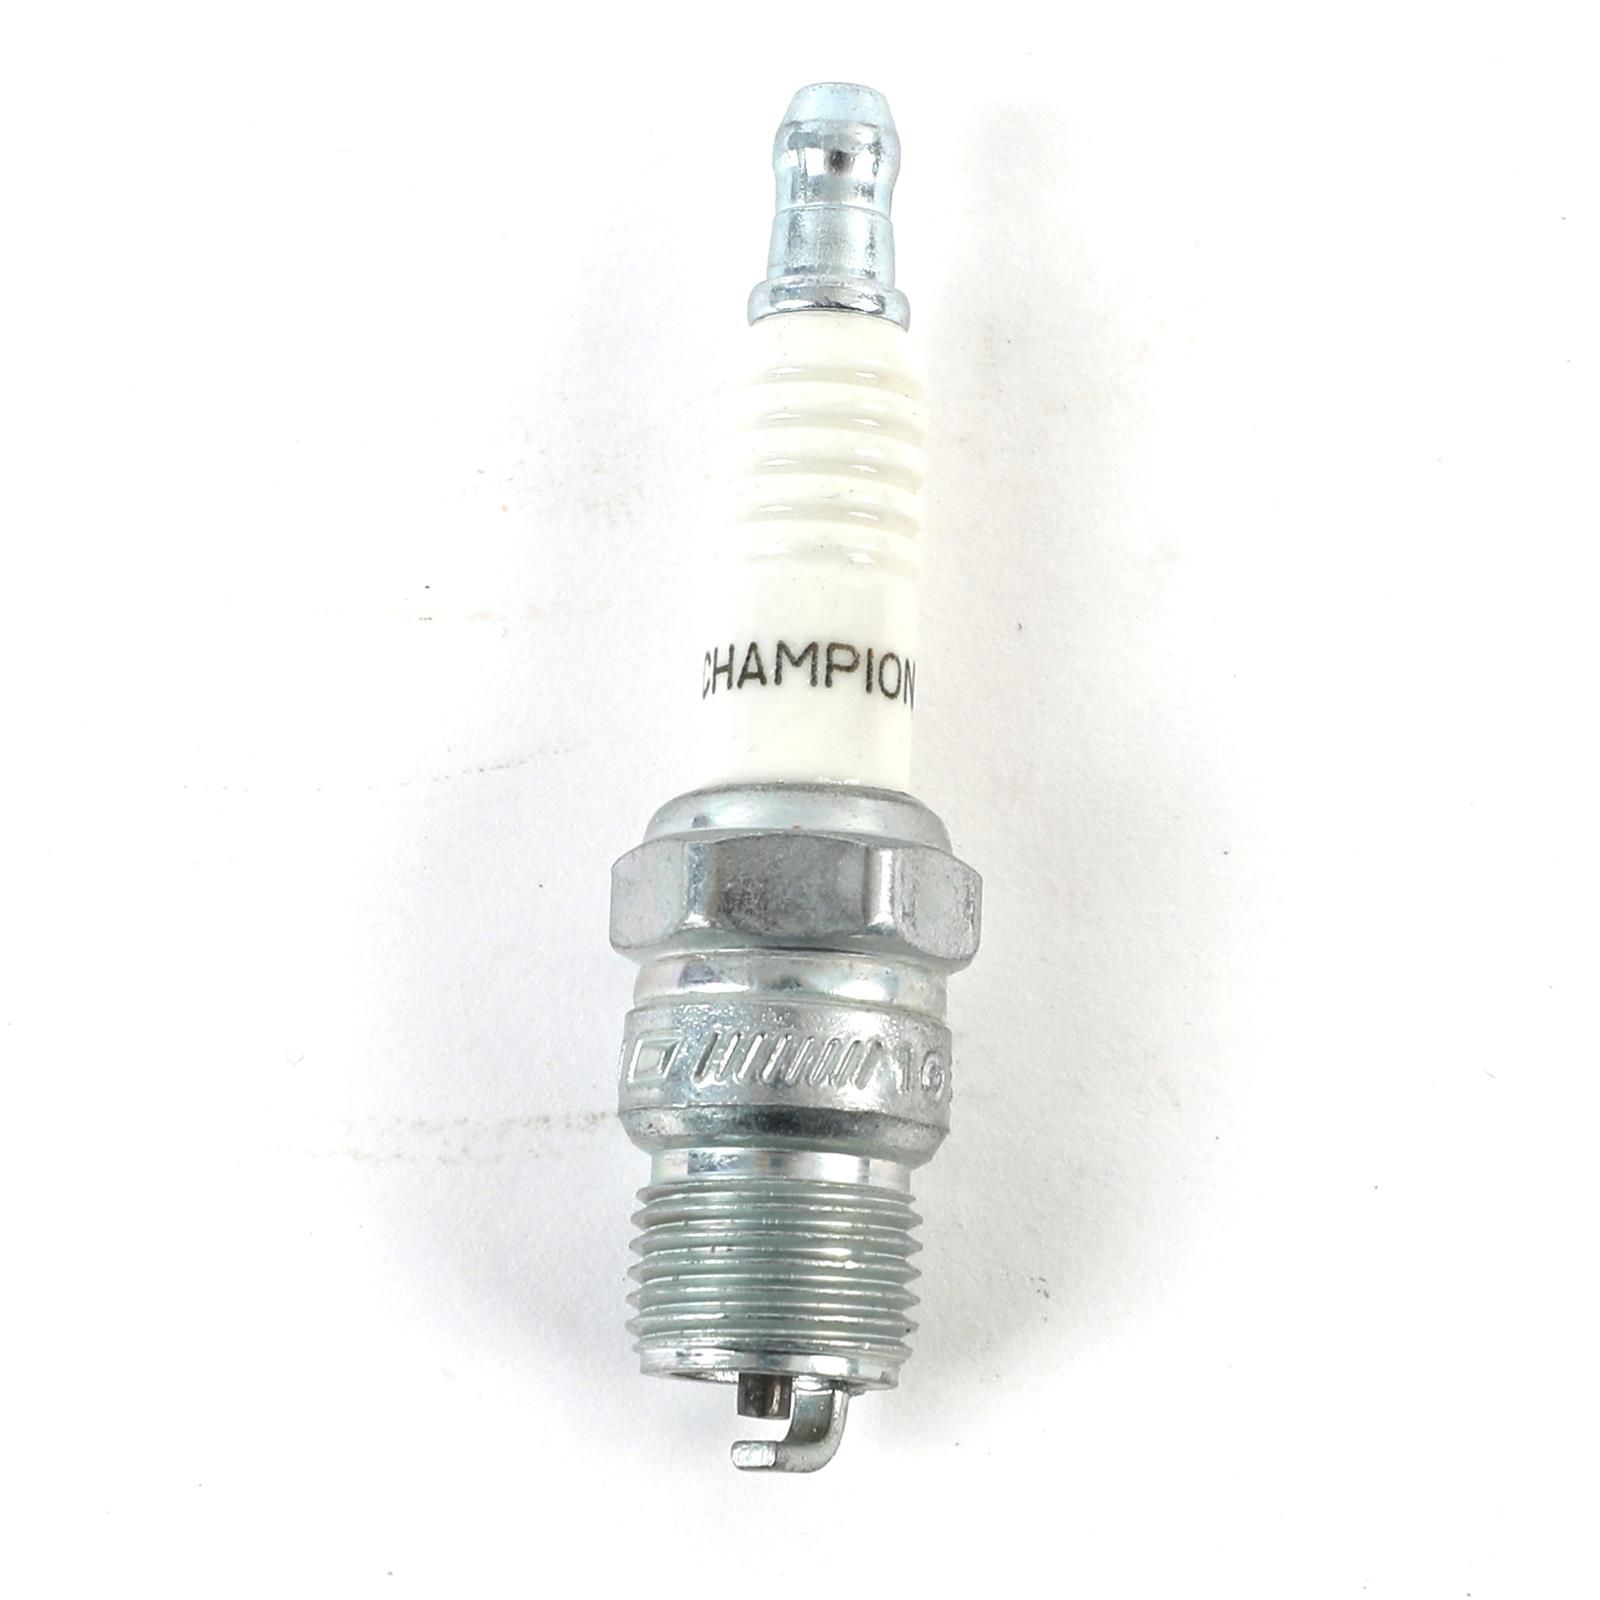
Then a set of 6 plugs,
I didn't verify my cart on these, i'm like 90% sure they are for the boat...
💩


I think I might be missing some of the water inlet/outlet gaskets, but I'm not sure.

I would also like to replace all of the hoses for the engine, I'm just not sure what I need to get at this point.
 

Gibbles

Commander
Joined
Nov 14, 2009
Messages
2,027
To double check my camshaft selection since it's rare that summit racing would have details so wrong, rock auto and a few other sites also list the Melling 22222 camshaft as a hydraulic roller and not flat tappet.

Also notice that it lists this camshaft as a "stage 2", listing it as a "Fair" idle
the engine as it ran last year had a nice "lope" sound to the idle, so hopefully that doesn't change. (y)
 
Top